Page 1 of 2
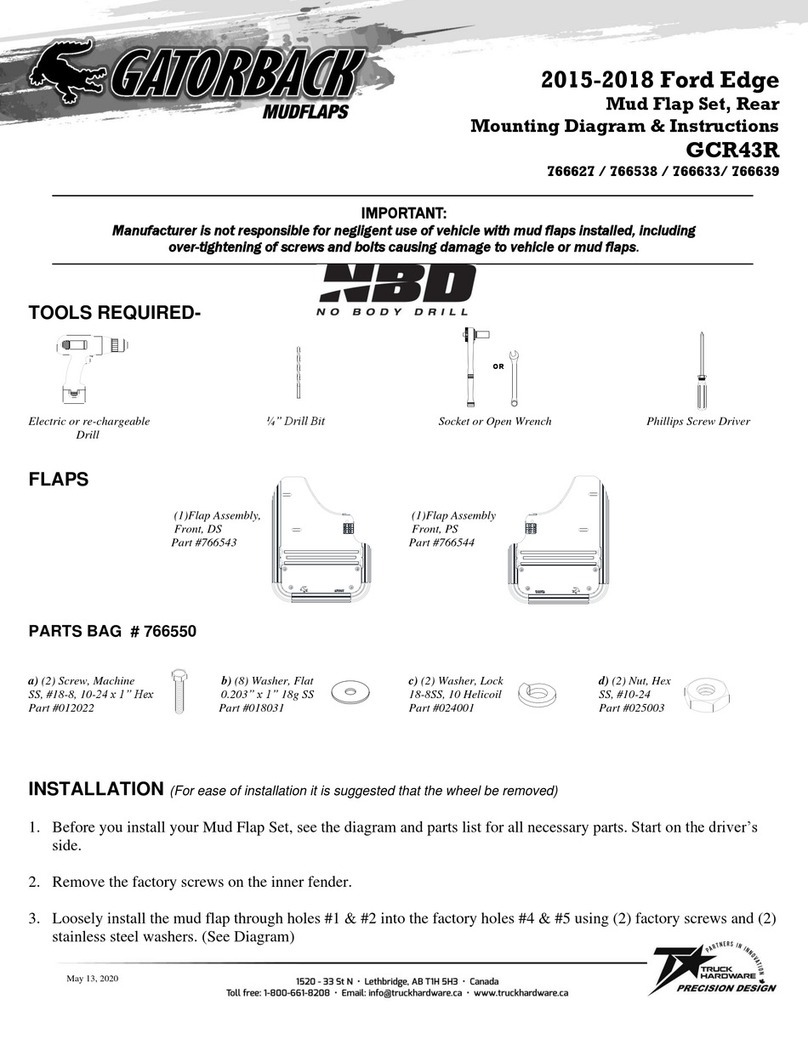
2009-2018 Ram
No-Drill Front Rubber Mud Flap Set
Mounting Diagram & Instructions
Kit’s # GCR31F / GCR32F
IMPORTANT:
Manufacturer is not responsible for negligent use of vehicle with mud flaps installed, including
over-tightening of screws and bolts causing damage to vehicle or mud flaps.
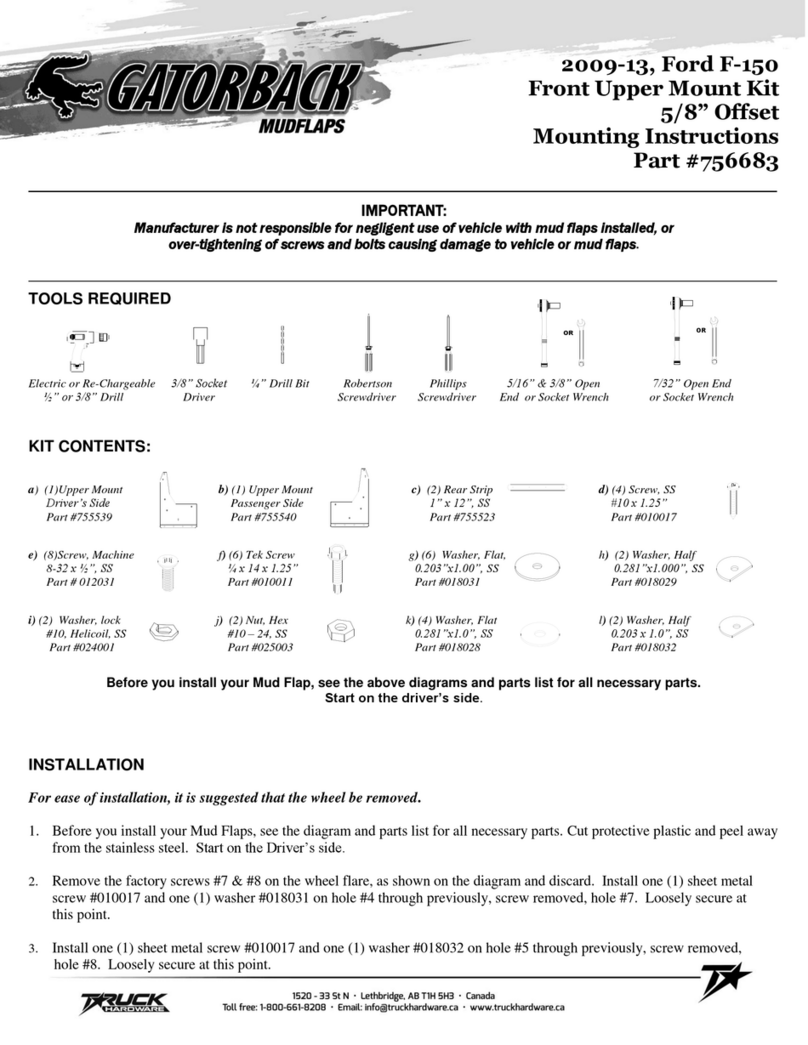
TOOLS REQUIRED
Electric or Chargeable 3/8” Socket Driver 1/4 ” Drill Bit 5/16 & 3/8” Open End 10mm open end or
½” or 3/8” Drill Wrench & Socket Wrench Socket Wrench
FLAPS
(1)Flap Assembly, (1)Flap Assembly,
Front, DS Front, PS
PARTS BAG # 766126
a) (8) Washer, Flat b) (2)Washer,Lock c) (2) Hex Nut d) (2) Mach. Screw
0.203” x 1”, SS #10, Helicoil, SS #10, SS #10-24 x 1”, SS
Part #018031 Part #024001 Part #025003 Part #012022
INSTALLATION
1. Before you install your Gatorback Mud Flap, see the diagram and parts list for all necessary parts.
2. Remove two (2) factory screws #4 & #5.Using the two (2) factory screws and included washers,
reinstall on holes #1 & #2. Loosely secure at this point.
3. Square the flap with the tire, while putting pressure against the wheel well, then tighten the two
(2) factory screws #4 & #5.
4. Hold flap tight against wheel well and drill ¼” hole (1), from the center of the slotted hole #3 through
the factory plastic liner. Secure the flap with one (1) machine screw #012022, two (2) flat washers
#018031, one (1) lock washer #024001 and one (1) hex nut #025003.
5. Repeat procedure for passenger side.
