manuals.online logo
Brands
  1. Home
  2. •
  3. Brands
  4. •
  5. Gatorback Mudflaps
  6. •
  7. Automobile Accessories
  8. •
  9. Gatorback Mudflaps GCR53F Guide

Gatorback Mudflaps GCR53F Guide

2005-2020 Nissan Frontier
Mud Flap Set, Front
Mounting Diagram & Instructions
Kit# GCR53F
IMPORTANT:
Manufacturer is not responsible for negligent use of vehicle with mud flaps installed, including
over-tightening of screws and bolts causing damage to vehicle or mud flaps.
TOOLS REQUIRED-
Electric or Rechargeable ¼” Drill Phillips Head Vice Grips
Drill Bit Bit
5/16” Open Wrench or 3/8” Open Wrench or 7/16” Open Wrench or
Socket Wrench Socket Wrench Socket Wrench
FLAPS
(1)Flap Assembly, (1)Flap Assembly
Front, DS Front, PS
PARTS BAG # 768189
a) (6) Washer, Flat b) (4) Washer, Flat c) (8) Washer, Flat
0.203" x 1.5",Blk Oxid. . 0.281”x 1”, Blk Oxid. 0.203" x 0.781" SS
Part #018072 Part # 018069 Part # 018018
d) (4) Screw, Machine e) (6) Screw, Sheet Metal, SS f) (2) Capscrew g) (2) “L”Bracket
18-8SS,10-24x1,Hex Hd #10-12 x 1-1/4”Phillips Head 1/4”-20 x 1”, Blk Oxid. Front
Part #012022 Part # 010027 Part # 014073 Part #768187
g) (4) Washer, Lock h) (2) Washer, Lock i) (4) Nut, Hex j) (2) Nut, Hex
18-8SS, Helicoil 1/4", Helicoil, SS #10-24, SS 1/4-20, SS
Part #024001 Part #024000 Part #025003 Part #025000
INSTALLATION (For ease of installation it is suggested that the wheel be removed)
1. Before you install your Mud Flap Set, see the diagram and parts list for all necessary parts. Start on the driver’s
side.
2. Remove the three factory screws from the inner fender well, and one factory screw from the bottom side of the
fender in order to remove the factory guard.
3. Reinstall the factory screw in the bottom of the fender.
4. Install hole #1 on “L”bracket on mud flap hole #2 using a cap screw (014073) and flat washer (018069), and
secure with a flat washer (018069), lock washer (024000), and hex nut (025000).
5. Install mud flap holes #3 to #5 to the factory fender holes using a screw (010027) and washer (018072).
Loosely secure at this time.
6. Using a bubble level or square, ensure that the flap is square.
7. Tighten all fasteners.
8. Clamp the “L”bracket to the factory liner as shown in the installation video, and drill a ¼” hole through each of
the holes in the bracket into the factory liner.
9. Install the bracket through hole #6 to the liner using a machine screw (012022) and washer (018018), and
secure using a washer (018018), lock washer (024001) and hex nut (025003). Remove vice grips and repeat
the procedure for hole #7.
10. Repeat procedure for the passenger side.
Please check out our YouTube channel to see an install video for this application.
1
2
3
4
5
6
7
2005-2020 Nissan Frontier
Mud Flap Set, Rear
Mounting Diagram & Instructions
Kit# GCR53R
IMPORTANT:
Manufacturer is not responsible for negligent use of vehicle with mud flaps installed, including
over-tightening of screws and bolts causing damage to vehicle or mud flaps.
TOOLS REQUIRED-
Electric or Rechargeable ¼”Drill 7/16” Open Wrench or Phillips Head Push Pin
Drill Bit Socket Wrench Bit Removal Tool
FLAPS
(1)Flap Assembly, (1)Flap Assembly
Rear, DS Rear, PS
PARTS BAG # 768190
a) (8) Washer, Flat b) (6) Screw,SM c) (4) Capscrew d) (6) Washer, Flat
0.281" x 1",Blk Oxid. #10-12 x 1-1/4”, SS ¼”x20 x 1”, Blk Oxid. 0.203”x 1”Blk Oxid.
Part #018069 Part # 010027 Part #014073 Part #018070
e) (4) Nut, Hex f) (4) Washer, Lock g) (2) Brace
¼-20, SS Helicoil, SS Rear
Part # 025000 Part #024000 Part #768188
INSTALLATION (For ease of installation it is suggested that the wheel be removed)
1. Before you install your Mud Flap Set, see the diagram and parts list for all necessary parts. Start on driver’s side.
2. Remove the factory screws and push pin from the inner wheel well, and the underside of the fender.
3. Remove the factory guard.
3. Reinstall the factory screw on the underside of the fender.
4. Install the bracket hole #1 through mud flap hole #2 using a capscrew (014073) and flat washer (018069), and
secure using a flat washer (018069), lock washer (024000), and hex nut (025000).
5. Install the bracket through hole #3 to the inner most factory hole using a capscrew (014073) and flat washer
(018069) and secure using a flat washer (018069), lock washer (024000), and hex nut (025000).
6. Secure mud flap holes #4 to #6 to factory fender holes using a sheet metal screw (010027) and flat washer
(018070).
7. Using a bubble level or square, ensure that the flap is square.
8. Secure all fasteners.
9. Repeat procedure for the passenger’s side.
Please check out our YouTube channel to see an install video for this application.
1
2
3
4
5
6

Other Gatorback Mudflaps Automobile Accessories manuals

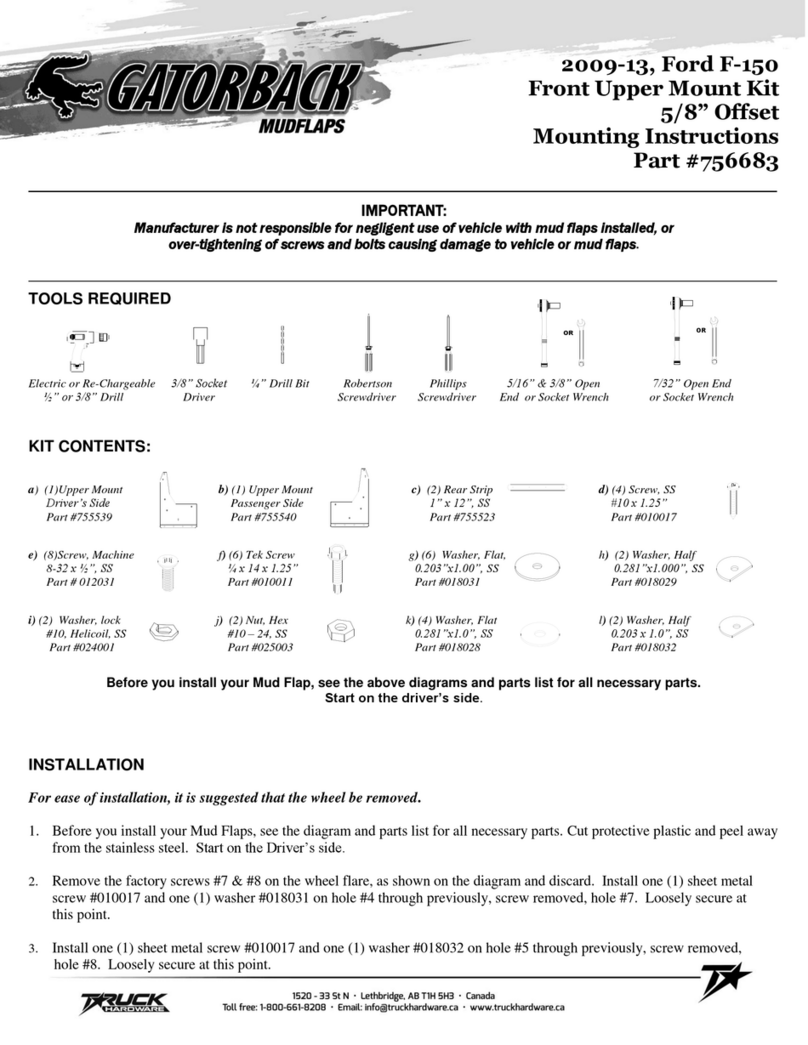
Gatorback Mudflaps 756683 User manual

Gatorback Mudflaps

Gatorback Mudflaps 756683 User manual

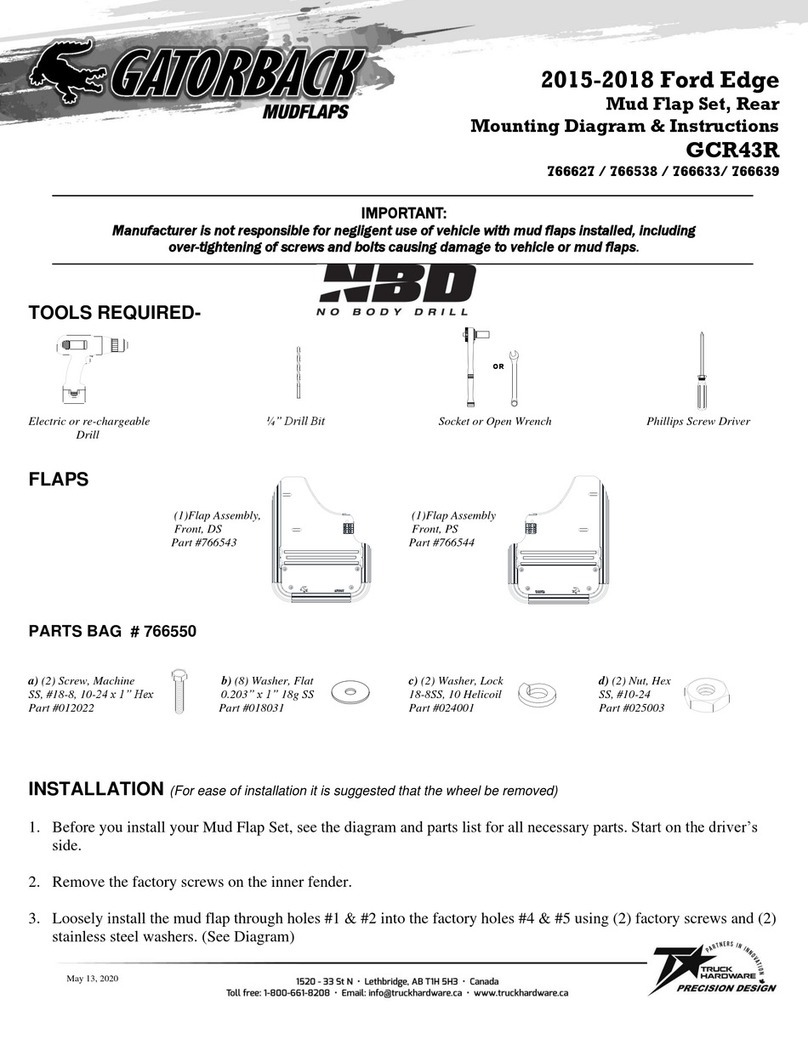
Gatorback Mudflaps GCR43R Guide

Gatorback Mudflaps

Gatorback Mudflaps GCR43R Guide

Gatorback Mudflaps GCR31F Guide

Gatorback Mudflaps

Gatorback Mudflaps GCR31F Guide

Popular Automobile Accessories manuals by other brands

Phoenix Gold Bass Cube 2.0 user manual

Phoenix Gold

Phoenix Gold Bass Cube 2.0 user manual

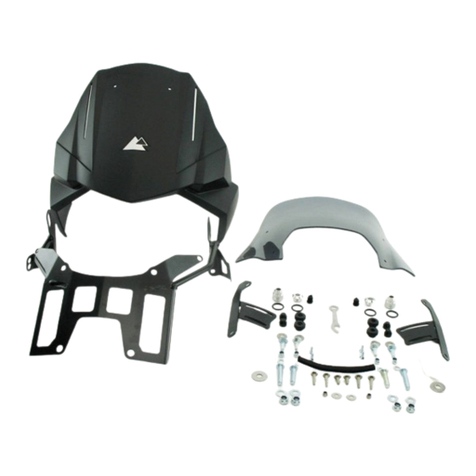
Touratech Desierto F Installation instruction

Touratech

Touratech Desierto F Installation instruction

Kodak UC111 quick start guide

Kodak

Kodak UC111 quick start guide

RSI XL TOOLBOX TUV SPEC Assembly instructions

RSI

RSI XL TOOLBOX TUV SPEC Assembly instructions

Whispbar K381W Fitting instructions

Whispbar

Whispbar K381W Fitting instructions

Metra Electronics DP-3002B installation instructions

Metra Electronics

Metra Electronics DP-3002B installation instructions

Safe Fleet Prime Design FBM-1063 manual

Safe Fleet

Safe Fleet Prime Design FBM-1063 manual

CrimeStopper SV-9000 installation manual

CrimeStopper

CrimeStopper SV-9000 installation manual

soulsens innovation BC58 manual

soulsens innovation

soulsens innovation BC58 manual

Havis PT-A-502 Install instructions

Havis

Havis PT-A-502 Install instructions

Directechs DB3 installation guide

Directechs

Directechs DB3 installation guide

Directed DS4+ installation guide

Directed

Directed DS4+ installation guide

Car-Interface.com r.LiNK manual

Car-Interface.com

Car-Interface.com r.LiNK manual

Havis C-DMM-3015 installation instructions

Havis

Havis C-DMM-3015 installation instructions

Whelen Engineering Company Century ECE Class 1 installation guide

Whelen Engineering Company

Whelen Engineering Company Century ECE Class 1 installation guide

Clarion CC-1030E installation manual

Clarion

Clarion CC-1030E installation manual

Tachosys Digifobpro user guide

Tachosys

Tachosys Digifobpro user guide

Bestop 29284 installation instructions

Bestop

Bestop 29284 installation instructions

manuals.online logo
manuals.online logoBrands
  • About & Mission
  • Contact us
  • Privacy Policy
  • Terms and Conditions

Copyright 2025 Manuals.Online. All Rights Reserved.