Gaupu GM7-EH User manual

User Manual
1
GM7-EH Heating Thermostat
I Overview
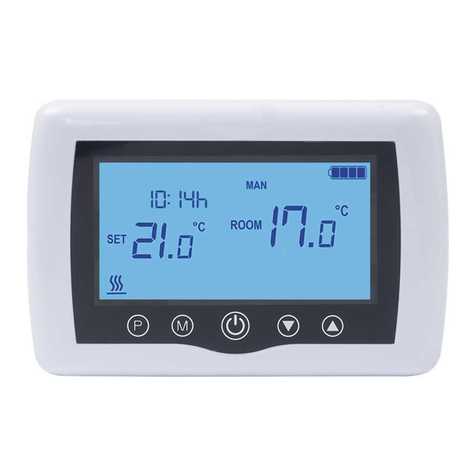
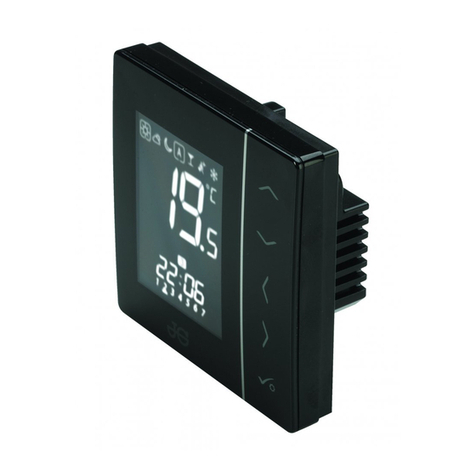
GM7-EH is mainly used for control the heating device, the contact rating is 16A. The product uses a new
attractive appearance, exquisite tempered glass panels, touch keys, flexible application and easy to operate.
II Parameters
III Installation Instructions
Caution:
1. Before doing the wiring installation considerations, disconnect all power to avoid the equipment burning
out.
2. Product installation needs professionals in accordance with the instructions to operate.
3.1 Wiring Diagram
Electrical Heating
3.2 Installation Instructions
1. To separate the panel and power board by force and then
wiring the power board according to the wiring diagram.
2. Fix the power board in the European Style mounting box.
3. Align the pin of panel and the slot of the power board ,
then push the panel into the power board
until it snaps into the place.
IV Function Instruction
Item
Description
Item
Description
Power Supply
AC220V±10﹪50/60HZ
Self Consumption
≤1W
Housing Material
Tempered glass +PC Alloy
Sensing Element
NTC15K
Hole Pitch
60*60mm(European Installation)
Wiring
Terminals
Dimensions
86*86*15mm
Temperature Range
5-37℃(41-98℉)
Net Weight
185g
Working Condition
0~50℃0-90%RH No dew

User Manual
2
Function of the Buttons
S1: Local time/Time-periods parameter setting
/Confirmation key
S2: Vacation mode /Temperature Unit switchover /Back
shortcut key
S3: ON/OFF/Mode switchover/Toggle key
S4: Parameter up button/Current
temperature setting key
S5: Parameter down button/Current
temperature setting key
V Operation Instruction
5.1 ON/OFF Settings
After the device finish wiring and power on, enter the off state by default, display the word OFF, and all outputs are
forced off. Short press S3 button to enter into the ON/OFF settings. When turned the device on, it will display the
current week, local time, working mode, current temperature, output status and other information,
5.2 Switch the Temperature Unit (℃/℉)
In the normal working interface, long press S2 button to switch the temperature unit between ℃and ℉.
5.3 Chang the Setting Temperature
In the normal working state, press S4 or S5 button to enter into the temperature setting interface , the setting range
is 5-37℃。The values could be adjusted by S4 or S5 button, press S3 button or delay 8 seconds without key
operation will automatically return to normal working interface.
Under manual mode,when adjust the temperature according to the steps above, the setting temperature will be
saved until next change.
Under vacation mode,when adjust the temperature according to the steps above, the setting temperature will be
saved until this mode is off.
5.4 Control Instruction
GM7-EH:
1. When the indoor temperature < setting temperature -1.5 ℃, the device is on and display the output
icon.
2. When the indoor temperature ≥ setting temperature, the device is off and the output icon disappears.
5.5 Manual/Auto Mode Settings
Press S3 button to select between manual mode and auto mode,choose the desired mode then delay for 3s
it will confirmed automatically.

User Manual
3
Under auto mode, the equipment will be controlled by the thermostat in accordance with the temperature of
the time period that set in advance.
Under manual mode, the equipment will be controlled by the thermostat in accordance with the setting
temperature of manual mode.
5.6 Vacation Mode Settings
In normal working interface, if the vacation mode is off, short press S2 button to enter into the temperature settings
of vacation mode, the default setting temperature: 10 ℃, setting range :0-99 ℃. Press S4 or S5 button to set
temperature, when the setting is complete , press S3 button or delay for 8 seconds without key operation will
automatically return to normal operation interface, then the interface displays vacation mode icon, which means
the device will be controlled in accordance with the vacation mode operation.
In normal working interface, if the vacation mode is turned on, short press S2 button will be remove vacation mode
and resume normal work, vacation mode icon will disappear.
5.7 Local Time Settings
1. In normal working interface, long press S1 button to enter into the local time settings interface.
2. In local time setting interface, the value of week, hour, minute could be set by S4 and S5 buttons, the
setting item of week, hour and minute could be switched by S3 button.
3. After finish local time setting, press S1 button or delay for 8 seconds without key operation will
automatically return to normal operation interface.
5.8 Time Period Settings of Auto Mode
1.In normal working interface, short press S1 button to enter the time periods setting interface.
2. Firstly, setting the 4 time periods of Monday.
3. In time period parameter settings interface, the following parameters can be set: Hours, Minutes, Setting
Temperatures; by S4 and S5 button to set the parameter values for the time period, press S3 button to switch
the current settable items.
4. After finished the setting of the first time periods of Monday, press S3 button switch to the second period
parameter setting interface.
5. After setting the four period parameters of Monday follow the steps 2 - 4 in turn, press S1 button to switch
to Tuesday's four period parameter setting.
6. After setting all the period parameters of one week follow the steps 2 - 5 in turn, press S1 or S2 button to
confirm the value or delay for 8 seconds without key operation, it will return to the normal working and the
value will be confirmed automatically. The equipment will operate accordance with the new parameters.
Following is the Factory Default Parameters of Time Period:
5.9 High Temperature Protection
When the temperature that detected by the sensor is higher than 55℃, the icon of high temperature
protection will displayed on the screen, and the heating device will be forced to turn off.
When the temperature that detected by the sensor is lower than 50℃, the device will return to normal
Week\Time Period
First Time Period
Second Time Period
Third Time Period
Fourth Time Period
Monday~Friday
5:00 18℃
7:00 16℃
16:00 22℃
21:00 16℃
Saturday~Sunday
6:00 18℃
8:00 16℃
16:00 22℃
21:00 16℃

User Manual
4
working state.
5.10 Anti-freeze Protection( Optional):
Under the state of shutdown:
1. When the temperature that detected by the inner sensor ≤5℃, the function of anti-freeze protection will
be turned on, and forced to turn on the heating device, anti-freeze protection icon displayed.
2. When the temperature that detected by the inner sensor >8℃, the function of anti-freeze protection
will be turned off and return to normal working, anti-freeze icon disappeared.
VI Shortcut Menu Settings
Under the state of shutdown, long press S1+S5 buttons to enter into the parameters setting interface of Secret
Menu, input the password 5138 by S4 or S5 button, then press S3 to confirm the switchover and enter into the
Menu Parameters Setting interface.
The following table is the detailed information of the parameters:
Parameters
No.
Meaning of the
Parameters
Default Value
Setting Range
Notes
P00
Factory Reset
Displayed 53,
Password 55
00—99
Changed it to 55 and press S3 to
restore factory defaults.
P01
Set the upper
temperature limit
37℃(98℉)
00—99.5℃
(32-211℉)
When finished the setting,be
sure that the upper limit > lower
limit
P02
Set the lower
temperature limit
5℃(41℉)
00—99.5℃
(32-211℉)
When finished the setting,be
sure that the upper limit > lower
limit
P03
Reserved
99.5℃
00-99℃
Reserved
P04
Reserved
00℃
00—99℃
Reserved
P05
Temperature backlash
is ON.
1.5℃(3℉)
0—10℃(0-20℉)
P06
Temperature backlash
is OFF.
0℃
0—10℃(0-20℉)
P07
ON/OFF of anti-freeze
protection function
OF
ON—OF
=ON means anti-freeze
protection function is ON,=OF
means anti-freeze protection
function is OFF.
P08
Temperature value
when the anti-freeze
protection is ON
5℃(41℉)
0—10℃(32-50℉)
P09
Temperature value
when the anti-freeze
protection is OFF
8℃(46℉)
0—10℃(32-50℉)
P10
Temperature of High
55℃(131℉)
0--99℃(32-211℉)
=0 means High Temperature

User Manual
5
Temperature
Protection
Protection is OFF
P11
Data storage when
power failure
2
0--2
=0 means the device is OFF when
power on,=1 means the device is
ON when power on,=2 means
data storage when power failure
P12
Reserved
0
0--3
Invalid
P13
Temperature
Calibration
0
-5--+5℃(-10--10℉)
P14
Reserved
OF
ON-OF
Invalid
P15
ON/OFF of the energy
saving mode of
backlight
OF
ON-OF
ON means the energy saving
mode is ON,=OF means the
energy saving mode is OFF
P16
Reserved
0
0--3
Invalid
P17
State of ℃and ℉
0
0--1
=0 means the temperature unit
is ℃;=1 means the temperature
unit is ℉


