– 3 –
5HDGDOOLQVWUXFWLRQVEHIRUHXVLQJ
WKLVDSSOLDQFH:KHQXVLQJHOHFWULFDO
DSSOLDQFHVEDVLFVDIHW\SUHFDXWLRQV
VKRXOGEHIROORZHGLQFOXGLQJWKH
IROORZLQJ
5HDGDQGIROORZWKHVSHFLILFSUHFDXWLRQVLQ
WKH3UHFDXWLRQVWR$YRLG3RVVLEOH([SRVXUH
WR([FHVVLYH0LFURZDYH(QHUJ\VHFWLRQ
DERYH
7KLVDSSOLDQFHPXVWEHJURXQGHG&RQQHFW
RQO\WRDSURSHUO\JURXQGHGRXWOHW6HHWKH
*URXQGLQJ,QVWUXFWLRQVVHFWLRQRQSDJH
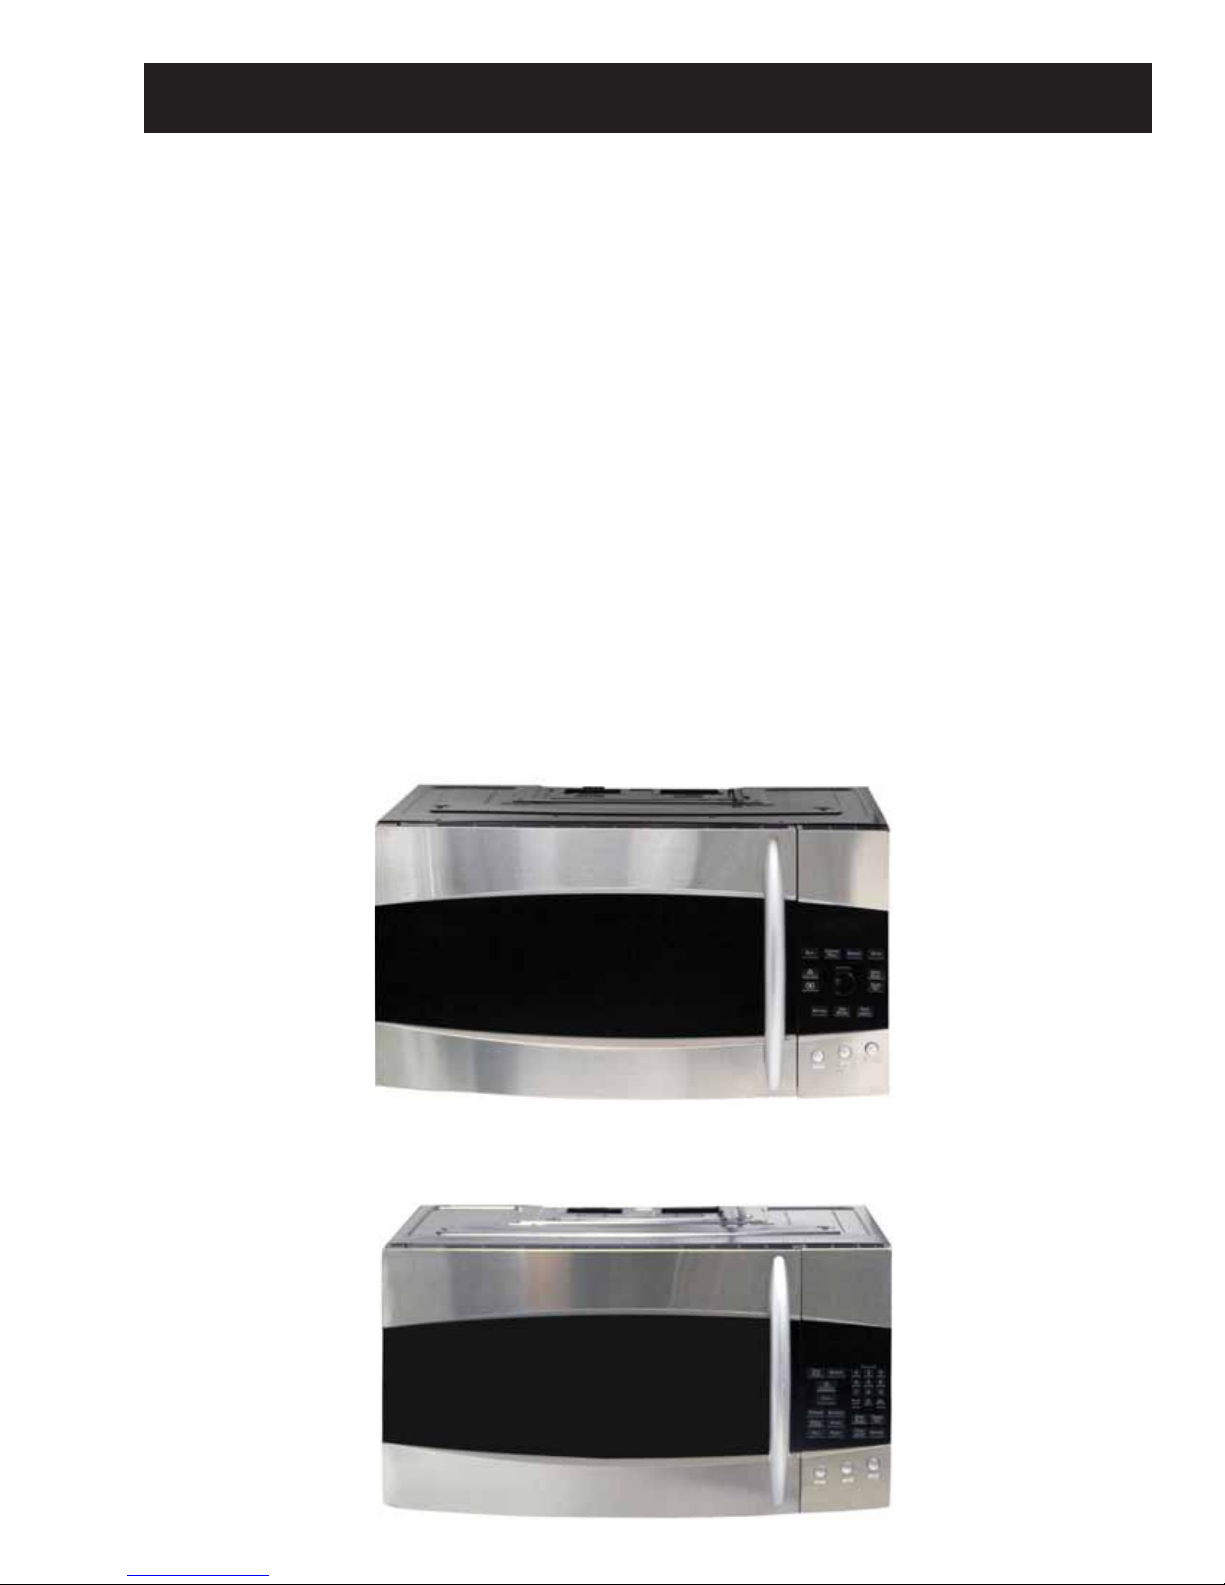
7KLVPLFURZDYHRYHQLV8/OLVWHGIRU
LQVWDOODWLRQRYHUERWKJDVOHVVWKDQ
%78DQGHOHFWULFUDQJHV
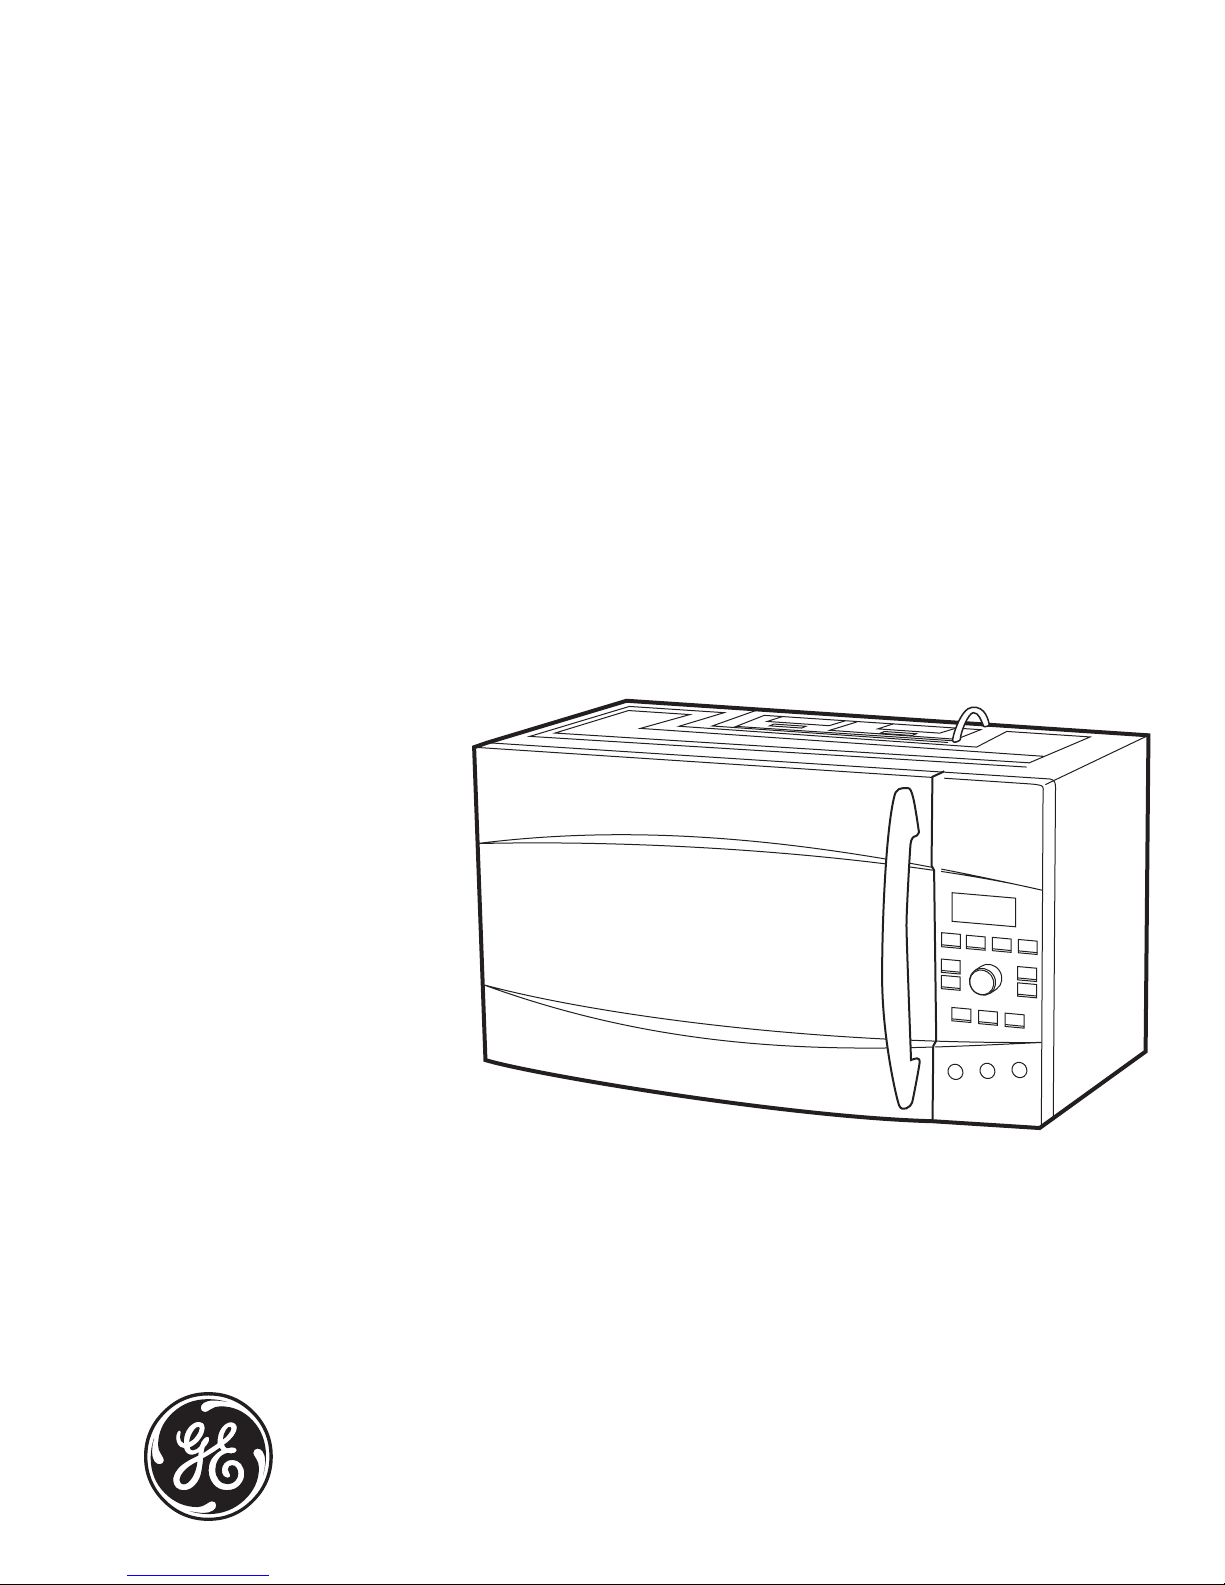
7KLVRYHUWKHUDQJHRYHQLVGHVLJQHGIRUXVH
RYHUUDQJHVQRZLGHUWKDQs,WPD\EH
LQVWDOOHGRYHUERWKJDVDQGHOHFWULFFRRNLQJ
HTXLSPHQW
'RQRWRSHUDWHWKLVDSSOLDQFHLILWKDVD
GDPDJHGSRZHUFRUGRUSOXJLILWLVQRW
ZRUNLQJSURSHUO\RULILWKDVEHHQGDPDJHG
RUGURSSHG,IWKHSRZHUFRUGLVGDPDJHGLW
PXVWEHUHSODFHGE\*HQHUDO(OHFWULF6HUYLFH
RUDQDXWKRUL]HGVHUYLFHDJHQWXVLQJD
SRZHUFRUGDYDLODEOHIURP*HQHUDO(OHFWULF
,QVWDOORUORFDWHWKLVDSSOLDQFHRQO\LQ
DFFRUGDQFHZLWKWKHSURYLGHGLQVWDOODWLRQ
LQVWUXFWLRQV
'RQRWFOHDQZLWKPHWDOVFRXULQJSDGV
3LHFHVFDQEXUQRIIWKHSDGDQGWRXFK
HOHFWULFDOSDUWVLQYROYLQJULVNRIHOHFWULF
VKRFN
7RUHGXFHWKHULVNRIEXUQVHOHFWULFVKRFNILUHLQMXU\WRSHUVRQV
RUH[SRVXUHWRH[FHVVLYHPLFURZDYHHQHUJ\
:$51,1*
35(&$87,21672$92,'3266,%/((;32685(
72(;&(66,9(0,&52:$9((1(5*<
D 'R1RW$WWHPSW WRRSHUDWHWKLV
RYHQZLWKWKHGRRURSHQVLQFHRSHQ
GRRURSHUDWLRQFDQUHVXOWLQKDUPIXO
H[SRVXUHWRPLFURZDYHHQHUJ\,WLV
LPSRUWDQWQRWWRGHIHDWRUWDPSHU
ZLWKWKHVDIHW\LQWHUORFNV
E 'R1RW3ODFH DQ\REMHFWEHWZHHQ
WKHRYHQIURQWIDFHDQGWKHGRRU
RUDOORZVRLORUFOHDQHUUHVLGXHWR
DFFXPXODWHRQVHDOLQJVXUIDFHV
F 'R1RW2SHUDWH WKHRYHQLILWLV
GDPDJHG,WLVSDUWLFXODUO\LPSRUWDQW
WKDWWKHRYHQGRRUFORVHSURSHUO\
DQGWKDWWKHUHLVQRGDPDJHWRWKH
GRRUEHQW
KLQJHVDQGODWFKHV
EURNHQRUORRVHQHG
GRRUVHDOVDQGVHDOLQJVXUIDFHV
G 7KH2YHQ6KRXOG1RW EHDGMXVWHG
RUUHSDLUHGE\DQ\RQHH[FHSW
SURSHUO\TXDOLILHGVHUYLFHSHUVRQQHO
,03257$176$)(7<,16758&7,216
5($'$//,16758&7,216%()25(86,1*
:KHQXVLQJHOHFWULFDODSSOLDQFHVEDVLFVDIHW\SUHFDXWLRQVVKRXOGEHIROORZHG
LQFOXGLQJWKHIROORZLQJ
7KLVPLFURZDYHRYHQLV8/OLVWHGIRU
LQVWDOODWLRQRYHUERWKJDVOHVVWKDQ
%78DQGHOHFWULFUDQJHV
7KLVRYHUWKHUDQJHRYHQLVGHVLJQHGIRUXVH
RYHUUDQJHVQRZLGHUWKDQs,WPD\EH
LQVWDOOHGRYHUERWKJDVDQGHOHFWULFFRRNLQJ
HTXLSPHQW


M Service manual")