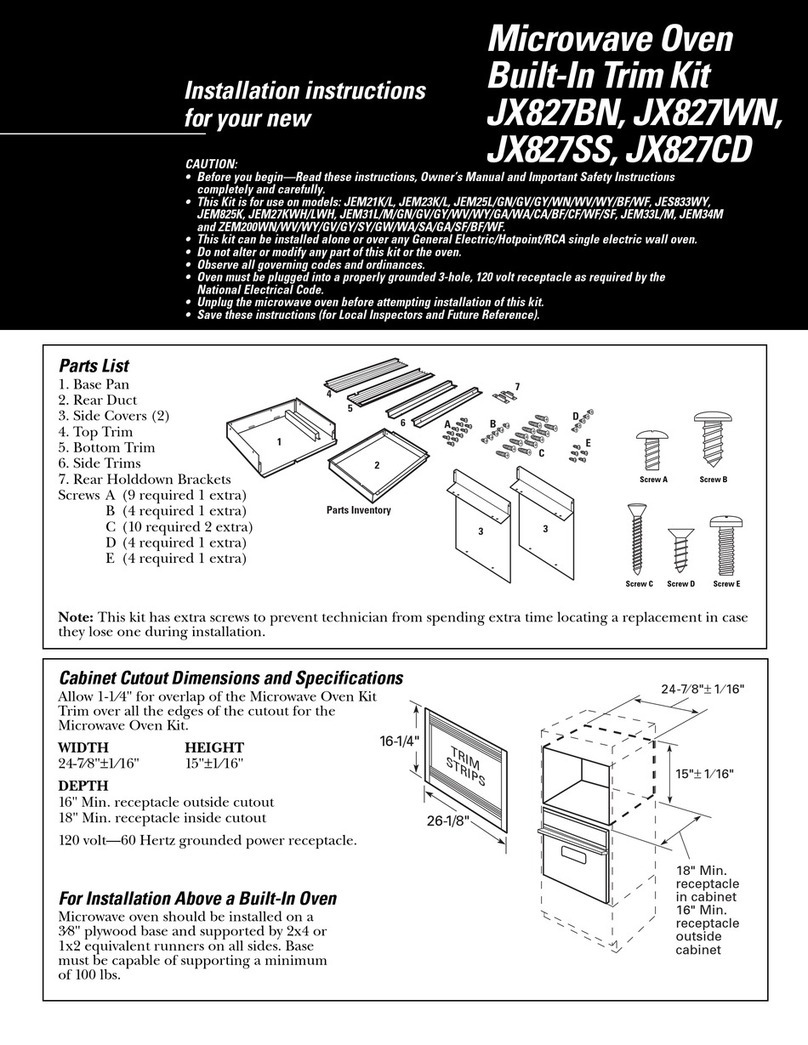
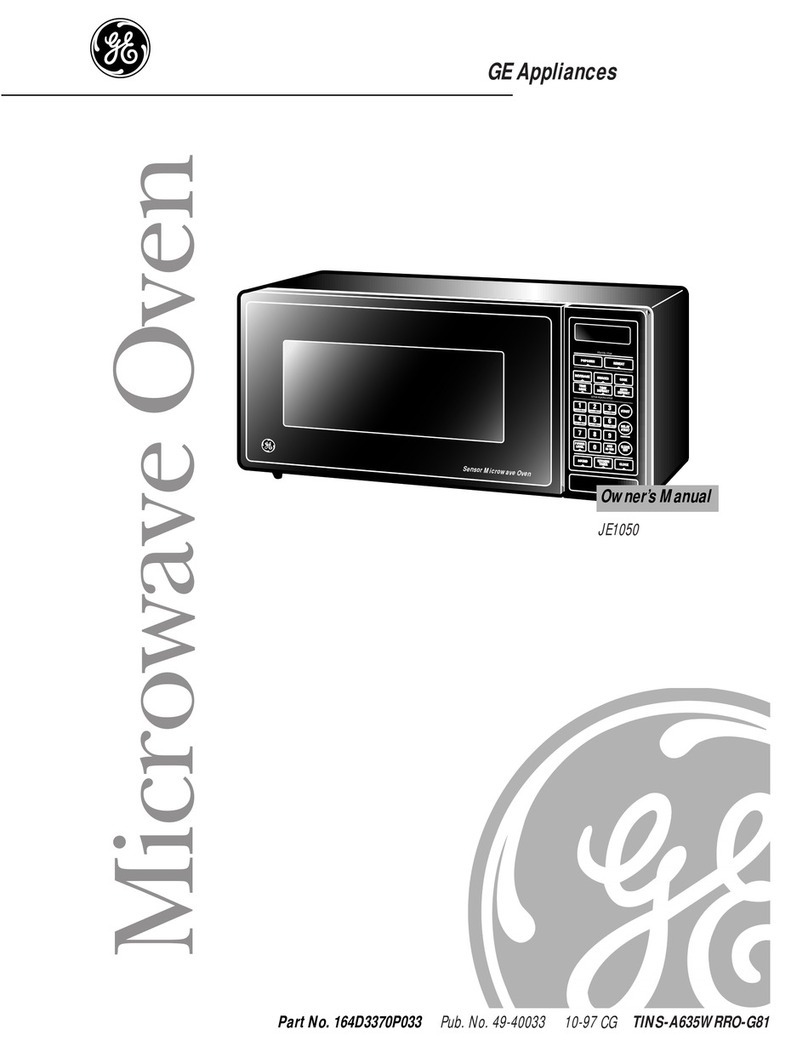
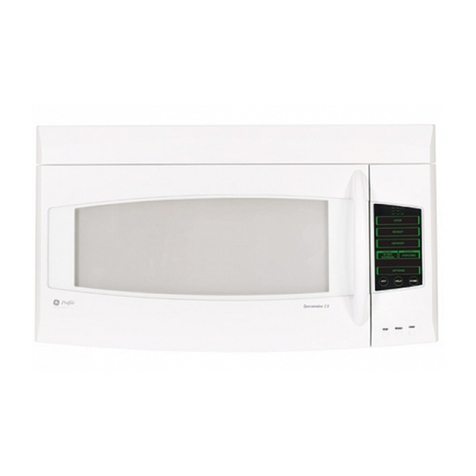
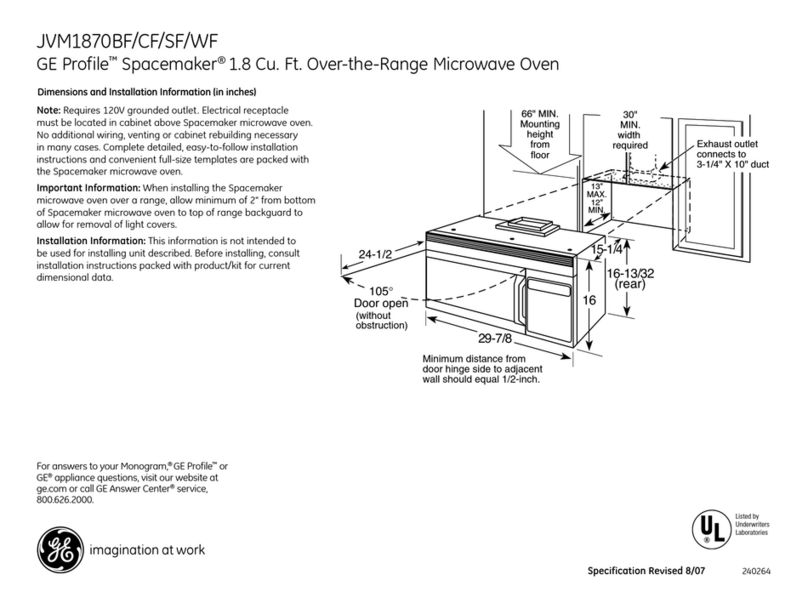
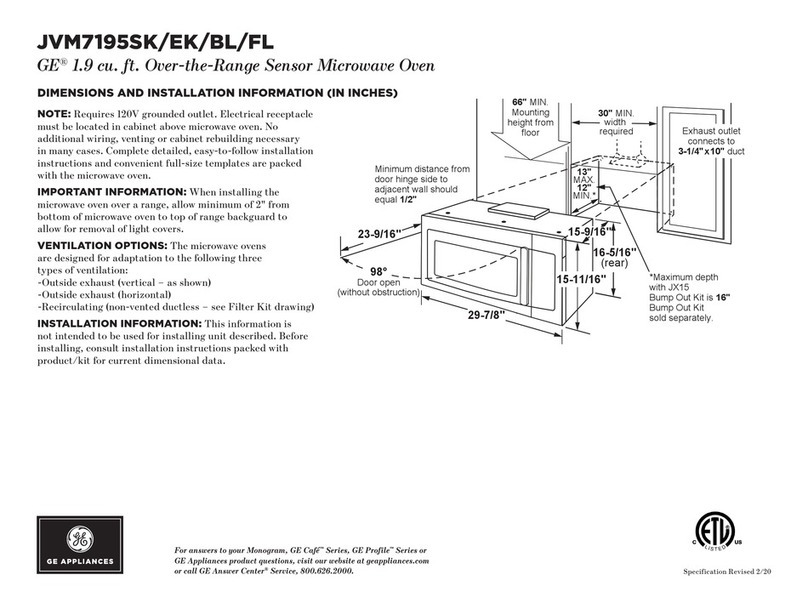
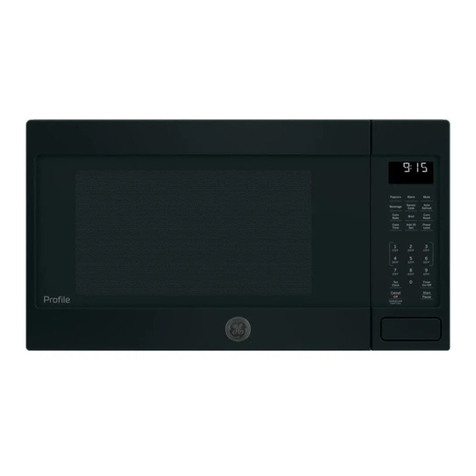
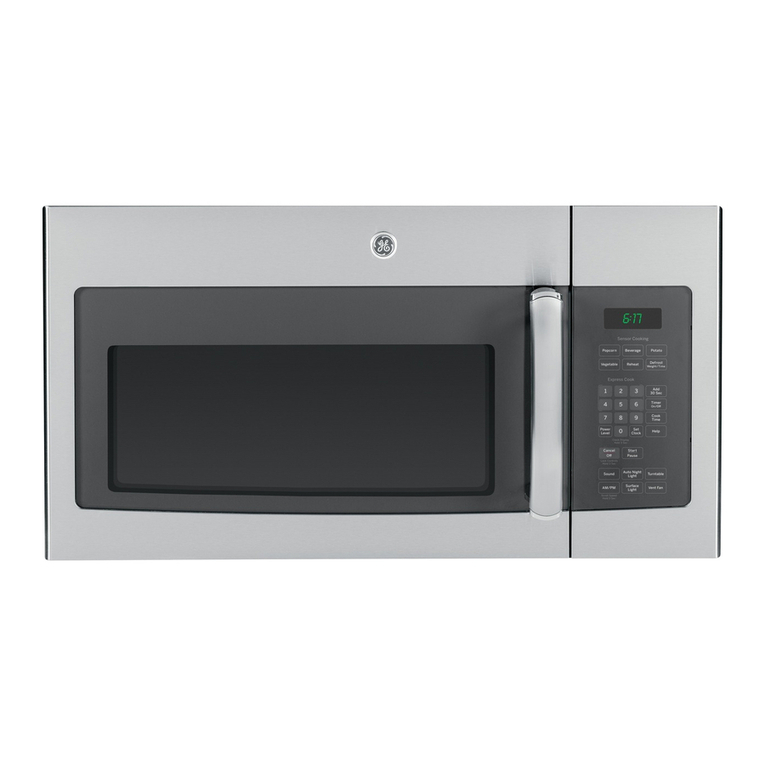
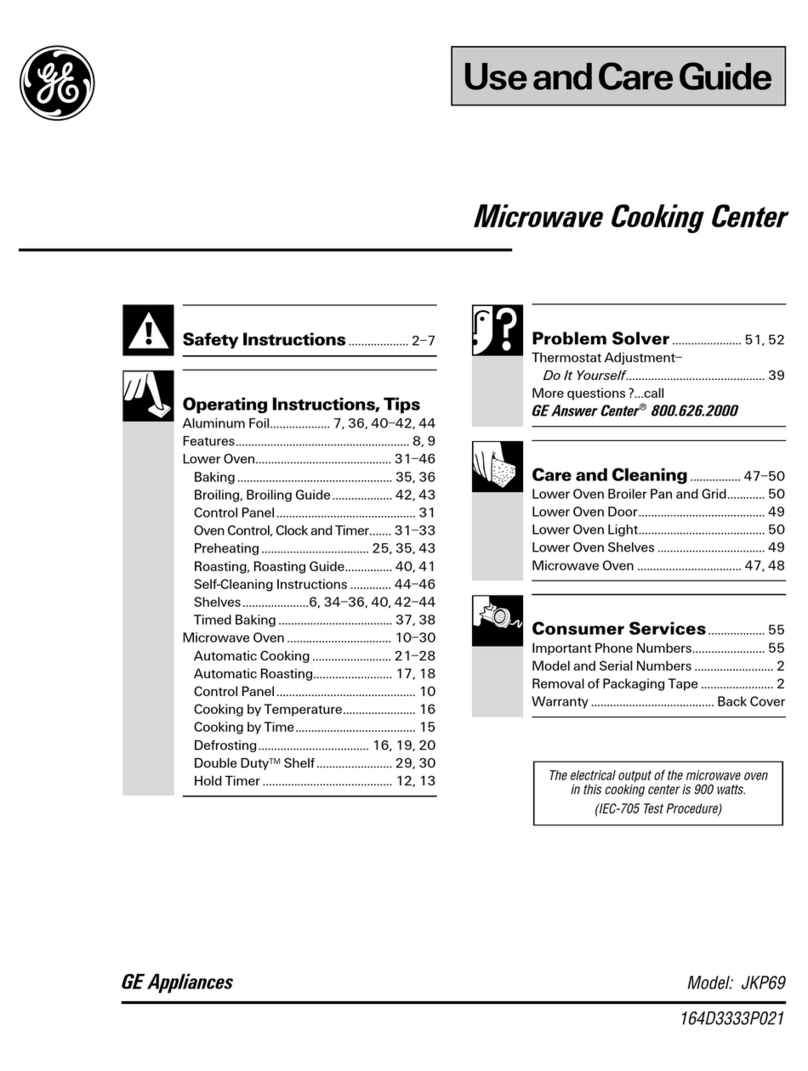
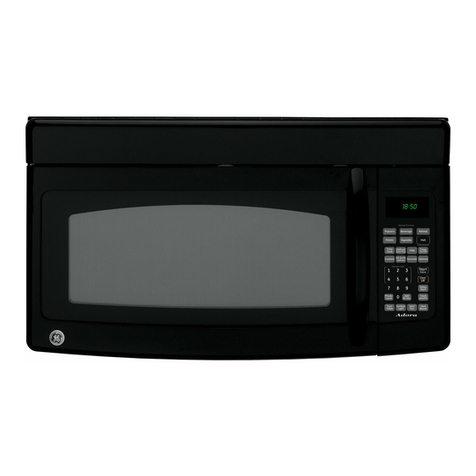
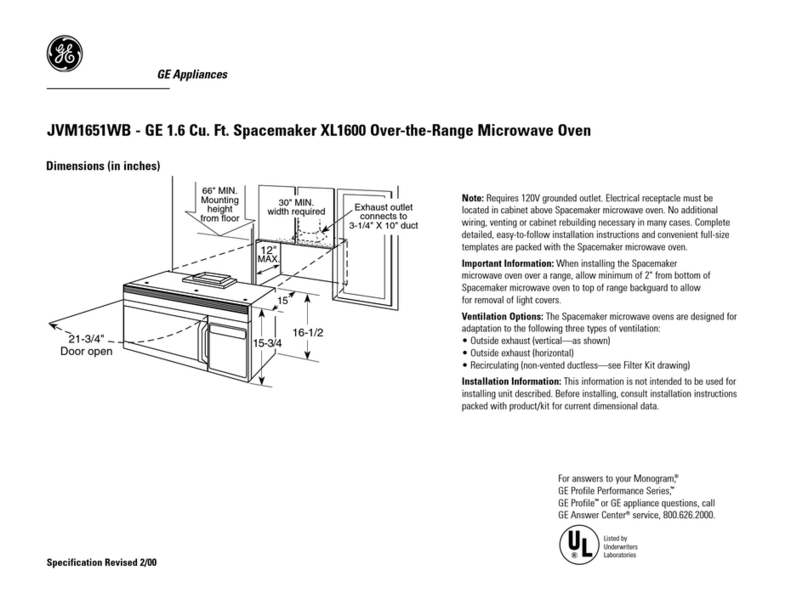
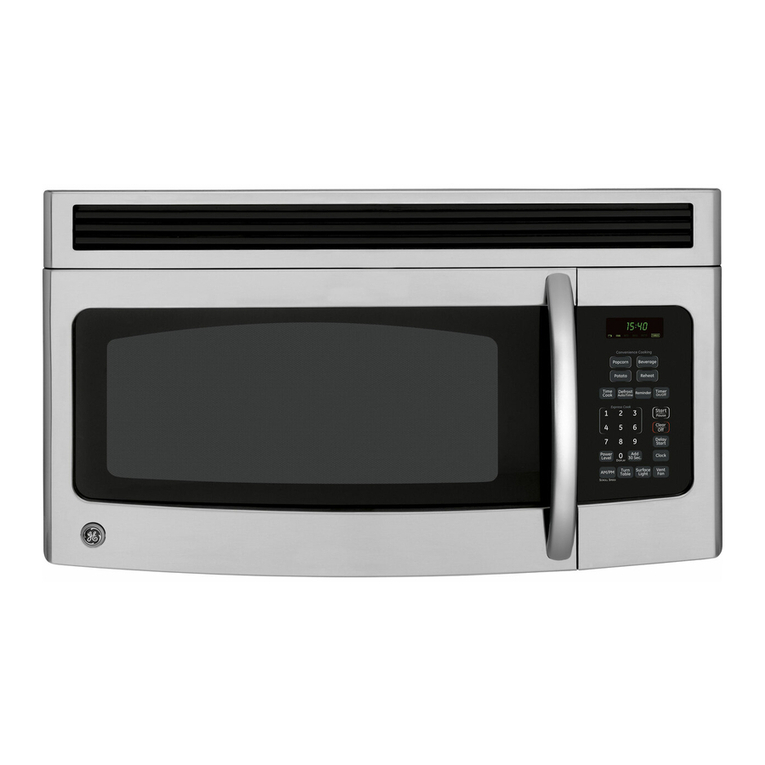
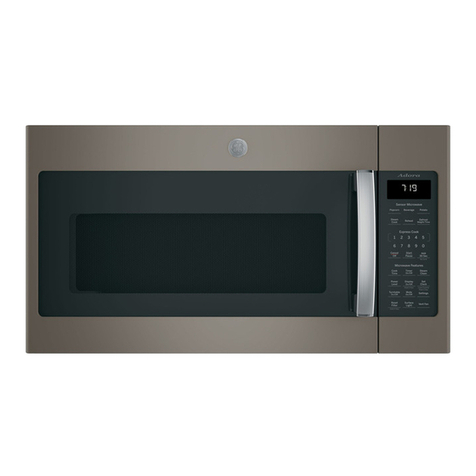
GE JES1855 User manual

49 40351} vO5 6/18/03 22:54 _2! Page 2 _
vvvvw.GEAppliances.com
©
©
°_,,q
/
/÷
164D3370P283 49-40353 06-03 JR
+

49 48353 v@5 6/18/03 11:55 _ Page 2 +
IMPORTANTSAFETYINFORMAtiON.
READALLINSTRUCtiONSBEFOREUSING.
PRECAUtiONSTOAVOID
POSSIBLEEXPOSURETO
EXCESSIVEMICROWAVEENERGY
[] Do Not Attempt to operat(
this o_en witt_ the door opel_
siiK:( ope11-door O}_eI'H_Oll
cm _s@t in hmnfid
expost/l'e to !_li(;B_Wa'_ e
enelg}. ][t is ll//_}O/'{2HH 1!O1
to de[bat or tamper with
the sa[bw intedocks.
[] O0 Not Plaee m_y o!_iect
between the o\en [i'ol)t
[hce a_K] tlle doo_ or dlow
soil or cleaner residtle to
aC(xlinilIate o!_ sea]ing
S/11 {ilces,
@ Oo Not Operate @e o_cn i{ i_
is damaged. [t is par_ic@ally
iln[x)rtant that the oR,n door
dose p_xpe_ly elK/ that theR
is l_o damage to tile:
ET] doo_" (bern),
[_] hil'_g('s elK1 [ IKt_(S
([)loke_/of ]oos(_]_ed),
] dl)ot" s( _)]s _]1(] s( _]l]/g
S/lt'[iKies,
@The Oven ShouidNot
be @i_sted or repaired b}
m_pne except i)rop(_[
WARNING!
Toreduce therisk ofburns,fire, electric shock, injuryto
persons,or exposure toexcessive microwave energy,
follow basicprecautions, including the following,
SAFETYPRECAUTIONS
When using electrical appliances basic safety
precautions should be followed, including the following:
[] Read and ti>IIo_x the specitic
prec rations in the Precautions
to Avoid Posdbte Exposure to
Excessive Microwave Enerqy
s((don _bo_(..
gromK/ed. ( om_ect only
to a properly gTOmK/ed
omIet. S(e the Grouna'ing
instructions secdon on page &
@ Install or loc _tethis appliance
O!IJV il! AccordAllce With
the pro_ded [ns_aJ[ @o_
[nstr,._ctJo_:,s.
Be certain to place the h'om
S_/!'[iK{, 5)[ the door th/'ee
ill( lies or !_lore back Ji'ol!_
the l ountertop e(]g-e _o ax_}id
accidema[ tipping o[" the
atplkmce h_ _K_rmal usage.

49 48353 v@5 6/18/03 11:55 _ Page 3 +
Use this appfiance only for its intended purpose as described in this
Owner's Manual.
This micro_\ e o\en is not at)t)roved
or tested t6r ma)Jne use.
Do not mount this appliance o\er
a sink.
•Do not let power cord hang o_'r
edge el {able or (araraT.
•"Ib red uce file risk of {ire in the
OVell C_IVi IN:
•Do I/O1 l//O/ll/t the iilicYow_l_e o_ell
over or I/e_tr _t11} portiOll of a heatil/g
or cooking appliance.
•Do not store amdhing directly on toI)
o{' Ill(' ]//i(l?OW_l\ e o\ell Stll?{[t( e vvl/ell
the |//i(l'OW_lVe OVell is ill ope)?_ttioI/.
•Do not openue this appliance if it has
a damaged power cord or plug, if it is
Dot working 1)lx)l)efl}. or if it has been
damaged or dropl)ed.
•Do not cover or block any openings
on the appliance.
•[lse this appliance only t6r its
intended use as described in this
llHtl//lal. Do I/at rise corrosi_ +
chemicals or vapors in this al)plim]ce.
This micro_l\ e o\en is specit]cally
designed to heat, dry' or cook toad,
and is not intended {or labor_:ttorv
or industrial use.
Do not store this appliance outdoors.
Do not use this 1)Ix)duct near wate+--
{'or exmnple, in a wet basement,
near a swimming pool, near a sink
or in similar locations.
Keep poWeF ('()Ill _tW;4"_ {i'Ol// heated
S/ll?_ces+
Do I/at i]//]/lel'se power cord or
plug in watel:
--I)o not (wer(ook Jood. Carefllllv
attend appliance when paper, plasti(
or other confl)/tstible materials are
placed inside the o\en while cooking.
-- Remo_' wire twist-ties and metal
handles ti'om paper or 1)lastk
containers be/ore placing them
ill the ()\el/.
--Do not use the (well lot stonlge
puq)oses. Do not lea\ e paper
plx)ducts, cooking utensils or load
in the o\en when not in use.
--lJ materials inside the oven ig_fite,
kee t) the oven door closed, tttru, the
ovell Off _tl/d discollllect the t)ower
cord, or shut off power at the filse or
circuit breaker panel. It the door is
opened, the {ire may spread.
--Do not use the Sensor Features
twice ill S/ICcessioI/Ol/ the S+ll//e load
portion, l/tbod is under(ooked atter
the first countdown, use 77meCook
{or additional cooking time.
•See door surlil(e deaning instru(tions
in the Care and cleaning of the
microwave oven s( (lion of"this HmI//lal.
•GE does not supl)ort m]y se)Mcing
of tile mi(rowave. We strongly
recolIllIlelld their vail do liar _lttel//pt
to service the lilicr()w_,_' VOtll'sel]_
•As with any appliance, close
S/lpe)'_isioll is llecessar_ whell
used |)v children.
3
+
49 48353 v@5 6/18/03 11:55 _ Page 4 +
IMPORTANTSAFETYINFORMAtiON.
READALLINSTRUCtiONSBEFOREUSING.
WARNING!
ARCING
If you see arcing, press the CLEAR/OFFpad and correct
the problem.
Ar(illg is the H/i(row+l\ e t('l'lll • MetM, stt¢tl a_, twist-ties,
h)r sparks in tile o_vn..\rcing pouhry pins, or gold-rimmed
is caused 1_: dishes, in the microwave.
• Metal or foil touching die
side O] the o'_en.
• Foil not moMed to tood
(upttu:ned edges act like
al ltelll litS) +
• Re(vded paper towels
(ontaining small metal pie(es
being used in the mi(rowaxe+
FOODS
• Do not pop t)opcom in your
IIIiCI'OW;4_+/' o_+/'n /lllless ill a
special l//icrow_lve l)Ollcorn
accessory or mfless you use
popcorn labeled/or use in
IlIiCI'OW_Ive ovens.
• Some products such as
whole eggs and sealed
COllt _linet's tor exalnt)le,
closed ,iat's--m'e aMe to
explode m_d should not be
tleated ill this lllicrow_i_x'
()tel/. Stlch use of the
mictx)w_l_e o_en cotfld
result in in jm 7.
• I)o not boil eggs in a
IIIiCI'OWt4Ve o_+en, Pt'esstlre
will lmiM up inside egg yolk
and will cause it to tmrst,
possibly resulting in iqitwy.
• ()t/emting the microwave
with I1o/ood inside/or more
than a II/in/lte or two l//Wv'
cause dmnage to the oven
m_d could start a fire.
It increases the heat arotmd
the magnetron and can
shorten the li/e of the oven.
• Foods with tmbroken outer
"skin" such as potatoes, hot
dogs, smlsages, tommoes,
at)ples, chicken li_vrs and
other gdblets, and egg }_)lks
should be pierced to allow
stealIl to escape (filvhlg
cooking.
+

49 48353 v@5 6/18/03 11:55 _ Page 5 +
SUPERHEATEDWATER •
Liquids,suchas water,coffeeor
tea, areable tobe overheated
beyondthe boilingpoint without
appearingtobe boiling.Visible
bubblingor boiling when the
containeris removedfrom the
microwave oven isnot always
presenL THISCOULDRESULT
IN VERYHOTLIQUIDS
SUDDENLYBOILINGOVER
WHENTHECONTAINERIS
DISTURBEDORA SPOONOR •
OTHERUTENSILISINSERTED
INTO THELIQUID.
To red uce tile risk of ilJ:j/lUtt)
persons:
--Dr) not overheat tile liquid.
--Stir the liquid both beR)t'e
and hal[_,'vr;-I} thl;ough
heaung it.
--Do not use smdght-sided
ct)ntaineFs with narrow ne( ks.
--Ariel; heating, allow tile
(ontainer to stand ill tile
lIlicrt)wa_,x • t)_,X'l/ t[)r a Silt)l;[
time betDre removing tile
¢ontaineE
--Use extreme care when
inserting a spoon or ()tiler
utensil into tile container.
•Don't deli'osI/i'ozen
beverages ill narro_v-necked
bottles (especially carbonated
beverages), l{Rm il the
container is opened, pressure
(an build u]). This (an cause
tile (ontainer to burst,
possibly resuhing in i@ury.
A\ oid heating ballv/ood ill
glass.jar.s, eu'n with the lid
otE Make sm'e all inthnt tbod
is thoroughly cooked. Stir
/ood to distribute tile heat
e_,/3/]}. Be cal;eflll to ])re_,/3/I
scalding when warming
/Dnmlla. The container may
/i.'el cooler than tile tDnnula
really is. ,\lwavs lest tile
/bnmlla be/bre ti.'eding
the ballV.
I][ot ]oods and steam c_ln
ca/lse b[Irlls. Be care]ill whell
opening am, comainel;s of
hot/ood, including popcorll
bags, cooking pouches and
boxes. To prevent possible
il/jm 3, dil'ect stemn _I_Vr_lX'
/i'om hands and thce.
1)O not o_'rcook potatoes.
They could dehydrate and
catch tire, causing damage
10 VO/lr (1_,_'11,
Cook meat and pouhry
thoroughl}--lneat to
at least an IN I]£RNAI_
tempel:amre of 160°F
and pouhry to at least an
INTERNAl telilpel:at tire
of 180°E Cooking to these
temperatures usuall} protects
ag_dnst tbodborne illness.

49 48353 v@5 6/18/03 11:55 _ Page 6 +
IMPORTANTSAFETYINFORMAtiON.
READALLINSTRUCtiONSBEFOREUSING.
©WARNING!
MICROWAVE-SAFECOOKWARE
Make sure all cook\val:e Ilsed ill
volll" micl:OW',_ve ovell is s/lit_l)h'
tot lnicrowa_ng. Most glass
casseroles, cooking dishes,
lIle_lS/ll)il/g ClipS, C/ISUclI`(I ClipS,
t)ottery or china (tillllel_waFe
which does not have metallic
trim or glaze widl a metallic
sheell Call be Ilsed. Some
( ookware is labeled "suitable
tor microwa_ng."
•If you at'(' not sure if a dish is
llliCl'o\_",lve-sat(% /lse this test:
Place ill the oven both the
dish you at'(' testing and a
glass measuring CUll filled
with 1 cut)ofwatel--set the
IIleas/llJl/g C/l l) either ill or
next to tile dish. Microwa\ e
30M5 seconds at high. If tile
dish heats, it should not be
used ti)r microwaving.
If the dish remains cool
and only tile \_[el: ill tile
Clip heals, then tile dish
is H/icl?OW_ve-sa] ('.
•If you use a meat
[hel+mon/eter while cooking,
make sut'(' it is sale tot use
ill nlicrowa_e ()sells.
•Do no[ use l'('cycled paper
tlroducts. Recycled paper
towels, natlkins and \s_txe(/
tlatler can con[_fin metal
flecks which lllHy C}!/lSe al'(illg
or ignite. Patler tlroducts
(ontaining nylon or nylon
filanlents shouM be avoided,
as they may also ignite.
•Some st}Totoanl tra}:s (like
those that meat is tlackaged
O11) ll_IVe a thill StlJ t) of Illet_d
emt)edded ill tile bottom.
When l//i( l'ow_l\ ed, tile n/e[_d
Call burn tile floor of tile
()\ell or ignite a paper towel.
•Do not use tile nlicrowaxe
I() (t]_ rI/eWSll_lt)el)s.
• Not all plastic wrap is suitable
/or use ill lnicrowa_v o_vns.
Check tlle package tor
t)FopeF Ilse.
•Patler towels, waxed paper
and plastic wrap Call be used
to cover dishes ill order to
l'('[ai// l//oistllre alld tll:e_el/t
spattelJl/g. Be Sill'( _ 10 veil[
tllastic wnq) so stealll Call
escape.
• Cookware llla_ become hot
because of heat [ranstert'('d
/i'om tile heated tood.
Pot holders may tie needed
to handle the cookware.
+

49 48353 v@5 6/18/03 11:55 _ Page 7 @
"Boilable" ( ooking 1)ouches
and tightly dosed plasd(
bags should be slit, pierced
or _ented as directed bv
t)ackage. If th(\v are not,
t)lastic could burst during or
immediately aller cooking,
t)ossibly resulting in iqim%'.
Also, plastic storage
( ontainers should be at least
tmrtially imco_ered because
they/orm a tight seal. When
cooking with containers
dghtly co_ered with plastic
wrap, rel//o_.e coverillg
carefltllv and direct steam
away ti'om hands and time.
Use t_)ilonly as directed in
this guide. T\" dimmrs ma,_
be micm:_l\ ed in t_)iltrays
less than 3/4" high; remo\e
the top/t)il cover and return
the tm_ to the box. When
using R)il in the microwa\ e
o_en, keep the loll at least
1" a:v_l_fl:om the sides of
the oven.
• Plastic cookware--Plastic
cookware desigaled/k)r
microwa\ e cooking is ve_T
uselifi, but should be used
carelullv l£_en microwave-
sale plastic ma} Hot be as
tolemm of overcooking
Collditiol:s as are glass or
ceramic mamrials and mm
so/ten or char if sut.@cted
to short periods of
o\ er(ooking, h: longer
exposures to overcooking,
tile R)od and cook_v_u'e
could iglfite.
Follow these guidelines.
[_Use micr(mm e-safe
plasd(s only and
use fllem i:l strkt
compliance with
tile cookware
lIlal//llilcH II'elT_S
FecolIllIlelld_tliOl/S.
[_] 1)o not microwaxe emt)tT_
( Ol/tailleFS.
[_I)o not permit children
to ttse t:lastie cookw_.re
without comt)h'te
supervision.

49 48353 v@5 6/18/03 11:55 _ Page 8 +
IMPORTANTSAFETYINFORMAtiON.
READALLINSTRUCtiONSBEFOREUSING.
WARNING!
Improper use of the grounding plug can result in a risk of
electric shock.
GROUNDINGINSTRUCTIONS
This appliance nlust be gtxmnded. In tile event of an electrical short
circuit, gtx)unding reduces tile risk of electric shock by providing ml
esc_lpe wire/or the electric current.
This appliance is equipped with _1power cord h;tving _1gTounding
wire with a gromlding plug. The plug nmst be plugged into an
outlet thai is properly installed and gTounded.
Consuh a qualified electricim/or service technician if the gTounding
instructions are not completely understood, or if doubt exists as to
whether tile appliance is properly gTounded.
/I tile outlet is a standard 2-prong wall outlet, it is pUT personal
responsibilit} and obligation to have it replaced with a properly
grom/ded 3-prong wall outlet.
Do not under any circmnstances cut or remove tile third (ground)
prong/i'om the power cord.
\{k' do not reconmlend using an extension cord with this appliance.
l/tile l/O_,er (ord is too shorL ha_ • _1quail/led ele( tri(ian or service
te(hnician install an ()inlet near tile appliance. (See WARNING--
EXTENSION CORDS se(tion.)
For best operation, pl/lg this applian(e into its (>_rl_ele(tri/_fl outlet
to pre'_ent fli/kering oI lights, blowing oI tuse or tripping of/ir/uit
1)l_eakel%

49 48353 v@5 6/18/03 11:55 _ Page 9 @
ADAPTERPLUGS
Usagesituationswhere appliance'spower cordwill be disconnected
infrequently.
Because of potenti_d sa/_'tr
hazards trader €ert_dn conditions,
we strongly recommend against the
use of an adapter plug. I towever, i/
you still elect to use an a(tal)te_;
wheI'e local codes permit,
aTEMPORARY CONNECTION may
be made to a properly grounded
2-prong wall receptacle b} the use ot
a LlI listed adapter which is m_dlable
at most local hardware stores.
(Adapterplug5not
permitted in Canada)
Alignlarge
reeg / ,0te I II
TEMPORARY andfirmconnection
METHOD beforeuse.
The larger slot in the adapter must be aligned with the larger slot
in the _11 recel)tade to provide t)roper t)olmJty in the comlection
of the power cord.
CAUTION:achingtheadaptergroundterminaltothe
wall receptacle cover screw does not ground the appliance unless the
cover screw is metal, and not insulated, and the wall receptacle is
grounded through the house wiring.
3bu should hmv the circuit checked bv a qualified electrician to
make sm:e the recet)tacle is t)rot)efly gromlded.
When disc(mnecting the t)o_,_r (ord/i'om the adal)ter, always hold
the adal)ter with one hand. If this is not done, the adapter gTomKt
terminal is vet} likely to break with repeated use. Should this
hat)pen, DO NOT USE the appliance mull a proper gTom_d has
ag_dn been established.
Usage situations where appliance's power cord will be disconnected
frequently.
Do notuse an adapter plug in these situations because/i'e(tuent
(tiscom_ection el the 1)o_v_'r cord places tmdue strain on the adapter
and leads to eventual tidlure of the adapter gTomld terminal. Dm
should hmv the 2-prong wall receptacle replaced with a 3-t)rong
(grotmding) receptacle b} a quail/led elecu-kian be/ore using the
apt)liance.

49 48353 v@5 6/18/03 11:55 _ Page 10 +
IMPORTANTSAFETYINFORMAtiON.
READALLINSTRUCtiONSBEFOREUSING.
WARNING!
EXTENSIONCORDS
A short power supp h cord is pr(Mded to reduce the risks _x'stflting
ti"om becoming entm_gled in or ttit)ping over a longer cord.
Extension cords may be used if you are caretifl in using them.
If an extension cord is used--
[_The marked elecu:ical rating of the extension cord should be
at least as gTeat as file elecu-ical radng ot file al)t)liance;
[_The extension cord must t)e a gTom_ding-tyt)e 3-wire cord and
it must be plugged into a 3-slot outlet;
[]?ee,..,.,io..,r,',l.,.ld)
o'er file (o/inter top or tal letot) wher( it (_tll 1e t)lllled on '
children or u-ipt)ed over mfimemionallv.
l/you use ;m extension cord, tl_e imerior light mat flicker and the
blower somld may w_rv when the mic)'owavc oven is on. Cooking
times _yr be lou,gen too.
WARNING!
PACEMAKERS
All microwave ovens must meet Federal I)t 1t IS and FCC
requiremems. I/oweve_; the ot)eration of some l)acemakers
ram' be alt('cted k)y r micKm;l\ es. Coglfizam of this problem,
most t)acemaker mmmti_cmrer.,, have token stel)s to minimize
tl_e suscel)tibility of flleir products to external imertbrence,
including mictx)wa_vs. Most new 1)acemakers (1982 and later)
aFe llOW protectcd ti'on/li/i(r()vv_e intel?/i_'l?ence, t lowever, t)lJor
to IlSillg }_o/117 li/icI'ovv'ovt' ovt'n it is recol//l//ende(t {hat 1)el?SOilS
with t)acemakers consuh tlle mmm/i_cmrer of tlle (h'vice tor
a(t(tidonal inIbmmdon and/or their t)h}_sician to ensm:e their
t)acemaker will not be alt('cted 1)v microwa\es.
7O

49 48353 v@5 6/18/03 11:55 _ Page 11
READANDFOLLOWTHISSAFETY
INFORMATIONCAREFULLY
SAVETHESEINSTRUCTIONS
11

49 48353 v@5 6/18/03 11:55 _ Page 12 @
.2
!
Congratulation!!
YouAre Now Part of theGEFamily.
committed/o p_'o'_dil_g depe]_dabIe servic(. Yrm'JI s_e i_ in this e;_s,_-_o-l_s( ()wn_ r's
[_l_[I;itl _tK] "_oi_'II h( ;itr it i]_ _h( [}ie]K]l} _oices o[" Oill" C/[s[i)l/l( t"S(I'ViC( (/(!])_t'_l!_( ]H.
B(!S[ O] tH. }O[I'H (X])(li(!]_{ (! _h(!s{_ '_//(!s (a( I iln( }o I _. s( }()_. r i!licIPo_ _(! o_{ 1].
'l'h_t's il!/po!P]_lH, t)(!c His( %o//]" H(!_ i!IicIPow _x(! o\(!]l _H [)(! _)_!P{ o] !i()tll" [ill//iI}' [_)l
!11 _!/!, }(! _1_4. \]_d Be hope !ioll _ilI be p_r_ o{"OIIt'S {})!" _ IOl_g _ilI/(! _O (7{}1/_(!.
We @a]fl< }()l* ]}}r b[]ying GE. %'{ _pt}_'( cia_ yore" pro'dins(, md hop( y{m will
CO1Hi/Hle _{} !'el% O!_ _./S _J_(!I_e'_(TTP ;Oi.I 1Iced qu _IiI} _ppJi _lK?es {})r }{}[_lP hoH_e.
_mpor_ant_
]Till(}tit _tlld r{!ttlFIl the {]Ol/Stl]//{!lP I Fodtl( t I,.egJstmtion Card
ill+it is t}a( ked xdth this ]}to(hi{ t.
Write the Model and Serial
__ Numbers Here:
#
#
31}u (an find them on a label inside the o'_en.
I2

49 48353 v@5 6/18/03 11:55 _ Page 13 +
GE& You,
AServicePartnership,
Ask any GEappliance owner and they will
tefl you we stand behind our products
with unmatched quality service. However,
did you know that most questions result
from simple problems that you can easily
fix yourself in just a few minutes? This
Owner's Manual can tefl you how.
]lill|S on how to/ISe _t//(t lIlaint_ti//
your l//iCl?O_lve ovell prot)erl }.
.]list a little t)reventive care on
your part C}tlt S}lVe MOil _t gTeat
deal of tilile alld l//onev OVt'F
the litc of _x)tu: microwm e o\en.
ReviewtheSectionon
TroubleshootingTips
31)u'll f]ll(t l//}tlt% +lltS%eFS tO
(Ol//]//Oll t)rol)leH/s hel?e.
Safety Information
PrecautionsSAvoid
PossibleExposures
ExcessiveMicrowaveEnergy ...2
SafetyPrecautions......... 2,3
Arcing ..................... 4
Foods.................... 4,5
Microwave-SaNCookware.. .6,7
GroundingInstructions ........ 8
AdapterPlugs ............... 9
ExtensionCords............. 10
OperatingInstructions
Featuresof Your
MicrowaveOven......... 14,15
ChangingPowerLevel ....... 16
TimeFeatures........... 17-22
Auto Feature............... 23
SensorFeatures......... 24-27
OtherFeatures .......... 28-30
Microwave Terms........... 31
Careand Cleaning ....... 32,33
Troubleshooting_ps ...34, 35
ThingsThatAre Normal With
YourMicrowave Oven ....... 36
ConsumerSupport
Warranty .................. 39
ConsumerSupport ...Back Cover
13
g
I

49 48353 v@5 6/18/03 11:55 _ Page 14 @
About the features of yourmicrowave oven.
Throughout this manual, features and appearance may vary from your model
1100Watts 0
,J
CB
__m
0
Featuresof theOven
0
0
@
0
0
0
Door Latches.
Window with Metal Shield. Screen alhms cooking to be
"Vi(!w(!d W]lil(_ keeping lIli( I'OW_I_,(!S (Oll[lll(_d in the oven.
Convenience Guide.
TouchControl Panel and Display.
Door Latch Release. Press latch rch'_sc to ()pun door.
Removable Turntable.Ttll:llt_lbl(, _lll(t Sill)])oFt must ])c
ill pl_t('t' _*_rh¢.'n/Ising" 1]11' ovt'n. The.' ttlrl/t2lb]t' ]//_t'v' |)('
removed liar cleaning.
NOTE: Rating plate, oven vent(s) and oven light are located on
the inside walls of the microwave oven.
14

49 48353 v@5 6/18/03 11:55 _ Page 15
Youcan microwave by time, with the sensor features or with the auto feature.
AUTO/TIME DEE TIME COOK
POWER
LEVEL
i 0 i
[
IPOPCORN BEVERAGE REHEAT
BAKED POTATO VEGETABLE
*"_ ")e
666
AUTO/TIME DEE
,@
I
]
@CookingControls
Check the Convenience Guide before you begin.
77meFeatures
Press Enter
AUTO/TIME DEE Amountof defrostingtime
Presstwice
TIME COOK Amountof cookingtime
Pressonceortwice
EXPRESSCOOK Starts immediately!
POWER LEVEL Powerlevel 1-10
ADD 30 SEC Starts immediately!
SensorFeaturesand
AutoFeature
Press Enter Option
POPCORN Starts immediately! more/lesstime
BEVERAGE Starts immediately!
REHEAT Starts immediately! more/lesstime
BAKEDPOTATO Starts immediately! more/lesstime
VEGETABLE Starts immediately!
Pressonce(freshvegetables) more/lesstime
Presstwice (frozenvegetables) more/lesstime
Pressthree times(cannedvegetables) more/lesstime
(onsomemodels)
AUTO/TIME DEE Foodweight
Pressonce 15

49 48353 v@5 6/18/03 11:55 _ Page 16 +
76
Aboutchanging thepower level.
POWER
LEVEL
©
$TARr
PAUSE
"I]le power level ma} be entered or changed
immediately a/ier entering the t_'amre time tot
TIME COOK, 77meDefrost or EXPRESS COOK.The power
h'\ el may also be dmnged dm'ing time c(mmdown.
[] Press TIME COOKor sele(t 77meDefrost.
[_] l£nter cooking or de/i'osting time.
[] Press POWER LEVEL.
[_ Select desired t)ow('l" h'_vl 1-10.
[] Press START
X%riable power h'_vls add flexibility to microwmv
cooking. The power h'vels on the microwave oven
call be eoml)ared to the S/llTtilce Ill/itS 011 a T_ll/_e.
Each power le_'l gives you l/liel'OWa\ e el/el;_} a certaill
percent of tl_e time. Power level 7is microwave energy'
70% of die time. Powerlevel3 is energy 30% of the
time. Most cooking will be done on High(power level 10)
which gJves ym 100% tx)_,,_mPowerleve110 will cook
/i_ster but/ood may need more ti'('(tueHt stirring,
rotating or turning oxel: A lower seuing will cook
more menlv and need less stirring or rotating of tile
/()od. SoIIle too(ts ill,iV have 1)etter/la\ or, t(_XttllTe o17
al)tleanmce if one of tile lower settings is Hse(t. Use
a lower power h'\ el when cooking R)o(ts that ha\ e
a tenden(-v to boil over, such as s(allol)ed t)otatoes.
Rest periods (when the mi(rowa\ e energ} (y(les ell)
give time lot the/ood to "equalizC' or u:ans/br heat to
the inside of the/ood. An example of this is shown with
power ]eve] 3--the deti'ost cycle. If microwave energy'
did not (y(le ofI, the outside of the t()od would cook
bet()re the inside was de/i:osted.
Here are some examples of uses for various power levels.
High10: Fish, bacon, vegetables, boiling liq@ds.
Med-High 7: Gentle cooking of meat and t/ouhlT; baking
casseroles and reheaung.
Medium5: Slow cooking and tenderizing/or stews al)d
less tender (uts of meat.
Low2or& I)eli'osting; simmering; delicaw sauces.
Warm 1: Keel)ing tbod _r_: softening 1)mte_:
+

49 48353 v@5 6/18/03 11:55 _ Page 17 +
Aboutthetimefeatures.
TIME COOK
©
START
PAUSE
77meCook
77meCook I
Allows voH to l//i( r()wav(! f()F al/_ time u t) to 9(.) mhmtes
and 99 se(onds.
Power level 10(High) is automatically set, but you m_lv
(]mnge it tot more flexibility.
[] Press TIMECOOK
F_] Enter (()()king time.
[_ Change power lexel if you doH't _r_ln[ lull p()w(!E
(Press POWERLEVEL Select a desired t)ow(_]:
lexel 1-10.)
[] Press START
You may' (pen the door dining 77meCook to (he(k
the food. (_lose file door arid press STARTto resmne
(()()king.
77meCook II
I ,ets you (hang(_ pox_er lexels automati(ally dmJng
(()()king. t]erCs hOW [O do it:
[] Press TIMECOOK
[]
[]
[]
[]
[]
EI/ter t]l(' {il;S{ (ook till/('.
Change the power h'\el if you don't wmat flfll
t)ower. (Press POWERLEVEL Sele(t a desired
power le\'cl 1-10. )
Pt_'ss TIME COOKag+,,in.
l£ntcr the second cook time.
Change the t)()_r(_rlexel it yott don't W_tl/t hill
t)()_r(_:+ (I']:(_SS POWER LEVEL Sele(t a desired
power lexel 1-10.)
[] Press START
,_t th(! (!lid of 7_lne Cook I, 7_lne Cook II (:()Hilts do_%rl/,
77
+

49 48353 v@5 6/18/03 11:55 _ Page 18 +
13
Aboutthetimefeatures.
CookingGuidefor time Cook
NOTE:Use power level High (10) unless otherwise noted.
Vegetable
Asparagus
(fresh spears)
(frozen spears)
Beans
(fresh green)
(frozen green)
(frozen lima)
Beets
(fresh, whole)
Broccofi
(fresh cut)
(fresh spears)
(frozen,
chopped)
(frozen spears)
Cabbage
(fresh)
(wedges)
Carrots
(fresh, sliced)
(frozen)
Cauliflower
(f/owerets)
(fresh, whole)
(frozen)
Amount Time Comments
l lb. 5 to 8 mhl., In 1F_,-(lt.oblong glass t)_&ing
Med-High (7) dish, ])]a(e l/4 (Ul) waten
lO-oz, package 4 to 7 nfin. In 1-qt (asserole
llb. cuthlhalf lOto 15mhl.
lO-oz, package 4 to 8 nfin.
In 1V_qt. casserole, ])lace
1/2 cup wilteE
In 1-qt. casserole, place
2 tablesl)oons WilteL
In 1-qt. casserole, place
1/4 cup wilteE
1bmlch 16 to 22 nfin. In 2-qt. casserole, place
1/2 cup wilteE
1 btmch 5 to 9 nfin.
(1¼ to 1½ lbs.)
1bunch 7 to 11 rain.
(1¼ to 1½ lbs.)
lO-oz, package 4 to 7 mhl.
lO-oz, package 4 to 7 nfin.
In 2-qt. casserole, place
1/2 cup wi|[eE
In 2-qt. oblong glass baking dish,
place 1/4 cut) ware1:
In 1-qt. casserole.
In 1-qt. casserole, place
3 tablesi)oons water.
1medimn head 6to 10 mln.
(about 2lbs.) 5to 9 nfin.
In 1V2-or 2-qt. casserole, place
1/4 cup WilIeE
In 2- or 3-qL casserole, ])lace
1/4 cup W;lteE
1lb. 4 to 8 nfin.
lO-oz, package 3 to 7 rim1.
In 1V_qt. casserole, ])lace
1/4 cup Wil[eE
In 1-qt. casserole, place
2 |al)lesi)oons water.
1medimnhead 7 to 11 mln.
1medimn head 7 to 15 mln.
lO-oz, package 3to 7 nfin.
In 2-qt. casserole, ])lace
1/2 cup Wil[eE
In 2-qt. casserole, place
1/2 cup WilteE
In 1-qt. casserole, place
2tal)lesl)oons w;|teg
+

49 48353 v@5 6/18/03 11:55 _M Page 19 @
Vegetable Amount Time Comments
Corn
(frozenkernel) lO-oz, package 2 to 6 rain. In 1-qt. casserole, 1)la(e
2tat)h'sl)oons w_m't:
Cornonthecob
(fresh)
(frozen)
Mixed
vegetables
(frozen)
Peas
(fresh, shelled)
(frozen)
Potatoes
(fresh, cubed,
white)
(fresh,whole,
sweet or white)
Spinach
(fresh)
(frozen, chopped
and leaf)
Squash
(fresh,summer
andyellow)
(winter,acorn,
or butternut)
1to 5ears 1¼ to 4 mhl.
per ear
1 ear 3 to 6 mln.
2to 6 ears 2 to 3 mhl.
per ear
lO-oz, package 2 to 6 mhl.
2lbs. tmshelled 7 to 10 mhl.
lO-oz, package 2 to 6mhl.
4potatoes 9 to 12 mhl.
(6 to 8 oz. each)
1 (6 to 8 oz.) 2 to 4 rain.
lOto 16oz. 3 to 6rain.
lO-oz, package 3to 6 mhl.
1 lb. sliced 3to 5 mln.
1 or 2 squash 5 to 9 rain.
(about 1 lb. each)
In 2-qt. glass baking dish, place
corn. If corn is in husk, use no
water; if corn has been tmske(I,
add 1/4 ctq) xs_tter. Rearrange
after half of time.
Place in 2-qt. oblong glass
baking dish. Cover with _ented
plastic wrap. Rearrange alter
hall of time.
In 1-qt. casserole, 1)lace
3 tablesl)oons water.
In 1-qt. casserole, t)lace
l/4 ctq) watel?
In 1-qt. casserole, 1)lace
2 tal)lesl)oons water.
Peel and cut into l" cubes.
Place in 2-qt. casserole with 1/2
cup water. Stir alter half of lime.
Pierce will: cooking/ork. Place
ill CelHer of tlle ovel:, l ,e| sial:(|
5 minutes.
In 2-qt. casserole, t)lace wa_,hed
st)inach.
In 1-qt. casserole, 1)lace
3 tal)lesl)oons water.
In 1½-(t t. casserole, t)lace 1/4
cu l) water.
Cut in half and remove/ibrous
metal)nines. In 2-(it. oblong
glass baking dish, place squash
cut-side-down. Turn cut-side-u t)
alier 4 mimttes.
19

49 48353 v@5 6/18/03 11:55 _ Page 20 +
2O
Aboutthetimefeatures.
AUTO/TIMEDEE
©
8TAFff
PAUSE
TimeDefrost
,\llows you to de/l:ost 1_)1:a selected length oI time. See
the Defrosting Guide tor suggested times. (Auto Defrost
explained in the About the auto feature section.)
[] Press AUTO/TIMEDEE twice.
[]Enter de/i:osting time.
[] Pl_'ss START
[]Turn toed o\cr when the o\cn signals.
[] Press START
Power level is muonmtically set ;_.t3, btttcm/ be cllanged.
}i)u call deti'ost small items quickly t>y raising the power
level a/ier entelJng tile time. Power level 7 (uts the total
(teli'osting time ill about hal{:, power/eve/10 celts the
total time to atlproxin/ately 1/3. I h)we\ el; todd will need
l/lOre t]'eqllent _tttention tl/_tn /lSllal.
At one half of selected de/i'osting time, the o_'n sig_lals
TURN FOOD OVER.At this thlle, turn/ood over and break
_q)art or re_.rl';_nge pieces tot l/lOl'(' evell (teli'ostin_,.
ShieM any warm areas with small pieces of/oil.
A dull tlmmlling noise may be heard during de/i'osting.
"I]fis is normal when o_en is not operating at High power.
Defrosting Tips
•Foods ti'ozen ill paper or tllastk (ml be (h'li:osted ilk
the package. Closed t)ackages should be slit, llierced
or vented AFTER {ood has llartiall} de/i'osted. Plastic
storage containers should be partially m/co_ere(t.
•Family-size, tlrella(kaged fi'ozen dinners can be
defi'osted mid microwaved. If the/ood is ilk a {oil
(ontainer, transtcr it to a llli(row_l_'-s_lt(' dish.
•Foods that spoil _asily shouM _l(/t be all(mr d to sit
Otlt [()r IIIOFC it/all Oil( ho/lI" afi_r d( ]i'osting. RO()l//
teml)eiattu_ i)ron/otes th_ growth of hm-mflll bacteria.
• For more ('_vn deli'osting of lm:ger leeds, such as
roasts, use Auto Defrost. Be sm:e lm:ge meats are
completely deli'osted belore cooking.
• When deli'osted, {oDd should be cool but so/iened ill
all areas. II still slightly icy. return to the microwave'
very briefly, or let it stand a/t'w minutes.
+
Other manuals for JES1855
1
Table of contents
Other GE Microwave Oven manuals

GE
GE Spacemaker III JEM4KWA Use and care manual

GE
GE JEB1095 User manual

GE
GE JVM6175 User manual

GE
GE Profile JES2251SJ How to use

GE
GE JVM6175SFSS Operating manual

GE
GE JES1288 User manual

GE
GE Spacemaker JNM1951SRSS User manual

GE
GE JES1142SPSS User manual

GE
GE JES1136WL User manual

GE
GE Profile PVM1790 User manual