manuals.online logo
Brands
  1. Home
  2. •
  3. Brands
  4. •
  5. GE
  6. •
  7. Range
  8. •
  9. GE JGBP30 Original instructions

GE JGBP30 Original instructions

This manual suits for next models

14

Other GE Range manuals

GE JBS07 Operating instructions

GE

GE JBS07 Operating instructions

GE Free-Standing Ranges User manual

GE

GE Free-Standing Ranges User manual

GE JGBC16GEJ User manual

GE

GE JGBC16GEJ User manual

GE PB970BMBB User manual

GE

GE PB970BMBB User manual

GE CGS980 Original instructions

GE

GE CGS980 Original instructions

GE Appliances Profile JGB900 Operating instructions

GE

GE Appliances Profile JGB900 Operating instructions

GE JBP89 User manual

GE

GE JBP89 User manual

GE JGB650SEF User instructions

GE

GE JGB650SEF User instructions

GE Profile JB900 User manual

GE

GE Profile JB900 User manual

GE JM250DTBB User manual

GE

GE JM250DTBB User manual

GE Profile PB975TMWW Manual

GE

GE Profile PB975TMWW Manual

GE JDP39WWWW User manual

GE

GE JDP39WWWW User manual

GE JGB910  and Operating instructions

GE

GE JGB910 and Operating instructions

GE JGB650EEFES Manual

GE

GE JGB650EEFES Manual

GE JGB800 Original instructions

GE

GE JGB800 Original instructions

GE JGSS86SPSS User manual

GE

GE JGSS86SPSS User manual

GE GE Profile JBP90BF Manual

GE

GE GE Profile JBP90BF Manual

GE Profile PB975SMSS Manual

GE

GE Profile PB975SMSS Manual

GE Profile JB900 User manual

GE

GE Profile JB900 User manual

GE EER3000 User manual

GE

GE EER3000 User manual

GE JBP25 User manual

GE

GE JBP25 User manual

GE PS968SPSS User manual

GE

GE PS968SPSS User manual

GE JGBS03EK User manual

GE

GE JGBS03EK User manual

GE JGB910  and Original instructions

GE

GE JGB910 and Original instructions

Popular Range manuals by other brands

Maytag MGR5875QDW - 30 Inch Gas Range Use and care guide

Maytag

Maytag MGR5875QDW - 30 Inch Gas Range Use and care guide

Frigidaire FFGF3024SS use & care

Frigidaire

Frigidaire FFGF3024SS use & care

Capital Precision Series GCR484W Specifications

Capital

Capital Precision Series GCR484W Specifications

Officine Gullo GGS8P Installation and use instruction

Officine Gullo

Officine Gullo GGS8P Installation and use instruction

LG LSD4913 Series owner's manual

LG

LG LSD4913 Series owner's manual

Kenmore 4101 - Elite 30 in. Slide-In Electric Range installation instructions

Kenmore

Kenmore 4101 - Elite 30 in. Slide-In Electric Range installation instructions

Moffat Blue Seal Evolution G576 Technical data sheet

Moffat

Moffat Blue Seal Evolution G576 Technical data sheet

CornuFé C1NF user guide

CornuFé

CornuFé C1NF user guide

LG LDG3015ST Manual De Propietario

LG

LG LDG3015ST Manual De Propietario

Whirlpool RF350PXP Use and care guide

Whirlpool

Whirlpool RF350PXP Use and care guide

Samsung FCQ321HTUW Service manual

Samsung

Samsung FCQ321HTUW Service manual

Kenmore 790.45712 Use & care guide

Kenmore

Kenmore 790.45712 Use & care guide

Wolf CHR CHSSR owner's manual

Wolf

Wolf CHR CHSSR owner's manual

Smeg Built-in Microwave Oven Instructions for the user

Smeg

Smeg Built-in Microwave Oven Instructions for the user

Zanussi ZCG054G user manual

Zanussi

Zanussi ZCG054G user manual

Samsung NX58M9960P series installation manual

Samsung

Samsung NX58M9960P series installation manual

Hotpoint RB524R Use and care & installation instructions

Hotpoint

Hotpoint RB524R Use and care & installation instructions

Frigidaire FEF367CGSA Factory parts catalog

Frigidaire

Frigidaire FEF367CGSA Factory parts catalog

manuals.online logo
manuals.online logoBrands
  • About & Mission
  • Contact us
  • Privacy Policy
  • Terms and Conditions

Copyright 2025 Manuals.Online. All Rights Reserved.

_O.COIB
_!_ Safety Instructions ....... 9-7
Operating Indruc_ions
'Aluminum Foil ........... 13
Clock and Timer ....... ] 5, ] 6
()\'e n ................ ]0-3 ]
Baking and Roasting ...... 13
Broiling, Broiling Guide . .. 14
Oven Control ........ l 0, l l
Power Outag> ........ 12, 16
Preheating .............. 13
Sabbath Feaune ...... 19, 20
Self-Cleaning ......... 22, 23
Special Features ......... 18
Thermostat Adjusunent ...21
Timed Baking
and Roasting ............ 17
Sml_ace Cooking ......... 8, 9
Care and Cleaning
Broiler Pan and Grid ...... 98
Bnliler Assemhlv ....... 24-26
Burner Grams ............ 27
Control Panel and Knohs ...30
Cooktop Surl_ace .......... 27
Door Removal ............ 28
Kick Panel ............... 29
I,ift-up Cooktop ........... 29
Oven Bouom ............. 28
Oven i,ight Replacement . . .31
()yen Vents .............. 30
Self-Cleaning .......... 99, 93
Shelx_s .................. 31
Stainless Steel SmlZaces ..... 97
Storag_ Drawer . .......... 99
Ins'udlation
Instructions ........... 32-43
Air Adjustment ........... 42
Ai_ti-Tip Device ........ 35, 43
Checking Burner Ignition...41
Connecting the Rang>
to Gas ............... 36-39
Dimensions and Clearances .34
Electrical Connections . .40, 41
I,ex>ling the Rang> ........ 42
I,ocation ................. 35
I,P ...................... 43
Troubleshooting
Tips ................. 44-47
Accessories .............. 53
Consumer Support
Consumer
Support .......... Back Coxer
Product Registration .... 49, 50
_'arranty for Customers
in Canada ............... 55
V(arranw tbr Custon_ers
in the U.S.A .............. 54
JCBP2 4
JCBP2 5
J(; BP2 6
J(;BP2 7
JCBP28
J(;BP2 9
JGBP30
JC;BP32
JGBP34
RCB 740
RCB 745
RGB746
RGB790
Write the model and serial
numbers here:
Model #
Serial #
You can find them on a label on
the front ot the range behind the
storage drawer or kick panel.
18305580P193 49-85108 OS-08Jfl
IMPORTANTSAFETYINFORMATION.
READALLINSTRUCTIONSBEFOREUSING.
WARNING!
For your safe_ the information in this manual must be followed to minimize the risk of fire or explosion,
electric shock, or to prevent property damage, personal injury, or loss of life.
®
WARNING!
ANTI-TIPDEVICE
ALL RANGES CAN TIP
@INJURY TO PERSONS
COULD RESULT
@INSTALL AN_tiP
DEVICES PACKED WITH
RANGE
INSTRUCTIONS
WARNING:If the information
in this manual is not followed exactly,
a fire or explosion may result causing
property damage, personal injury
or death.
-- Do not store or use gasoline or other
flammable vapors and liquids in the
vicinity of this or any other appliance.
-WHATTODOIF YOU
SMELLGAS
@ Do not try to light any appliance.
Do not touch any electrical switch;
do not use any phone in your
building.
@ Immediately call your gas supplier
from aneighbor's phone. Follow the
gas supplier's instructions.
If you cannot reach your gas supplier,
call the fire department.
-- Installation and service must be
performed by aqualified installer,
service agency or the gas supplier.
ANTI-TIPDEVICE
All rangescan tip and injury could result.
Toprevent accidental tipping of the range, attach it to the wall by installing the Anti--tip device supplied.
If the Anti--tip device supplied with the range does not fit this application, use the universal Anti--tip
device WB2X7909.
Tocheck if the device is installed and engaged properly, carefully tip the range forward. TheAnti--tip
device should engage and prevent the range from tipping over.
If you pu]] the range otlt t)om tile wall for any reason, make sure fl)e device is properly engag>d
when you push the range back against the wall. If it is not, flmre is a possible risk of the rang>
tipping ox>r and causing i,lju_ T if you or a child stand, sit or lean on an open door
Please refer to the Anti-Tip device infollnation in this manual. Failure m take this precaution
could result in tipping of the rang_ and ilIjtlI>
ge.com
WARNING!
IMPORTANTSAFETYNOTICE
The California Safe Drinking Water and ToxicEnforcement Act requires the Governor of California to
publish a list of substances known to the state to cause birth defects or other reproductive harm, and
requires businesses to warn customers of potential exposure to such substances.
Gasappliances can cause minor exposure to four of these substances, namely benzene, carbon
monoxide, formaldehyde and soot, caused primarily by the incomplete combustion of natural gas or
LP fuels. Properly adjusted burners, indicated by a bluish rather than a yeflow flame, will minimize
incomplete combustion. Exposure to these substances can be minimized by venting with an open
window or using a ventilation fan orhood.
SAFETYPRECAUTIONS
Have the installer show you the location of the range gas shut-off valve and how to shut it off if necessary.
;_;Hate your rang_ installed and properly ;_;Plug your rang_ into a 190_\_lt grounded
grounded by a qualified installer, in
accordance with the Installation Insuucdons.
Any adjustment and service should be
perfo,_ned only by qualified gas rang>
installers or service technicians.
_:;i_'Do not attempt to repair or replace any
part of your range unless it is specifically
recommended in this manual. All other
service should be refetTed to a qna]ified
technician,
outlet only. Do not remove the round
grounding prong fiom dm ping. If in doubt
about the grounding of the home electrical
system, it is your personal responsibility and
obligation to haxe an ungrounded outlet
replaced wifll a properly gTounded,
d_ree-prong outlet in accordance with
the National Electrical (;ode. Do not use
an exmnsion cord with this appliance.
3
IMPORTANTSAFETYINFORMATION.
READALLINSTRUCTIONSBEFOREUSING.
4
SAFETYPRECAUTIONS
Locate the rang_ out of kitchen traffic pafl_
and out of drafw locations to prexent poor
air citvulafion.
;;i:,:Be sure all packaging materials are remoxed
flom the range before operaOng it to
prevent rite or smoke damage should tile
packaging material ignite.
_;i:,:Be sure your rang_ is correctly adjusted by
a qualified service technician or installer tbr
the type of gas (nautral or LP) that is to be
used. Your range can be converted for use
with either type of gas. See the Installation
of the range section.
WARNING:teseadjnstmentsmnst
be made by a qualified service technician
in accordance Mth the manuflacmrer's
insmtcdons and all codes and requirements
of the authocitv havingjnrisdicfion. Failure
m follow these instructions could result in
set-ions ir_juUor property damage. The
qualified ag>nQ' perfot_ning this work
assumes responsibility for the conversion.
;_?:,:After prolong>d use of a range, high floor
temperautres m W result and many floor
coxering_ will not wifl_smnd this kind of use.
Nexer install fl_e rang> oxer viw1 file or
linoleun_ that cannot withstand such type
of use. Nexer insta]] it directly oxer intelior
kitchen carpeting.
_;:Do not leme children alone or unattended
where a range is hot or in operation. They
could be seriously burned.
_;:Do not allow anyone to climb, stand or hang
on the oven door; storag_ drawer; wamfing
drawer or cooktop. They could damag_ the
rang_ and even tip it ove_; causing sexere
persona] irljnry'.
CAUTION:temsofinterestto
children should not be stated in cabinets
aboxe a range or on the backsplash of a
range---<:hildten climbing on the rang>
m reach items could be seliously injured.
,&WARNING:NEVERusethis
appliance as a space heater to heat or
warm the room. Doing so may result
in carbon monoxide poisoning and
oxerheating of the oven.
_;i:,iNexer wear loose fitting or hanging gat_nents
while using the appliance. Be careflfl when
reaching for items stored in cabinets over fire
rang_. Flammable material could be ignited
if brougttt in contact wifll flame or hot oxen
stlr'P, tces and may cause sexete 1)nrrls.
;_?:':Do not store flammable materials in an
oven, a range smrag_ drawer; a waHning
drawer or near a cookmp.
_;:Do not store or use combustible materials,
gasoline or oflter flammable vapors and
liquids in rite vicinity of this or any oflter
appliance.
_;:Do not let cooking gxease or other
flammable materials accunnflate in or
near the rang_.
;_):':Do not use water on grease fires. Nexer pick
up a flaming pan. Turn fire controls off:
Smother a flaming pan on a surface burner
by coxering the pan completely with a
well-fitting lid, cookie sheet or fiat uay.
Use a multi-puq)ose drT chemical or
foam-type fire extinguisher
Flaming grease outside a pan can be put
ont by coxetJng it with baMng soda or;
if available, 1)y using a mnlti-pnrpose dry
chemical or foam-type fire exdnguishen
Flame in the oven can be smothered
completely by closing the oxen door and
turning the control to off or by using a
nnfld-pm])ose dUchemical or foam-type
fire exdnguishen
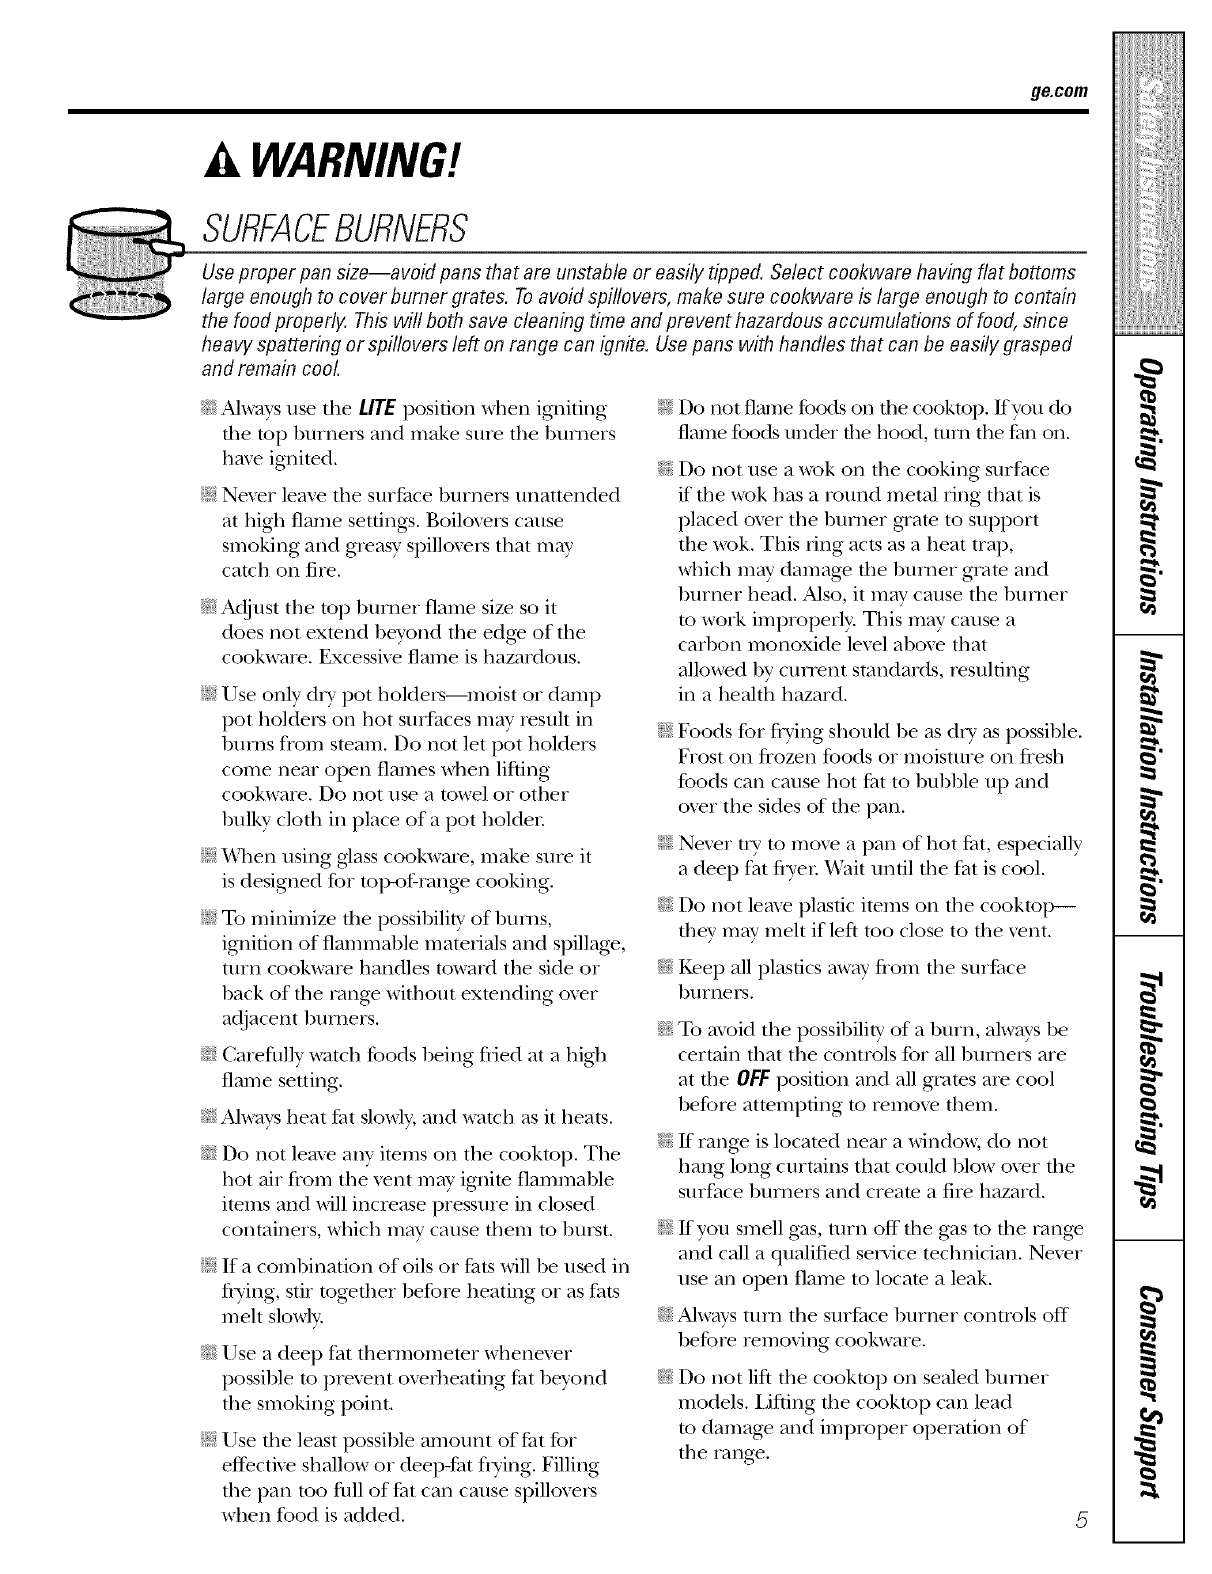
;_?:':i,et the burner grates and other surfaces
cool before ranching them or leaving fltem
where children can teach them.
_;:Nexer block the xents (air openings) of the
rang>. They provide the air inlet and outlet
that are necessa Ufor rite rang_ to operate
I)roperly with cotTect combustion. 'Air
opening_ are located at the rear of flae
cooktop, at the top and bottom of the oven
door; and at the bottom of flae rang> under
the kick panel or storag> drawer
_;:Large scrawhes or impacts to glass doors can
lead to broken or shattered glass.
g_com
WARNING!
SURFACEBURNERS
Use proper pan size--avoid pans that are unstable or easily tipped. Select cookware having flat bottoms
large enough to cover burner grates. Toavoid spillovers, make sure cookware is large enough to contain
the food properly. This will both save cleaning time and prevent hazardous accumulations of food, since
heavy spattering or spillovers left on range can ignite. Usepans with handles that can be easily grasped
and remain cool
_t{_;Always use tile LITE position when igniting
file top burners and make sure the burners
hme ignited.
;_i:,:Nexer leave file sur/_ace burners/mattended
at high flame setfing:s. Boiloxers cause
smoking and greasy spilloxers that may
catch on fire,
q]_Adjust tile top burner flame size so it
does not exmnd hevond tile edge of tile
cookware. Excessive flame is hazardous.
_i:,iUse only dUpot holders--moist or damp
pot holders on hot snrfaces may result ill
bln_ls from smam. Do not let pot holders
come near open flames when lifting
cookware. Do not use a towel or other
1)ulky cloth in place of a pot holden
;_?:':_4]mn using glass cookware, make sure it
is deogned for mI>of-range cooking.
;_;To minimize the possihility of hums,
ignition of flammable materials and spillage,
ulrn cookware handles toward tile side or
hack of file range without exmnding oxer
adjacent humers.
_{_Careflllly watch fbods heing flied at a high
flame seuing.
_i_Always heat tilt slowly, and watch as it heats.
_{_Do ,lot leme any imms on tile cooktop. Tile
hot air from tile xent m W ignim flammable
imms and will increase pressure in closed
containers, which may cause fllem to hnrst.
;f; If a comhinafion of oils or/_ats will be used in
flTing, sill together before heating or as fats
melt slowly
q?{:_Use a deep fat thermomemr whenexer
possihle to prexent oveflleafing/_t heyond
the smoking point.
;_i:,:Use file least possible amount of/_at for
effective shallow or deep-fat flTing. Filling
tile pan too fllll of/_at can cause spillovers
when food is added.
_fi:,:Do not flame foods on die cooktop. If you do
flame foods nnder file hood, mm tile tim on.
Do not use a wok on the cooking surface
if tile wok has a round metal ring that is
placed oxer the bunler gaam m support
tile wok. This ring acts as a heat trap,
which m W damage tile hnliler gram and
1)urner head. Also, it m W cause file burner
m work improped> This may cause a
carl)on monoxide lexel aboxe that
allowed 1)ycunent standards, iesulting
in a health hazard.
_i:,:Foods for flying should be as d Uas possible.
Frost on frozen foods or moisulre on fresh
foods call cause hot/_at to hubble up and
oxer tile sides of tile pan.
_i:,:Nexer tUm moxe a pan of hot/_at, especially
a deep fat flTer V(ait until file fat is cool.
_:_Do not leaxe plastic imms oil tile cookmI>--
they may melt if left too close to tile xent.
_?{:_Kee I) all plastics away flom die sniPace
bnrners.
_: To mold tile possibility of a burn, always be
certain fllat the controls for all humers are
at the OFF position and all grates are cool
before attempting to remo\e fllem.
q_{_If range is located near a windo_, do not
hang long curtains that could hlow oxer file
surface burners and create a fire hazard.
_fi:,:If you smell gas, ulrn off the gas to die range
and call a qualified service technician. Ne_er
use an open flame to locam a leak.
_:;Always tui_l tile surface hurner controls off
before removing cookware.
_7{_:Do not lift tile cooktop oil sealed burner
models. I,ifting file cooktop call lead
to damage and improper operation of
tile range.
IMPORTANTSAFETYINFORMATION.
READALLINSTRUCTIONSBEFOREUSING.
COOKMEATANDPOULTRYTHOROUGHLY...
Cook meat and poultry thoroughly--meat to at leastan INTERNALtemperature of 16001:and poultry to
at least an INTERNAL temperature of 180°ECooking to these temperatures usually protects against
foodbome illness.
OVEN
Stand away from the range when opening the door of a hot oven. Thehot air and steam that escape
can cause bums to hands, face and eyes.
E:,_Do not use dm oven for a storage area.
Imms stored in tile ox.en can ignim.
_i:':Kee I) the oven free flom gTease buildup.
E:,IPlace the ox.en sheh.es in the desired
position while tile ox.en is cool.
E:,IPulling out file shelf m the stop-lock is a
com.enience in lifting heaxy' foods. It is also
a p_.ecaufion agwinst bm_s flom touching
hot surfaces of die door or ox.en walls. The
lowest position is not designed to slide.
E:,IDo not heat unopened food containers.
Pressure could build up and the container
could burst, causing an i[_nl-y.
WARNING:NEVERcover
any slots, holes or passag.es in the oven
bottom or cox.er an entire rack with
materials such as alunlinum foil. Doing
so blocks air flow througtl the ox.en and
m W cause carbon monoxide poisoning.
Alun/inum foil linings may also trap
heat, causing a fire hazard.
Do not use aluminum foil anywhere in the
oxen except as described in this manual.
Misuse could result in a fire hazard or
damage to the range.
E:,:XA]len using cooking or roasting bags in the
oxen, follow the manufacturer's directions.
E:,:Do not use your oxen to d Unewspapers.
If oxerheated, they can catch fire.
_fi:,iUse only glass cool<ware fllat is
recommended for use in gv_sox.ens.
_?{:_Always remox.e the broiler pan flom rang.e
as soon as you finish broiling. Grease left in
the pan can catch fire if ox.en is used without
removing the grease flom the broiler pan.
E:,IWhen broiling, if meat is too close to the
flame, the fi_tmay ig_im. Trim excess fi_tto
prex.ent excessive flareqq)s.
E:,IMake sm.e the broiler pan is in place
con.ecflv to i.educe the possibility of
gi.ease fires.
_{:_If you should hax.e a grease fii.e in the broiler
pan, much the CLEAR/OFFpad,and kee I)
die oven door closed to contain fire until
it burns out,
_?{:_For safety and proper cooking perfommnce,
always bake and broil with the oxen door
closed.
ge.com
SELF-CLEANINGOVEN
E:,:Be sure to wipe off excess spillag_ be%re
self-cleaning operation.
_:;Before self-cleaning the o_n, remo_
tile shelx_s, broiler pan, gTid and other
cookware.
E:,:Do not clean file door gasket. Tile door
gasket is essential for a g_od seal. Care
should be taken not to rub, damag_ or
mow tile g'asket.
_t{_Clean only parts lismd in this Owner's
Manual.
_fi:,:If tile self-<'leaning mode n/alflmctions,
tnF/l tile oxen off and disconnect tile power
supply. Haxe it serviced by a qualified
technician.
E:,:Do not use oxen cleaners. No commercial
oxen cleaner or oxen liner of aW kind
should be used in or around any part of
tile oxen. Residue flom oxen cleaners will
damage the inside of tile oxen when tile
self-dean cycle is used.
READANDFOLLOWTHISSAFETYINFORMATIONCAREFULLY.
SAVETHESEINSTRUCTIONS
Usingthegas surfaceburners.
Throughout this manual, features and appearance may vary from your model.
Before Lighting a Gas Burner
_Ji::Drip pans are supplied with your range;
they should be used at all times.
::Ji::Make StlI'e all btlFneIN are in place.
_: Make sure all grates on the range are
propeity placed betore using any burner
After Lighting a Gas Burner
::Ji::Do not operate tile burner for an
extended period of time without
cookware on tile grate. Tile finish on
the grate may chip without cookware
to absorb tile heat.
Be sure tile burneis and grates are cool
betore you place your hand, a pot holdeI;
cleaning cloths or other materials
on them.
Push flTecontrol knob in andturn it
to flTeLITEposition.
How to Light a Gas Surface Burner
Make sure all tile s/mfhce burneis are
placed ill their respective positions.
Push the control knob ill and turn it
to tile LITE position.
Ym will hear a little clicking noise--
the sound of the electric spark igniting
tile burnei:
Turn the knob to a(!iust the flame size.
If tile knob stays at LITE, it will continue
to click.
_,_]/en one burner is turned to LITE,
all tile burnei_ spark. Do not attempt to
disassemble or clean around any burner
while another burner is on. All electric
shock may result, which could ca use you
to knock over hot cookware.
Medium Smal!
Medium Large
On some models
Medium Smal!
i
I
o
I
Large Large
On some models
Sealed Gas Burners
Ymr gas range cooktop has Ibm" sealed
gas burnei_. Thev offer convenience and
flexibility to be used ill a wide range of
cooking applications.
Tile smallest burner ill tile right rear
position is tile simmer burnei: This burner
can be turned down to a very low simmer
setting. It provides predse cooking
perlimnance fin" delicate foods such as
sauces or fi)o(ls that require low heat fin"
a hmg cooking time.
Tile mediun/ (left rear and, on some
models, left front) and the laige (right
fl'ont and, on some models, left front)
btlFneI's are tile piimary burnei_ tin" most
cooking. These generabpuq)ose burnei_
can be turned down flx)m HIto LOto suit
a wide range ot cooking needs.
NOTE: Onsomemodels,the burnersare all the
samesizeand power
How to Select Flame Size
Forsafe handling ofcookware,neverlet the flames
extendup the sidesof the cookware.
Watch tile flame, not tile knob, as you
reduce heat. \._]/en ti_st heating is desired,
the flame size on a gas burner should
lllatch tile cookware veil _lI'e rising.
Flames larger than tile bottom of tile
cookware will not result ill thster heatim*
of the cookware and could be haa_rdous.
ge.com
Top-of-Range Cookware
Aluminum: Mediun/-weight cookware is
recommended because it heats quickly
and evenlv. Most toods brown evenly in an
almninunl skillet. Use saucepans with tight-
fitting lids when cooking with mininnun
}lIllO/lntN 0][ wateI:
Cast-Iron: If heated slowly, most skillets will
give satistactorv results.
Enamelware: Under some conditions,
tile enai/lel of soille cookw;ire ill,iv i//elt.
Follow cookware illailtl][ilcttii'eY's
recommendations fin" cooking methods.
Glass: There are two types of glass
cookware--those tor oven tlse only and
those for u_i>of-range cooking (saucepans,
coffee and teapots). Glass conducts heat
veIw slowly
Heatproof Glass Ceramic: Can be used fiw
either surti_ce or oven cooking. It conducts
heat very slowly and cools vei_ slowly: Check
cookware i/lant/lilcttlrer's directions to be
sure it can be used on gas ranges.
Stainless Steel: This metal alone has poor
heating properties and is usually combined
with coppei; almninun/or other metals fin"
improved heat distribution. (_ombination
metal skillets usually work satisfi_ctorilv if
they are used with mediunl heat as the
IIla ntllil ct tii'ei" recoII/IIlends,
Stove Top Grills (onmodels with sealedburners)
Do not rise stove top gIills on your sealed
gas burnei_. If um use tile stove top gIi]l
oil the sealed gas burner, it will cause
incomplete combustion and can result
in expostire to carbon ii/onoxide levels
above allowable current standards.
Thhcanbehazardoustoyourheaith.
Usea flat-bottomed wok.
Wok This Way (onmodelswith sealedburners)
Werecommendthatyouusea 14" orsmaller
flat-bottomedwok Makesurethewokbottom
sitsflatonthegrate.Theyareavailableatyour
localretailstore.
()Ill) a fiat-bottomed wok should be used.
Do not rise a flat-bottoilled wok Oil _1
support ring. Pladng tile ring over tile
burner or grate may cause tile burner
to _xn'k improperly, resulting in carbon
monoxide levels above allowable standards.
This could be dangerous to your health.
In Case of Power Failure
In case _ff a power fifilure, you can light
tile gas surfi_ce burnei_ on wmr range with
a match. Hold a lit match to tile burner,
then push in and turn tile control knob
to tile LlTEposition. Use extreme caution
when lighting burnei_ this way.
Surfi_ce burneis in use when an electrical
power fifilure occtu_ will continue to
operate noii/lallv;,
I
_!!ib_i;iii_i:il
ii_iiiii_iiii}ii;i
iii!iiiiii_i_ii{ii¸
7,
g
}
Usingthe ovencontrols.
Throughout this manual, features and appearance may vary from your model.
OVEN CONTROLS
.-% ONTROLS
OvenControl Clockand TimerFeaturesandSettings onsomemodelsJ
oBAKE/TEMPRECALLPad 0
Toucl/this pad to select the bake function.
BAKE Light
[qashes _hile in edit n-lode--} ou can change
tile oven temperature at this point. (;lo_:s _tlen
the oven is in bake mode.
OSTART/ON Pad
Must be touched to start an) cooking or
cleaning function.
ODisplay
Sl/o_:s the tillle ol da}; oven telllperattlre,
whether the oven is in the bake, broil or
self:cleaning mode and the times set for
the tiiller or atltoillatic ()veil operations.
The display will show PREwhile preheating.
\Allen the oven reaches the selected
temperature, the oven control will beep and
the display will sl/ow the oven temperature.
If "f- and a numberor letter" flash in the displayand the
ovencontrolm)na& this indicatesa function errorcode.
/f yourovenwas set for a t#nedovenoperationand
apower outageoccurred the clockandaftprogrammed
functionsmustbereseL
0
0
KITCHEN TIMER ON/OFF
or TIMER ON/OFFPad
Touch this pad to select the timer feature.
Then press the +and -pads to ac!iust the
[Jill el:
TIMER Light
[qashes while in edit mode--you can change
the set time at this point. (ilo_:s _hen the timer
has been activated. Iqashes again _hen the time
has run out until tile control is reset.
CLOCK Pad
To set the clock, press this pad twice and then
press the + and -pads. The time of day will
flash in the display when the oven is fi_t
[llYned on.
START TIME Pad (on some models)
Use along with the COOKING TIME or
SELFCLEAN pads to set the (wen to start
and stop automatically at a time vou set.
STARTTIME Light
Flashes _hile iI1edit Illode--yotl (all change
the start time at this point. Glows when the
flmcfion has been activated,
Thet#neofdaywill flashinthedisplaywhentherehasbeen
apoweroutage.Resetthedock.
If thefunctionerrorcodeappearsduringtheself-cleaning
cycle,checktheovendoorlatch.Thelatchhandlemayhave
beenmovedevenif onlyslightly,fromthe/atchedposition.
Makesurethelatchismovedtothenghtasfarasit wi//go.
TouchtheCLEAR/OFFpad.Allowtheoventocoolfor
onehourPuttheovenbackintooperation,ff thefunction
errorcoderepeats,disconnectthepowertotherangeand
ca//forservice.
0COOKING TIME Pad (on some models)
Tou(b this pad and then touch the +or -
pads to set the alilOtlnt oJ[ time VO/i w;Int VOtlr
tood to cook. The oven will shut off when the
cooking tiIl/e has Tun o/it.
COOKINGTIME Light
Flashes x_]lile ill edit Illode--}ot] (all change
the set time at this point. Glows when the
flmction has been activated. Flashes again when
the time has run out until the control is reset.
10