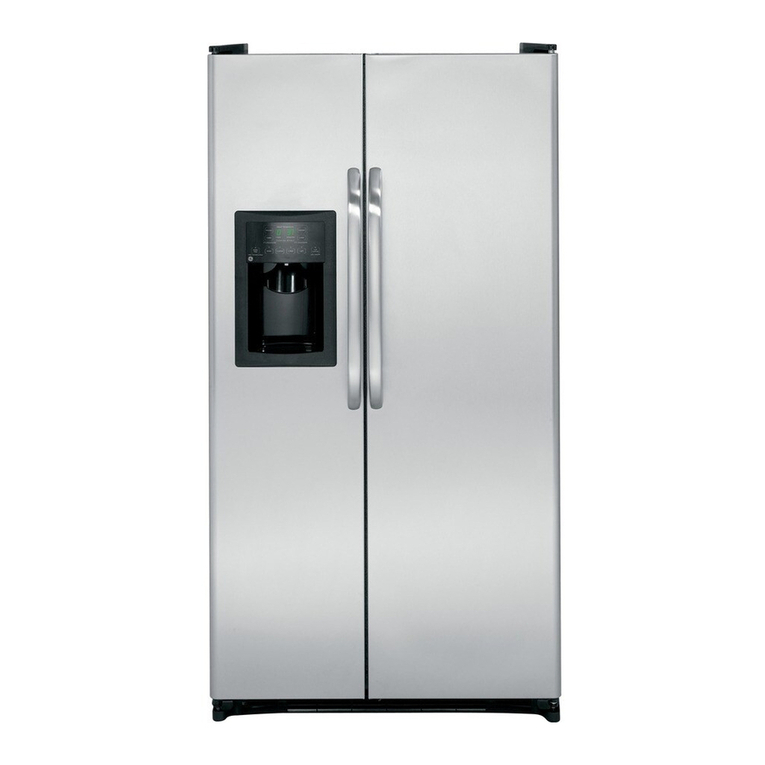
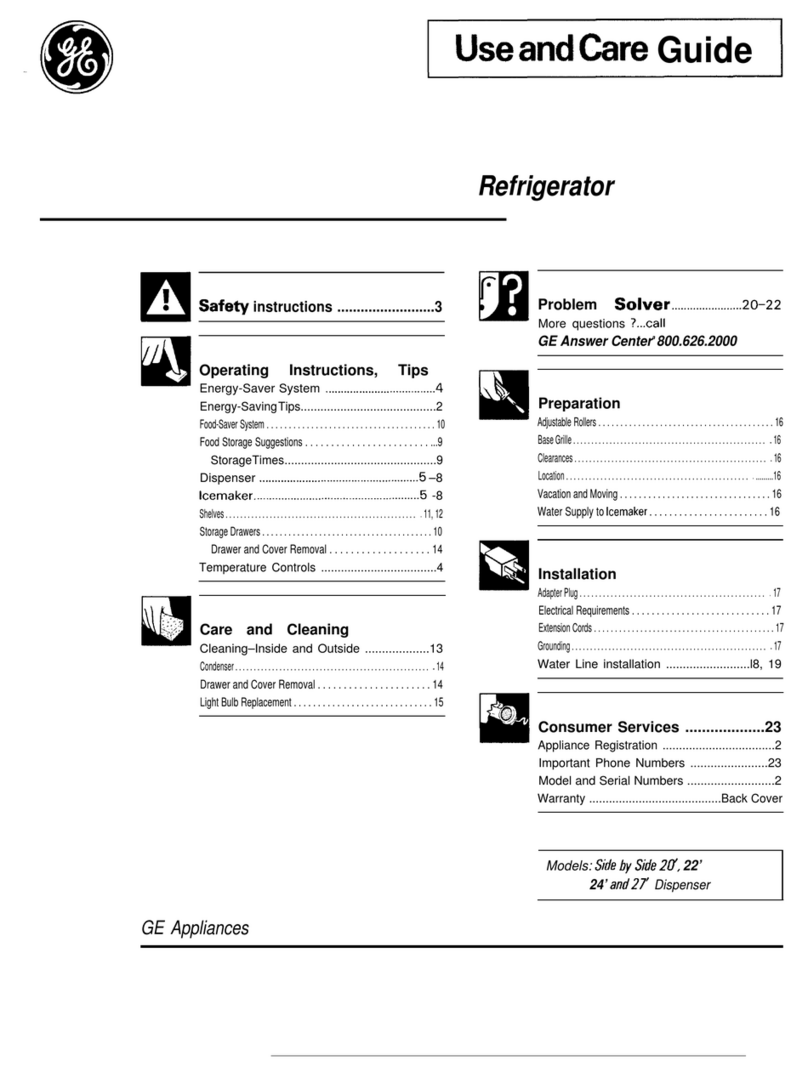
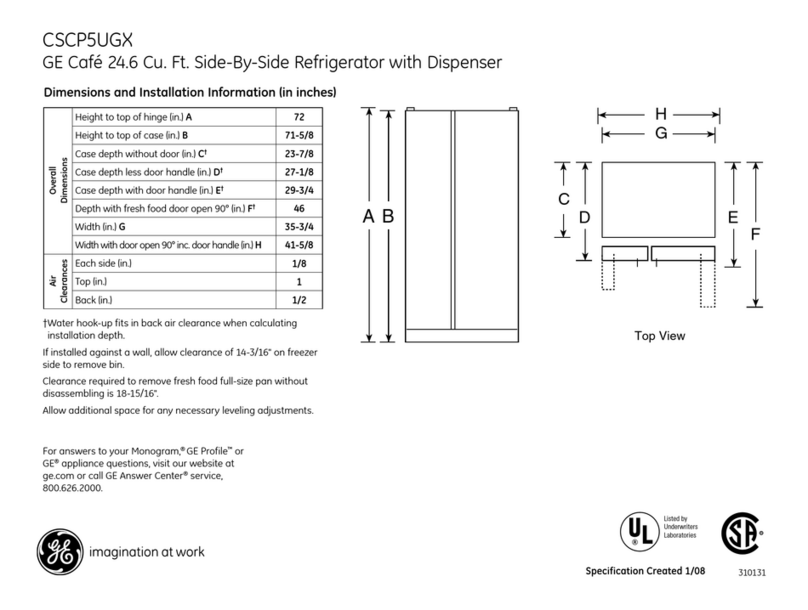
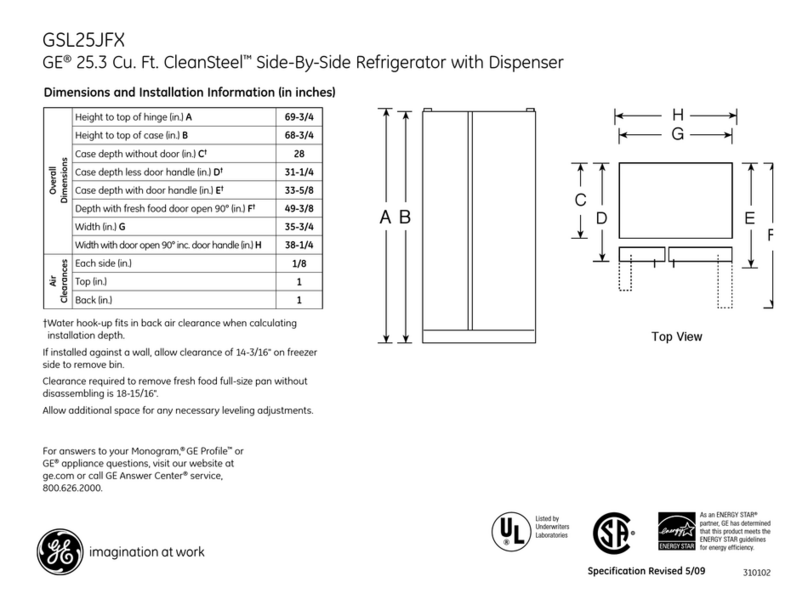
GE Profile 24 CustomStyle User manual

GE Appliances
Refrigerators
Side by side
Part No. 162D7736P005 Pub. No. 49-6909
Profile Models 24 & 27
with Refreshment Center
and Electronic Dispenser
Owner’s Manual

Congratulations!
You Are Now Part of the GE Family.
Welcome to the GE family.
We’re proud of our quality
products and we are
committed to providing
dependable service. You’ll
see it in this easy-to-use
Owner’s Manual and you’ll
hear it in the friendly voices
of our customer service
department.
Best of all, you’ll experience
these values each time you
use your refrigerator.
That’s important, because
your new refrigerator will
be part of your family for
many years. And we hope
you will be part of ours for a
long time to come.
We thank you for buying
GE. We appreciate your
purchase, and hope you
will continue to rely on us
whenever you need quality
appliances for your home.
2
Important!
Staple sales slip or cancelled
check here.
Proof of the original purchase date
is needed to obtain service under
the warranty.
Write the model and serial
numbers here.
#
#You can find them on a label on the
wall beside the top drawer or at the
bottom, just inside the fresh food
compartment door.

GE&You,
AService Partnership.
Inside you will find many
helpful hints on how to use and
maintain your refrigerator
properly. Just a little preventive
care on your part can save you a
great deal of time and money
over the life of your refrigerator.
Read this manual
Ask any GEappliance owner and they will
tell you we stand behind our products with
unmatched quality service. However, did
you know that most questions result from
simple problems that you can easily fix
yourself in just a few minutes? This
Owner’s Manual can tell you how.
You’ll find many answers to
common problems here.
If you review our chart of
Troubleshooting Tips first, you may
not need to call for service at all.
Review the section on
Troubleshooting Tips
Safety Information
Safety Precautions . . . . . . . . . . .4
How to Connect Electricity . . . .6
Use of Adapter Plugs . . . . . . .6, 7
Use of Extension Cords . . . . . . .7
Operating Instructions
Controls . . . . . . . . . . . . . . . .8–14
Features . . . . . . . . . . . . . . .15–18
Refreshment Center . . . . . . . . .19
Icemaker . . . . . . . . . . . . . . . . . .20
Dispenser . . . . . . . . . . . . . .21, 22
Care and Cleaning . . . . . . .23–27
Installation Instructions
Preparing to
Install the Refrigerator . . . .28, 29
Water Line Installation . . .30–34
Troubleshooting Tips
Normal
Operating Sounds . . . . . . . . . .35
Before You
Call For Service . . . . . . . . .36–40
Customer Service
Warranty
for Canadian Customers . . . . .41
Warranty
for U.S. Customers . . . . . . . . . .42
Service Telephone
Numbers . . . . . . . . . .Back Cover
3
Troubleshooting TipsInstallation Instructions Customer ServiceOperating InstructionsSafety Information
If you do need service, you can
relax knowing help is only a phone
call away. A list of toll-free
customer service numbers is
included in the back section. Or,
in
the U.S.,
you can always call the GE
Answer Center®at 800.626.2000,
24 hours a day, 7 days a week.
In Canada,
call 800-361-3400.
If You Need Service
English . . . . . . . . . . . . . . . . . .4
Français . . . . . . . . . . . . . . . .43
Español . . . . . . . . . . . . . . . . .87
Languages
IMPORTANT SAFETY INFORMATION.
READ ALL INSTRUCTIONS BEFORE USING.
4
Use this appliance only for its intended purpose as
described in this Owner’s Manual.
■This refrigerator must be
properly installed and
located in accordance with
the Installation Instructions
before it is used.
■Do not allow children to
climb, stand or hang on the
shelves in the refrigerator.
They could damage the
refrigerator and seriously
injure themselves.
■Do not allow anyone to
climb, sit , stand, or hang
on the Refreshment Center
door. They could damage the
refrigerator and maybe even
tip it over, causing severe
personal injury.
■Do not touch the cold
surfaces in the freezer
compartment, particularly
when hands are damp or wet.
Skin may stick to these
extremely cold surfaces.
■Do not store or use gasoline
or other flammable vapors
and liquids in the vicinity of
this or any other appliance.
■In refrigerators with
automatic icemakers, avoid
contact with the moving parts
of the ejector mechanism, or
with the heating element that
releases the cubes. Do not
place fingers or hands on the
automatic icemaking
mechanism while the
refrigerator is plugged in.
■Keep fingers out of the
“pinch point” areas;
clearances between the
doors and between the doors
and cabinet are necessarily
small. Be careful closing
doors when children are in
the area.
■Unplug the refrigerator
before cleaning and making
repairs.
NOTE: We strongly recommend
that any servicing be performed
by a qualified individual.
■Turning the control to the
OFF
position does not remove
power to the light circuit.
■Do not refreeze frozen
foods which have thawed
completely.
SAFETY PRECAUTIONS
Operating Instructions
Installation Instructions Safety InformationTroubleshooting TipsCustomer Service
When using electrical appliances, basic safety precautions
should be followed, including the following:
WARNING!

IMPORTANT:
PROPER DISPOSAL OF THE REFRIGERATOR
5
Troubleshooting TipsInstallation Instructions Customer ServiceOperating InstructionsSafety Information
Child entrapment and suffocation are not problems of
the past. Junked or abandoned refrigerators are still
dangerous…even if they will sit for “just a few days.”
If you are getting rid of your old refrigerator, please
follow the instructions below to help prevent accidents.
Before You Throw Away Your Old Refrigerator
or Freezer:
■Take off the doors.
■Leave the shelves in place so that children may not
easily climb inside.
CFC Disposal
Your old refrigerator has a cooling system that used
CFCs (chlorofluorocarbons). CFCs are believed to harm
stratospheric ozone.
If you are throwing away your old refrigerator, make
sure the CFC refrigerant is removed for proper disposal
by a qualified servicer. If you intentionally release this
CFC refrigerant you can be subject to fines and
imprisonment under provisions of the Federal Clean
Air Act.

IMPORTANT SAFETY INFORMATION.
READ ALL INSTRUCTIONS BEFORE USING.
6
Operating Instructions
Installation Instructions Safety InformationTroubleshooting TipsCustomer Service
HOW TO CONNECT ELECTRICITY
Do not, under any circumstances, cut or remove the third
(ground) prong from the power cord. For personal safety,
this appliance must be properly grounded.
The power cord of this appliance is equipped with a 3-prong
(grounding) plug which mates with a standard 3-prong
(grounding) wall outlet to minimize the possibility of electric
shock hazard from this appliance.
Have the wall outlet and circuit checked by a qualified electrician
to make sure the outlet is properly grounded.
Where a standard 2-prong wall outlet is encountered, it is your
personal responsibility and obligation to have it replaced with a
properly grounded 3-prong wall outlet.
The refrigerator should always be plugged into its own individual
electrical outlet which has a voltage rating that matches the rating
plate.
This provides the best performance and also prevents overloading
house wiring circuits which could cause a fire hazard from
overheated wires.
Never unplug your refrigerator by pulling on the power cord.
Always grip plug firmly and pull straight out from the outlet.
Repair or replace immediately all power cords that have become
frayed or otherwise damaged. Do not use a cord that shows cracks
or abrasion damage along its length or at either end.
When moving the refrigerator away from the wall, be careful not to
roll over or damage the power cord.
USE OF ADAPTER PLUGS
Because of potential safety hazards under certain conditions,
we strongly recommend against the use of an adapter plug.
However, if you must use an adapter, where local codes permit, a
temporary connection
may be made to a properly grounded 2-prong
wall outlet by use of a UL-listed adapter available at most local
hardware stores.
WARNING!

7
The larger slot in the adapter must be aligned with the larger slot in
the wall outlet to provide proper polarity in the connection of the
power cord.
When disconnecting the power cord from the adapter, always hold
the adapter in place with one hand while pulling the power cord
plug with the other hand. If this is not done, the adapter ground
terminal is very likely to break with repeated use.
If the adapter ground terminal breaks,
DO NOT USE
the refrigerator
until a proper ground has been established.
Attaching the adapter ground terminal to a wall outlet cover screw does not
ground the appliance unless the cover screw is metal, and not insulated, and the
wall outlet is grounded through the house wiring. You should have the circuit
checked by a qualified electrician to make sure the outlet is properly grounded.
Troubleshooting TipsInstallation Instructions Customer ServiceOperating InstructionsSafety Information
USE OF EXTENSION CORDS
Because of potential safety hazards under certain
conditions, we strongly recommend against the use of an
extension cord.
However, if you must use an extension cord, it is absolutely
necessary that it be a UL-listed, 3-wire grounding type appliance
extension cord having a grounding type plug and outlet and that
the electrical rating of the cord be 15 amperes (minimum) and
120 volts.
REMEMBER…
Your continued health and safety are important to us.
Please read and follow this Safety Information carefully.
We want you to remain a happy and healthy part of our
GE family.
SAVE THESE INSTRUCTIONS

Fresh Food Control
The fresh food control maintains the temperatures
throughout the fresh food compartment.
Moving the fresh food control to
OFF
stops cooling in
both areas—fresh food and freezer—but does not shut
off power to the refrigerator.
Freezer Control
The freezer control maintains the temperatures
throughout the freezer compartment.
8
Operating Instructions
Installation Instructions Safety InformationTroubleshooting TipsCustomer Service
About the controls on the refrigerator.
The temperature controls on your refrigerator have letters and numbers.
Initially set the fresh food control at 5and the freezer control at C.
If you want colder or warmer temperatures, adjust the fresh food
temperature first. When satisfied with that setting, adjust the freezer
temperature.
1
2
Temperature Controls
A B C D E
Freezer Control
C is Initial Setting
E is Coldest
OFF 13579
1 2

The Electronic Monitor and Diagnostic System monitors the operation of
your refrigerator and controls dispenser functions.
Troubleshooting TipsInstallation Instructions Customer ServiceOperating InstructionsSafety Information
DOOR
OPEN WARM
TEMP
NORMAL POWER
DEFROST
FREEZER
ICEMAKER
SYSTEM
CHECK
RESET
DISPLAY
DOORALARM
ON/OFF
CUBED
ICE
CRUSHED
ICE
CHILLED
WATER DISPENSERPUSH BELOW
1 2 3 4 5
6 6 7
Electronic Monitor and Diagnostic System
Lighted word
NORMAL
indicates that no failure has been
detected by the diagnostic system.
DOOROPEN.
Red signal light flashes to tell you when
either door is open.
WARMTEMP.
Red signal light tells you when freezer food-
keeping temperature is above normal.
Flashing diagnostic codes in the display warn you when:
frozen foods should be checked.
power has been interrupted.
icemaker may not be operating properly.
defrost system has failed.
What these codes mean—and what to do when
they appear—is explained more thoroughly on the
following pages.
SYSTEM CHECK-RESET
pad puts a review of the electronic
diagnosis of four coded functions at your fingertip and
also allows you to erase codes from display.
Electronic control allows you to select
CUBED ICE,
CRUSHED ICE
or
CHILLED WATER
and signal light confirms
your choice.
Signal light tells you that the
DOOR ALARM
beeper has been
set to sound after either door has been open 30 seconds.
9
1
2
3
4
5
6
7

About the controls on the refrigerator.
10
Operating Instructions
Installation Instructions Safety InformationTroubleshooting TipsCustomer Service
All panel lights come on for five seconds, a beep sounds, and lights
go off except as follows:
■
PF
flashes in the display. Touch
SYSTEM CHECK-RESET
pad to
erase it.
■Word
NORMAL
glows.
■Red
WARM TEMP
light glows if freezer compartment
temperature is higher than normal. It goes off when proper food-
keeping temperature is reached.
■Door alarm beeper is activated and light on
DOORALARM
pad glows.
■
CRUSHEDICE
selection light glows.
■Red
DOOR OPEN
light flashes if either door is open, goes
out when doors are shut.
■Night light in ice and water dispenser is off.
When Your Refrigerator is First Plugged In
How to Set the Door Alarm
You don’t have to set the visual alarm. As long as either
door is open, the red
DOOROPEN
signal light flashes.
If the signal light on the
DOORALARM
pad is glowing,
the beeper alarm is set. If it’s not, touch the pad to turn
it on.
If either door is open for more than 30 seconds, a
recurring beep sounds.
The light goes out and the beeping stops when you close
the door.
There are times when you’ll want the door alarm beeper
turned off. When you’re rearranging a lot of food, for
example, just touch the pad. The light will go out and
the beeping will stop.
Deactivating the door alarm beeper does not turn the
red
DOOROPEN
light off—it keeps flashing until the door
is closed.
DOOR
OPEN
DOORALARM
ON/OFF

11
Troubleshooting TipsInstallation Instructions Customer ServiceOperating InstructionsSafety Information
Why the Red WARM TEMP Light Glows
At first, it’s probably because your newly-installed
refrigerator hasn’t completely cooled down yet. Wait a
few hours for it to cool, and then the light will go out.
From then on, the red light will glow whenever
temperatures inside get too high for proper food
storage. If this happens, open the doors only when
absolutely necessary, and close them as quickly as
possible.
As soon as inside temperatures return to normal, the
light goes out.
If the
WARMTEMP
light reappears and stays on for
longer than 4 hours, call for service.
WARM
TEMP

About the controls on the refrigerator.
12
Operating Instructions
Installation Instructions Safety InformationTroubleshooting TipsCustomer Service
How the Electronic Monitor and Diagnostic
System Works
The electronic monitor and diagnostic system alerts you
when something starts to go wrong.
If a diagnostic code appears on the display, something
needs special attention. To get your attention, the
display code flashes until you erase it. The first 6 flashes
are accompanied by beeps.
If more than one coded function requires attention at
the same time, the one with the highest priority will be
displayed first.
Pressing the
SYSTEM CHECK-RESET
pad will evaluate all
other coded functions. If the
NORMAL
display is lit
during the displaying of a code, that function is
operating properly.
Pressing the
SYSTEM CHECK-RESET
pad will erase two
codes immediately—
PF
and
CI.
The
dE
and
FF
codes can
only be erased by touching the
SYSTEM CHECK-RESET
pad after the condition that caused the code to flash has
been corrected.
The word
NORMAL
is lighted except when a failure has
been detected.
The SYSTEM CHECK-RESET pad has two functions:
You can touch the
SYSTEM CHECK-RESET
pad and
get a review of the electronic diagnostic codes in
order of their priority.
You can touch the
SYSTEM CHECK-RESET
pad to
erase two flashing codes immediately and two codes
after the condition that caused them to flash has
been corrected.
2
1
NORMAL
SYSTEM
CHECK
RESET

This flashing code tells you to check your frozen food.
Has any of it started to thaw? A package may be holding
the freezer compartment door open. Don’t open the
door more often than absolutely necessary while this
code is displayed. Touching the
SYSTEM CHECK-RESET
pad after the freezer compartment temperature has
returned to normal will erase the code.
This flashing code tells you the power to the refrigerator
has been interrupted for more than two seconds. Check
the condition of food in both the fresh food and freezer
compartments. Touch the
SYSTEM CHECK-RESET
pad
to erase the code.
There is no fault with the refrigerator when the
PF
code
flashes.
This flashing code tells you to check the automatic
icemaker. Ice clumps in the storage bin may have stalled
the icemaker. Follow corrective measures described in
Troubleshooting Tips.
If water supply to the icemaker is not
connected or not turned on, make sure the icemaker
feeler arm is in the
STOP
(up) position. Code stops
flashing when problem is corrected or
SYSTEM CHECK-
RESET
pad is touched.
This flashing code tells you something is wrong with the
defrost system—keep doors closed to retain cold and call
for service. Code flashes until problem is corrected.
13
Troubleshooting TipsInstallation Instructions Customer ServiceOperating InstructionsSafety Information
DISPLAY
DISPLAY
DISPLAY
DISPLAY

About the controls on the refrigerator.
14
Operating Instructions
Installation Instructions Safety InformationTroubleshooting TipsCustomer Service
Use the milk test for the fresh food compartment. Place a container
of milk on the top shelf and check it a day later. If the milk is too
warm or too cold, adjust the temperature controls.
Use the ice cream test for the freezer compartment. Place a
container of ice cream in the center of the freezer and check it after
a day. If it’s too hard or too soft, adjust the temperature controls.
After changing the controls, allow 24 hours for the refrigerator to reach the
temperature you have set.
How To Test Temperatures
The type of packaging used and the storage temperatures will affect
how long food will keep in the refrigerator.
New food storage guidelines are constantly being developed.
Consult the County Extension Service for the latest information on freezing and
storing foods.
Food Storage
You won’t find an energy saver switch on this refrigerator.
Warm liquid from the refrigerator’s condenser is automatically
circulated around the front edge of the freezer compartment to
help keep moisture from forming on the outside of the refrigerator
during humid weather.
Many refrigerators use special electric heaters. This refrigerator
needs none. That’s why there is no
energy saver
switch…there’s no
need for it.
Automatic Energy Saver System

About the refrigerator shelves and dishes.
15
Troubleshooting TipsInstallation Instructions Customer ServiceOperating InstructionsSafety Information
Rearranging the Shelves
Shelves in the fresh food
and freezer compartments
are adjustable.
Lift up and out
2Tilt up
1
Insert
top hook
1
Lower to
lock in place
2
To Remove To Replace
Not all features are on all models.
Quick Serve™ System
CAUTION: Dishes and lids are not designed for
use on the range top, broiler or in the regular
oven. Such use can be hazardous.
Quick Serve™ dishes fit into a space-saving rack under
the shelf. The rack can be relocated anywhere in the
fresh food compartment.
Dishes and lids are safe for use in microwave ovens,
refrigerators and freezers.
Do not use when cooking high-fat foods, such as bacon, and high-
sugar foods, such as candy and syrup. The high temperatures of the
fat and sugar can cause bubbles to form on the inside of the dish.
Quick Space Shelf
This shelf splits in half and slides under itself for storage
of tall items on the shelf below.
Slide-Out Spillproof Shelf
The slide-out spillproof shelf allows you to reach items
stored behind others. The special edges are designed to
help prevent spills from dripping to lower shelves.
Make sure you push the shelves all the way back in before you
close the door.

About the storage drawers.
16
Operating Instructions
Installation Instructions Safety InformationTroubleshooting TipsCustomer Service
Not all features are on all models.
Fruit and Vegetable Drawers
Excess water that may accumulate in the bottom of the
drawers should be emptied and the drawers wiped dry.
Adjustable Humidity Drawers
Slide the control all the way to the
HIGH
setting
to provide high humidity recommended for most
vegetables.
Slide the control all the way to the
LOW
setting to
provide lower humidity levels recommended for
most fruits.
High Humidity Control Low
Convertible Meat Drawer
The convertible meat drawer has its own cold air duct to
allow a stream of cold air from the freezer compartment
to flow around the drawer.
The variable temperature control
regulates the air flow
from the freezer compartment.
Set control lever
down
to the coldest setting to store
fresh meats. If lever is left in meat position for a long
period of time, some frost may form on the inside of the
drawer.
Set control lever
up
to convert the drawer to normal
refrigerator temperature and provide extra vegetable
storage space. Cold air duct is turned off. Variable
settings between these extremes can be selected.
Normal
Coldest
The sealed snack pack can be moved to the most useful location for
your family’s needs.
Sealed Snack Pack

About storage drawer removal.
Not all features are on all models.
17
Troubleshooting TipsInstallation Instructions Customer ServiceOperating InstructionsSafety Information
Drawer Removal
Drawers can easily be removed by tilting up slightly and
pulling past the
stop
location.
Remove the door bins from the fresh food door before removing the
drawer.
To remove the shelf above the top drawer, first remove
the top drawer and any food on the shelf. Then tilt the
shelf up at the front and lift it up and out of the tracks.
To replace the shelf, raise the shelf front slightly and
place the top hooks in the lowest large track slots. Then
lower the front of the shelf until it is level.
To remove the drawers when the fresh food
compartment door cannot be opened fully you need to
roll the refrigerator forward until the door can be fully
opened. In some cases this will require moving the
refrigerator to the left as you roll it out.
Drawer Guides
When replacing the drawers, make
sure you slide them through both
drawer guides on the right side.

About the additional features.
Not all features are on all models.
18
Operating Instructions
Installation Instructions Safety InformationTroubleshooting TipsCustomer Service
Removable Wine Rack Freezer Baskets
Deep Door Shelves in the Freezer Compartment
Detachable shelf extenders deepen and enclose fixed
door shelves, providing more storage room and greater
storage flexibility.
To remove:
Lift the shelf extender straight up until the
mounting hooks come out of the slots in the door.
To replace:
Line up the hooks with the slots in the door
and push in and down.
Bins on the Fresh Food Compartment Door
Adjustable bins can easily be carried from refrigerator to
work area.
To remove:
Lift bin straight up until mounting hooks
disengage.
To replace or relocate:
Select desired shelf height, engage
bin’s hook in slots on the tracks of the door, and push in.
Bin will lock in place.
The divider
helps prevent tipping, spilling or sliding of
small items stored on the door shelf. Place a finger on
either side of the divider near the front and move it back
and forth to fit your needs.
Divider

About the refreshment center.
Troubleshooting TipsInstallation Instructions Customer ServiceOperating InstructionsSafety Information
Refreshment Center Compartment
It makes frequently used items stored on the fresh food
door readily accessible through the refreshment center
compartment door without having to open the main
refrigerator door.
It provides an extra counter-high work surface with its
own light right at the refrigerator when the refreshment
center compartment door is open. Close the door after
use.
Although durable, stain- and scratch-resistant, the work surface on
the refreshment center counter should not be used as a cutting
board. Sharp utensils can damage it.
Cold air entering from the freezer compartment keeps
the temperature in the refreshment center
compartment at proper food-keeping levels.
The refreshment center compartment is also accessible
through a lift-up door on the inside of the fresh food
compartment door.
To remove the refreshment center bin, open the outer
door to free the lip on the bin from the overlapping
door.
Then raise the inner door and lift the bin straight up
until hooks on bin come out of tracks on door.
Refreshment center bin must be replaced in its original position.
19

About the automatic icemaker.
A newly-installed refrigerator may take 8 to 12 hours to begin making ice.
Automatic Icemaker
The icemaker will produce eight cubes per cycle—
approximately 120 cubes in a 24-hour period,
depending on freezer compartment temperature, room
temperature, number of door openings and other use
conditions.
If the refrigerator is operated before the water
connection is made to the icemaker, raise the ice access
door and make sure the feeler arm is in the
STOP
(up)
position.
When the refrigerator has been connected to the water
supply, move the feeler arm to the
ON
(down) position.
The icemaker will fill with water when it cools to
freezing. A newly-installed refrigerator may take
8 to 12 hours to begin making ice cubes.
Throw away the first few batches of ice to allow the water
line to clear.
Be sure nothing interferes with the swing of the feeler arm.
It is normal for several cubes to be joined together.
If ice is not used frequently, old ice cubes will become
cloudy and taste stale.
20
Operating Instructions
Installation Instructions Safety InformationTroubleshooting TipsCustomer Service
Icemaker
Ice Storage Bin
Feeler arm
in the
STOP
(up) position
Feeler arm in the
ON
(down) position
Other manuals for Profile 24 CustomStyle
6
This manual suits for next models
1
Table of contents
Languages:
Other GE Refrigerator manuals

GE
GE ZFSB23DXCSS User manual

GE
GE PTS25LBMBRBB and Operating instructions

GE
GE ZIPP360NZA User manual

GE
GE GSS26KHWSS Manual

GE
GE GSH25JFPACC and Operating instructions

GE
GE PFSS9PKYSS - 28.5 CF Ref Assembly instructions

GE
GE TFX27F Installation instructions

GE
GE CYE22TSHBSS Operating instructions

GE
GE GSS23WGTMCC and Safety guide

GE
GE GTS18 Original instructions