manuals.online logo
Brands
  1. Home
  2. •
  3. Brands
  4. •
  5. GE
  6. •
  7. Refrigerator
  8. •
  9. GE Monogram ZISP420DXSS User manual

GE Monogram ZISP420DXSS User manual

Other manuals for Monogram ZISP420DXSS

1

This manual suits for next models

2

Other GE Refrigerator manuals

GE GTS22JCP User manual

GE

GE GTS22JCP User manual

GE GCE06GGHBWW Original instructions

GE

GE GCE06GGHBWW Original instructions

GE GTL17JBWBS - CleanSteel 16.6 cu. Ft. Top-Freezer... User manual

GE

GE GTL17JBWBS - CleanSteel 16.6 cu. Ft. Top-Freezer... User manual

GE PTS22SCPARBS and Operating instructions

GE

GE PTS22SCPARBS and Operating instructions

GE Profile ENERGY STAR PDS22MFS Manual

GE

GE Profile ENERGY STAR PDS22MFS Manual

GE GTZ18ICESS User manual

GE

GE GTZ18ICESS User manual

GE TBF12 Installation instructions

GE

GE TBF12 Installation instructions

GE Profile PGCS1RKZ Manual

GE

GE Profile PGCS1RKZ Manual

GE Profile PGSS5NFYSS Manual

GE

GE Profile PGSS5NFYSS Manual

GE 3ft 2 Door Operating instructions

GE

GE 3ft 2 Door Operating instructions

GE Profile PFSF5NFZ Manual

GE

GE Profile PFSF5NFZ Manual

GE GE Profile Arctica PSI23MGPBB User instructions

GE

GE GE Profile Arctica PSI23MGPBB User instructions

GE GTS18GCS User manual

GE

GE GTS18GCS User manual

GE GFSS6KIXSS Manual

GE

GE GFSS6KIXSS Manual

GE MONOGRAM ZISW420DM Service manual

GE

GE MONOGRAM ZISW420DM Service manual

GE PFSF5NFWBB Operating instructions

GE

GE PFSF5NFWBB Operating instructions

GE Profile GSHL6KGZLS Assembly instructions

GE

GE Profile GSHL6KGZLS Assembly instructions

GE TPX21PRXDBB User manual

GE

GE TPX21PRXDBB User manual

GE GFSS6KEXSS - r 25.8 cu. Ft. Refrigerator Manual

GE

GE GFSS6KEXSS - r 25.8 cu. Ft. Refrigerator Manual

GE PSDS3YGXSS - 23.2 cu. Ft. Refrirator Manual

GE

GE PSDS3YGXSS - 23.2 cu. Ft. Refrirator Manual

GE GBSC3HBX Manual

GE

GE GBSC3HBX Manual

GE 2 Cubic Foot Series Original instructions

GE

GE 2 Cubic Foot Series Original instructions

GE GNE26 Operating instructions

GE

GE GNE26 Operating instructions

GE Cafe CSCP5UGXSS Original instructions

GE

GE Cafe CSCP5UGXSS Original instructions

Popular Refrigerator manuals by other brands

Frigidaire FRS26TS7DW2 Use & care manual

Frigidaire

Frigidaire FRS26TS7DW2 Use & care manual

Fisher Scientific 10ECEEFSA manual

Fisher Scientific

Fisher Scientific 10ECEEFSA manual

Summit FF22BDRSS user manual

Summit

Summit FF22BDRSS user manual

Frigidaire FFRU17B2QWE use & care

Frigidaire

Frigidaire FFRU17B2QWE use & care

Hotpoint ENBGH 19xxx FW operating instructions

Hotpoint

Hotpoint ENBGH 19xxx FW operating instructions

Hitachi R-SG28KPH instruction manual

Hitachi

Hitachi R-SG28KPH instruction manual

Dometic RMH 7390 L operating instructions

Dometic

Dometic RMH 7390 L operating instructions

AEG S71700TSW0 user manual

AEG

AEG S71700TSW0 user manual

Electrolux ENB3669 Instruction book

Electrolux

Electrolux ENB3669 Instruction book

Electrolux ERN 2930 Instruction book

Electrolux

Electrolux ERN 2930 Instruction book

Beko GNE 60520 X user manual

Beko

Beko GNE 60520 X user manual

Jenn-Air JUR248LBES00 Use & care guide

Jenn-Air

Jenn-Air JUR248LBES00 Use & care guide

Dometic RGE 4000 Installation and operating manual

Dometic

Dometic RGE 4000 Installation and operating manual

Dometic L-0191B Brochure & specs

Dometic

Dometic L-0191B Brochure & specs

LG LRBP1031W - 10 Cu. Ft. Cabinet Depth Bottom Freezer... owner's guide

LG

LG LRBP1031W - 10 Cu. Ft. Cabinet Depth Bottom Freezer... owner's guide

Daewoo RN-33 Series user manual

Daewoo

Daewoo RN-33 Series user manual

Haier RF-8888-174 Service manual

Haier

Haier RF-8888-174 Service manual

Blaupunkt 5CK2 Series user manual

Blaupunkt

Blaupunkt 5CK2 Series user manual

manuals.online logo
manuals.online logoBrands
  • About & Mission
  • Contact us
  • Privacy Policy
  • Terms and Conditions

Copyright 2025 Manuals.Online. All Rights Reserved.

36",42:'48"
Built-In Refrigerators
49-60559-1 1
224D1893PO05]
05-08 JR
monogram°corn
Consumer Information
Buibfn Refrigerators
Contents Consumer Services
Important Phone Numbers .................. 29
Model and Serial Numbers ................... 3
Problem Solver ......................... 24-26
Product Registration ......................... 5
Safetg Instructions ........................ 4-7
Smartwater Filter Performance
Data Sheet ................................. 27
State of California
Water Treatment Device Certificate ......... 28
Warrantg ......................... Back Cover
Cure and Cleaning
Cleaning-Outside and Inside ............... 19
Light Bulb Replacement ................ 20-21
Moving and Vacation ....................... 22
Master Light Switch ........................ 21
Operuting Instructions
Automatic Icemaker ........................ 12
Climate Control Drawer .............. 13, 14, 16
Control Lock ................................ 14
Ice and Water Dispenser ................ 10, ll
Shelves and Bins ........................ Z7, 18
Storage Pans ........................... ZS, 16
Temperature Controls ........................ 8
Water Filter Cartridge ........................ 9
Sabbath Mode Product Kit, ZSAB1 ........... Z8
Consumer Information
Built-In Refrigerators
Before
using btour
refrigerator
Read this manual carefully. It is intended
to help you operate and maintain your new
refrigerator properly.
Keep it handy for answers to your questions.
If you don't understand something or need more
help, there is a list of toll-free consumer service
numbers included in the back section of this
manual.
OR
Visit our website at: monogram.cam
Write
down the
model &
serial
numbers
You'll see them on a label in the lower right hand
side of the fresh food comportment beneath
the climate control drawer.
These numbers are also on the Consumer
Product Ownership Registration Card
included with this manual.
Before sending in this card, please write these
numbers here:
Model Number
Serial Number
Usethese numbers in any correspondence or
service calls concerning your refrigerator.
If btou
received a
damaged
refrigerator
Immediately contact the dealer (or builder) that
sold you the refrigerator.
Save time
&monebf Before you request service, check the
Problem Solver in the back of this manual. It lists causes of minor operating problems that
you can correct yourself.
If btou
need
service
To obtain service, see the Consumer Services
page in the back of this manual.
We're proud of our service and want you to be
pleased. If for some reason you are not happy
with the service you receive, here are steps to
follow for further help.
For customers in the USA:
FIRST,contact the people who serviced your
appliance. Explain why you are not pleased.
In most cases, this will solve the problem.
NEXT,if you are still not pleased, write all the
details-including your phone number-to:
Manager, Customer Relations
GEAppliances
Appliance Park
Louisville, KY40225
For customers in Canada:
ARST,contact the people who serviced your
appliance. Explain why you are not pleased.
In most cases, this will solve the problem.
NEXT,if you are still not pleased, write all
the detailsdncluding your phone number to:
Manager, Consumer Relations
Mabe Canada inc.
1 Factory Lane, Suite 510
Moncton, N.B.E1C9M3
IMPORTANTSAFETY INSTRUCTIONS
READ AND SAVETHESEINSTRUCTIONS
WARNING - Whenusing
this appliance, alwags exercise basic safetg
precautions, including the following:
, Use this appliance onlg for its intended
purpose as described in this Owner's Manual.
This refrigerator must be properly installed
in accordance with the Installation
Instructions before it is used.
Do not allow children to climb, stand or
hang on the shelves in the refrigerator.
Theg could damage the refrigerator and
seriousl Uinjure themselves.
After gour refrigerator is in operation,
do not touch the cold surfaces in the
freezer compartment, particularly when
hands are damp or wet. Skin mag adhere
to these extremelg cold surfaces.
Do not store or use gasoline or other
flammable vapors and liquids in the
vicinity of this or any other appliance.
In refrigerators with an automatic icemaker,
avoid contact with the moving parts of the
ejector mechanism, or with the heating
element located on the bottom of the
icemaker. Do not place fingers or hands
on the automatic icemaking mechanism
while the refrigerator is plugged in.
Keep fingers out of the "pinch point" areas:
clearances between the doors and between
the doors and cabinet are necessaril 9 small.
Be careful closing doors when children are
in the area.
Unplug gour refrigerator before cleaning
and making repairs. NOTE:We strongl 9
recommend that an9 servicing be performed
bg a qualified individual.
Before replacing a burned-out light bulb,
set the Master Light switch inthe OFFposition
to turn off the lights in order to avoid contact
with a live wire filament. (Aburned-out light
bulb mag break when being replaced.)
NOTE:Setting the refrigerator temperature
controls to OFF does not remove power
to the light circuit.
Do not refreeze frozen foods which have
thawed completelg.
DANGER: RISK OF CHILD ENTRAPMENT
Child entrapment and suffocation are not
problems of the past. Junked or abandoned
refrigeration products are still dangerous.., even
if theg will sit for "just a few dags/' If gou are
getting rid of gour old appliance, please follow
these instructions to help prevent accidents.
Before You Throw Awag Your Old Refrigeration
Product:
Take off the doors.
Leave the shelves in place so that children
mag not easilg climb inside.
REFRIGERANTS
All refrigeration products contain refrigerants,
which under federal law must be removed prior
to product disposal. If gou are getting rid of
an old refrigeration product, check with the
compang handling the disposal about what
to do.
IMPORTANTESINSTRUCTIONSDESt'CURITE"
LISEZETCONSERVEZCESINSTRUCTIONS
AVERTJSSEMENT:Lorsque
vous utilisez le r@frig@rateur,observez
toujours certaines pr@cautions de base,
notamment :
N'utilisez le r@frig@rateurque pour son usage
pr@vu,comme d6crit dans le present manuel.
lnstallez le r_fr@@ateur conform_ment aux
directives d'installation avant de Futiliser.
Ne laissez pas les enfants gdmper, s'asseoir,
se tenir debout ni se pendre au× dagettes
du r_fdg_rateur. IIspourraient endommager
le r_frig@ateur et se blesser gravement.
Une lois le r@frig@rateuren marche,
ne touchez pas les surfaces froides
du cong@lateur, surtout si vous avez
les mains humides ou mouill@es:la peau
risque d'adh6rer 6 ces surfaces tr@sfroides.
N'entreposez et n'utilisez pas d'essence
ou autres vapeurs et liquides inflammables
6 pro×imit_ de cat appareil ou de tout autre
appareil _lectrom_nager.
Pour les r@frig@ateurs dot@sd'une machine
6 glaqons automatique, 6vitez le contact avec
les pi@cesmobiles du m@canisme@jecteur,
ou avec I'@l@mentchauffant situ@6 la partie
[nf6deure de la machine 6 glaqons. Ne posez
pas les do[gts ou les mains sur le m6canisme
de la machine 6 glagons pendant que
le r@fdg@ateurest branch,.
t_loignez les doigts des parties du
r@frig@rateuro@Fan peut fadlement
se pincer : les espaces entre les portes
etles placards sont toujours @traits.Sogez
prudent Iorsque vous fermez les portes
de Fapparefl en pr6sence des enfants.
D@branchez votre r@frig@rateuravant
de le nettoger et de le r@parer.REMARQUE:
Nous vous recorr_rnandons vivernent de confier
toute r_paration 6 un technicien qualifi@.
Avant de remplacer une ampoule grill@e,
mettez le commutateur de lumi@reprincipale
en position OFF (arr_t) pour @eindre la lumi_re
afin d'6viter tout contact avec un fil sous
tension. (Une ampoule grill_e peut se briser
pendant Fop@ration).REP1ARQUE: Lorsque
vous placez lescommandes de temp@ature
du r6fdg@ateur sur OFF (arr_t), I'alimentation
@lectriquede I'ampoule n'est pas couple.
Ne faites PASrecongeler des aliments
surgel@squi ant compl@tement d@gel@.
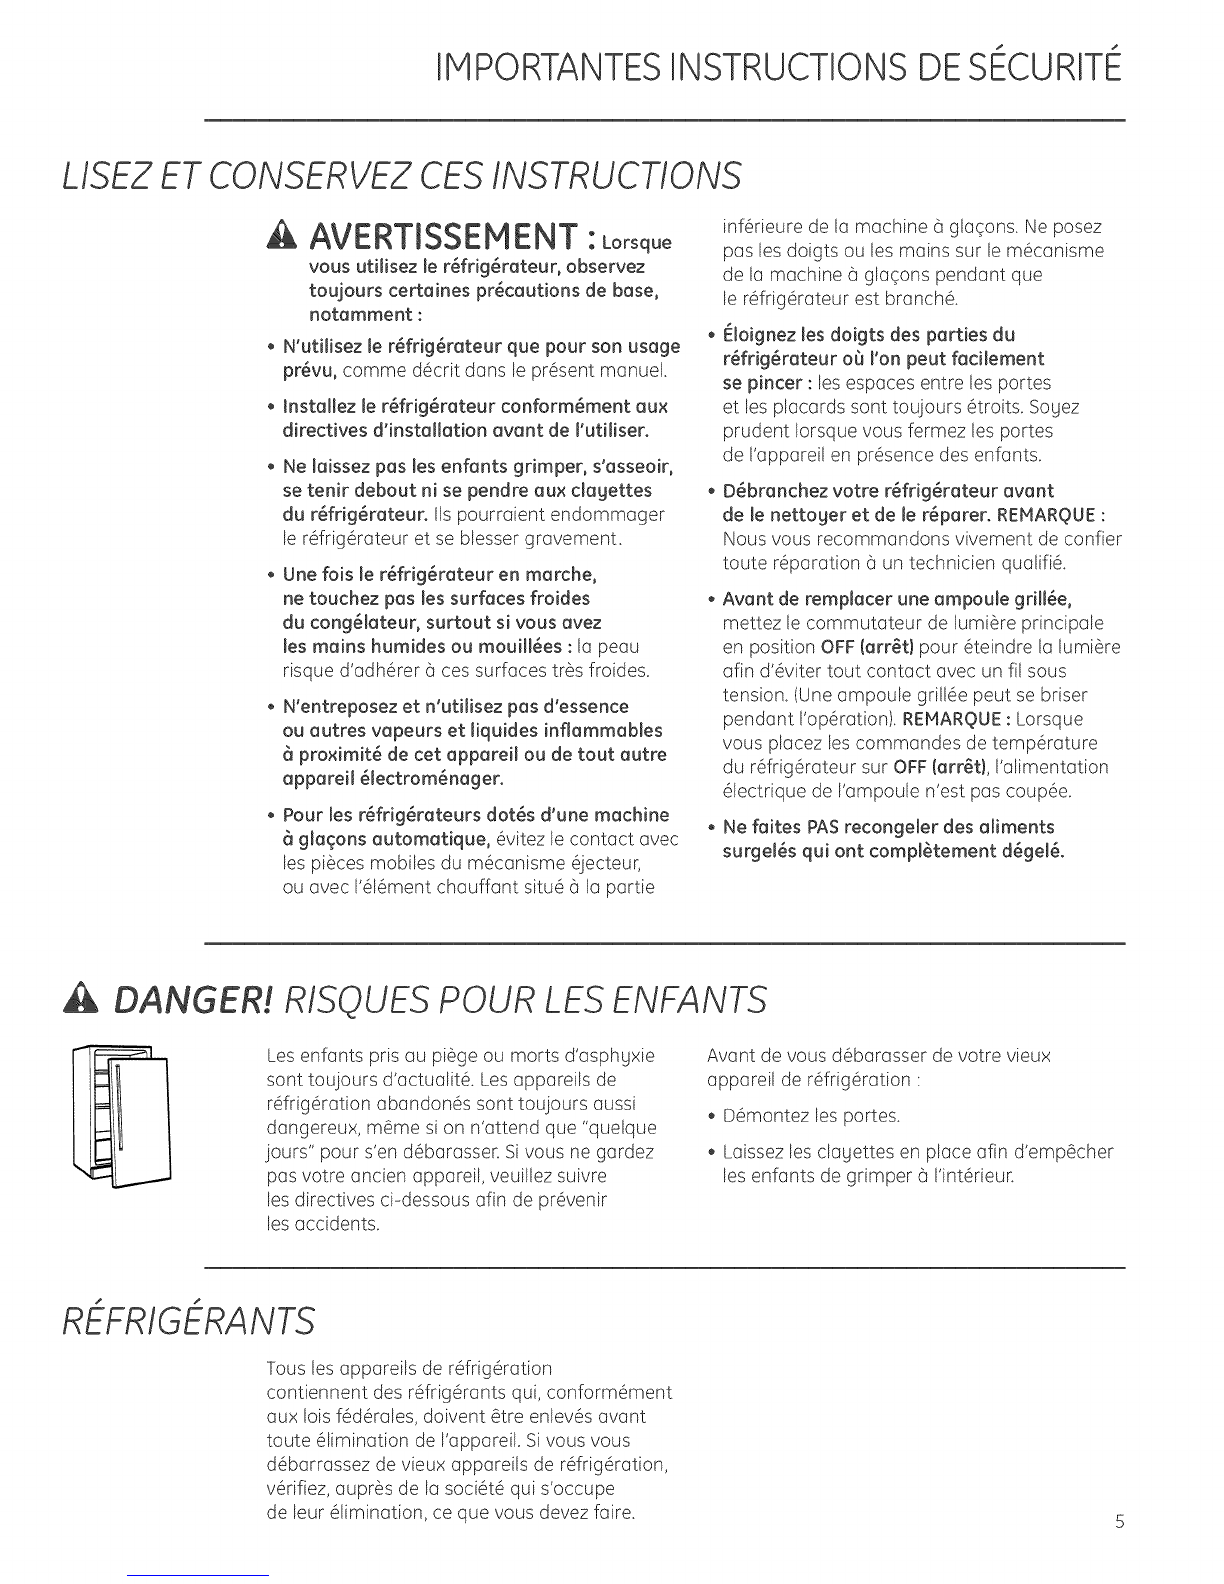
DANGERI,RIS(JUESPOUR LESENFANTS
Les enfants pds au pi@geou marts d'asphgxie
sont toujours d'actualit_. Lesappareils de
r@frig_ration abandon@ssont toujours aussi
dangereux, m@mesi on n'attend que "quelque
jours" pour s'en d@barasser.Si vous ne gardez
pas votre ancien appareil, veuillez suivre
les directives cPdessous afin de pr_venir
les accidents.
Avant de vous d_barasser devotre vieux
apparefl de r_fdg@ation :
D_montez les portes.
Laissez les dagettes en place afin d'emp_cher
les enfants de gdmper 6 Fint@ieur.
RdL-FRIGERANTS
Tousles apparefls de r_frig@ration
contiennent des r_frig_rants qui, conform_ment
aux lois f_d@rales,doivent @treenlev_s avant
toute _limination de Fappareik Sivous vous
d@barrassezde vieux apparefls de r_frig@ation,
v@ifiez,aupr_s de la soci@t_qui s'occupe
de leur _limination, ce que vous devez faire.
IMPORTANTSAFETY INSTRUCTIONS
HOW TO CONNECTELECTRICITY
Do not, under ang circumstances, cut or
remove the third (ground) prong from the
power cord. For personal safety, this appliance
must be properly grounded.
The power cord of this appliance is equipped
with a 3-prong (grounding) plug which mates
with a standard 3-prong (grounding) wall outlet
to minimize the possibilitg of electric shock
hazard from this appliance.
Have the wall outlet and circuit checked
bg a qualified electrician to make sure the outlet
is propedg grounded.
Where a standard 2-prong wall outlet is
encountered, it is gour personal responsibilitg
and obligation to have it replaced with
a propedg grounded 3@rang wall outlet.
Use ofa GFt (Ground Fault tnterruptor) is not
recommended for the refrigerator outlet.
The appliance should alwags be plugged into
its own individual electrical outlet which has
a voltage rating that matches the rating plate.
This provides the best performance and also
prevents overloading house wiring circuits
which could cause a fire hazard from
overheated wires.
DO NOT USE AN ADAPTER PLUG TO CONNECT
THE REFRIGERATOR TO A 2-PRONG OUTLET.
DO NOT USE AN EXTENSION CORD WITH
THIS APPLIANCE.
Never unplug an appliance bg pulling on
the power cord. Alwags grip the plug firmlg
and pull straight out from the outlet.
Repairor replace immediatelg all power cords
that have become fraged or otherwise damaged.
Donot use a cord that shows cracks or abrasion
damage along its length or at either end.
When moving the appliance, be careful not to
roll over or damage the power cord.
SAVE THESEINSTRUCTIONS
IMPORTANTESINSTRUCTIONSDESt'CURITE"
RACCORDEPIENT ELECTRIQUE
Ne coupez ni retirez en aucun cas
ia troisi_me broche (raise 6 la terra) de la fiche
du cordon d'alimentation. Pour votre s_curit_,
cat appareil doit @tre correctement mis
la terra.
Le cordon d'alimentation de cet appareil est
muni d'une fiche @3 broches (mise @la terre)
qui se branche dans une prise mural ordinaire
6 3 alv@oles(mise@la terre) pour r6duire
au minimum les risques du chocs 61ectriques.
Faites examiner la prise de courant et le circuit
par un @lectriden qualifi@pour vous assurer
que la prise est correctement mise 6 la terre.
Si la prise murale est du tgpe standard
2 alv@oles,il vous incombe de la faire
remplacer par une prise 6 3 alv@oles
correctement mise 6 la terre.
L'utiiisation d'un interrupteur de d@faut
la terra (GFI-Ground Fault lnterruptor)
n@stpas recommand@ pour la prise
de courant du r@frig@rateun
La machine 6 glaqons doit toujours Ctre branch6
dans sa propre prise de courant, dont la tension
nominale est identique 8 celle indiqu6e sur
la plaque signal@tique.Cette precaution est
recommand@e pour garantir un rendement
optimum et 6viter une surcharge des circuits
@lectriquesde la r6sidence, ce qui pourrait crier
un risque d'incendie par surschauffe des ills.
N'UTILISEZ PAS UNE FICHE D'ADAPTATION POUR
RACCORDER LE RI_FRIGI_RATEURDANS UNE PRISE
PIURALE/_ 2 ALVEOLESo
N'UTILISEZ PAS DE CORDONS PROLONGATEURS
AVEC CET APPAREIL.
Ned6branchez jamais I'appareil en tirant
le cordon d'alimentation. Saisissezfermement
la fiche du cordon et tirez droit pour la retirer
de la prise.
R_parez ou remplacez imm6diatement tout
cordon effiloch6 ou endommag@. N'utilisez
pas un cordon fendill_ ou pr@sentantdes
signes d'usure.
Lorsque vous d6placez I'appareil du mur,
faites attention de ne pas la faire rouier
sur le cordon d'aiimentation afin de ne pas
I'endommager.
CONSERVEZ CESDIRECTIVES
Tem perature Controls
Builtqn Refrigerators
Q
O
HOLD 3SEC
Preset Settings:
Allow 24 hours to reach these preset temperatures.
Temperature
controls The temperature display shows the actual
temperature of the freezer and fresh food
compartments. The actual temperature will vary
from the set temperature based on factors such
as door opening, amount of food, defrost cycling
and room temperature.
NOTE:Frequent door openings or door left open
for periods of time may increase the internal
temperature of the freezer and fresh food
compartments temporarily.
To turn off the cooling system in both
the freezer and fresh food compartments, press
either (-2)pad until both displays show OFF.
To turn the cooling system on, press either
Q_ pad. The preset temperatures of 0% and 37%
will appear in the display.
To check the current temperature setting
for the fresh food or freezer compartment,
press the (2) or Q'_ pad once. After 5 seconds,
the display will return to the actual temperature.
To change the temperature settings, press
the _(-2)or (_ pads to desired temperature set
point for fresh food and freezer separately.
Allow 24 hours for the refrigerator to reach
the temperature you have set.
Fresh Food
Freezer
Temperature Ranges
Low High
34°F 45%
loc 7oc
-6OF +6OF
-21oc -14°C
NOTE:Setting the controls to OFFstops
cooling, but does not shut off electrical power
to the refrigerator.
Changing
displa d
temperatures
from °F to °C
Tochange the temperature display
between Fahrenheit and Celsius, press
Temp Display °C/°F.
Door
alarm To turn the Door Alarm feature on, press
DOOR ALARM once. The ACTIVE light will come
on. To turn it off, press it again.
On models with a dispenser, the Door Alarm
feature is located on the dispenser panel on
the front of the freezer door.
When the DOORALARM
is active, the alarm will flash
and beep if you keep the door
open for more than 2 minutes. ®
Water Filter Cartridge
Builtqn Refrigerators
Water filter
cartridge Thewater filter cartridge islocated inthe top
machine compartment of the refrigerator.
To Replacethe Filter:
Thefilter cartridge isdesigned tf_Es_['_
to fitter 300 gallons of water
(lasting approximately 12 months). ¢
HOLD 3 SEC
Thereisa replacement indicator light
for the water filter cartridge on the temperature
control panel.Thislight will turn yellow to tell
you that you need to replacethe filter soon.
Thefilter cartridge should be replaced when
the replacement indicator light turns red
or ifthe flow of water to the dispenser
or icemaker decreases.
installingthe Filter Cartridge:
1. Removethe old cartridge by slowly turning
it to the left. A small amount of water may
drip down. Do not pull down on the cartridge.
2. Fillthe new cartridge with water from the tap
to allow for better flow immediately offer
installation.
3. Line up the arrow on the cartridge with
the center of the holder.Do not push it up
into the holder.
4. Slowly turn it to the right until the cartridge
stops. It will rotate (]bout 1/4 turn. DO NOT
OVERTtGHTEN.
To Resetthe Filter Status Light:
Pressand hold the RESETpad for 3 seconds.
Filter Bypass Plug:
Youmust usethe filter bypass plug:
al if you hovea household
reverseosmosis water system
and/or another form of home
water filtration system
bl if a replacement filter isnot
available.
Thebypass plug and the mini-manual are located
in the top machine compartment.
Theicemaker and dispenser will not operate
without the filter or filter bypass plug installed.
Replacement filters:
Toorder additional filter cartridges in the United
States, visit our Website at monogram.cam, or
call GEParts and Accessories, 800.626.2002.
Replacement filter cartridge: MWF
Customers in Canadashould consult the yellow
pagesfor the nearest MabeServiceCenter.
_"_ Cartridge
Holder
Filter
Cartridge
Slowly turn it to the right,
Do not overtighten,
iMPORTANTNOTE:Remove the water filter to
immediately stop any water leak from the
IcemakeriDispenser system. The water filter
cartridge holder (bracket) acts as a cut-off valve
when the filter is removed and will prevent
further leaking.
Call 1.800.844,1845 to schedule a service call
to repair the leak.
Ice & Water Dispenser (on some models)
Builtqn Refrigerators
Dispenser
with
glass-touch
controls
How it Works
The electronic controls on the dispenser are
truly interactive. The control panel isequipped
with a proximity sensor that causes the panel to
light up as you approach the dispenser (approx.
2 inches).To make u selection, simply touch
the graphic for the feature you want, and the
halo for that feature will light up. When you walk
away from the refrigerator, the lighted graphics
switch off automatically.
Spill Shelf
How to Use
Todispensewater or ice:selectWATER9, CUBED
ICE_7or CRUSHEDICE_. Then pressthe gloss
gently against the top of the dispenser cradle.
The spill shelf is not self-draining. To reduce
water spotting, the shelf and its grille should be
cleaned regularly.
If no water is dispensed when the refrigerator
is first installed, there may be air in the water
line system. Pressthe dispenser cradle for at
least two minutes to remove trapped air from
the water line and to fill the water system.
Toflush out impurities in the water line,
throw away the first gallon of water.
CAUTION: Neverputfingers
or any other objects into the ice crusher
discharge opening.
Locking the Dispenser:
Touch CONTROLLOCKfor
5 seconds to lock the dispenser
and control pad. To unlock, touch
it again for 5 seconds.
Dispenser Light:
This feature turns the night light
on and off. The light also comes
on when the dispenser cradle is
pressed. If this light burns out, it
should be replaced with a rowatt
12V maximum bulb. The bulb is available
through GEParts and Accessories, 800.626.2002.
Order part number WR02X10675.
Door Alarm:
Toturn the Door Alarm feature on,
touch DOORALARM once. To turn
it off, press it again.
When the DOORALARM
is active, the alarm will flash and beep if you
keep the door open for more than 2 minutes.
10