manuals.online logo
Brands
  1. Home
  2. •
  3. Brands
  4. •
  5. GE
  6. •
  7. Warming Drawer
  8. •
  9. GE Cafe CTW900P2NS1 Manual

GE Cafe CTW900P2NS1 Manual

This manual suits for next models

2

Other GE Warming Drawer manuals

GE Cafe CW9000SDSS Manual

GE

GE Cafe CW9000SDSS Manual

GE Monogram ZKD910 User manual

GE

GE Monogram ZKD910 User manual

GE Monogram ZKD910 User manual

GE

GE Monogram ZKD910 User manual

GE Profile PKD915BMBB Manual

GE

GE Profile PKD915BMBB Manual

GE Monogram ZKD910BF User instructions
GE

GE Monogram ZKD910BF User instructions

GE Monogram ZKD910 B Series How to use

GE

GE Monogram ZKD910 B Series How to use

GE JKD910SBSS User manual

GE

GE JKD910SBSS User manual

GE PHB915SDSS User manual

GE

GE PHB915SDSS User manual

GE JB705STSS Manual

GE

GE JB705STSS Manual

GE Monogram ZKD910 User manual

GE

GE Monogram ZKD910 User manual

GE JTD915 Operating instructions

GE

GE JTD915 Operating instructions

GE PW9000DFBB Manual

GE

GE PW9000DFBB Manual

GE JTD910 User manual

GE

GE JTD910 User manual

GE Monogram ZKD910 User manual

GE

GE Monogram ZKD910 User manual

GE JKD910 User manual

GE

GE JKD910 User manual

GE Monogram ZTD910SFSS User instructions

GE

GE Monogram ZTD910SFSS User instructions

GE JB705EDES Manual

GE

GE JB705EDES Manual

GE Profile PTD915SMSS Manual

GE

GE Profile PTD915SMSS Manual

GE Cafe CW9000SDSS User manual

GE

GE Cafe CW9000SDSS User manual

GE MONOGRAM ZTD910BF/SF/WF User instructions

GE

GE MONOGRAM ZTD910BF/SF/WF User instructions

GE PHB925STSS User manual

GE

GE PHB925STSS User manual

GE Profile PKD915 Operating instructions
GE

GE Profile PKD915 Operating instructions

GE Monogram ZKD910 User manual

GE

GE Monogram ZKD910 User manual

GE Profile PTD915 User manual

GE

GE Profile PTD915 User manual
Popular Warming Drawer manuals by other brands
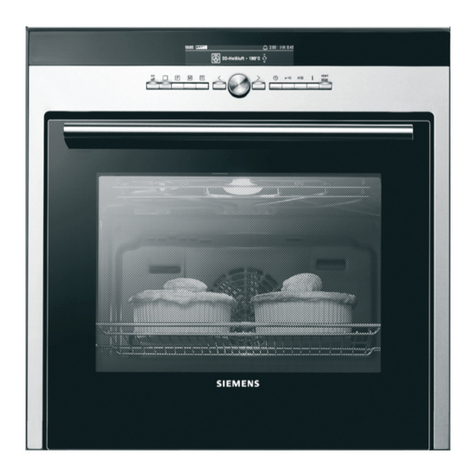
Siemens HW 290 Series instruction manual

Siemens

Siemens HW 290 Series instruction manual

Viking DEWD102SS Quick reference guide

Viking

Viking DEWD102SS Quick reference guide

Miele ESW 6229 Operating and installation instructions

Miele

Miele ESW 6229 Operating and installation instructions

Brandt WD1014X user guide

Brandt

Brandt WD1014X user guide

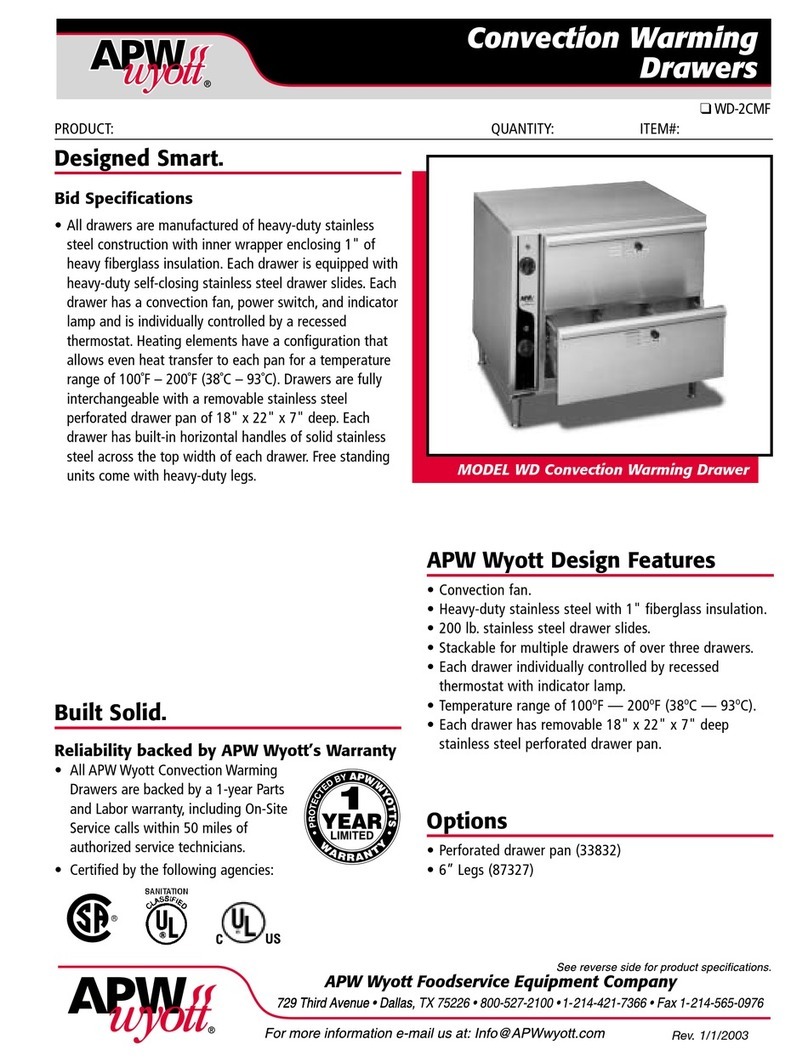
APW Wyott WD-2CMF Specification sheet

APW Wyott

APW Wyott WD-2CMF Specification sheet

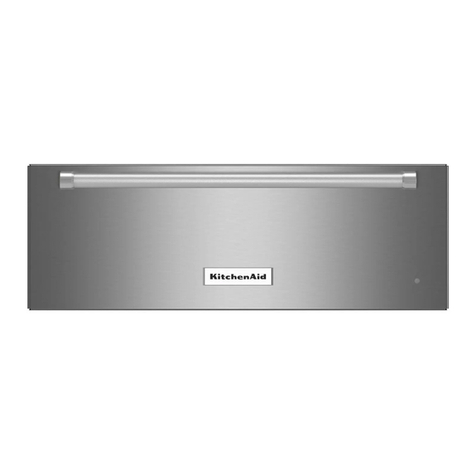
KitchenAid KOWT107ESS installation instructions

KitchenAid

KitchenAid KOWT107ESS installation instructions

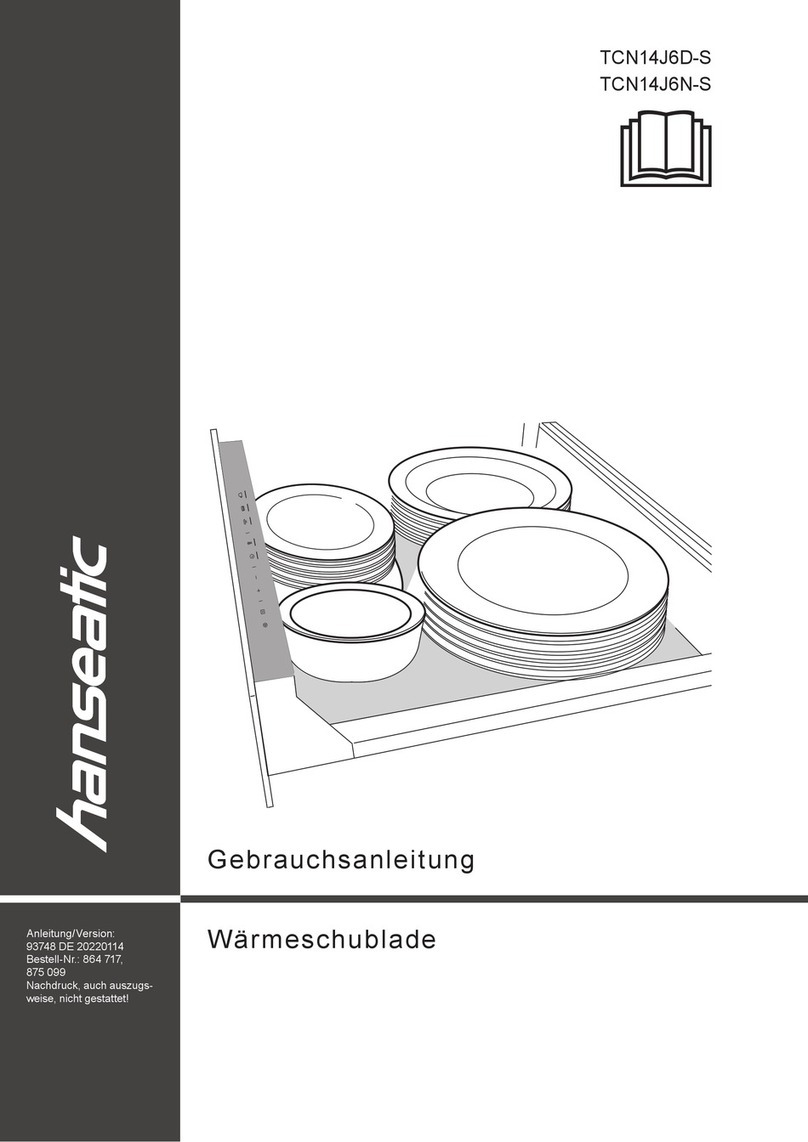
Hanseatic TCN14J6D-S user manual

Hanseatic

Hanseatic TCN14J6D-S user manual

Cardini WD6299 instruction manual

Cardini

Cardini WD6299 instruction manual

Dacor IWD24 Planning guide

Dacor

Dacor IWD24 Planning guide

Nordmende WD515IX user manual

Nordmende

Nordmende WD515IX user manual

Electrolux EW30WD55GS Use and care guide
Electrolux

Electrolux EW30WD55GS Use and care guide

Wolf WWD30 troubleshooting guide

Wolf

Wolf WWD30 troubleshooting guide

Jenn-Air JWD6030CDX user guide

Jenn-Air

Jenn-Air JWD6030CDX user guide
Fisher & Paykel WB30SDEX1 Quick reference guide

Fisher & Paykel

Fisher & Paykel WB30SDEX1 Quick reference guide

Fisher & Paykel WB60SDTB1-SET Quick reference guide

Fisher & Paykel

Fisher & Paykel WB60SDTB1-SET Quick reference guide

Bosch HWD2720UC installation manual

Bosch

Bosch HWD2720UC installation manual

KitchenAid KEWS105 Use & care guide

KitchenAid

KitchenAid KEWS105 Use & care guide

Baumatic WD01SS user manual

Baumatic

Baumatic WD01SS user manual

manuals.online logo
manuals.online logoBrands
  • About & Mission
  • Contact us
  • Privacy Policy
  • Terms and Conditions

Copyright 2025 Manuals.Online. All Rights Reserved.

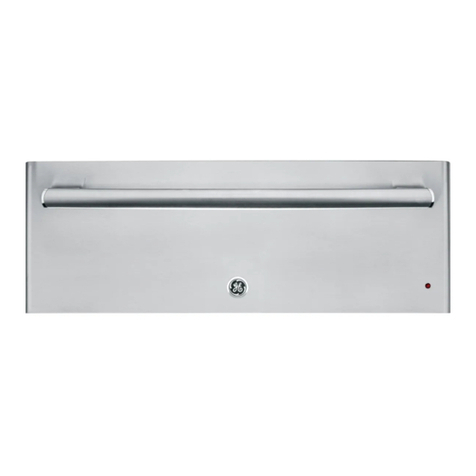
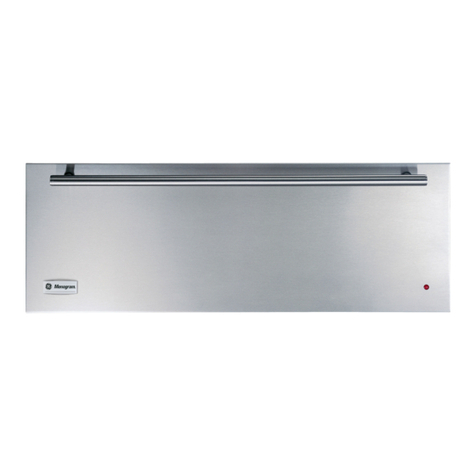
Café™30" Warming Drawer
CTW900P2NS1 / CTW900P3ND1 / CTW900P4NW2
A range of temperatures for every need - Keep fresh courses at the ideal
temperature or heat up dishes perfectly using variable degree control with
80- to 210-degree settings
Humidity made flexible - From crispy to tender, always achieve the right
texture with variable humidity control that never compromises results for
the sake of warmth
A distinctly clean, smooth look - Your drawer is as easy on the eyes as it
is to use thanks to a frameless front that exudes simplicity and style at the
same time
It only takes a glance - Always know when your drawer is on with an
indicator light that illuminates when it’s in operation
Relish every bit of space - Keep items warm with an elevated half rack that
maximizes drawer space
Create a look that matches your personal style - Select any combination
of premium finishes and hardware options to create a stunning look
customized to any owner’s taste
FEATURES & BENEFITS
FEATURES
Full Extension Ball Bearing Glides Ye s
Half Rack Ye s
One-piece stainless steel drawer Ye s
Power Cord Length 4'8"
Receptacle Type 3-Prong Grounding
Variable Humidity Control Crisp - Moist
Variable Temperature Control Proof(80)/Low(140)/Med(170)/High(210)
Control Type On/O Rocker Switch
Indicator Lights “ON”
CAPACITY
Total Capacity (cubic feet) 1.9
POWER / RATINGS
Heating Element Wattage 450W
Volts/Hertz/Amps 120V/60Hz/15Amps
WEIGHTS & DIMENSIONS
Approximate Shipping Weight 65
Cabinet Width 30
Cutout Dimensions (w x h x d) (in.) 28-1/2 x 9-1/4 x 23-1/2
Interior Dimensions (w x h x d) (in.) 23-7/8 x 6-1/4 x 22-1/16
Net Weight 59
Overall Depth 23 1/4
Overall Height 10 1/2
Overall Width 29 3/4
APPEARANCE
Color Appearance Matte White
Installation Under Cooktop, Under Wall Oven
Handle Design Café Pro
CTW900P2NS1, CTW900P3ND1,
CTW900P4NW2
CTW900P3ND1
Matte Black with
Brushed Stainless
handle
ALSO
AVAILABLE IN
CTW900P2NS1
Stainless Steel with
Brushed Stainless
handle
ADA
COMPLIANT
Café™30" Warming Drawer
CTW900P2NS1 / CTW900P3ND1 / CTW900P4NW2
© 2019 GE Appliances PC92238 03/19
For answers to your Café™ product questions, visit our website at cafeappliances.com.
WARRANTY
Parts warranty Limited 1-year entire appliance
Labor warranty Limited 1-year entire appliance
Warranty notes See written warranty for full details
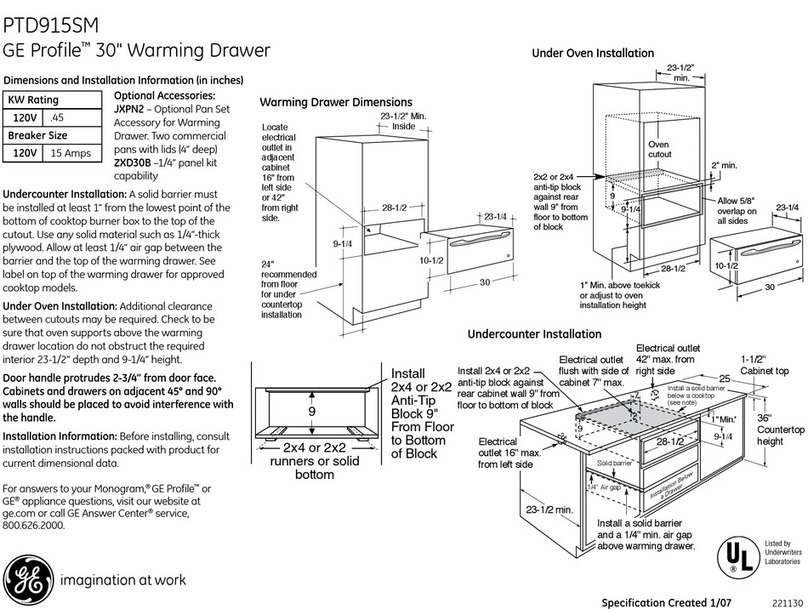
DIMENSIONS AND INSTALLATION INFORMATION (IN INCHES)
Undercounter Installation: A solid barrier must be installed at least 1" from the
lowest point of the bottom of cooktop burner box to the top of the cutout. Use any
solid material such as 1/4"-thick plywood. Allow at least 1/4" air gap between the
barrier and the top of the warming drawer. See label on top of the warming drawer
for approved cooktop models.
Under Oven Installation: Additional clearance between cutouts may be required.
Check to be sure that oven supports above the warming drawer location do not
obstruct the required interior 23-1/2" depth and 9-1/4" height.
Door handle protrudes 2-1/2" from door face. Cabinets and drawers on adjacent
45° and 90° walls should be placed to avoid interference with the handle.
Installation Information: Before installing, consult installation instructions packed
with product for current dimensional data.
ADDITIONAL ACCESSORIES
CXWD0H0PMBZ
Brushed Bronze
2 handles
(Standard on Matte White)
CXWD0H0PMSS
Brushed Stainless
2 handles
(Standard on Matte Black)
CXWD0H0PMBT
Brushed Black
2 handles
CXWD0H0PMCU
Brushed Copper
2 handles
28-1/2"
10-1/2" 9-1/4"
Locate electrical
outlet in adjacent
cabinet 16" from
left side or 42"
from right side
29-3/4"
23-1/4"
24"
recommended
from floor
for under
countertop
installation
Allow 5/8"
overlap on
all sides
23-1/2" min.
2" min.
9"
9-1/4"
28-1/2"
Oven
cutout 2x2 or 2x4
anti-tip block
against rear
wall 9" from
floor to bottom
of block
1" min. above toekick
or adjust to oven
installation height
9"
Install
2x4 or 2x2
anti-tip
block 9"
from floor
to bottom
of block
2x4 or 2x2
runners or solid
bottom
(Must Support 150 lbs.)
Electrical outlet
flush with side of
cabinet 7" max.
Electrical outlet
42" max. from
right side
1-1/2"
Cabinet top 25"
36"
Countertop
height
1" Min.*
9-1/4"
Install a solid barrier
below a cooktop
Install a solid barrier
below a cooktop
9"
23-1/2"min.
Solid barrier
1/4" Air gap
Electrical
outlet 16" max.
from left side
28-1/2"
Install 2x4 or 2x2
anti-tip block against
rear cabinet wall 9" from
floor to bottom of block
7"
CTW900M2NS5
CTW900P2NS1
CTW900P3ND1
CTW900P4NW2
28-1/2"
10-1/2" 9-1/4"
Locate electrical
outlet in adjacent
cabinet 16" from
left side or 42"
from right side
29-3/4"
23-1/4"
24"
recommended
from floor
for under
countertop
installation
Allow 5/8"
overlap on
all sides
23-1/2" min.
2" min.
9"
9-1/4"
28-1/2"
Oven
cutout 2x2 or 2x4
anti-tip block
against rear
wall 9" from
floor to bottom
of block
1" min. above toekick
or adjust to oven
installation height
9"
Install
2x4 or 2x2
anti-tip
block 9"
from floor
to bottom
of block
2x4 or 2x2
runners or solid
bottom
(Must Support 150 lbs.)
Electrical outlet
flush with side of
cabinet 7" max.
Electrical outlet
42" max. from
right side
1-1/2"
Cabinet top 25"
36"
Countertop
height
1" Min.*
9-1/4"
Install a solid barrier
below a cooktop
Install a solid barrier
below a cooktop
9"
23-1/2"min.
Solid barrier
1/4" Air gap
Electrical
outlet 16" max.
from left side
28-1/2"
Install 2x4 or 2x2
anti-tip block against
rear cabinet wall 9" from
floor to bottom of block
7"
CTW900M2NS5
CTW900P2NS1
CTW900P3ND1
CTW900P4NW2
KW Rating
120V .45
Breaker Size
120V 15 Amps
A B
30" Drawer 28-1/2"29-3/4"