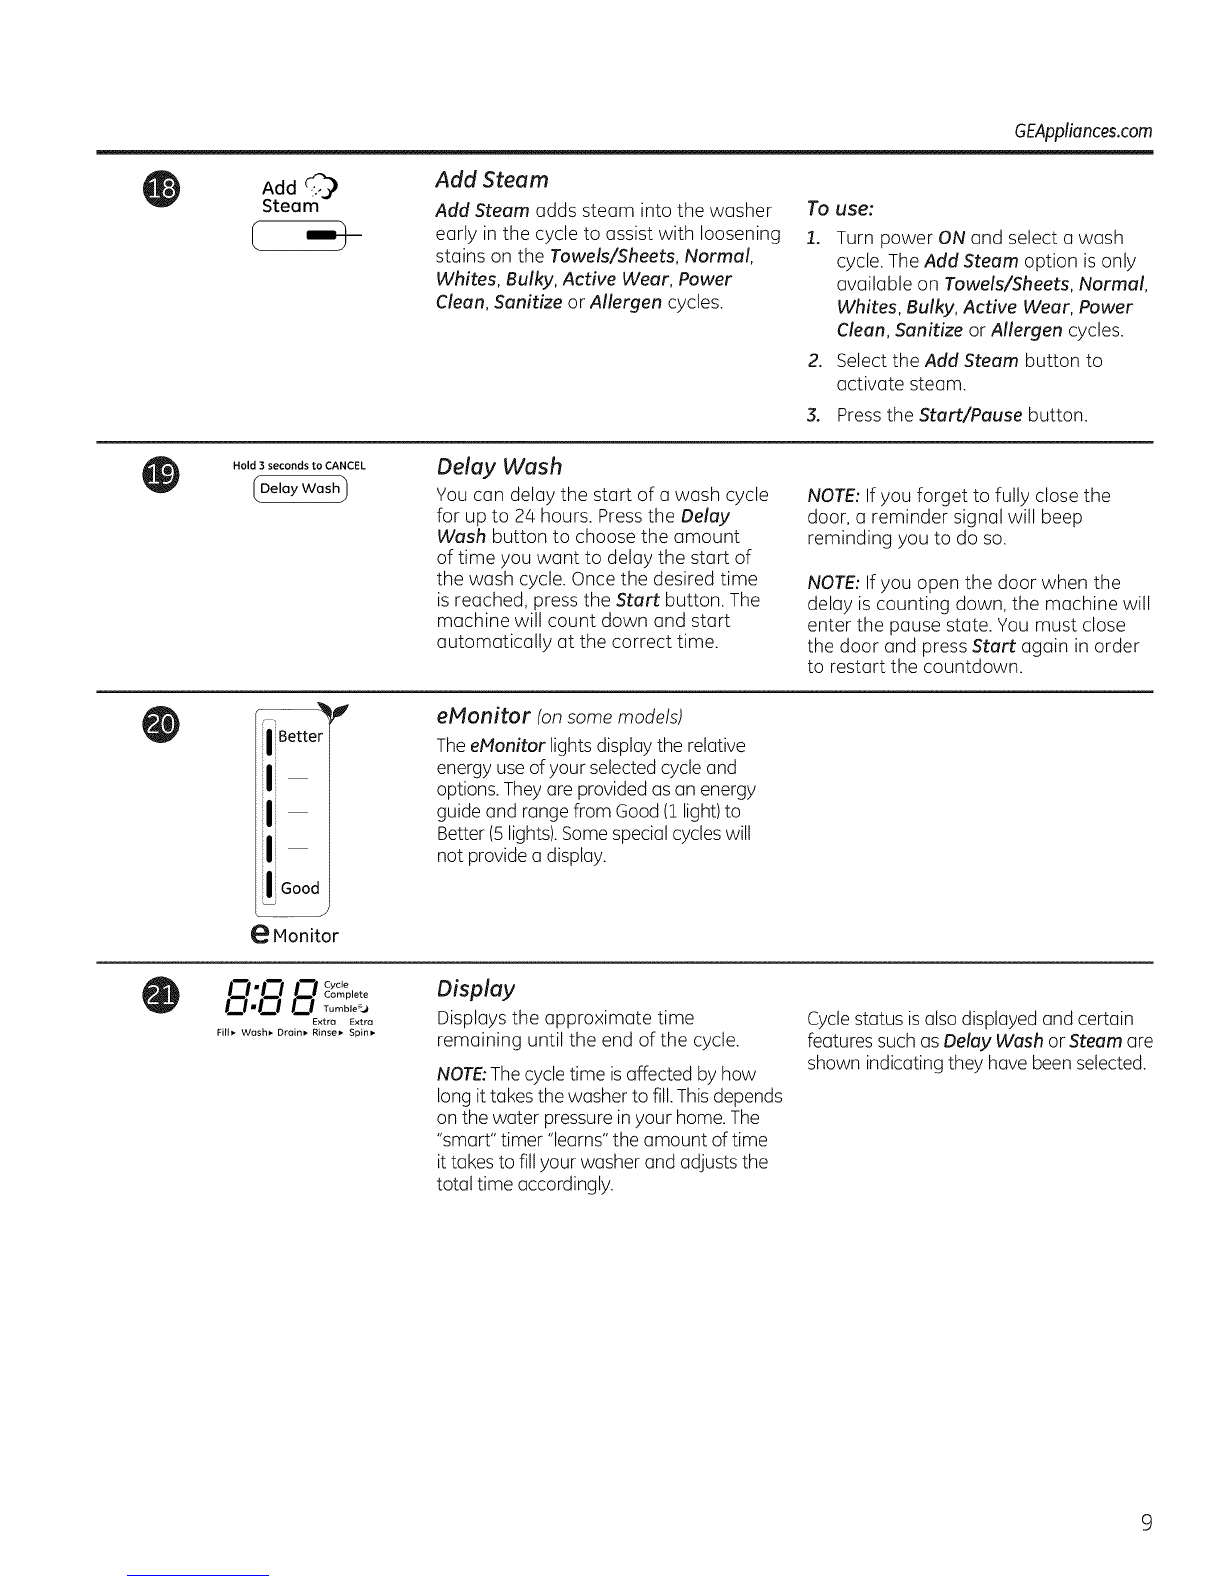
GEAppliances.com
I
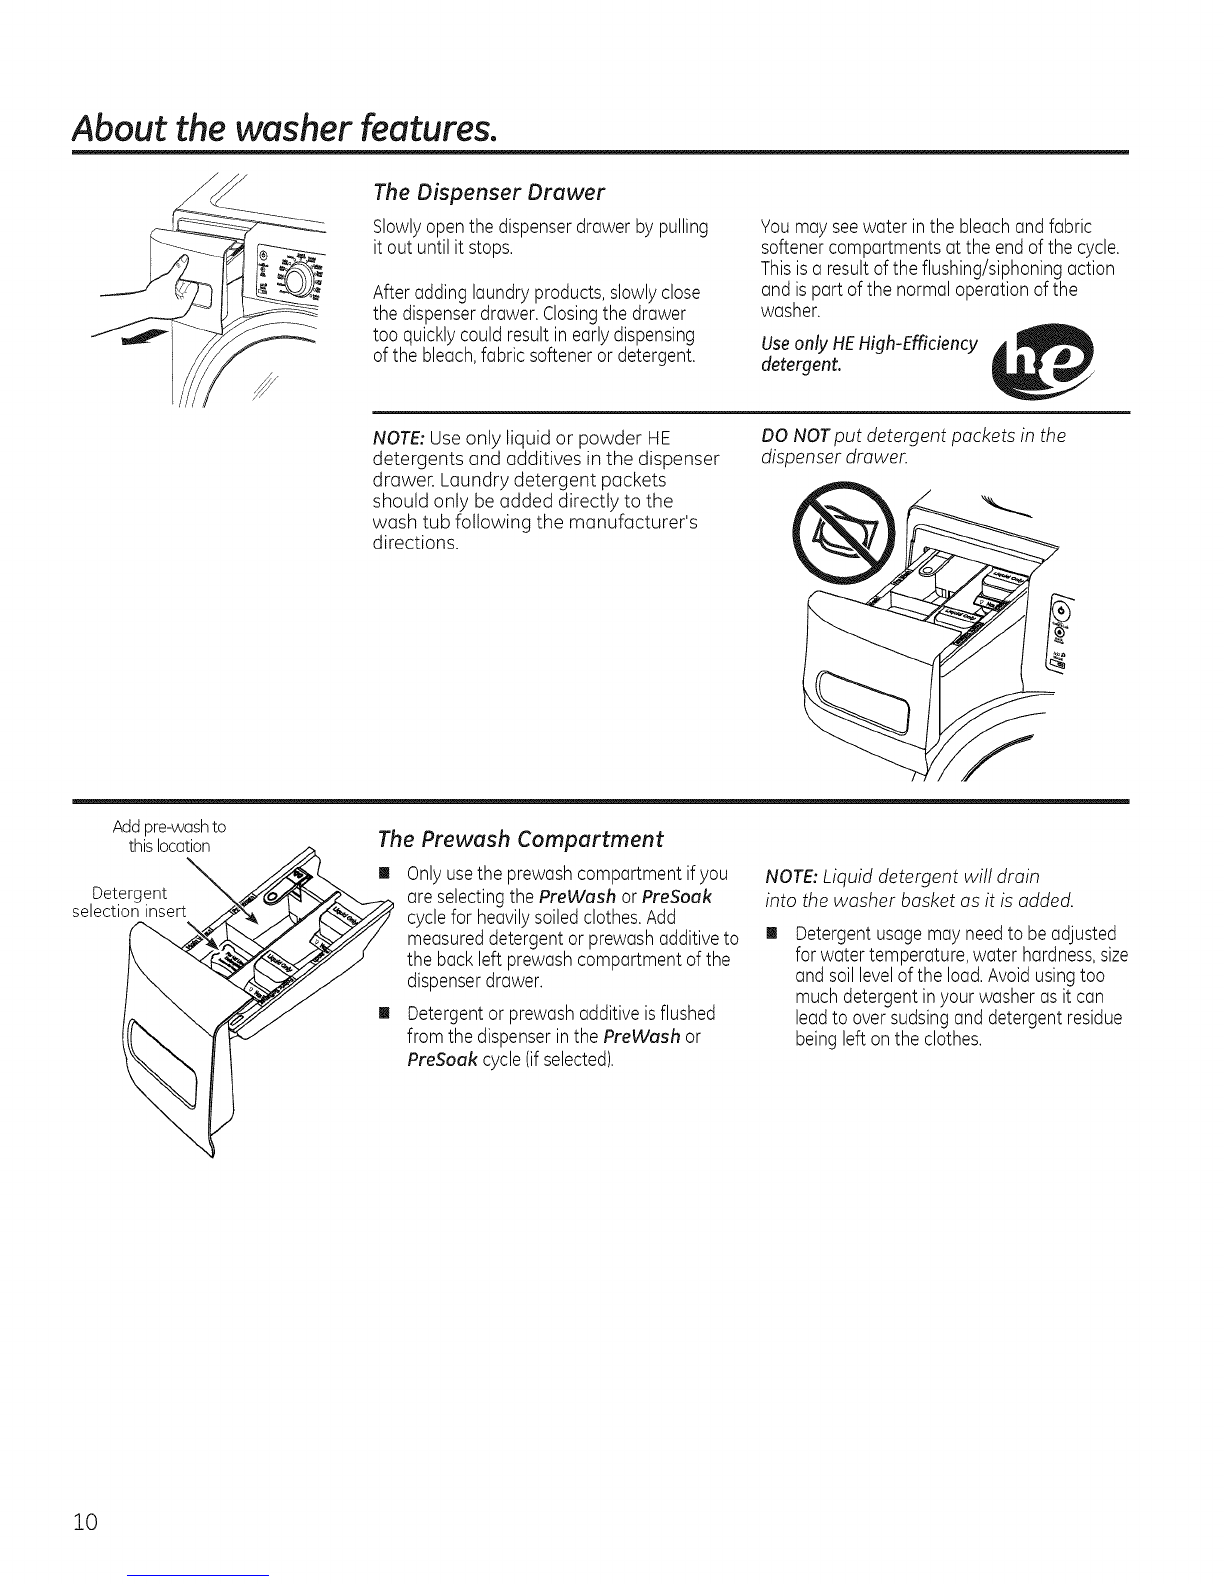
(PreWosh)
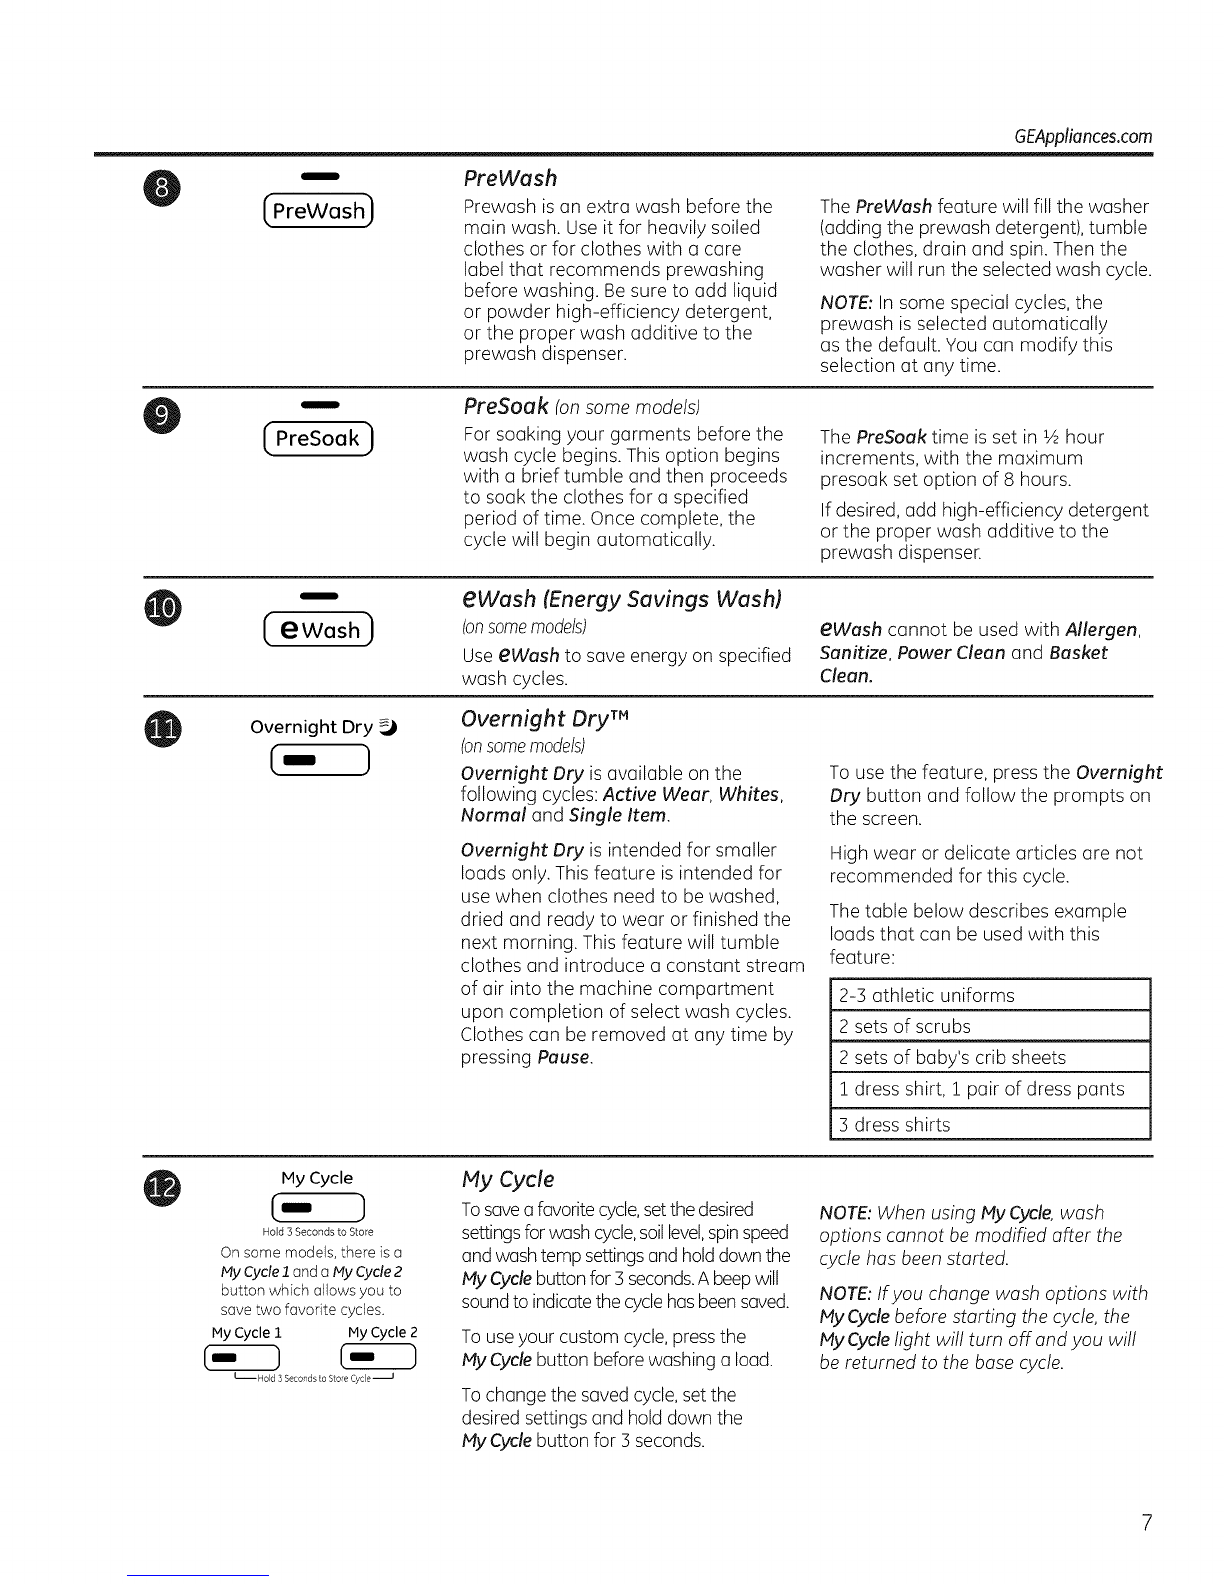
PreWash
Prewush isan extra wash before the
main wash. Use it for heavily soiled
clothes or for clothes with u care
label that recommends prewushing
before washing. Be sure to add liquid
or powder high-efficiency detergent,
or the proper wash additive to the
prewush dispenser.
The PreWash feature will fill the washer
(adding the prewush detergent), tumble
the clothes, drain and spin. Then the
washer will run the selected wash cycle.
NOTE:In some special cycles, the
prewush is selected automatically
as the default. You can modify this
selection at any time.
( PreSOOk )
PreSoak (on some models)
For soaking your garments before the
wash cycle begins. This option begins
with a brief tumble and then proceeds
to soak the clothes for a specified
period of time. Once complete, the
cycle will begin automatically.
The PreSoak time is set in 1/2hour
increments, with the maximum
presoak set option of 8 hours.
If desired, add high-efficiency detergent
or the proper wash additive to the
prewash dispenser.
/
(ewosh) aWash (Energy Savings Wash)
(onsomemodels)
Use eWash to save energy on specified
wash cycles.
aWash cannot be used with Allergen,
Sanitize, Power Clean and Basket
Clean.
Overnight Dry
(-- ] Overnight Dry TM
(onsomemodels)
Overnight Dry is available on the
following cycles: Active Wear, Whites,
Normal and Single Item.
Overnight Dry is intended for smaller
loads only. This feature is intended for
use when clothes need to be washed,
dried and ready to wear or finished the
next morning. This feature will tumble
clothes and introduce u constant stream
of air into the machine compartment
upon completion of select wash cycles.
Clothes can be removed at any time by
pressing Pause.
To use the feature, press the Overnight
Dry button and follow the prompts on
the screen.
High wear or delicate articles are not
recommended for this cycle.
The table below describes example
loads that can be used with this
feature:
2-3 athletic uniforms
2 sets of scrubs
2 sets of baby's crib sheets
1 dress shirt, 1 pair of dress pants
3 dress shirts
My Cycle
(.- )
Hold 3 Seconds to Store
On some models, there is a
My Cycle 1and a My Cycle2
button which allows you to
save two favorite cycles.
My Cycle I r4y Cycle 2
L HOld3 Seconds to Store Cyce -JJ
My Cycle
Tosaveofavoritecycle,setthe desired
settingsforwash cycle,soillevel,spinspeed
and wash temp settingsand holddownthe
My Cyclebuttonfor 3 seconds.A beepwill
soundto indicatethe cyclehasbeensaved.
To useyour custom cycle,pressthe
MVCyclebutton before washing aload.
Tochange the saved cycle, set the
desired settings and hold down the
My Cyclebutton for 3 seconds.
NOTE:When using My Cycle wash
options cannot be modified after the
cycle has been started.
NOTE:If you change wash options with
MVCyclebefore starting the cycle, the
My Cyclelight will turn off and you will
be returned to the base cycle.