GE Profile WPRB9250 How to use

C
C
PUB # 31-9095 10/02
MODEL SERIES:
WPRB9250
WPRB9220
TECHNICAL SERVICE GUIDE
GE Consumer Home ServicesTraining
Profile Stainless Steel Washer

IMPORTANT SAFETY NOTICE
The information in this service guide is intended for use by
individuals possessing adequate backgrounds of electrical,
electronic, and mechanical experience. Any attempt to repair a
major appliance may result in personal injury and property
damage. The manufacturer or seller cannot be responsible for the
interpretation of this information, nor can it assume any liability in
connection with its use.
WARNING
To avoid personal injury, disconnect power before servicing this
product. If electrical power is required for diagnosis or test
purposes, disconnect the power immediately after performing the
necessary checks.
RECONNECT ALL GROUNDING DEVICES
If grounding wires, screws, straps, clips, nuts, or washers used
to complete a path to ground are removed for service, they must
be returned to their original position and properly fastened.
!
GE Consumer Home Services Training
Technical Service Guide
Copyright © 2002
All rights reserved.This service guide may not be reproduced in whole or in part
in any form without written permission from the General Electric Company.

– 1 –
Accelerometer.................................................................................................................30
Agitator............................................................................................................................19
AutomaticTemperatureControl(ATC)............................................................................24
Choke..............................................................................................................................27
ComponentLocatorViews ..............................................................................................15
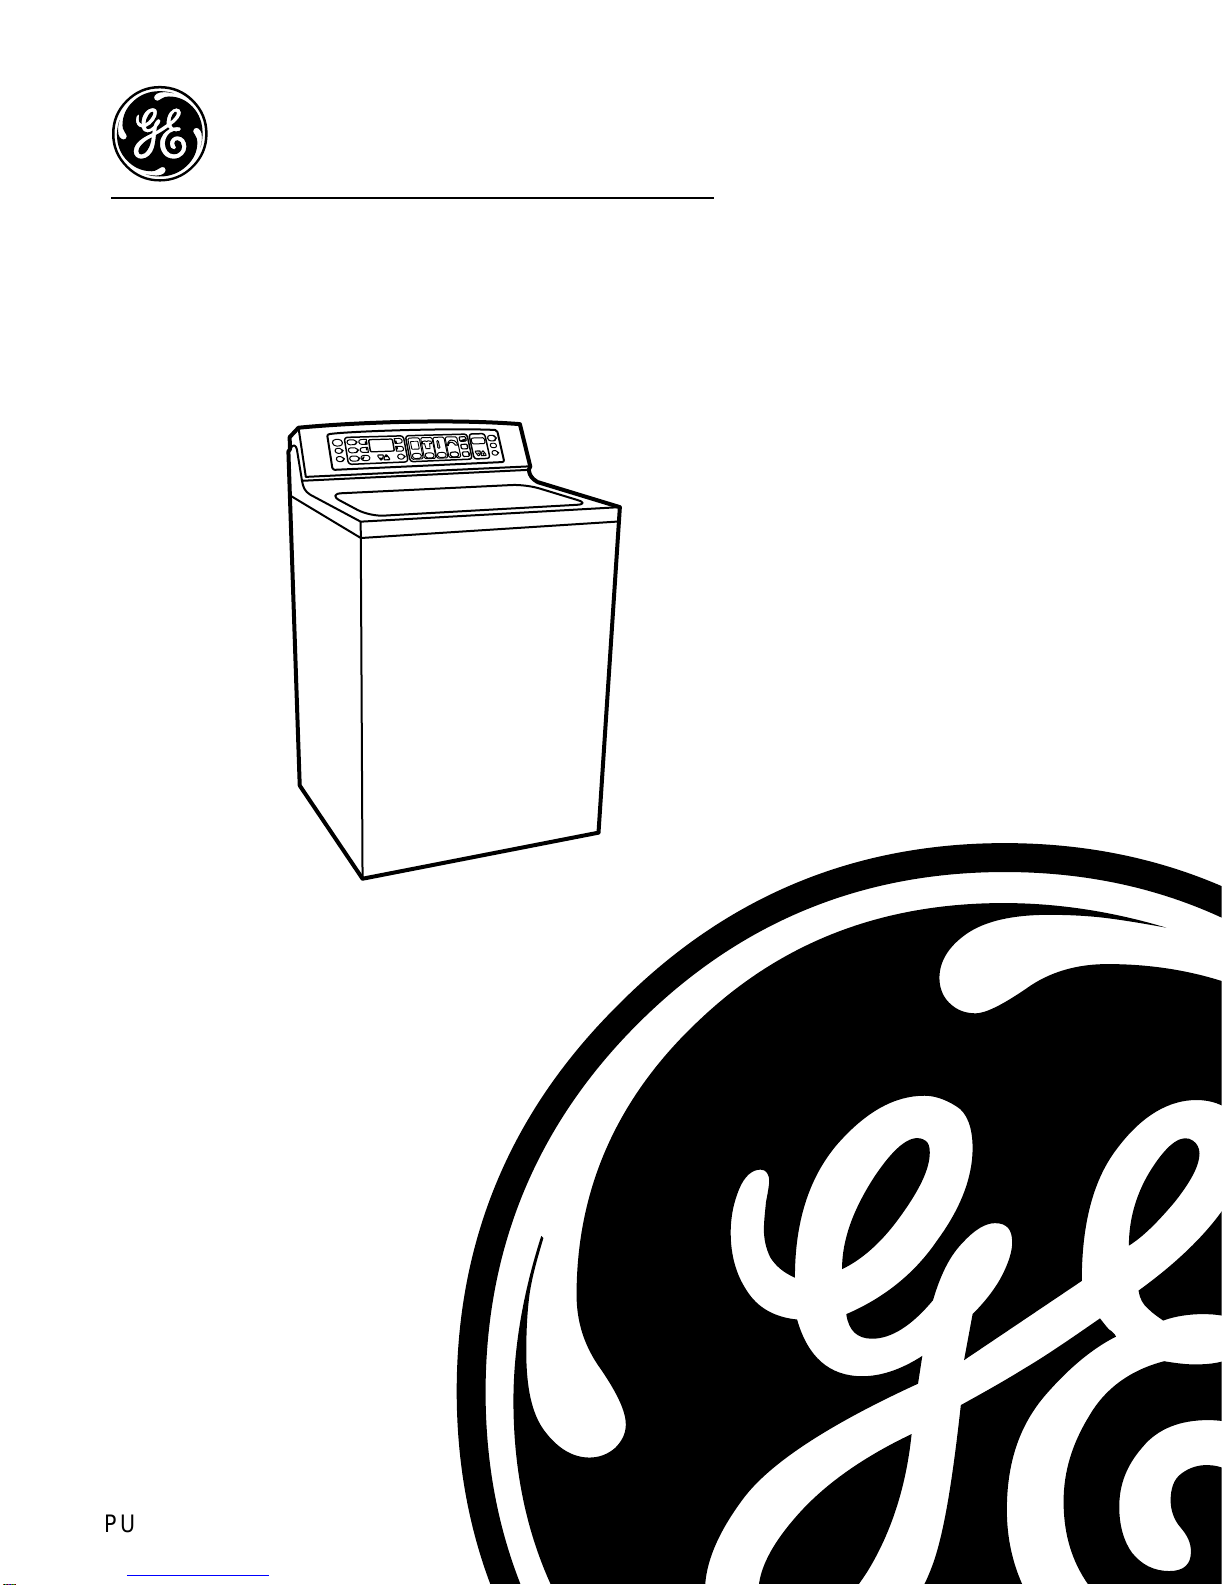
ControlClothesCareCycles.............................................................................................5
ControlEMIFilter ............................................................................................................27
ControlFeatures ...............................................................................................................4
ControlOneTouchSelections ..........................................................................................9
ControlPanel ..................................................................................................................16
ControlQuickStartSelections ..........................................................................................7
Cover/LidAssembly ........................................................................................................17
CycleCharts....................................................................................................................12
CycleOptions..................................................................................................................10
CycleStatus ....................................................................................................................11
DrainPump .....................................................................................................................18
DriveBelt.........................................................................................................................18
ElectronicControlBoard .................................................................................................26
ErrorCodes.....................................................................................................................40
FloodProtection.............................................................................................................. 11
FrontPanel......................................................................................................................17
Inverter ............................................................................................................................29
LevelingLegs..................................................................................................................16
LidLock...........................................................................................................................23
LidSwitch........................................................................................................................22
LidSwitchDiagnostics ....................................................................................................23
Motor ...............................................................................................................................28
MotorTachogeneratorTest .............................................................................................32
Nomenclature....................................................................................................................2
ProblemChart.................................................................................................................46
Schematic .......................................................................................................................47
SerialNumber ...................................................................................................................2
ServiceMode ..................................................................................................................34
SpeedSensor..................................................................................................................29
SpinBasket .....................................................................................................................19
Suspension .....................................................................................................................20
Transmission...................................................................................................................21
TroubleshootingGuide....................................................................................................42
TubWith MotorandTransmission ..................................................................................22
Warranty............................................................................................................................3
WaterLevel(LoadSize)Diagnostics..............................................................................25
WaterLevelSwitch .........................................................................................................25
WaterValve.....................................................................................................................24
TableofContents

– 2 –
GE Washer
FeaturePack
CommonBrandFeatures
Exceptions:
H=EnergyStar
P=Profile™
N=Special
W H S B 9 0 0 0 B 0 W W
Capacity/Configuration
L=Large S=SuperCapacityPlus
X=Extra-Large K=Compact
Control Platform
B=Buttons(TouchPad)
NumberofSpeed
Combinations
NumberofCycles
00=InfiniteElectronic
Voltage
0 = US Voltage
ModelYear
Designator
BodyColor
BackSplash
Color
Thefirsttwocharactersoftheserialnumber
identifythemonthandyearofmanufacture.
Example: AD123456S=January,2002
A-JAN 2005-H
D-FEB 2004-G
F-MAR 2003-F
G -APR 2002-D
H - MAY 2001-A
L-JUN 2000-Z
M-JUL 1999-V
R -AUG 1998-T
S- SEP 1997-S
T- OCT 1996-R
V- NOV 1995-M
Z-DEC 1994- L
The letter designating
the year repeats every
12 years.
Example:
T - 1974
T - 1986
T - 1998
Note:Modelnumberandserialnumber
arelocatedonrearofbacksplash.
•Thetechnicalsheetislocatedinside
thecontrolpanel.
Nomenclature
SerialNumber
Engr.Revision
NomenclatureTag

– 3 –
Warranty
GE Washer Warranty
For The Period Of: We Will Replace:
This warranty is extended to the original purchaser and any succeeding owner for products purchased for home use within the USA. In Alaska, the
warranty excludes the cost of shipping or service calls to your home.
Some states do not allow the exclusion or limitation of incidental or consequential damages. This warranty gives you specific legal rights, and you
may also have other rights which vary from state to state. To know what your legal rights are, consult your local or state consumer affairs office or
your state’s Attorney General.
■Service trips to your home to teach you how to use
the product.
■Improper installation.
■Failure of the product if it is abused, misused, or used for
other than the intended purpose or used commercially.
■Replacement of house fuses or resetting of circuit
breakers.
■Damage to the product caused by accident, fire, floods or
acts of God.
■Incidental or consequential damage caused by possible
defects with this appliance.
What Is Not Covered:
Warrantor: General Electric Company. Louisville, KY 40225
All warranty service provided by our Factory Service Centers,
or an authorized Customer Care
®
technician. To schedule service,
on-line, 24 hours a day, visit us at GEAppliances.com, or call
800.GE.CARES (800.432.2737).
Staple your receipt here.
Proof of the original purchase
date is needed to obtain service
under the warranty.
One Year Any part
of the washer which fails due to a defect in materials or workmanship. During this
full
From the date of the one-year warranty,
GE will also provide,
free of charge,
all labor and in-home service to replace the
original purchase
defective part.
Two Years
Any part
of the washer which fails due to a defect in materials or workmanship. During this
additional
From the date of the
one-year
limited warranty,
you will be responsible for any labor or in-home service costs.
original purchase
Five Years The suspension rod and spring assembly and electronics,
if any of these parts should fail due to a
From the date of the
defect in materials or workmanship. GE will also replace the
washer lid or cover,
if they should
original purchase
rust under operating conditions. During this
additional four-year limited warranty,
you will be
responsible for any labor or in-home service costs.
Ten Years The transmission and outer washer tub,
if any of these parts should fail due to a defect in materials
From the date of the
or workmanship. During this
additional nine-year limited warranty,
you will be responsible for any
original purchase
labor or in-home service costs.
Lifetime The washer basket,
if it should fail due to a defect in materials or workmanship. During this
lifetime
From the date of the limited warranty,
you will be responsible for any labor or in-home service costs.
original purchase

– 4 –
Control Features
WPRB9250
WPRB9220

– 5 –
ClothesCareCycles
PRESOAK
To presoak a load and go straight into a wash cycle:
Select your wash cycle, press the PRESOAK pad, then press the START pad.
■ Each time you press PRESOAK, you will add three minutes of agitation, followed by
12 minutes of soaking, for up to an hour of additional time. After the final soak
period, the selected wash cycle begins.
■ Uses the speed and water temperature of your selected wash cycle.
QUICK RINSE
Use this feature to quickly rinse chlorine, perspiration, stains, etc. out of clothes.
■ The washer fills with water, agitates for three minutes, drains and spins. You may
change the automatic settings if desired.
On some models, QUICK RINSE is found under the WASH CYCLES menu.
SPEED WASH
For lightly soiled items that are needed in a hurry. Cycle time is approximately
20 minutes, depending on your household water pressure.
START
■ After you have selected a new cycle, press once to start the cycle.
■ Press twice to select the last cycle used and start the washer.
■ If the washer is running, press once to pause the cycle; press again to continue
the cycle.
STOP
If the washer is running, press once to pause the cycle; press again to cancel
the cycle.
Time Remaining
■ Displays the approximate time remaining until the end of the cycle, or the time
remaining for DELAY START.
■ Cycle time is affected by how long it takes the washer to fill. This depends on the
water pressure in your home. The “smart” timer “learns” the amount of time it
takes to fill your washer and adjusts the total time accordingly.

– 6 –
CUSTOM 1 and CUSTOM 2 (on some models)
Set up your favorite combination of settings and save them here for one-touch recall.
These custom settings cannot be set while a cycle is in progress.
To store a custom combination of settings:
1. Select an E
ASY
T
OUCH
setting.
2. Change LOAD SIZE, SOIL LEVEL, WASH TEMPERATURE or SPIN SPEED to fit your
needs.
3. Select any OPTIONS you want.
4. Press and hold the CUSTOM 1 or CUSTOM 2 pad until the washer beeps to store
your selection.
To recall your stored combination:
Press the CUSTOM 1 or CUSTOM 2 pad, then press START.
To reprogram the custom settings:
Repeat steps 1–4 above.
DRAIN & SPIN
You can drain and spin any cycle at any time.
On models with a DRAIN & SPIN pad, press to drain and spin.
On models without a DRAIN & SPIN pad, press START to pause the washer, select
DRAIN & SPIN from the WASH CYCLES menu, then press START again.
SOIL LEVEL
The SOIL LEVEL setting determines the amount of agitation time.
The highest SOIL LEVEL is the Stain Wash cycle, which adds a 30 minute soak and
agitation at the beginning of the selected wash cycle.

– 7 –
ControlQuickStartSelections(Model9250)
Add detergent.
Add diluted fabric softener (on models
with a fabric softener dispenser).
Loosely load clothes no higher than the
top row of holes in the washer basket. The
water level should just cover the clothes.
Select one of the three wash methods:
■ Press WASH CYCLES to wash according
to load type
■ Press GARMENT CYCLES to wash
according to clothing type
■ Press STAIN CYCLES to wash clothes
with specific types of stains
The STAIN CYCLES will provide you with
tips on pretreating your stain and will then
automatically select the washer settings for
the optimum cycle to remove the stain.
Select the wash, garment or stain cycle by
pressing the arrow pads ( ) at the
sides of the display. You can scroll up and
down through the list of cycles by pressing
the UP ( ) and DOWN ( ) arrow pads
beneath the display.
NOTE: Any time you make a selection that is
incompatible with the chosen wash cycle, the
washer will beep twice.
Change any of the automatic settings,
if desired, by pressing the pad beneath
the setting.
Higher settings will:
■ Fill the washer basket with more water
■ Remove heavier soil. The highest level
is the Stain Wash cycle, with a 30 minute
soak and agitation at the beginning of
the wash cycle.
■ Add cold, warm or hot water
■ Spin faster to remove more water for
shorter drying times
Close the lid and press START.

– 8 –
ControlQuickStartSelections(Model9220)
Add detergent.
Add diluted fabric softener (on models
with a fabric softener dispenser).
Loosely load clothes no higher than
the top row of holes in the washer
basket. The water level should just
cover the clothes.
Select the wash cycle and other wash
options.
NOTE: Any time you make a selection that is
incompatible with the chosen wash cycle,
the washer will beep twice.
Change any of the automatic settings, if
desired, by pressing the pad beneath the
setting. Higher settings will:
■
Fill the washer basket with more water
■
Remove heavier soil. The highest
level is the Stain Wash cycle, with a
30 minute soak and agitation at the
beginning of the wash cycle.
■
Add cold, warm or hot water
■
Spin faster to remove more water for
shorter drying times
Close the lid and press START.

– 9 –
ControlOneTouchSelections(Model9250)
WASH CYCLES
Cycle Wash Speed Description
WHITES Fast For heavy to lightly soiled white cottons, household linens, work and
play
clothes.
COLORS Fast
For heavy to lightly soiled colorfast cottons, household linens, work and
play clothes.
DARK Medium For non-colorfast cottons and blends, and items that are labeled cold
COLORS
wash
by the fabric manufacturer.
EASY CARE Medium For wrinkle-free and permanent press items.
CASUALS Medium For wrinkle-free and permanent press items. Provides agitate/pause
cycles to clean your items
.
KNITS Medium Specially designed for normally soiled knits.
DELICATES Slow For lingerie and special-care fabrics with light to normal soil. Provides
periods of agitation and soak during wash and rinse.
ULTRA Very Slow For items labeled hand-washable with light soils. Provides periods of
HANDWASH
agitation and
soak during wash and rinse.
QUICK RINSE Medium For quickly rinsing chlorine, perspiration, stains, etc. out of clothes.
DRAIN & Spin Only Drain and spin any cycle at any time.
SPIN
SOAK Medium Provides a soak of up to 24 hours. The washer will drain and spin at the
end of the cycle.
SPEED WASH Medium Fast
For lightly soiled items that are needed in a hurry. Cycle time is
approximately 20 minutes, depending on your household water pressure.
The Wash Cycles are optimized according to load type. The chart below will help you
match the wash cycle setting with your clothing.
GARMENT CYCLES
The Garment Cycles are customized to provide optimum washing for a variety of fabrics
and clothing types.
Garment Cycles include:
■
Jeans
■
Underwear
■
Towels
■
Infant Wear
■
Khakis
■
Play Clothes
■
Mats/Rugs
■
Lingerie
■
Dress Shirts
■
Everyday Wear
■
Sheets
■
Silks/Linen
■
Knit Shirts
■
Athletic Wear
■
Table Linen
STAIN CYCLES
The Stain Cycles are customized to provide optimum washing for specific types of stains.
Press STAIN CYCLES, select the specific stain and follow the on-screen instructions. Stain
selections include:
Food Stains Body Stains Outdoor Stains Drink Stains
■
Catsup
■
Dingy Whites
■
Grass
■
Milk
■
Chocolate
■
Perspiration
■
Grease
■
Coffee/Tea
■
Meat Juices
■
Blood
■
Dirt
■
Juice/Wine
■
Egg
■
Underwear Stain
■
Ink
■
Soft Drinks

– 10 –
ControlOneTouchSelections(Model9220)
Cycle Wash Speed Description
WHITES Fast For heavy to lightly soiled white cottons, household linens, work and
HOT
play
clothes.
COLORS Fast
For heavy to lightly soiled colorfast cottons, household linens, work and
WARM play clothes.
COLORS Medium For non-colorfast cottons and blends, and items that are labeled cold
COLD
wash
by the fabric manufacturer.
EASY CARE Medium For knits, wrinkle-free and permanent press items.
ULTRA Very Slow Uses an extra slow speed agitation combined with periods of soak to
HANDWASH provide a true handwash for all of your delicate washables.
CycleOptions
SIGNAL
Alerts you when the cycle is complete.
Press SIGNAL to select low, medium or high volume, or to turn the beeper off.
2ND RINSE
Adds a second cold rinse to any cycle.
WARM RINSE
Changes the final rinse of a wash cycle from a cold to a warm rinse.
DELAY START
Use to delay the start of your washer.
Choose your wash cycle and any options.
Press DELAY START. You can change the delay time in 30 minute increments by one
of the following methods, depending on the model:
■ Using the arrow pads beneath the Time Remaining display
■ Repeatedly pressing the DELAY START pad until the desired time is shown
Press the START pad to start the countdown.
The countdown time will be shown in the Time Remaining display.
3
2
1

– 11 –
CycleStatus
Flood Protection
TheProfilemodelisequippedwithafloodprotectionfeature. Ifthelowlevelpressureswitchisopened
whilethewasherisinidlemode,theelectroniccontrolwillactivatethedrainpumptoextractanywater
inthe tub. Therateofwaterextractionduringfloodprotectionexceedstherateoffillundernormal
waterconditions. Thepumpwillcontinuetooperatefor60secondsafterthelowlevelswitchhas
closed.
On some models, cycle status indicator lights show what part of the cycle the washer
is in. On models without indicator lights, the cycle status will show in the display.
Cycle Status Indicators

– 12 –
CycleCharts
snoitinifeDelcyC
elcyCesaB daoLtluafeD eziS eziSlioStluafeD lliFtluafeD erutarepmeT nipStluafeD deepS nipSlanoitpO deepS
setihWtnaiGmuideMtoHtsaFynA
sroloCegraLmuideMmraWtsaFmuideMynA
sroloCkraDegraLthgiLdloCtsaFmuideMynA
eraCysaEmuideMmuideMmraWmuideMynA
slausaCmuideMmuideMmraWmuideMynA
stinKmuideMmuideMmraWmuideMynA
setacileDmuideMthgiLmraWwolSartxEwolS,wolSartxE
hsaWdnaHartlUllamSartxEthgiLdloCwolSartxEwolSartxE
esniRkciuQmuideMenoNdloCtsaFmuideMynA
nipS/niarDenoNenoNenoNtsaFynA
kaoSmuideMenoNmraWmuideMynA
hsaWdeepSllamSartxEthgiLmraWtsaFynA
snaeJegraLyvaeHmraWtsaFynA
sikahKmuideMmuideMmraWtsaFmuideMynA
strihSsserDmuideMmuideMmraWmuideMynA
strihStinKmuideMmuideMmraWtsaFmuideMynA
raeWcitelhtAmuideMmuideMmraWtsaFmuideMynA
sehtolCyalPegraLyvaeHmraWtsaFmuideMynA
raewrednUmuideMmuideMmraWtsaFmuideMynA
raeWyadyrevEegraLmuideMtoHtsaFmuideMynA
slewoTtnaiGthgiLtoHtsaFynA
steehStnaiGmuideMtoHtsaFmuideMynA
sguR/staMmuideMyvaeHmraWtsaFmuideMynA
neniLelbaTmuideMniatSmraWmuideMynA
raeWtnafnIegraLyvaeHtoHtsaFmuideMynA
sneniL/skliSmuideMthgiLdloCwolSartxEwolSartxE
eiregniLllamSthgiLmraWwolSartxEwolSartxE
pustaCniatSllamSniatSmraWmuideMynA
etalocohCniatSllamSniatSmraWmuideMynA
eciuJtaeMniatSllamSniatSmraWmuideMynA
ggEniatSllamSniatSmraWmuideMynA
setihWygniDniatSllamSniatStoHmuideMynA
noitaripsrePniatSllamSniatSmraWmuideMynA
doolBniatSllamSniatSdloCmuideMynA
raewrednUniatSllamSniatSmraWmuideMynA
ssarGniatSllamSniatSmraWmuideMynA
esaerGniatSllamSniatSmraWmuideMynA
triDniatSllamSniatSmraWmuideMynA
knIniatSllamSniatSmraWmuideMynA
kliMniatSllamSniatSmraWmuideMynA
aeT/eeffoCniatSllamSniatSmraWmuideMynA
eniW/eciuJniatSllamSniatSmraWmuideMynA
knirDtfoSniatSllamSniatSmraWmuideMynA

– 13 –
*sdeepShsaW
elcyC llamSxE llamS muideM egraL tnaiG
nottoC )MPS(deepSlaitinI001031041551551
)MPS(deepSnwoDpetS001001021021551
eraCysaE )MPS(deepSlaitinI08001021041041
)MPS(deepSnwoDpetS0808001021041
etacileD )MPS(deepSlaitinI0608080808
)MPS(deepSnwoDpetS0606080808
WHartlU )MPS(deepSlaitinI0303030303
)MPS(deepSnwoDpetS0303030303
hsaWkciuQ )MPS(deepSlaitinI001031041551551
)MPS(deepSnwoDpetS001031041551001
)MPS(etuniMrePsekortS*
semiTnoitatigA
lioSthgiL lioSmuideM lioSyvaeH lioSniatS
elcyC esahP-buS snoititepeR etatigA kaoS etatigA kaoS etatigA kaoS etatigA kaoS esniR
nottoC laitinI1063
**
0
**
063
**
0
**
063
**
063
**
063
**
0
**
081
**
nwoDpetS1081
**
0
**
063
**
0
**
045
**
045
**
027
**
0
**
0
**
ysaE eraC laitinI1063
**
0
**
063
**
0
**
063
**
063
**
063
**
0
**
081
**
nwoDpetS106
**
0
**
042
**
0
**
024
**
024
**
006
**
0
**
0
**
etacileD laitinI1063
**
0
**
063
**
0
**
063
**
063
**
063
**
0
**
081
**
nwoDpetS106
**
0
**
042
**
0
**
04
**
045
**
027
**
0
**
0
**
WHartlU laitinI257
**
081
**
57
**
042
**
57
**
57
**
57
**
063
**
081
**
nwoDpetS157
**
0
**
57
**
0
**
57
**
57
**
57
**
0
**
0
**
kciuQ hsaW laitinI1042
**
0
**
003
**
0
**
063
**
063
**
024
**
0
**
09
**
nwoDpetS00
**
0
**
0
**
0
**
0
**
0
**
0
**
0
**
0
**
sdnocesni**

– 14 –
elpmaxE
**lioSyvaeH
elcyC esahP-buS *egraL esahP-buS speR etatigA kaoS esniR
WHartlU laitinI03laitinI257003081
nwoDpetS03nwoDpetS15700
MPRdeepSnipS
elcyCnipS nipSetacileD deepS nipSnottoC deepS
wolSartxE051054
wolS053055
muideM054036
tsaFmuideM055007
tsaF036058
spetSnipS
#petS MPR sdnoceS
105154
205354
305454
405554
503654
600754
705854

– 15 –
Component Locator Views
Motor
RodandSpring
Assembly
Accelerometer
DrainPump
Inverter
LegandPlatform
Assembly
SpeedSensor
Belt
Transmission
(BehindMotor)
Choke
WaterValve
WaterValve Electronic ControlBoard
ElectronicControl Board
WaterLevelSwitch
WaterLevelSwitch
ControlEMIFilter
ControlEMIFilter

– 16 –
LevelingLegs
Thefrontlegsareascrewtypeandareadjusted
byturningthelegsclockwisetodecreaseleg
extensionandcounterclockwisetoincreaseleg
extension.
Therearlegsshouldbeadjustedafterthefrontof
themachineislevelfromsidetoside. Toadjust
therearlegs,tiltthewasherforward(pivotonfront
legs)about4to6inches. Thisactionwillsetrear
legstocorrespondtothefrontsettings. Gently
setthewasherbackdown.
ControlPanel
Toplacethecontrolpanelintheserviceposition:
1. Remove4screwsfromtherearofthecontrol
panel.
2. Gentlypulloneachcornertounsnapthe
controlpanelfromthesidesoftheunit.
WasherComponents
P0003576
3. Rotatethecontrolpanelforwardapproximately
1inchandslidetotherighttounlockthe
bottomlockingtabs.
4. Liftthepanelupandoffthecoverpaneland
rotatedown.
Lid Switch
ServicePosition
Screws
LockingTab
LockingTab
Control
Panel
Control
Panel

– 17 –
FrontPanel
Thefrontpanelisaremovable,galvanizedsheet
metalsection. Thefrontpanelisfastenedatthe
topby2metalspringclips,andatthebottomby2
metaltabswhichprotrudefromthebaseofthe
unitintoslotsinthepanelbottom.
Mostmajormechanicalcomponentscanbe
accessedbyremovingthefrontpanel.
Toremovethefrontpanel:
1. Locate2springclipsbetweenthetopcover
andfrontpanelbyaligningaputtyknifewith
leftorrightedgeoflid(seeillustration).
2. Inserttheputtyknifeandpushforwardto
releaseclips.
3. Rotatethefrontpanelforwardandliftoff the
bottomtabs.
Align Putty Knife
To Groove In Lid
Lid Switch
Bottom
Tabs
Lid Switch
Cover/LidAssembly
Thecover/lidassemblyisfastenedatthefrontby
2screws,onthesidesby2metalcatches,andat
thebackby3lockingtabswhichprotrudefromthe
bottomofthecontrolpanel.
Note: Donotallowlidtoswingopenwhencover/
lidassemblyisremoved. Damagemayresult.
Toremovethecover/lidassembly:
1. Removethefrontpanelandcontrolpanel(see
FrontPanelandControlPanel).
2 Disconnect2wireclipsandthelidlock
harnessfromtheelectroniccontrolboard.
3. Remove2(1/4-in.)hexscrewssecuringthe
frontofthecover/lidassemblytothecabinet.
4. Removethelidswitchfromthecover/lid
assembly(seeLidSwitch).
5. Pullthetopcovertowardyouwhileliftingup
thefrontedgetoreleasethesidecatchesand
rearlockingtabs. Removethetopcover.
Screws
Screws
Cover/LidAssembly
Cover/LidAssembly

– 18 –
P0003587
Snubber
Snubber
Pump
Pump
Toremovethepump:
Note: Waterwillremaininhosesevenwhenthetub
appearsempty. Use caretoavoidwaterspills.
1. Disconnectpowertothemachine.
2. Lowerthedrainhoseintoasmallbuckettoremove
anywaterremaininginhose.
3. Removethefrontpanel(seeFrontPanel).
4. Disconnecttheleadwires.
5. Pinchofftheblacksumphosetopreventwaterspills.
6. Removehoseclampsandhosesfromthepump.
7. Remove2(3/8-in.)screwsandthepump.
DriveBelt
Thedrivebelt(P/N WH1X2026)islocatedundertheleg
andplatformassembly. Itextendsfromthemotorpulleyto
thetransmissionpulley. Toadjustthebelt,loosenthe4
motormountingnutsandslidethemotorforwarduntilthe
beltistight,thenretightenthenuts.
Note: Properbelttensionis1/2-in.deflectionatmidpoint
betweenpulleys.
DrainPump
Warning:
• Thepumpmaynotbegrounded. Unplugtheunitbeforeservicingtoavoidelectricshock.
• Thepumpmaybeginoperationwithoutanyadvancednotice.
• Thismodelisequippedwithfloodprotection. Ifthelowpressureswitchopenswhilethewasheris
inidlemode,theelectroniccontrolboardwillactivatethedrainpump. Pumpoperationwillcontinue
for60secondsafterthelowlevelswitchcloses.
Thedrainpumpiscoupledtoa120VAC,60Hz,85wattmotor. Thepumpwilloperateindependently
ofothermechanicalcomponents,andwillevacuatewateratvarioustimesduringallcycles.
ThepumpreceivesL1voltagedirectlyfromtheelectroniccontrolboardandswitchingtakesplaceon
theL1side. WhentheelectroniccontrolboardhasclosedtheL1sideofthepumpcircuit(commanding
thepumptorun),theboardmeasuresthecurrentofthepumpandusesthemeasurementsto
determineifthepumpispumpingwaterorair. ThepumpwiringincludesasnubbertoreduceEMI. A
shortedsnubbermaycauseafailuretooccurontheelectroniccontrolboard(seeElectronicControl
Board).
Totestthepump:
Placetheunitintheservicemode(seepage34)andadvancetothePumpTestfunction. Thepump
shouldactivateuponenteringfunction. PshouldbedisplayedontheDigitalSevenSegmentDisplay
(DSSD)alongwiththepumpcurrentdrawintenthsofanamp.
Other manuals for Profile WPRB9250
1
This manual suits for next models
1
Table of contents
Other GE Washer manuals

GE
GE WCRD2050J User manual

GE
GE Appliances GHWP1000M1WW User manual

GE
GE Profile WNSB8060 User manual

GE
GE WWA8480G Installation instructions

GE
GE Appliances GTWN3000M1WS User manual

GE
GE WBSR3140 User manual

GE
GE WPGT9150HWW - Profile 27" Washer Manual

GE
GE GFWR4805FMC User manual

GE
GE G189 User manual

GE
GE 113D5497P183 User manual

GE
GE GFWN1100L Manual

GE
GE WSLS1100 Original instructions

GE
GE Appliances WSKP2060 User manual

GE
GE WSLP1500 Original instructions

GE
GE Spacemaker WWP1170F Installation instructions

GE
GE G190 User manual

GE
GE WHRE5550H User manual

GE
GE GNW128PSMWW Manual

GE
GE Profile ENERGY STAR WPRE6150K Manual

GE
GE WWA8301M User manual