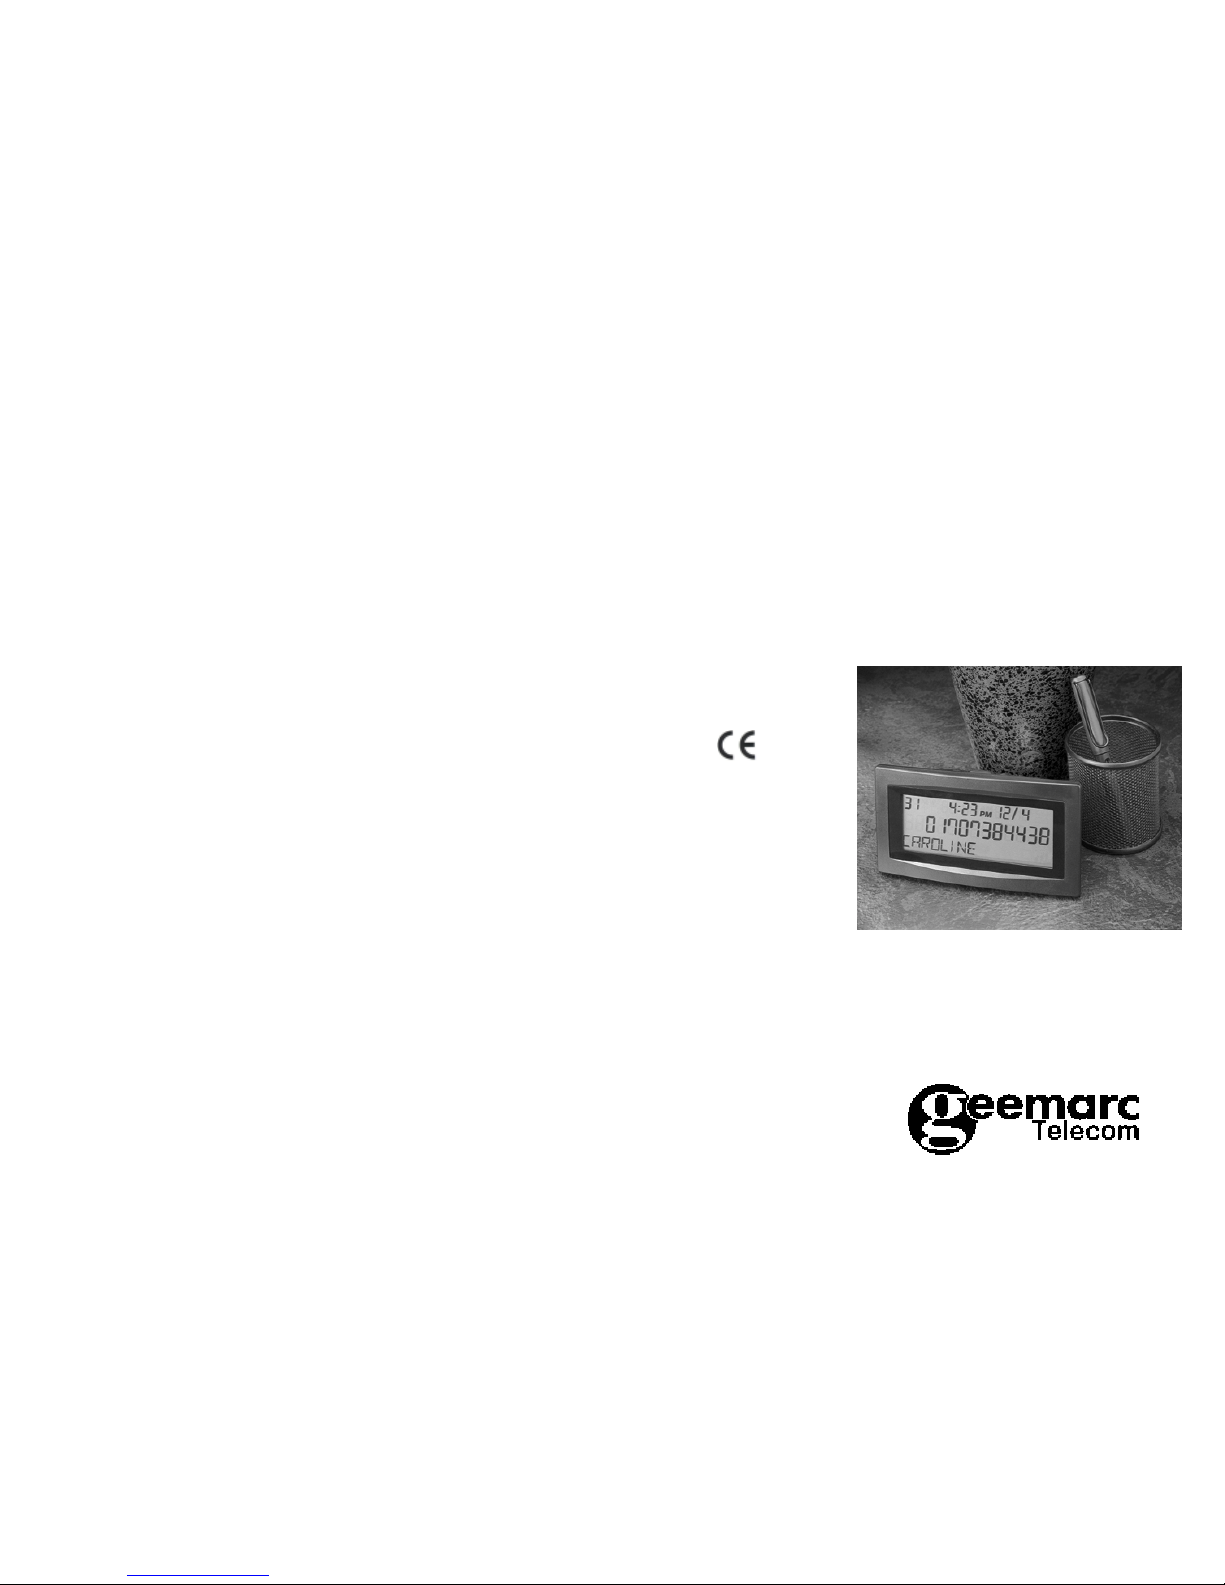
Clearview
Caller Display Unit
User Guide
Care of your Clearview Caller Display
The Caller Display should be cleaned with a soft dry cloth. It is important to
unplug the unit from the telephone socket prior to cleaning. Do not apply
polishes or strong cleaning agents as these could damage the moulding.
THUNDERSTORMS: During thunderstorms, lightning may strike telephone
lines, this can damage any equipment attached to a line, including telephones.
If possible, unplug your telephone from the socket in the event of a storm.
Conditions of use
Your Geemarc Clearview Caller ID has been approved for use on private
direct exchange lines and business lines. It is also approved for use with
approved compatible PABX’s.
Your exchange line should be a standard exclusive (DEL) and not a shared
service or party line.
Your line should be able to cater for either Loop Disconnect (PULSE) or Multi
Frequency (TONE) dialling. If you experience any difficulty contact your local
network operator.
Approval
This product complies with the requirements of EC directive 89/336 EEC
including LVD directive 73/23 EEC. Any modification of the unit or connection
to unauthorised accessories may affect this compliance.
Guarantee
From the moment your Geemarc product is purchased, Geemarc Telecom Ltd
guarantee it for one year. During this time, all repairs or replacements at our
option are free of charge. Carriage to Geemarc is payable by the sender. The
guarantee does not cover accidents, negligence or breakages to any parts.
The unit parts must not be tampered with or taken apart by anyone who is not
an authorised Geemarc representative.
The guarantee of Geemarc Telecom Ltd in no way limits your legal rights.
Should you experience a problem then contact our helpline or the retailer from
whom you purchased your Geemarc product.
If you do have to return the product to Geemarc Telecom Ltd, please enclose
a note of your name and address with details of the problem being experienced.
Also, enclose a copy of your purchase receipt and a cheque for £5 to cover
return postage and packing. YOUR RECEIPT IS YOUR GUARANTEE.
Please note: The guarantee applies to the United Kingdom only.
Geemarc Telecom Ltd
5 Swallow Court
Swallowfields
Welwyn Garden City
Hertfordshire AL7 1SB
Helpline - 01707 384438 Facsimile - 01707 372529
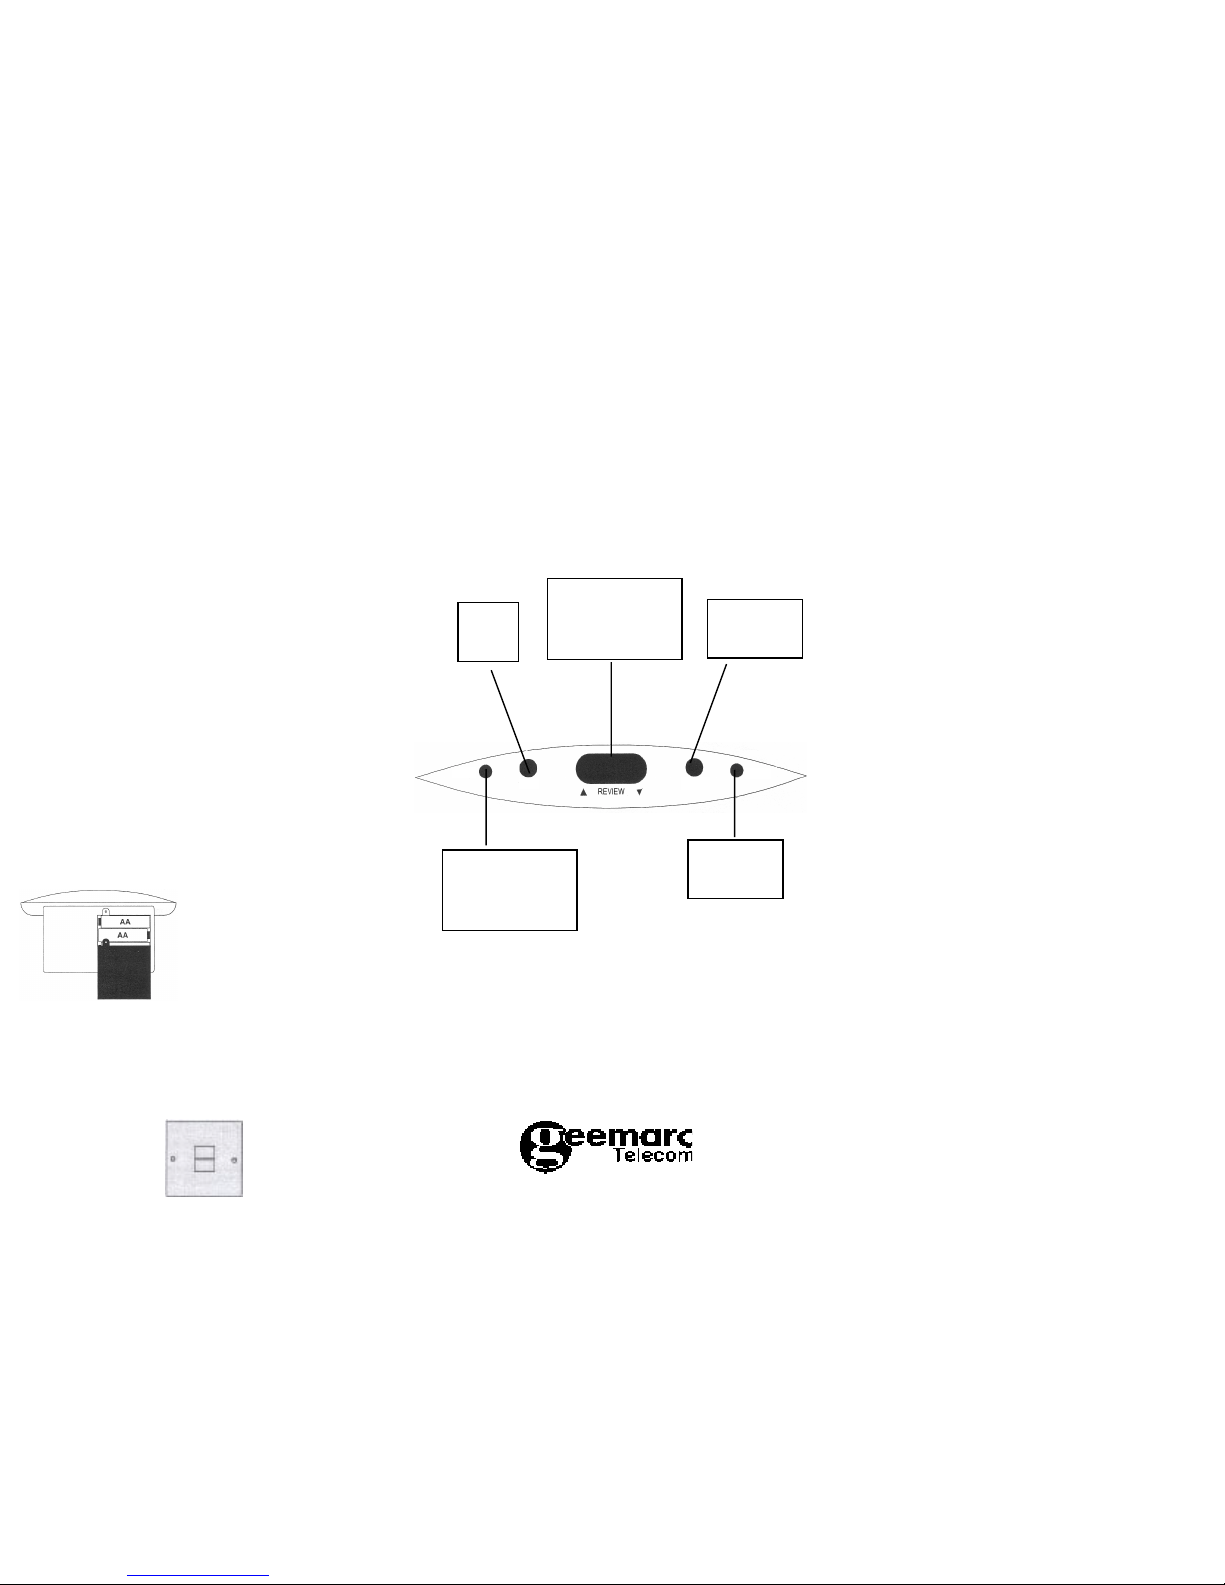
To delete a record from the call list
1. Press REVIEW FORWARD or BACKWARD repeatedly until the desired
record is displayed.
2. Press CLEAR twice.
To delete all records from the call list
Press CLEAR for 5 seconds, until you see the message indicating that there
are no calls.
Date/Time
Date and time will automatically be updated after receiving a call.
Adding telephone numbers and names into the directory
1. Press DIR, the display shows “XX USED YY FREE”, where XX stands for
the number of used entries and YY stands for the number of free entries,
out of the 50 direct memories (16 digits for telephone numbers, 15 characters
for names).
2. Press DIR, the display will show the first record.
3. Press STORE, the display will show “0” in the telephone number field.
4. Press REVIEW FORWARD or BACKWARD to select the digit. STORE to
advance to the next digit. CLEAR for correction.
5. When all digits are OK, press STORE twice in quick succession to jump to
the name field.
6. Press REVIEW FORWARD or BACKWARD to select the character. Press
STORE to advance to next character.
7. When all characters are OK, press STORE twice in quick succession to
finish this record setting.
8. Repeat steps 1 to 7 for next record.
Dialling a record from directory
1. Press DIR twice, use REVIEW FORWARD/BACKWARD to scroll to the
record that you want to dial.
2. Press DIAL, the display shows “LIFT HANDSET”.
3. Lift handset to continue the call before time-out of 10 seconds.
Adding a record to the directory from call list
1. Press REVIEW FORWARD or BACKWARD to scroll through the incoming
record.
2. Press STORE, all information on the display will be transferred to the
directory mode automatically. You can edit or enter the name if desired.
3. Press STORE twice in quick succession, the information will be stored and
idle mode resumes.
Editing a record in the directory
1. Press DIR twice, the display shows the first record. Use REVIEW
FORWARD or BACKWARD to scroll to the record that you want to edit.
2. Press STORE, use CLEAR to cancel back to incorrect digit, use REVIEW
FORWARD/BACKWARD to select correct digit. Press STORE to advance
to next digit, continue to replace digits.
3. Press STORE twice in quick succession to jump to the name field. Use
CLEAR to cancel back to incorrect character, use REVIEW FORWARD/
BACKWARD to select correct character. Press STORE to advance to
next character, continue to replace characters.
4. Press STORE twice in quick succession to finish this record.
Viewing a record in directory
1. Press DIR twice, the display shows the first record.
2. Press REVIEW FORWARD or BACKWARD to view the records.
3. Press DIR to quit or if no button is pressed display returns to time after 30
seconds.
Deleting a record from directory
1. Press DIR twice, use REVIEW FORWARD or BACKWARD to scroll to the
record that you want to delete.
2. Press CLEAR in quick succession twice to delete the record.
3. Press DIR to quit.