manuals.online logo
Brands
  1. Home
  2. •
  3. Brands
  4. •
  5. Gemini
  6. •
  7. Microphone System
  8. •
  9. Gemini GMU Series User manual

Gemini GMU Series User manual

OPERATION INSTRUCTIONS:
Turn on the power supply of receiver and transmitter respectively, the device will connect
automatically, RF indicator LED will be lit White.
Changing the Frequency
Turn on the transmitter, then short press the “SET” button to change frequency, the Receiver will
automatically be matched.
Method of Re-Pairing
1.First, power on the receivers you plan to transmit to
2.On the Transmitter, Press and hold the SET button and POWER button at the same time until
batter y LED begins to flash.
3.RF indicator LED will light up on the receivers to show a successful connection.
4. Now the transmitter is connected to the instrument, and the receiver is connected to the speaker.
5. After successfully pairing once, it will be automatically matched on future startups.
Our Wireless System Can Support:
6 pairs of devices working without inter ference.
Transmitting one signal to several receivers at the same time.
1.First, power on all the receivers you plan to transmit to
2.On the Transmitter, Press and hold the SET button and POWER button at the same time until
batter y LED begins to flash.
3.RF indicator LED will light up on the receivers to show a successful connection.
TROUBLESHOOTING
On the single channel systems, transmitters will transmit to “CH A=A Frequency group” by
default. If you are having trouble connecting to your Receiver, the Transmitter’s assignment may
have been changed to “CH B=B Frequency group”.
To change back to “CH A”:
1.GMU-G100 GMU-M100
first be sure all Receivers are off. With transmitter powered off, hold down the power button for
9 seconds or when the LED display the Group are conversion , unit will turn on and change group
assignments. Now power on the Receiver you intend to use and connection should happen
automatically. If not, try “Method of Re-Pairing” one time.
2.GMU-HSL-100
First be sure all Receivers are off. Then tur n on the Transmitter power, hold down the “SET”
button for 9 seconds and the LED display will change from “CHA” to “CHB”, to show successful
change of group assignments. Now power on the Receiver you intend to use and connection
should happen automatically. If not, try “Method of Re-Pairing” one time.
The Dual channel system GMU-M200, Transmitters will transmit one to “CH A” and one to
“CH B” by default , when you turn on transmit of the Handheld , the LED of handheld will
display which group is it . If both Transmitters are assigned to the same group, you’ll need
to change one to other Group: First make sure all Receivers are off. With Transmitter
powered off, hold down the power button for 9 seconds, unit will turn on and change group
assignments.
Power Supply
The USB to USB-C cable is for charging. Please use this to connect to a USB charging
port or a qualified power adapter. While charging, please make sure that device is shut
down to avoid the loss of electricity during charging. This can lead to longer charging
time and shorter batter y life.
Instrucciones de uso:
Encienda la fuente de alimentación del receptor y el transmis, respectivamente, el dispositivo se
conectará automáticamente, el indicador de RF LED se encenderá de color blanco.
Cambiando la frecuencia
Encienda el transmis, luego presione brevemente el botón "SET" para cambiar la frecuencia, el
receptor será emparejado automáticamente.
Método de re-apareamiento
1.Primero, encienda los receptores a los que planea transmitir
2.En el transmis, presione y mantenga presionado el botón de ajuste y el botón de encendido al
mismo tiempo hasta que el LED de la batería comience a parpadear.
3.El indicador de RF LED se encenderá en los receptores para mostrar una conexión exitosa.
4. Ahora el transmisestá conectado al instrumento, y el receptor está conectado al altavoz.
5. Después de emparecon éxito una vez, se empareautomáticamente en futuras startups.
Nuestro sistema inalámbrico puede soportar:
6 pares de dispositivos funcionando sin interfer.
Transmitir una señal a varios receptores al mismo tiempo.
1.Primero, encienda todos los receptores a los que planea transmitir
2.En el transmis, presione y mantenga presionado el botón de ajuste y el botón de encendido al
mismo tiempo hasta que el LED de la batería comience a parpadear.
3.El indicador de RF LED se encenderá en los receptores para mostrar una conexión exitosa.
Solución de problemas
En los sistemas de un solo canal, los transmisores transmitirán A "CH A=A gr upo de frecuencia"
por defecto.Si usted está teniendo problemas para conectarse a su receptor, la asignación del
transmispuede haber sido cambia "CH B= gr upo de frecuencia B".Para cambiar de nuevo A "CH A" :
1.GMU-G100 GMU-M100
Primero asegúrese de que todos los receptores estén apag.Con el transmisencendido apagado,
mantenga pulsado el botón de encendido durante 9 segundos o cuando el LED muestra el grupo
son la conversión, la unidad se encenderá y cambiar las asignaciones de gr upo.Ahora encienda el
receptor que desea usar y la conexión debe ocurrir automáticamente.Si no, prueba el "método de
re-apare" una vez.
2.GMU-HSL-100
Primero asegúrese de que todos los receptores estén apag.Luego encienda la potencia del transmis,
mantenga presionado el botón "SET" durante 9 segundos y la pantalla LED cambiará de "CHA" a
"CHB", para mostrar el cambio exitoso de las asignaciones de grupo.Ahora encienda el receptor
que desea usar y la conexión debe ocurrir automáticamente.Si no, pr ueba el "método de re-apare"
una vez.
El sistema de doble canal GMU-M200, transmisores transmitirá uno A "CH A" y uno A "CH B" por
defecto, cuando se enciende la transmisión de la mano, el LED de la mano mostrará qué grupo es
el.Si ambos transmiestán asignados al mismo grupo, necesitará cambiar uno a otro grupo:
primero asegúrese de que todos los receptores estén apag.Con el transmisapagado, mantenga
presionel botón de encendido durante 9 segundos, la unidad se encenderá y cambiará las
asignaciones de grupo.
Fuente de alimentación
El cable USB a USB -C es para la carga.Utilice esta opción para conectarse a un puerto de carga
USB o a un adaptador de alimentación cualificado.Durante la carga, asegúrese de que el
dispositivo está apagado para evitar la pérdida de electricidad durante la carga.Esto puede
conducir a un tiempo de carga más largo y una duración más corta de la batería.

This manual suits for next models

14

Other Gemini Microphone System manuals

Gemini UHF Sixteen UX-160 User manual

Gemini

Gemini UHF Sixteen UX-160 User manual

Gemini UZ-1128 User manual

Gemini

Gemini UZ-1128 User manual

Gemini UHF-4000 series User manual

Gemini

Gemini UHF-4000 series User manual

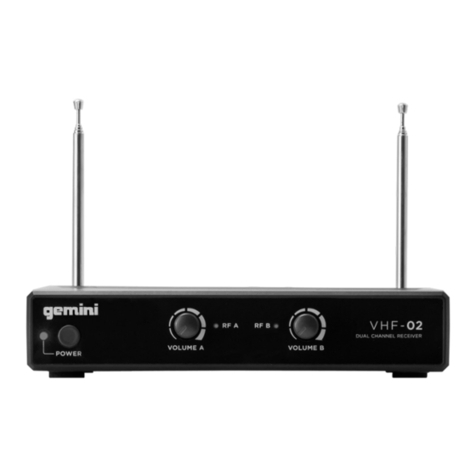
Gemini VHF-02 series User manual

Gemini

Gemini VHF-02 series User manual

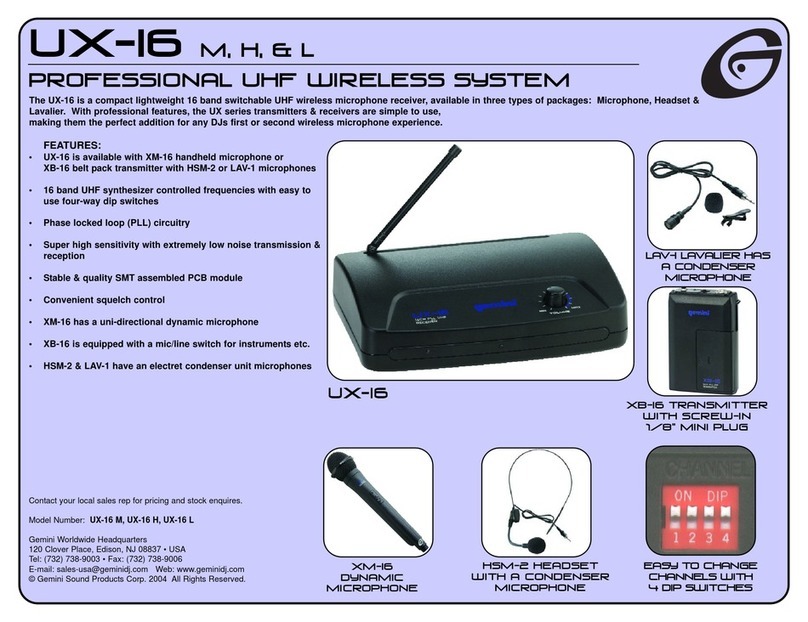
Gemini Professional UHF Wireless System UX-16 H Owner's manual

Gemini

Gemini Professional UHF Wireless System UX-16 H Owner's manual

Gemini VHF-1000M User manual

Gemini

Gemini VHF-1000M User manual

Gemini UHF-116HL User manual

Gemini

Gemini UHF-116HL User manual

Gemini VH Series User manual

Gemini

Gemini VH Series User manual

Gemini UHF-04 User manual

Gemini

Gemini UHF-04 User manual

Gemini VHF-01 series User manual

Gemini

Gemini VHF-01 series User manual

Gemini UHF-6200 User manual

Gemini

Gemini UHF-6200 User manual

Gemini UF-1264 User manual

Gemini

Gemini UF-1264 User manual

Gemini UX-16 M User manual

Gemini

Gemini UX-16 M User manual

Gemini UHF UX-1600 User manual

Gemini

Gemini UHF UX-1600 User manual

Gemini UHF-116HL User manual

Gemini

Gemini UHF-116HL User manual

Gemini UF-1064, UF-1264, UF-2064, UF-8264 User manual

Gemini

Gemini UF-1064, UF-1264, UF-2064, UF-8264 User manual

Gemini UHF-5000 Series User manual

Gemini

Gemini UHF-5000 Series User manual

Gemini UF-1064, UF-1264, UF-2064, UF-8264 User manual

Gemini

Gemini UF-1064, UF-1264, UF-2064, UF-8264 User manual

Gemini GEMINI VHF-1001HL User manual

Gemini

Gemini GEMINI VHF-1001HL User manual

Popular Microphone System manuals by other brands

PYLE Audio PDWM2400 Operation manual

PYLE Audio

PYLE Audio PDWM2400 Operation manual

ANT+ START 8 Series user manual

ANT+

ANT+ START 8 Series user manual

Sennheiser SK 300 G3 Product sheet

Sennheiser

Sennheiser SK 300 G3 Product sheet

ETC CS-64-F Administration & setup guide

ETC

ETC CS-64-F Administration & setup guide

Shure ConferenceONEs user guide

Shure

Shure ConferenceONEs user guide

Enersound T-588 user manual

Enersound

Enersound T-588 user manual

Pyle PDWM1902 manual

Pyle

Pyle PDWM1902 manual

Conrad 75 17 47 operating instructions

Conrad

Conrad 75 17 47 operating instructions

Behringer ULTRALINK UL2000B user manual

Behringer

Behringer ULTRALINK UL2000B user manual

thomann the t.bone GigA Pro Wind Set user manual

thomann

thomann the t.bone GigA Pro Wind Set user manual

R2TECK DVLC user manual

R2TECK

R2TECK DVLC user manual

Electro-Voice MS3000 Series owner's manual

Electro-Voice

Electro-Voice MS3000 Series owner's manual

Shure UHF Wireless System user guide

Shure

Shure UHF Wireless System user guide

dji MIC user guide

dji

dji MIC user guide

PCB Piezotronics 377 Series Installation and operating manual

PCB Piezotronics

PCB Piezotronics 377 Series Installation and operating manual

Pyle PDWM2120 user manual

Pyle

Pyle PDWM2120 user manual

Cardin Elettronica RADIOSHIELD Series manual

Cardin Elettronica

Cardin Elettronica RADIOSHIELD Series manual

Voscom VOS-0100FT/R Series installation manual

Voscom

Voscom VOS-0100FT/R Series installation manual

manuals.online logo
manuals.online logoBrands
  • About & Mission
  • Contact us
  • Privacy Policy
  • Terms and Conditions

Copyright 2025 Manuals.Online. All Rights Reserved.