7
STL-100 ULTRA BRIGHT LED
SPEAKER STAND
DEUTSCHE //
BESCHREIBUNG
Der Gemini STL-100 Ultra Bright
LED-Lautsprecherständer ist ein
zusammenklappbarer, ausziehbarer
Lautsprecherständer, der von 37 bis 68 Zoll
reichen und bis zu 55 Pfund halten kann.
Die Stativkonguration ist extrem stabil auf
ebenen Oberächen und die Sicherheitsnadel
sorgt dafür, dass die Standhöhe auch
bei schwerem Lautsprecher auf dem
eingestellten Niveau bleibt.
Was diesen Stand zu etwas Besonderem
macht, ist die Tatsache, dass es eine
integrierte Lichtshow gibt. Jedes Bein des
Stands leuchtet und blinkt in mehreren
Farben und Mustern. Die Beleuchtung
kann statisch sein, durch Audio ausgelöst
oder über die mitgelieferte Fernbedienung
gesteuert werden.
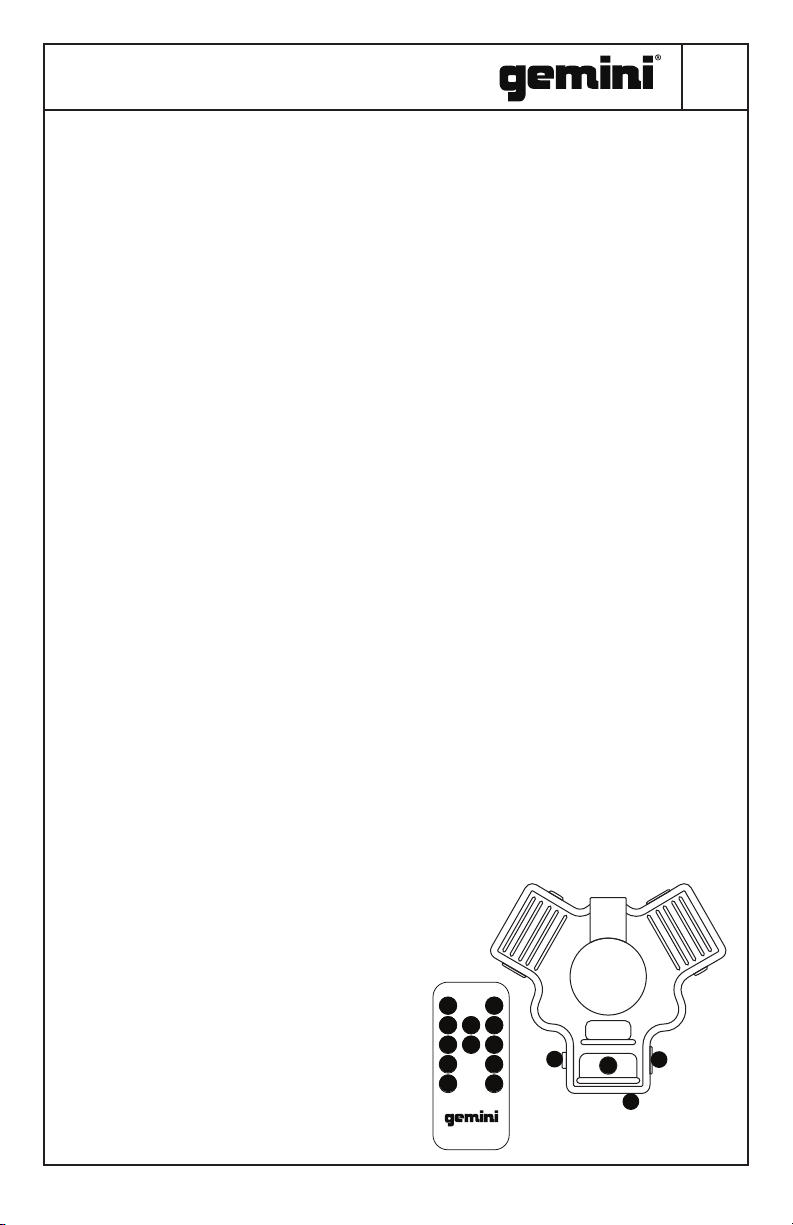
EINSCHALTEN
Verbinden Sie den kleineren Stecker des
Micro-USB-Kabels mit dem Stativ und den
größeren Stecker mit dem mitgelieferten
USB-Netzteil oder einer anderen USB-
Stromquelle.
Schalten Sie den POWER-Schalter ein.
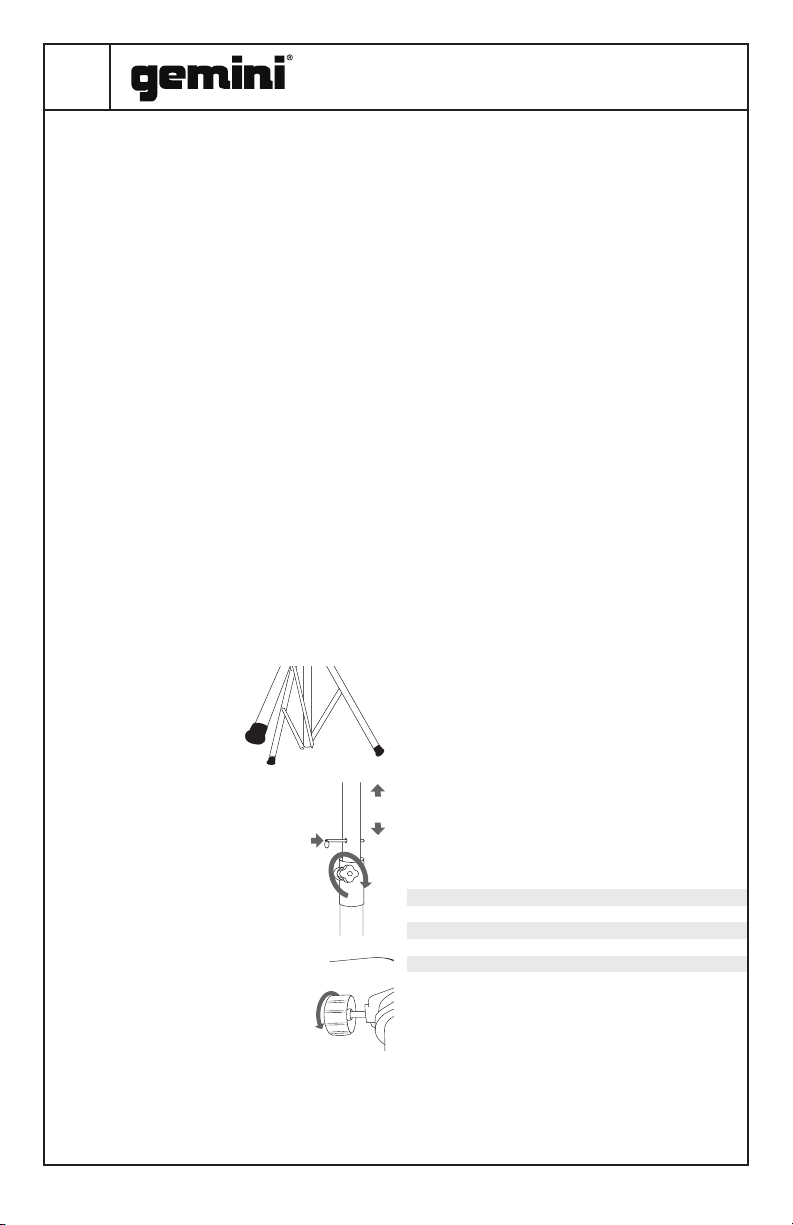
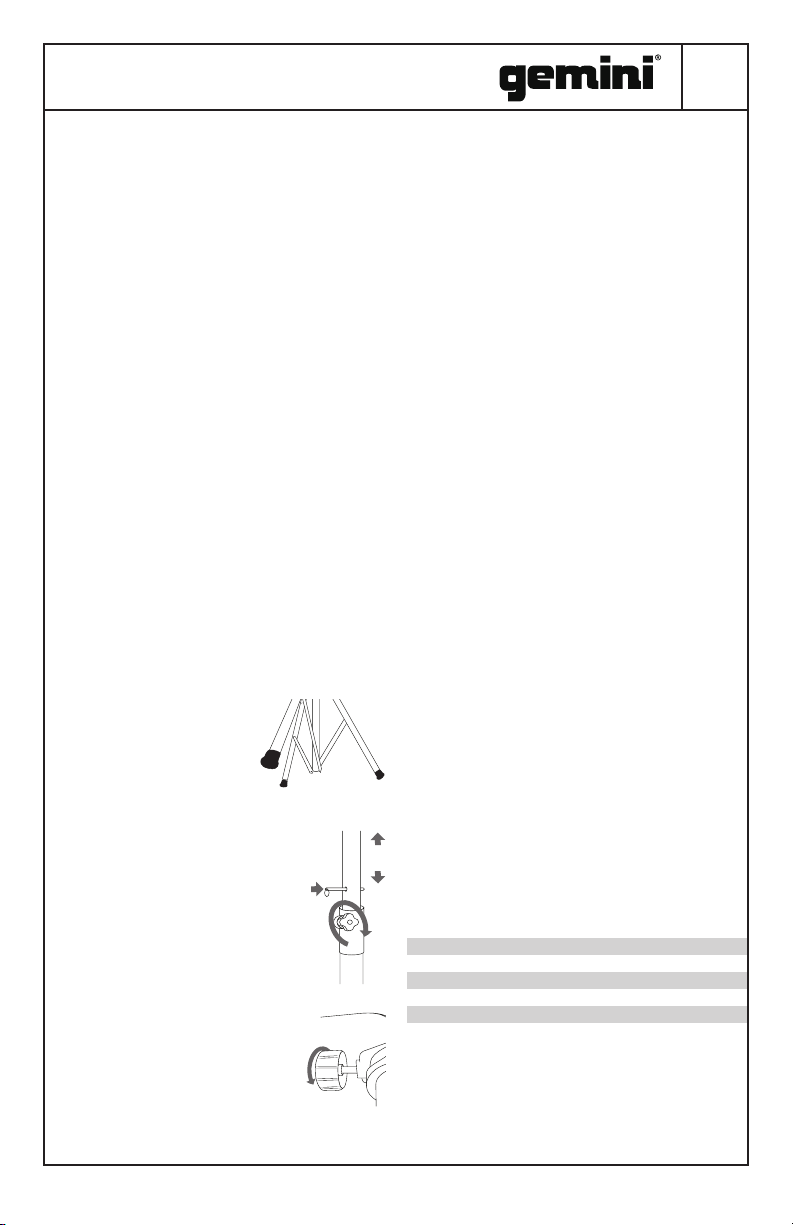
STAND MONTAGE
Verlängern Sie die
Stativbeine vollständig auf einer
ebenen, stabilen Oberäche.
Verwenden Sie den Ständer nicht
auf einer unebenen Oberäche.
Ziehen Sie die mittlere
Montagestange auf die
gewünschte Höhe heraus und
ziehen Sie den Einstellknopf fest.
Setzen Sie den Sicherungsstift in
die Montagestange ein.
Lösen Sie den
Lautsprechereinstellknopf und
setzen Sie ihn mit dem Loch in der
Unterseite des Lautsprechers auf
die Ständerhalterung.
Sobald der Lautsprecher auf dem
Ständer steht, ziehen Sie den
Lautsprechereinstellknopf fest, um
ihn zu arretieren.
WARNUNGEN UND
VORSICHTSMASSNAHMEN
VORSICHTSMASSNAHMEN
1. Bitte lesen Sie diese Anweisungen sorgfältig durch.
2. Bewahren Sie alle Informationen und Anweisungen an einem
sicheren Ort auf.
3. Folge den Anweisungen.
4. Beachten Sie alle Sicherheitswarnungen. Entfernen Sie
niemals Sicherheitswarnungen oder andere Informationen
vom Gerät.
5. Verwenden Sie das Gerät nur in der vorgesehenen Weise
und für den vorgesehenen Zweck.
6. Verwenden Sie nur ausreichend stabile und kompatible
Ständer und/oder Halterungen (für feste Installationen).
Stellen Sie sicher, dass die Wandhalterungen
ordnungsgemäß installiert und gesichert sind. Stellen
Sie sicher, dass das Gerät sicher installiert ist und nicht
herunterfallen kann.
7. Beachten Sie während der Installation die geltenden
Sicherheitsbestimmungen für Ihr Land.
8. Installieren und betreiben Sie das Gerät niemals in der
Nähe von Heizkörpern, Heizregistern, Öfen oder anderen
Wärmequellen. Stellen Sie sicher, dass das Gerät immer so
installiert ist, dass es ausreichend gekühlt wird und nicht
überhitzen kann.
9. Stellen Sie niemals Zündquellen, z. B. brennende Kerzen, auf
das Gerät.
10. Lüftungsschlitze dürfen nicht blockiert werden.
11. Halten Sie einen Mindestabstand von 20 cm um und über
dem Gerät ein.
12. Verwenden Sie dieses Gerät nicht in unmittelbarer Nähe von
Wasser (gilt nicht für spezielle Outdoor-Geräte - beachten
Sie in diesem Fall die unten aufgeführten speziellen
Anweisungen). Setzen Sie dieses Gerät keinen brennbaren
Materialien, Flüssigkeiten oder Gasen aus. Vermeide direktes
Sonnenlicht!
13. Stellen Sie sicher, dass tropfendes oder spritzendes Wasser
nicht in das Gerät gelangen kann. Stellen Sie keine mit
Flüssigkeiten gefüllten Behälter wie Vasen oder Trinkgefäße
auf das Gerät.
14. Stellen Sie sicher, dass keine Objekte in das Gerät fallen
können.
15. Verwenden Sie dieses Gerät nur mit dem vom Hersteller
empfohlenen und vorgesehenen Zubehör.
16. Öffnen oder verändern Sie dieses Gerät nicht.
17. Überprüfen Sie nach dem Anschließen des Geräts alle
Kabel, um Schäden oder Unfälle, z. B. durch Stolperfallen,
zu vermeiden.
18. Achten Sie beim Transport darauf, dass das Gerät
nicht umfallen kann und möglicherweise Sach- und
Personenschäden verursacht.
19. Wenn Ihr Gerät nicht mehr ordnungsgemäß funktioniert,
wenn Flüssigkeiten oder Gegenstände in das Gerät gelangt
sind oder auf andere Weise beschädigt wurden, schalten Sie
es sofort aus und ziehen Sie es aus der Steckdose (wenn es
sich um ein strombetriebenes Gerät handelt). Dieses Gerät
darf nur von autorisiertem Fachpersonal repariert werden.
20. Reinigen Sie das Gerät mit einem trockenen Tuch.
21. Befolgen Sie alle geltenden Entsorgungsgesetze in Ihrem
Land. Bei der Entsorgung von Verpackungen bitte Plastik
und Papier/Karton trennen.
22. Plastiktüten müssen außerhalb der Reichweite von Kindern
aufbewahrt werden.
23. Bitte beachten Sie, dass Änderungen oder Modikationen,
die nicht ausdrücklich von der für die Konformität
verantwortlichen Partei genehmigt wurden, die
Berechtigung des Benutzers zum Betrieb des Geräts
ungültig machen können.
SPEZIFIKATIONEN
Beleuchteter Teleskopständer
1-3/8“ (35mm) Schlauch
Sicherheitsnadel für maximale Stärke und Sicherheit
Konstruiert mit starken, leichten Materialien
Erweitert sich auf 68 “hoch
55 lbs Ladekapazität