English
4
2.2 PC BIOS Setting
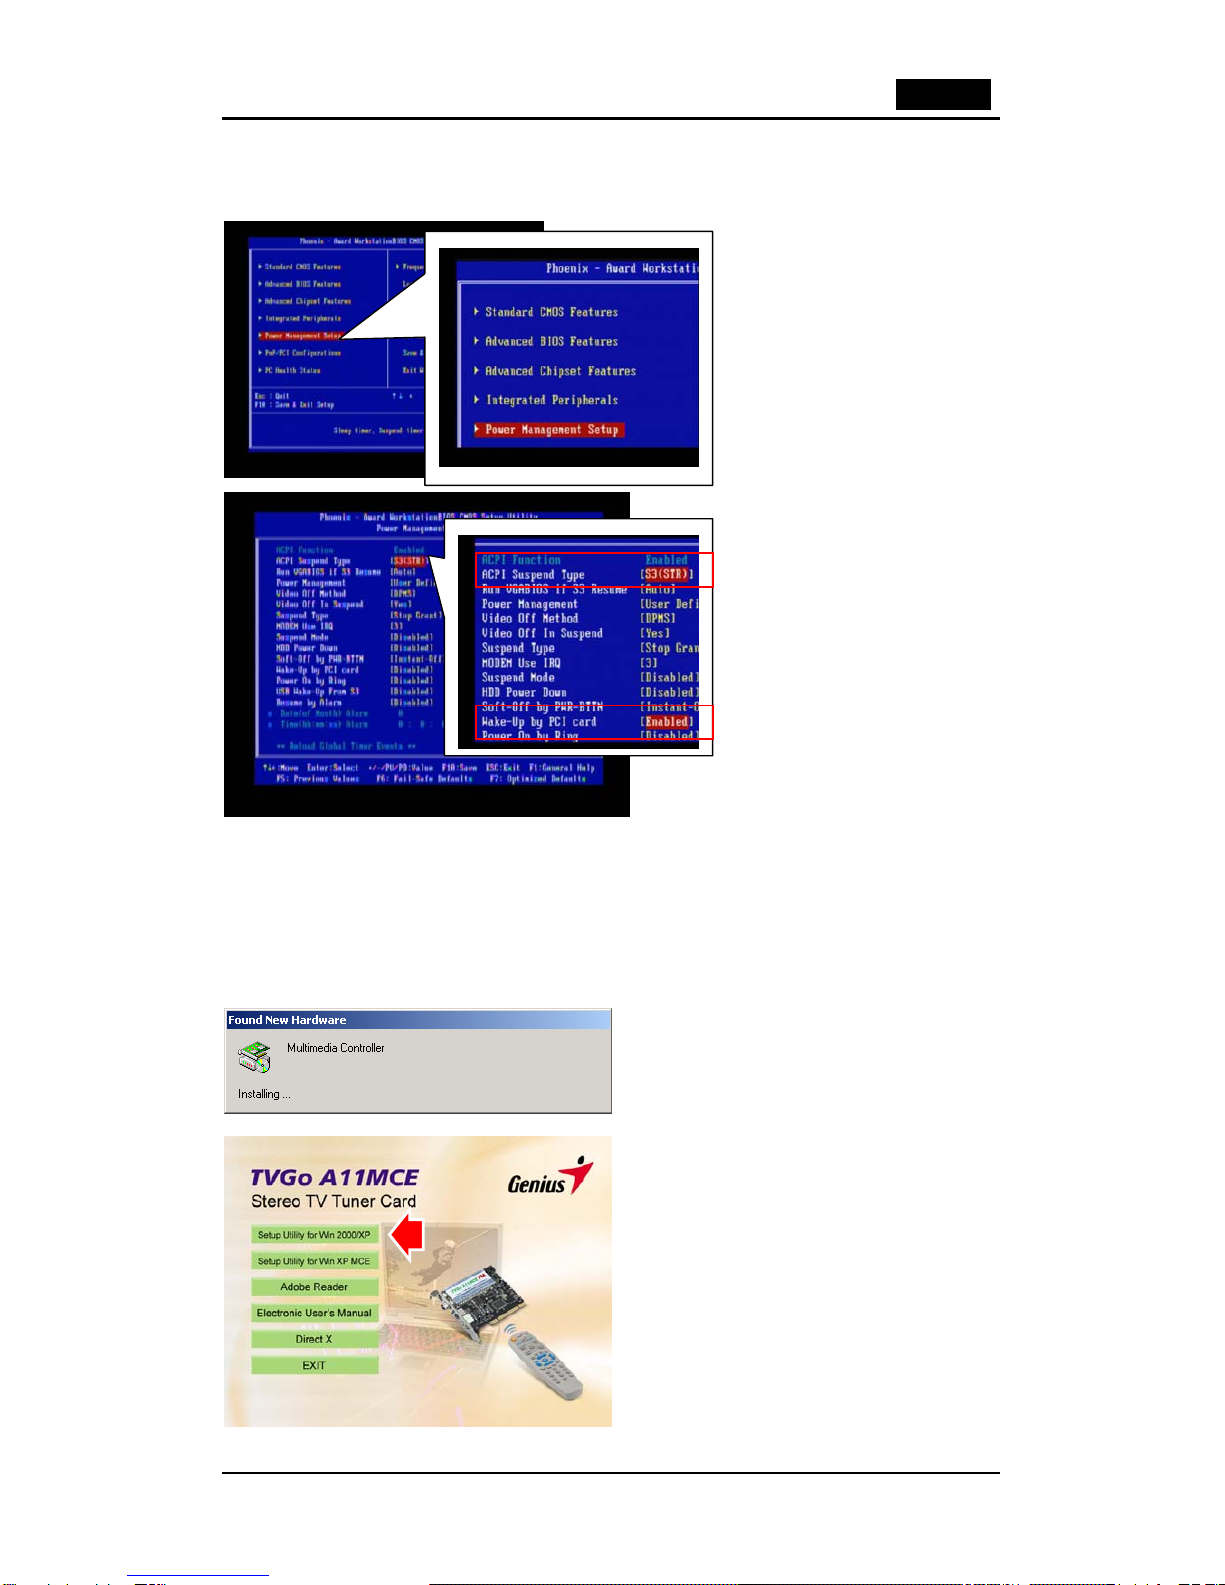
Power on the computer and system will start POST (Power On Self Test) process. When the
message below appears on the screen, press <DEL> Key to enter Setup.
The Main Menu displays twelve
configurable functions and two
exit choices. Use the arrow keys
to move to “Power Management
Setup” and press “Enter” to enter
the sub-menu.
1. Set the “ACPI Suspend
Type” to “S3 (STR)” or “S5
(STD)”.
2. Set the “Wake-Up by PCI
card” to “Enabled”.
Remark: Auto boot recording
function is based on ACPI
Suspend Type “S3 (STR)” or “S5
(STD)” mode. If your computer
does not support it, then this
function does not work.
Caution: It is highly recommended, when the TVGo A11MCE card has been removed from the
PC system, you restore the ACPI setting to its original setting. Only after the TVGo A11MCE
PCI adapter been correctly plugged into the slot will the BIOS setting be enabled.
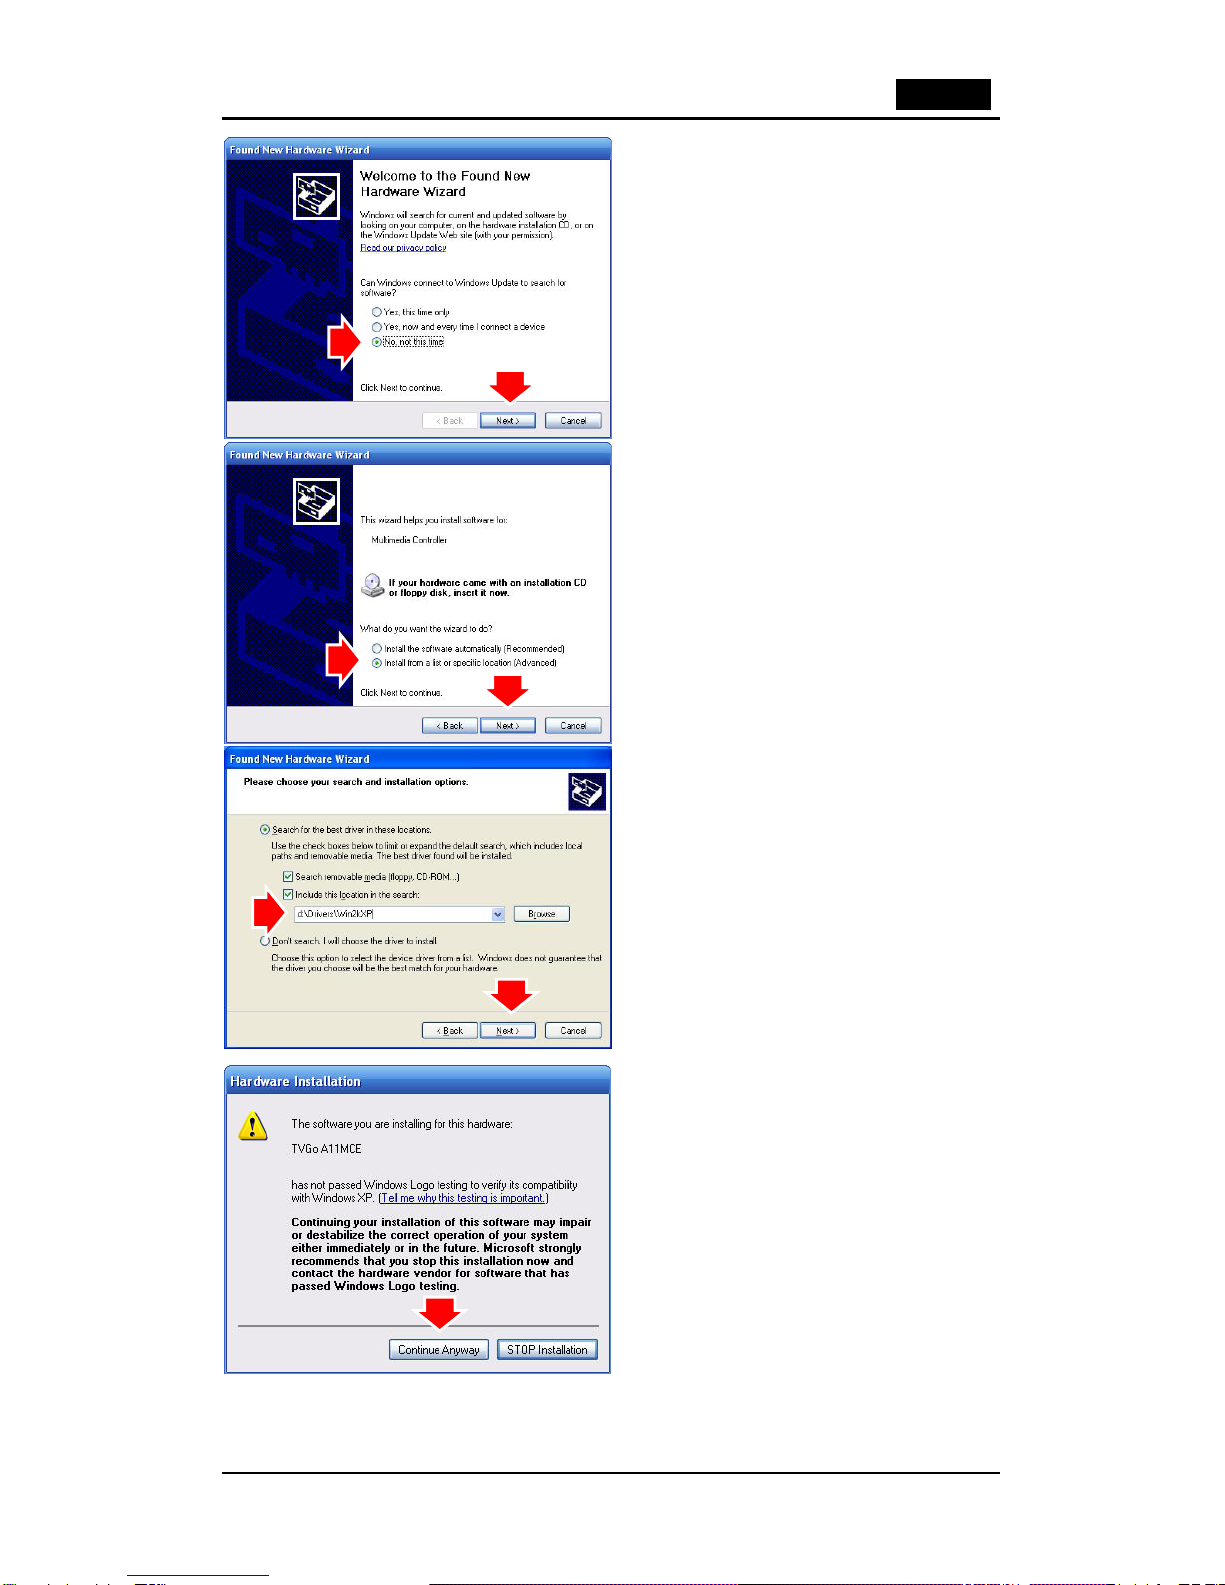
2.3 Device Driver Installation
1. Place the CD software in the CD-ROM drive for the driver installation.
2. Once you connect the TVGo A11MCE to the PCI slot, just follow the system’s prompted
message to finish the driver installation.
1. When you insert the TVGo A11MCE,
system will show “Found New Hardware”
dialogue box.
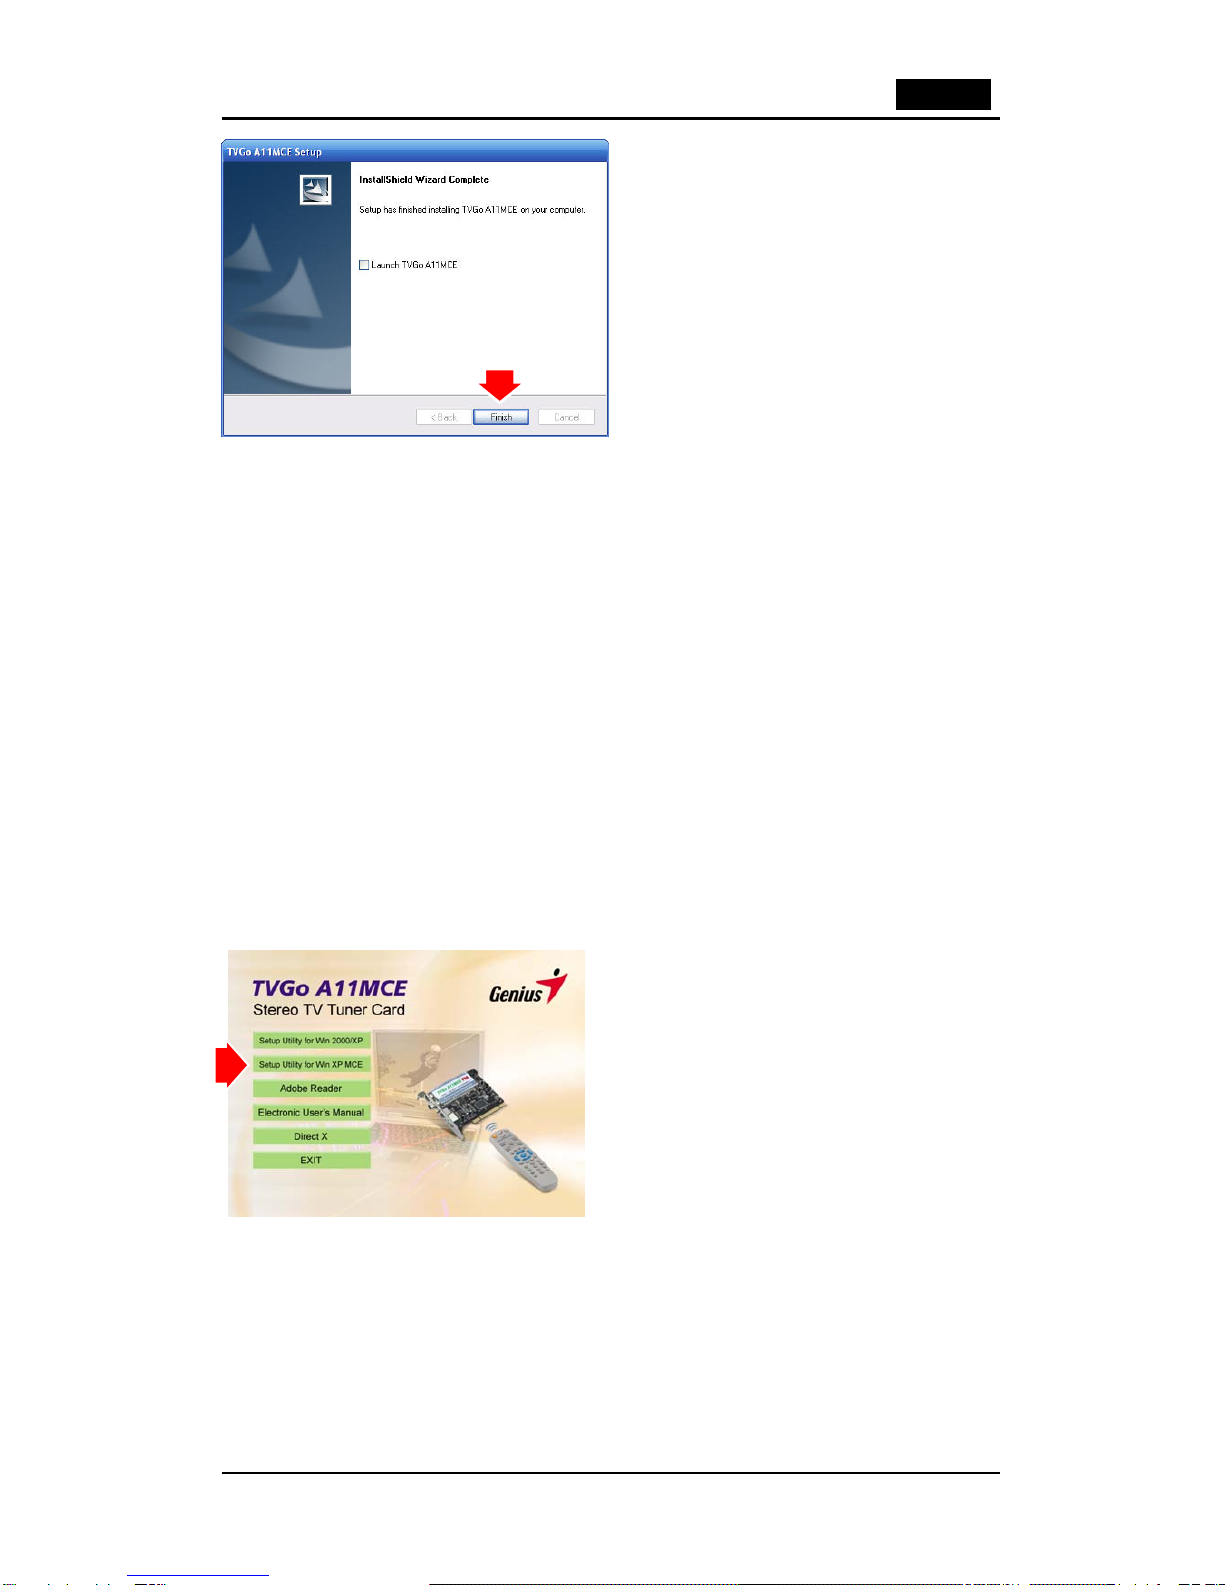
Insert the installation CD into the CD-ROM drive.
The setup will automatically appear. Click “Setup
Utility for Win 2000/XP”