manuals.online logo
Brands
  1. Home
  2. •
  3. Brands
  4. •
  5. GENUS
  6. •
  7. Camera Accessories
  8. •
  9. GENUS Hurricane-Rig User manual

GENUS Hurricane-Rig User manual

!!! ! !
Below is a step by step guide to assembling the Hurricane-Rig.
Remember that this is a precision optical instrument.
Excessive force can bend critical parts. If treated well it
should give many years of reliable service.
Further Information can be found at www.hurricane-rig.com
ASSEMBLY STEP 1:
Start by attaching your tripod plate to the base of the top camera
platform assembly (which incorporates the interaxial and convergence
adjusters). It is best if your tripod plate is attached towards the front of
the assembly as the rig will tend to be front heavy. The front of this
assembly is the end away from the small convergence adjuster knob.
Once the tripod plate is attached, mount the top camera platform on
your tripod. It is easiest to build the rig when it is mounted on a tripod.
!!! ! !
STEP 2:
Insert the long stainless steel rods into the top camera platform. You
may need to loosen the gold locking tabs. Do not tighten the locking tabs
at this stage, simply insert the rods into the camera platform assembly.
STEP 3:
Now attach the square front rail. Note the orientation of the end 45
degree brackets and the position of the vertical holes. The hand knobs
should be to the front and low, so that the hole in the 45 degree bracket
points forwards and up. See the pictures below to confirm the location
of the mounting holes for the upper and lower stainless steel rods.
!!! ! !
Confirm the orientation of the front rail. When the rig is viewed from
the front there should be a vertical hole immediately to the left of the
each of the holes that the top rods are inserted into. Refer to the picture
above and the picture in step 4 if you are unsure.
The rods should be flush with the front of the square front rail. Secure
by tightening (clockwise) the two allen (hex) head bolts recessed into
the underside of the rail. Do not over tighten, use a short allen key and
hand pressure only. Check the square rail assembly is firmly attached to
the horizontal rails before proceeding to the next step.
Gently tighten the 6 gold locking tabs on the top camera assembly
before proceeding to step 4.
!!! ! !
STEP 4:
Now add the lower camera platform rods and assembly to the square
front rail. This should be slightly to the left of the main rods as can be
seen in the pictures below. Start by inserting one of the short stainless
steel rods into the square front rail so that the safety stop screw is at the
top.
Next take the lower camera platform assembly and insert the remaining
short stainless steel rod into this as shown in the picture below. The
safety stop screw (arrowed) will be at the bottom of the assembly.
Tighten the two gold locking tabs to secure the rod in position, the other
two tabs should be loose.
!!! ! !
Now slide this assembly on to the short rod attached to the front square
rail so that the both short stainless steel rods now go into the square
rail. Secure the remaining two gold locking tabs on the lower platform
assembly using finger pressure. All four gold tabs should be finger tight.

Other GENUS Camera Accessories manuals

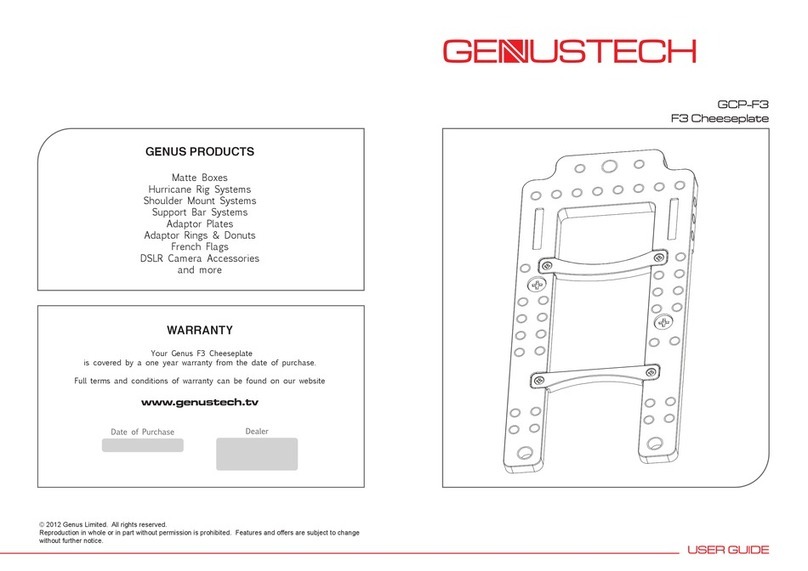
GENUS GENUSTECH GCP-F3 User manual

GENUS

GENUS GENUSTECH GCP-F3 User manual

GENUS G-SFOC User manual

GENUS

GENUS G-SFOC User manual

Popular Camera Accessories manuals by other brands

CamRanger CamRanger user manual

CamRanger

CamRanger CamRanger user manual

Custom Brackets HDV CAGE KIT Instructions for use

Custom Brackets

Custom Brackets HDV CAGE KIT Instructions for use

Aegis ABL052010P user manual

Aegis

Aegis ABL052010P user manual

Saft SRA Series Installation and operating instructions

Saft

Saft SRA Series Installation and operating instructions

Kodak TIB5200 technical information

Kodak

Kodak TIB5200 technical information

Videotec HEG instruction manual

Videotec

Videotec HEG instruction manual

Ikelite 6171.11 manual

Ikelite

Ikelite 6171.11 manual

Pentax Auto Bellows Slide Copier K user manual

Pentax

Pentax Auto Bellows Slide Copier K user manual

Nikon UT-1 user manual

Nikon

Nikon UT-1 user manual

dji RONIN 4D quick start guide

dji

dji RONIN 4D quick start guide

SLIK ABLE 300DX user manual

SLIK

SLIK ABLE 300DX user manual

Rebelcell 36V70 user manual

Rebelcell

Rebelcell 36V70 user manual

Trojan GC2 48V quick start guide

Trojan

Trojan GC2 48V quick start guide

Calumet 7100 Series CK7114 operating instructions

Calumet

Calumet 7100 Series CK7114 operating instructions

Ropox 4Single Series User manual and installation instructions

Ropox

Ropox 4Single Series User manual and installation instructions

Cambo Wide DS Digital Series Main operating instructions

Cambo

Cambo Wide DS Digital Series Main operating instructions

Samsung SHG-120 Specification sheet

Samsung

Samsung SHG-120 Specification sheet

Ryobi BPL-1820 Owner's operating manual
Ryobi

Ryobi BPL-1820 Owner's operating manual

manuals.online logo
manuals.online logoBrands
  • About & Mission
  • Contact us
  • Privacy Policy
  • Terms and Conditions

Copyright 2025 Manuals.Online. All Rights Reserved.