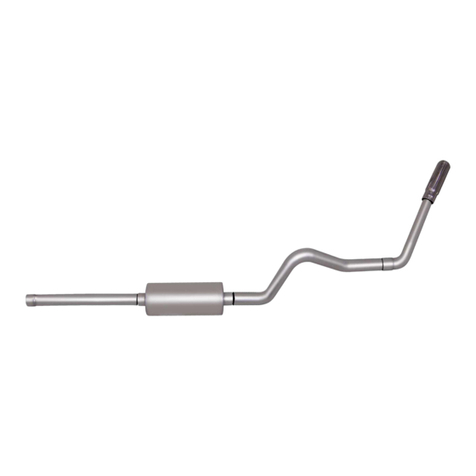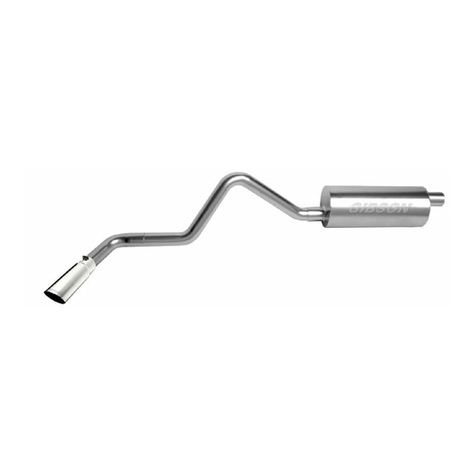
EXHAUST INSTALLATION
SLIP-FIT CONVERTER
WHEN INSTALLING THIS EXHAUST SYSTEM MAKE SURE TO USE
PROPER SAFETY PRECAUTIONS. USE JACK STANDS WHEN UNDER
THE TRUCK, SET PARKING BAKE, BLOCK TIRES, AND USE SAFETY
GLASSES AND GLOVES. DO NOT WORK WITH HOT PIPES!
1. Lay out the GIBSON EXHAUST SYSTEM on the floor so it looks like the drawing.
2. Remove stock exhaust from behind the converter. Leave all rubber mounting grommets
in place.
3. Connect headpipe # A onto the converter. Use jack stands to support converter so it
won’t drop, and attach with clamp
# F.
4. Connect muffler # B with inlet towards the converter to the headpipe. Use a jack stand to
support the muffler and connect with clamp # F. Attach hanger # J to headpipe.
5. Remove stock rear hanger from frame on passenger side. Install # H 10” hanger to frame
using existing hole located on the center of frame, next to where stock hanger was
mounted. Use nut and bolt supplied and mount through third hole from the top of the 10”
hanger. Repeat same on drivers side.
6. Install the passenger overaxle tailpipe # C; connect to the muffler and attach hanger # I.
Clamp rear of overaxle pipe to 10” hangers. Rotate pipes for best clearance and align to
frame rail.
7. Install the driver side overaxle tailpipe # D; connect to the muffler and connect with
clamp # G. Clamp rear of overaxle pipe to 10” hangers. Rotate pipes for best clearance
and align to frame rail.
8. Connect exit pipes # E to the rear of overaxle pipes. Roll exit pipes until you have it at
correct angle for your truck and connect with clamp # H.
9. When you have everything in place, firmly tighten all bolts and clamp down securely.
Use zip ties to secure back vent and brake lines.
10. Install stainless tips. Use zip ties for brake and fuel lines.
MAKE SURE YOU HAVE A 1” CLEARANCE ON ALL PIPES FROM ALL RUBBER
BRAKE LINES, SHOCK BOOTS, TIRES, ETC.
