Gigaset_QUG _ A31008-MXXXX-XXXX-1-XXXX _ 12. December 2011
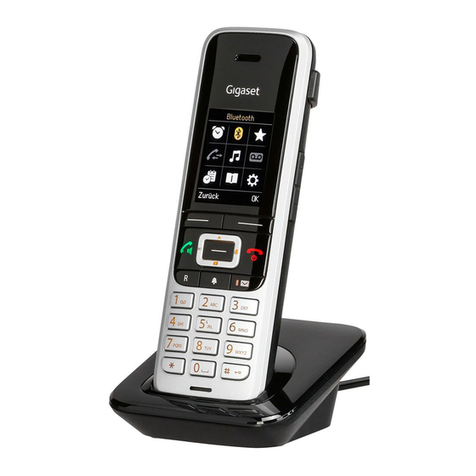
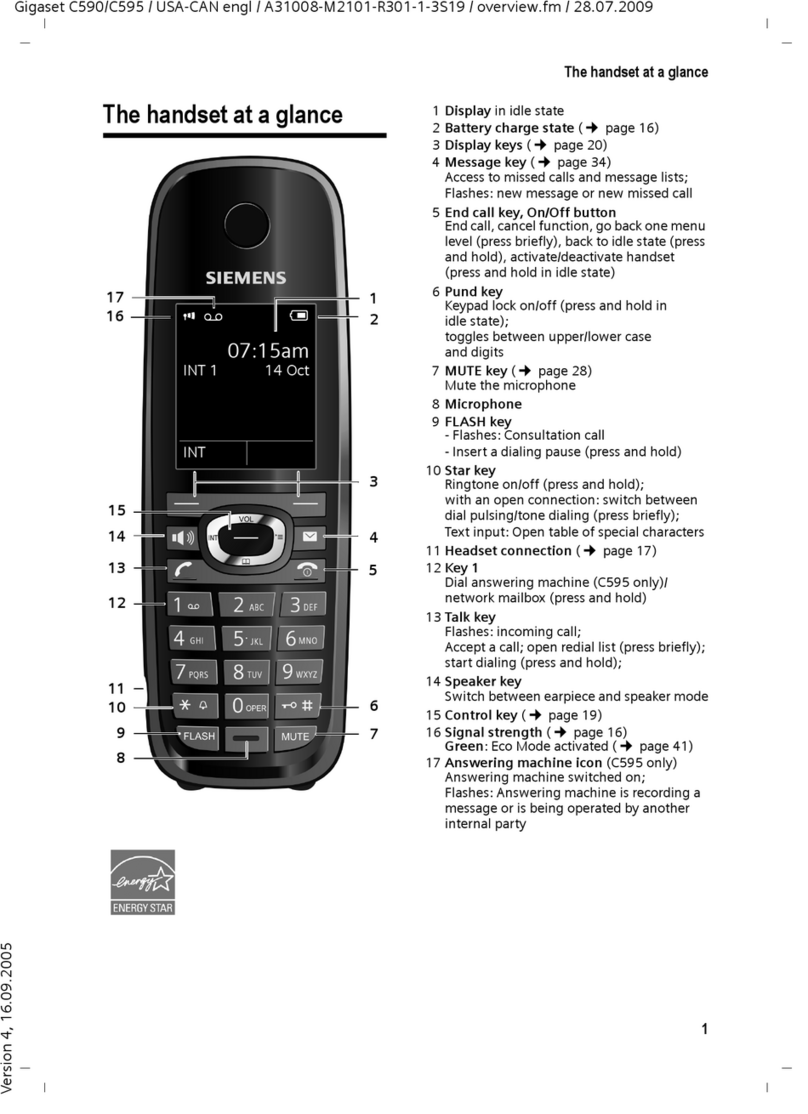
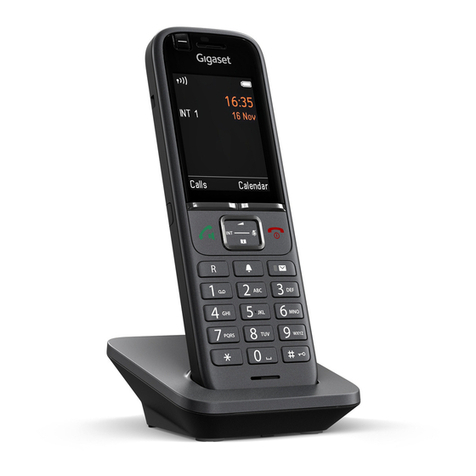
The handset at a glance (dial page)
Status bar
The internal handset name (e.g., INT 1) and icons
that display the current settings and the operat-
ing status of the phone
Touch the status bar to display the status page.
Navigation area
Page position marker ,
change page ê/ë.
Keypad
Numerical keypad to enter phone numbers
vMenu key
Press briefly: open main menus
Press and hold: key and display lock on/off
Handset keys:
c Talk key
Dial displayed number, accept call
During a call/during playback of messages from
answering machine/when establishing a connec-
tion: switch between earpiece and handsfree
mode
In idle status: open redial list (press briefly)
a End call/end key
Press briefly: end (active) call/paging call, reject
internal call
Switch off ringtone for external call
Otherwise: return to idle status
Press and hold: handset on/off
Touchscreen/display
Sample display: "dial page" for entering phone
numbers in idle mode (one of three idle display
pages).
Option slider
Displays the possible actions
Ð
INT 1
à òô ó¼06:00 V
<
ÅÄÄ
>
ç
1 2 3
ABC DEF
4 5 6
GHI JKL MNO
7 8 9
PQRS TUV wxyz
*0#
˜Âí å
Calls Contacts QuickDial Internal
Underside of the handset: Mini USB connection socket
Connect wire-bound headset or handset to your
PC (Gigaset QuickSync)
Charging contacts
Message LED
Proximity sensor
Using the phone
Activating/deactivating the handset
¤Press and hold the end call key ain idle status to deactivate the handset. You will hear a
melody.
¤Press and hold the end call key aagain to reactivate the handset.
Operating the touchscreen
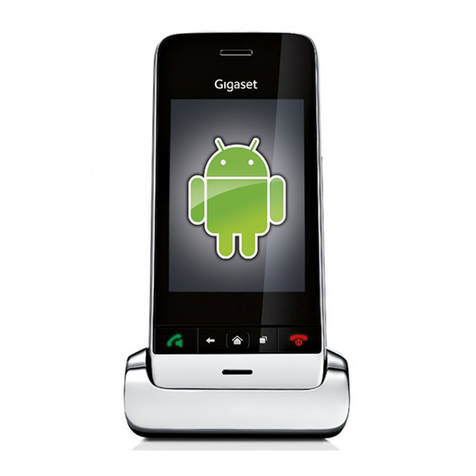
The Gigaset SL910H handset is primarily operated using the display and only to a small extent
using the three buttons on the handset.
Icons, list entries, buttons and sliders shown on the display are sensitive areas. You can set up and
activate functions, enter or dial phone numbers and navigate between the various display screens
(pages) by touching these areas and dragging them across the display.
Selecting functions/list entries
To activate a function or select a list item (Contacts, submenu, call list), simply tap your finger on
the corresponding icon or on the required list entry on the display.
Activating/deactivating functions
Functions, e.g., room monitor, are activated and deactivated via buttons.
If the button slider is to the right, the function is activated. The
area to the left of the slider is highlighted (on).
If the button slider is to the left, the function is deactivated (off).
The area to the right of the slider is black.
There are two ways to operate a button:
¤Slowly drag the slider to the right or left to activate or
deactivate the function.
¤Touch the area to the right or left of the slider briefly and the slider moves to the right or left
to the area that has been touched.
Making calls
Making an external call
¤Open the dial page, enter the number, briefly press c.
Or:
¤Press and hold the ckey in idle mode, then enter the number.
You can cancel dialling by pressing a.
Accepting a call
You have the following options:
¤Press c.
¤Take the handset out of the charger, if Auto Answer is activated.
¤Gigaset SL910A: Touch [Divert] to divert the call to the answering machine.
For calling line identification
The number is shown on the display. If the number of the caller is stored in Contacts, additionally
the name and number type of the Contacts entry is displayed.
No calling line identification
Instead of name and number, the following is displayed:
uExternal: No number is transferred.
uWithheld: Caller has withheld calling line identification.
uUnavailable: Caller has not requested calling line identification.
on
Slider
Function on
off
Slider
Function off
Making calls
Handsfree mode
You can configure various profiles for handsfree operation.
¤If you are going to let someone listen in, you should tell the other party that this is happening.
Activating while dialling
¤Enter the number, press c twice.
Switching between earpiece and handsfree mode
During a call, when establishing the connection and when listening to the answering machine
(Gigaset SL910A only):
¤Press c or touch [†Speaker].
Switching to mute
Deactivate the handset's microphone during an external call. The other parties cannot hear you,
but you can still hear the other party.
Switch to mute, cancel muting (activate/deactivate microphone):
¤Touch [ –Mute].
Phone settings/applications
All the functions for the base and the handset are provided in a menu (main menu).
¤Briefly press the middle key vwhen the handset is in idle status.
The main menu is divided into two "pages". The Applications page comprises all the applications
offered by your base or handset. The Settings page offers all the setting options for the base,
handset and telephony.
The functions/applications contained in the menus depend on the firmware version.
¤Touch the icon to open the menu of the appropriate setting/application.
LApplications
<
ÅÄ
>
Â
Contacts
¾
Write
Text Message
˜
Call List
Á
Room
Monitor
Calendar
×
Sounds
[
Caller
Pictures
Õ
Screensavers
LSettings
<
Ä Å
>
ã
Select
Services
á
Date +
Time
ï
Audio
Settings
Æ
Language +
Location
i
Display +
Keypad
Î
Handsets +
Base
Ï
System
»
Bluetooth
Ë
SMS Service
Centres
ª
Tele phony
Ì
Network
Mailbox
Ù
Alarm
Applications menu Settings menu
Page position
marker
Switch to a
different
main menu
page
Using Contacts
Opening Contacts (list of Contacts entries)
¤In the Applications menu, touch [ œContacts] or touch [œContacts] on the dial page or
during a call.
Creating a new entry in Contacts
¤Open Contacts. ¤Touch [dNew Entry].
¤Touch the individual fields to enter the
corresponding component of the entry. You can
assign up to eight numbers to this entry.
You can save the components shown in the adjacent
picture. If available, confirm with èor [‰Select].
Defining default numbers
If you have entered several numbers, one of the options
±/Ø(green) is displayed next to each number.
¤Choose the default number for the entry by
touching the corresponding option
(Ø= default number)
The default number is the number automatically dialled
when you touch the corresponding Contacts entry.
Saving a Contacts entry
¤Touch [èSave].
Selecting a Contacts entry, navigating in Contacts
If your Contacts has too many entries to display all at once, an alphabetical index is shown on the
right side. You have the following options:
uScroll vertically to the name you are searching for.
uTouch the first letter in the index. The display jumps to the first name that begins with this let-
ter. If necessary, scroll on to the desired entry.
Dialling with Contacts
¤Open Contacts.
You have the following options:
¤Press c. The default number of the entry marked with the green dot is dialled.
Or:
¤Touch the name in the entry. The default number of the entry is dialled. Exception: If you have
opened Contacts via the dial page, the phone number is transferred into the number field and
can be expanded if required.
Or:
¤Touch the ’corresponding to the entry and touch the desired number in the detail view.
Managing Contacts entries
Viewing an entry (detail view)
¤Open Contacts. ¤Touch ’next to an entry.
Editing an entry
¤Touch [NEdit].
¤Touch the corresponding ’. ¤If necessary, touch the corresponding field. ¤Delete name/
number with ç. ¤If necessary, enter new name/new number. ¤Confirm with è.
¤Deleting the assignment of a caller picture, a VIP ringtone or a birthday: Touch ’next to the
appropriate entry. ¤Touch [^No Picture], [ ÷No Ringtone] or [þNo Birthday].
Deleting an entry
¤In the detail view, touch [ üDelete]. ¤Press Yes to confirm.
LNew Entry
Add M
Name
Add Number M
Add Caller Ringtone M
Add Birthday M
è
Save
l
+
Using lists
Redial list
The redial list contains the twenty numbers last dialled with the handset (max. 32 digits).
To dial using the redial list when the handset is in idle status:
¤Press c briefly. ¤Touch an entry in the list.
Managing entries in the redial list
¤Open redial list. ¤Touch ’next to an entry. The detail view for this entry opens. You can:
–Call:Pressc.
– Delete entry.
– Save the number in Contacts.
Call lists
Your telephone stores various types of calls:
uOutgoing calls ( š) in the Outgoing Calls list
uMissed calls ( ™) in the Missed Calls list
uAccepted calls ( ›) and calls recorded by the answering machine (Ã,GigasetSL910Aonly)
in the Accepted Calls list
You can view each type of call separately or get an overview of all calls (Call List). Each call record
contains the last 20 numbers in its category.
Opening lists from the menu
¤In the Applications menu, touch [ —Call List].
The last call list displayed is opened. All, Missed, Accepted and Outgoing appear in the lower part
of the display.
¤Touch one of the areas to open the corresponding list.
List entry
New messages are displayed at the top. The following information is displayed in the list entries:
uList type (in header)
uIcon for the type of entry
uCaller's number. The name will appear on the display instead if you have saved the number in
Contacts
uDate/time of call (if set)
uFor missed calls, the number of missed calls from this number is shown in square brackets
If the number is saved in Contacts, the number type and, if set, the number of the caller is also
displayed. You have the following options:
¤Call back a caller: Briefly touch the corresponding entry.
¤Open detail view: Touch ’next to the entry.
In the detail view, you can delete the entry or add the number of the entry to Contacts.
Missed appointments list
Missed (unacknowledged) appointments from the calendar and birthdays are saved in the
Reminders / Events list under the following circumstances:
uYou do not acknowledge the appointment/birthday reminder.
uThe appointment/birthday was signalled during a phone call.
uThe handset is deactivated at the time of the appointment/birthday.
You open the list via the message page in the idle display.
If 20 entries are saved in the list, the oldest entry is deleted at the time of the next unacknowl-
edged appointment reminder.
Deleting entries
When the handset is in idle status:
¤Open the message page and touch âand [üDelete] in sequence.
¤Touch all the entries to be deleted in sequence and then touch [üDelete].
To delete the entire contents of the list, see "Deleting lists"
Using lists
Opening lists via the message page in the idle display
uAnswering machine list (Gigaset SL910A only)
uNetwork mailbox (if your network provider supports this function and the number of the net-
work mailbox has been stored.)
uText Messages Inbox *
uMissed calls list
uMissed appointments list
The list of missed calls is always displayed. The list of missed calls and the answering machine list
(Gigaset SL910A) are always displayed. The icon for the network mailbox is always displayed, pro-
vided the number is stored in the telephone. The other lists are only displayed if they contain mes-
sages.
The icons have the following meanings:
Deleting lists
You can delete the entire contents of the individual lists:
¤In the Settings menu, touch [ÊSystem]. ¤(If necessary, scroll). ¤Touch ’next to Clean-
up List. ¤Touch the symbol next to the list to be emptied. ¤Press Yes to confirm.
Configuring the display of new messages
Specify whether receipt of new messages should be displayed on the handset.
¤In the Settings menu, touch [gDisplay and
Keypad].
¤Activate or deactivate the message display using the
switch.
When message display is activated:
An advisory tone sounds as soon as a new entry arrives
in a list. The message LED on the left next to the earpiece also flashes.
In idle status, the following message appears:
The number of new messages is displayed under the icons.
¤Open the list: Touch the list icon.
¤Close the message: Touch x(top right).
If you close the message without opening the list containing the new messages, the LED contin-
ues to flash.
For messages from the network answering machine, please refer to the user guide.
*.Some of the functions are only available after you have carried out a firmware update for the base
and for the handset.
™
19
3Number of new messages in the list
List icon (see below)
Number of old messages in the list
[gDisplay and Keypad] submenu
Indication of New Messages
LED + Display Info
x
You received
+
Ã
0
™
1
·
0
0
Icon New message...
Ã... in the answering machine list (Gigaset
SL910A only) or on the network mailbox
™... in the Missed Calls list
·... in the SMS list *
... in the Reminders / Events list
Answer machine (Gigaset SL910 A only)
Set the answering machine using the status page or the Answer Machine submenu:
¤Open the Settings menu. ¤[¶Answer Machine] ¤If necessary, scroll to the desired
function.
Activating/deactivating the answering machine and setting the mode
¤Activation: You activate/deactivate the answering
machine with the button.
¤Mode: The options are:
–Announcement: Caller hears announcement, can
leave a message;
–Advisory Message: Caller hears announcement,
cannot leave a message;
–Time Control: Activate Announcement mode for
a fixed time of day, outside this time, Advisory
Message is activated.
Touch the corresponding area (activated mode is
highlighted).
In the case of Time Control, the following fields are dis-
played (time must be set):
¤Announcement from / Advisory Message from:
Touch corresponding ’. ¤Specify the time when
the appropriate mode should be activated.
¤Go back with ‘.
If no personal announcements are available, the default
announcements are used.
Recording, playing back, deleting announcements/advisory messages
Recording a new announcement deletes the announcement previously saved.
¤Open the [¶Answer Machine] submenu. ¤If necessary, scroll to Announcement /
Advisory Message. ¤Touch the ’next to Announcement / Advisory Message.
Recording
¤Touch [ýRecord own] / [ýRe-Record]. ¤Record the announcement after the ready tone (at
least 3 seconds, up to a maximum of 180 seconds). ¤Complete with [End].
To cancel the recording: Press a briefly or touch ‘.
Listening
¤Touch [ûPlay]. You will hear the default announcement if you have not recorded one of
your own.
¤During playback, touch [ýNew] to re-record the announcement.
Deleting
¤Touch [ üDelete]. ¤Press Yes to confirm.
Playing back messages
You can open the answering machine list using the following icon on the message page:
¤Touch the icon to open the answering machine list.
[¶Answer Machine] submenu
Activation on
Mode
Announce-
ment
Advisory
Message
Time
Control
Only for Mode = Time Control
Announcement from M
00:00
Advisory Message from M
00:00
on
Number of new messages
Total number of messages
10
2
Ã
Answer machine (Gigaset SL910 A only)
An entry in the list is displayed as follows (example):
1. Number or name and number type (if number is
in Contacts).
Unavailable, if no number is available.
2. Message status:
Ã(red): New message , date and time of receipt.
Ã(white): Old message, date and time of receipt.
Playing new messages
¤Touch [ ûPlay all new].
Playing individual messages
¤Touch an entry in the answering machine list.
While listening, the Call Info is displayed. You have
the following options:
u[RVolume] ¤Adjust the playback volume.
u[ö5 sec.] ¤After playback of more than 5 seconds, the playback jumps back 5 seconds.
After playback of less than 5 seconds, the playback jumps back to the start of the current mes-
sage.
u[ üDelete] ¤Delete message during playback.
u[ ¬Copy Number] ¤Copy number to Contacts.
Deleting all old messages
See "Deleting lists".
LAnswer Machine
Anne Sand M
ÃToday, 8:30
01231234567 M
ÃYesterday, 8:03
Unavailable M
Ã08.06, 11:09,
û
Play all new
1
2
3
