7.5-foot Pre-Lit L’Aspen
Style #: 10413-75-500C-GS
SAVE THESE INSTRUCTIONS
For assistance, visit our Help Center online at support.gigiseasons.com
ARTIFICIAL TREE ASSEMBLY INSTRUCTIONS - (Input 220 -240 volt)
Packaging Contents: Each package should include the following items:
•Top tree section (Fig 1, Section C)
•Middle tree section (Fig 1, Section B)
•Bottom tree section (Fig 1, Section A)
•Folding metal tree stand (Fig 2)
•Package of spare light bulbs and plug fuses
1. Unpack:
Carefully unpack all tree components from the carton and keep the carton
for future storage. (Some sections of the tree may be heavy). Be sure to
untangle any wires that may be caught with other items. (Please DO NOT
forcibly remove any contents). Remove any outer wrapping from tree
branches.
2. Basic Assembly Steps:
(CAUTION): Two people may be needed to balance and assemble upper section of tree. Please use a
ladder, if needed, and follow all ladder safety instructions. Gloves also recommended.
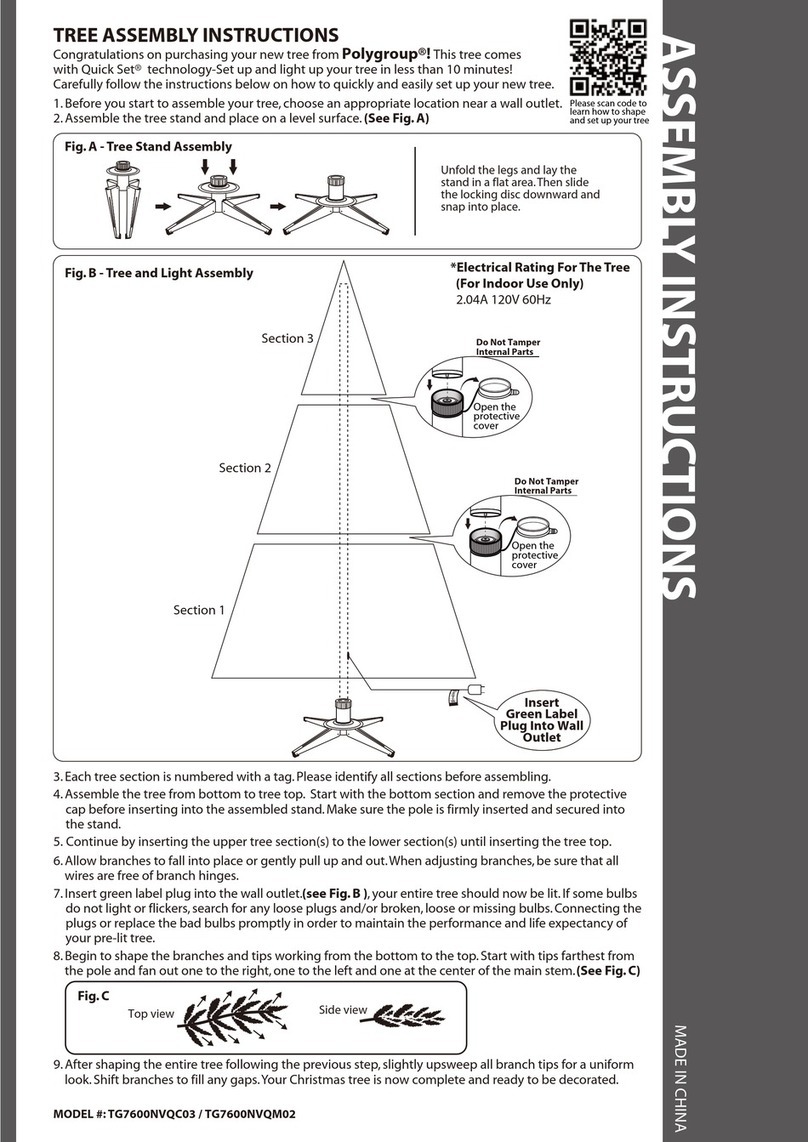
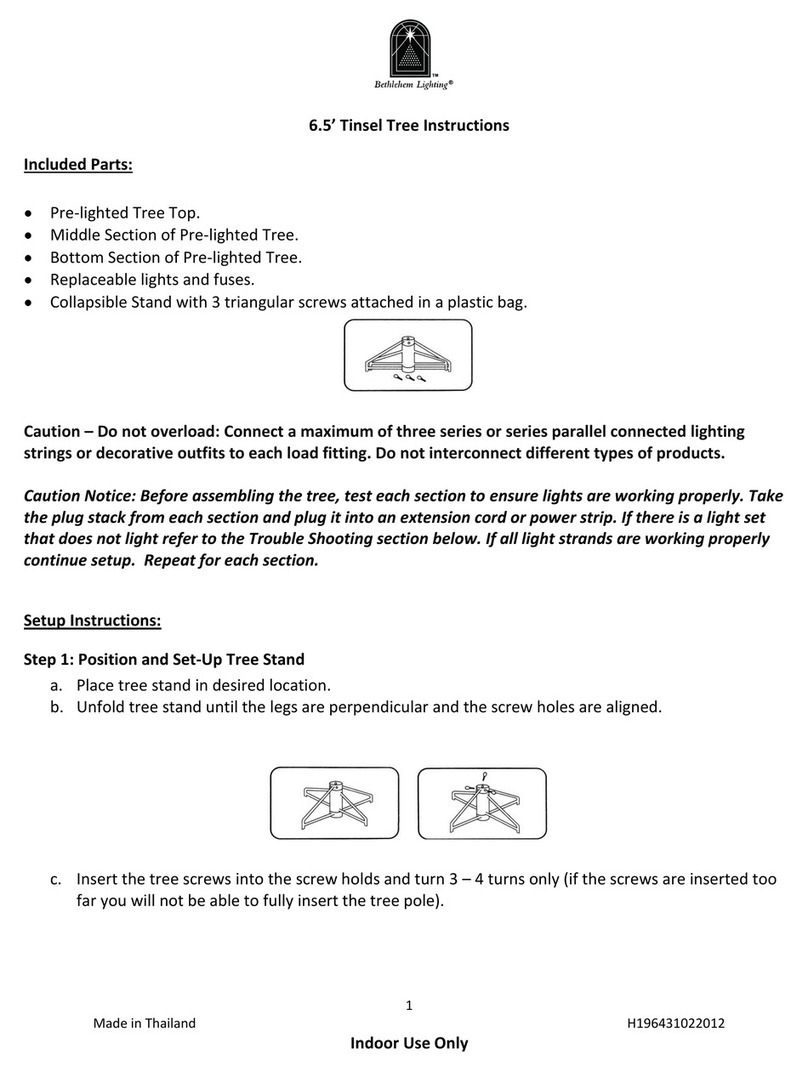
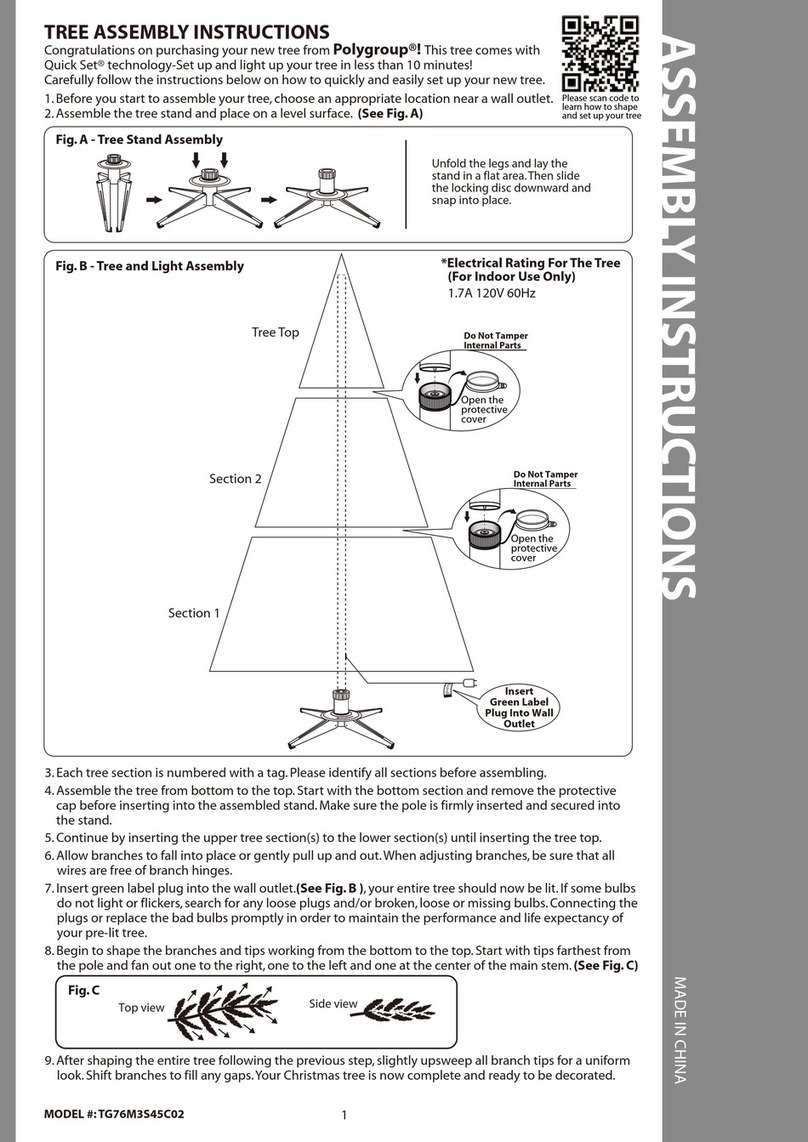
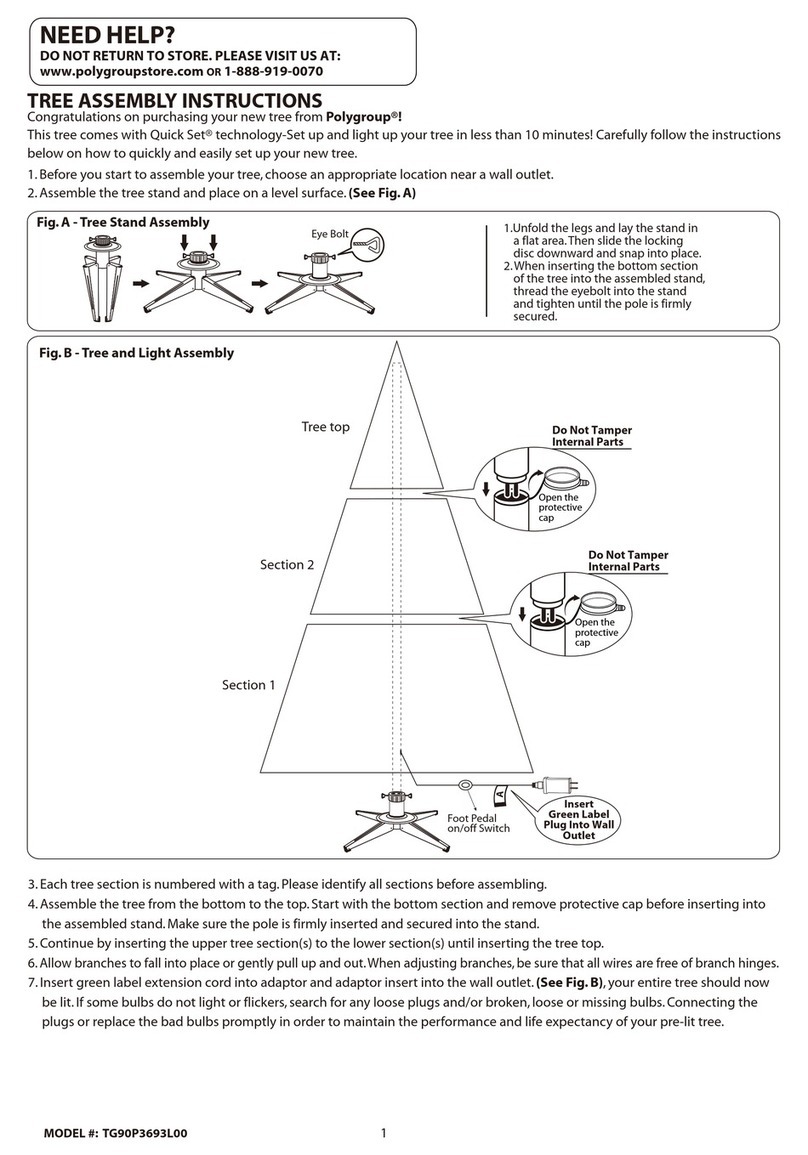
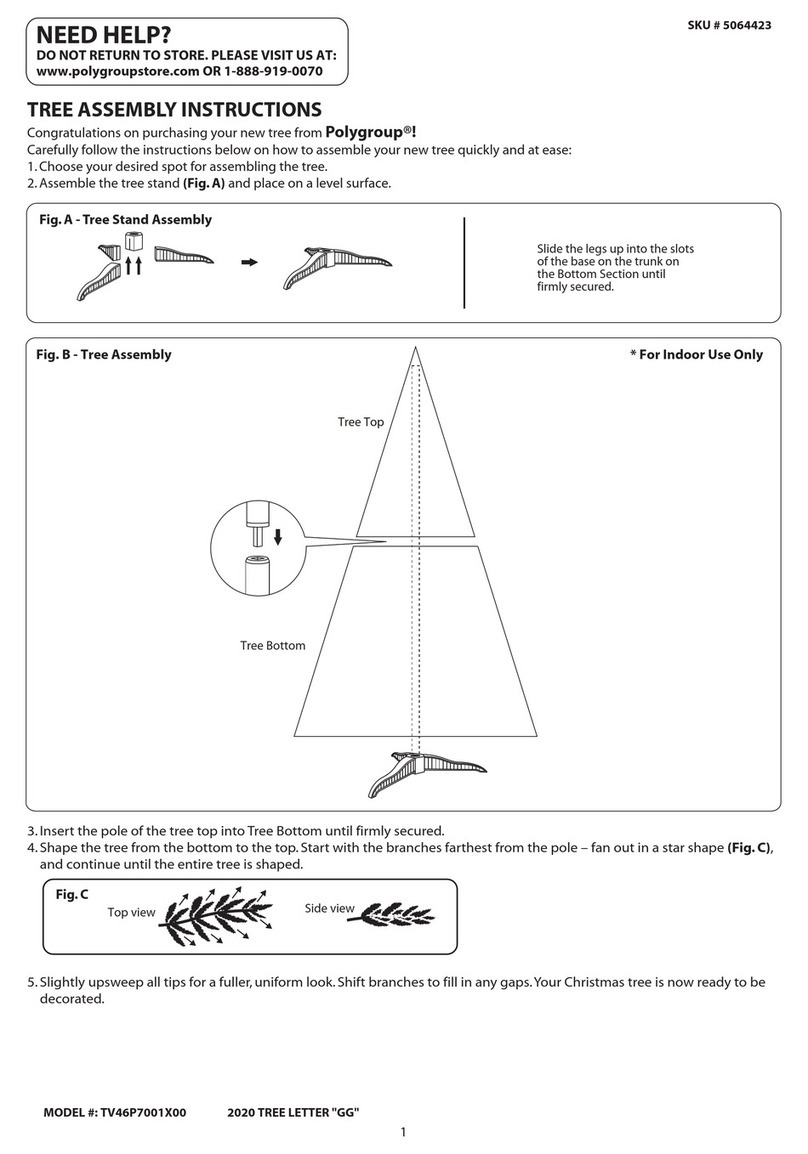
1) Remove the tree stand from the plastic bag and separate the legs of the stand to form an “X”. Align
the holes for the insertion of the eyebolts. Insert the eyebolts and begin threading in a clockwise
direction for a couple of rotations only; leave enough room for the tree’s pole from section “A” to be
inserted in the assembled tree stand.
2) Place the tree stand in its desired location on a level surface. Once the tree is fully assembled, it may
be too difficult to move and relocate.
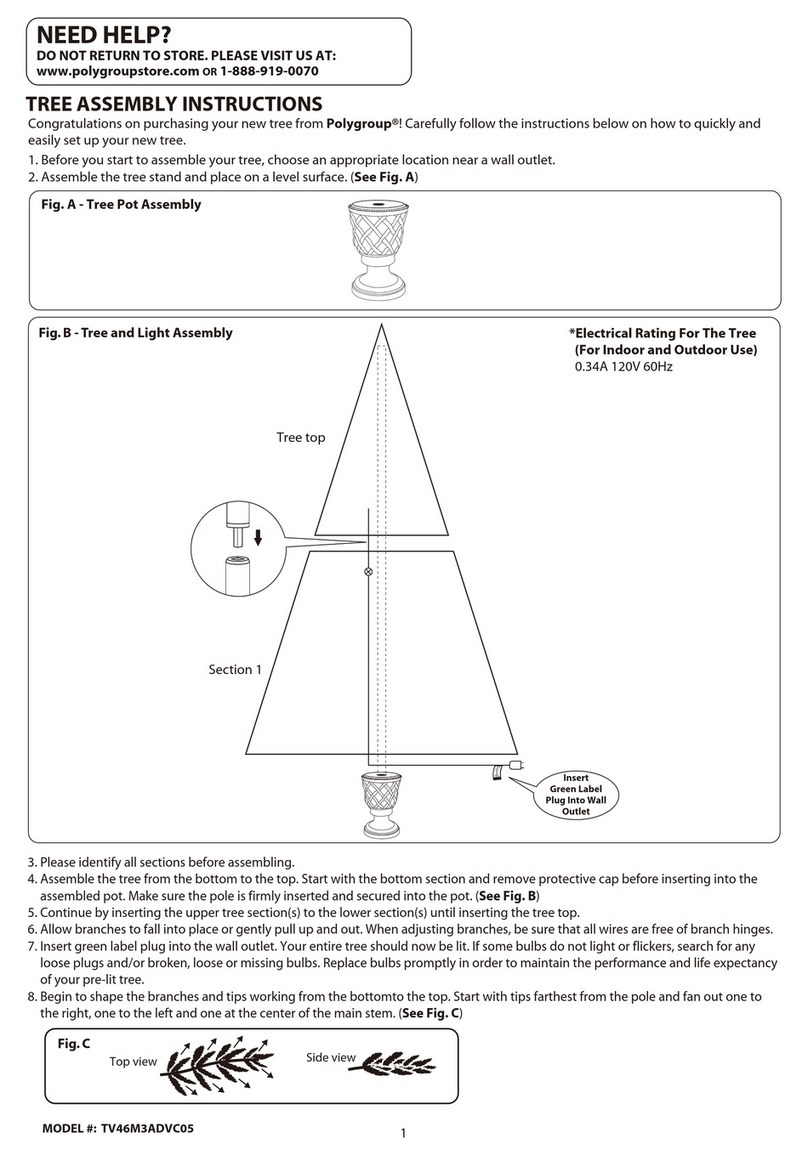
3) Locate bottom section “A”, remove the protective plastic cap from the end of the pole and place that
end into the tree stand. Be sure that the pointed end of the pole extends to the bottom of the stand.
Stand the tree up and straighten by adjusting eyebolts in or out then tighten eyebolts.
4) Locate section “B”, remove protective plastic cap from the end of the pole and instert that end into
the pole from section “A” until it is fully seated.
5) Locate top section “C” and insert into the middle section “B”.
6) Allow the branches to fall into place or gently pull up and out (Fig 3). Important Note: When lowering
the branches be extremely careful not to tangle wires in the gap between the branch and the bracket
(Fig 5).
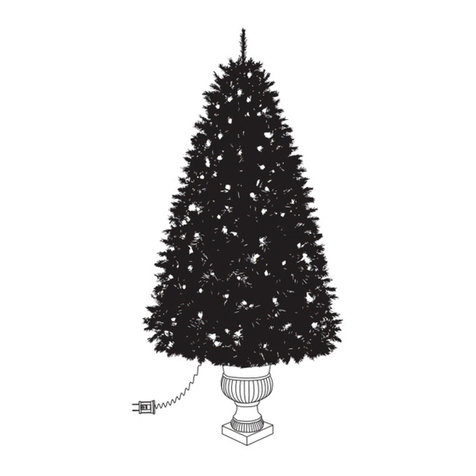
7) Connect the plug(s) securely as shown in Fig 1. Plug the power cord into a standard electrical wall
outlet or other power source.Your entire tree should now be lit. If some bulbs do not light, search
for any loose plugs, broken, loose or missing bulbs. (See TROUBLESHOOTING on next page.)
To fully enjoy your pre-lighted tree, and to make it look its best, follow the shaping instructions below.
(We suggest unplugging the tree and wearing protective gloves.)
8) Begin to shape the branches from the bottom to the top. Each branch can be shaped to a natural
position by spreading out the left and right tips away from the center tip (Fig 4). Tips should then be
bent slightly upward to add a more natural looking appearance.
9) Repeat the process on each branch, all the way to the top. After shaping the whole tree, step back
and take an overall look. Shift branches to fill any gaps. Your tree is now ready to decorate and enjoy.
