Global-Tek (Singapore) Pte Ltd
Page 10
Scatter the initial charge of detergent on the dishwasher strainer pans. Replenish as
needed. When an automatic detergent dispenser has been added (by private supplier),
follow supplier’s instructions.
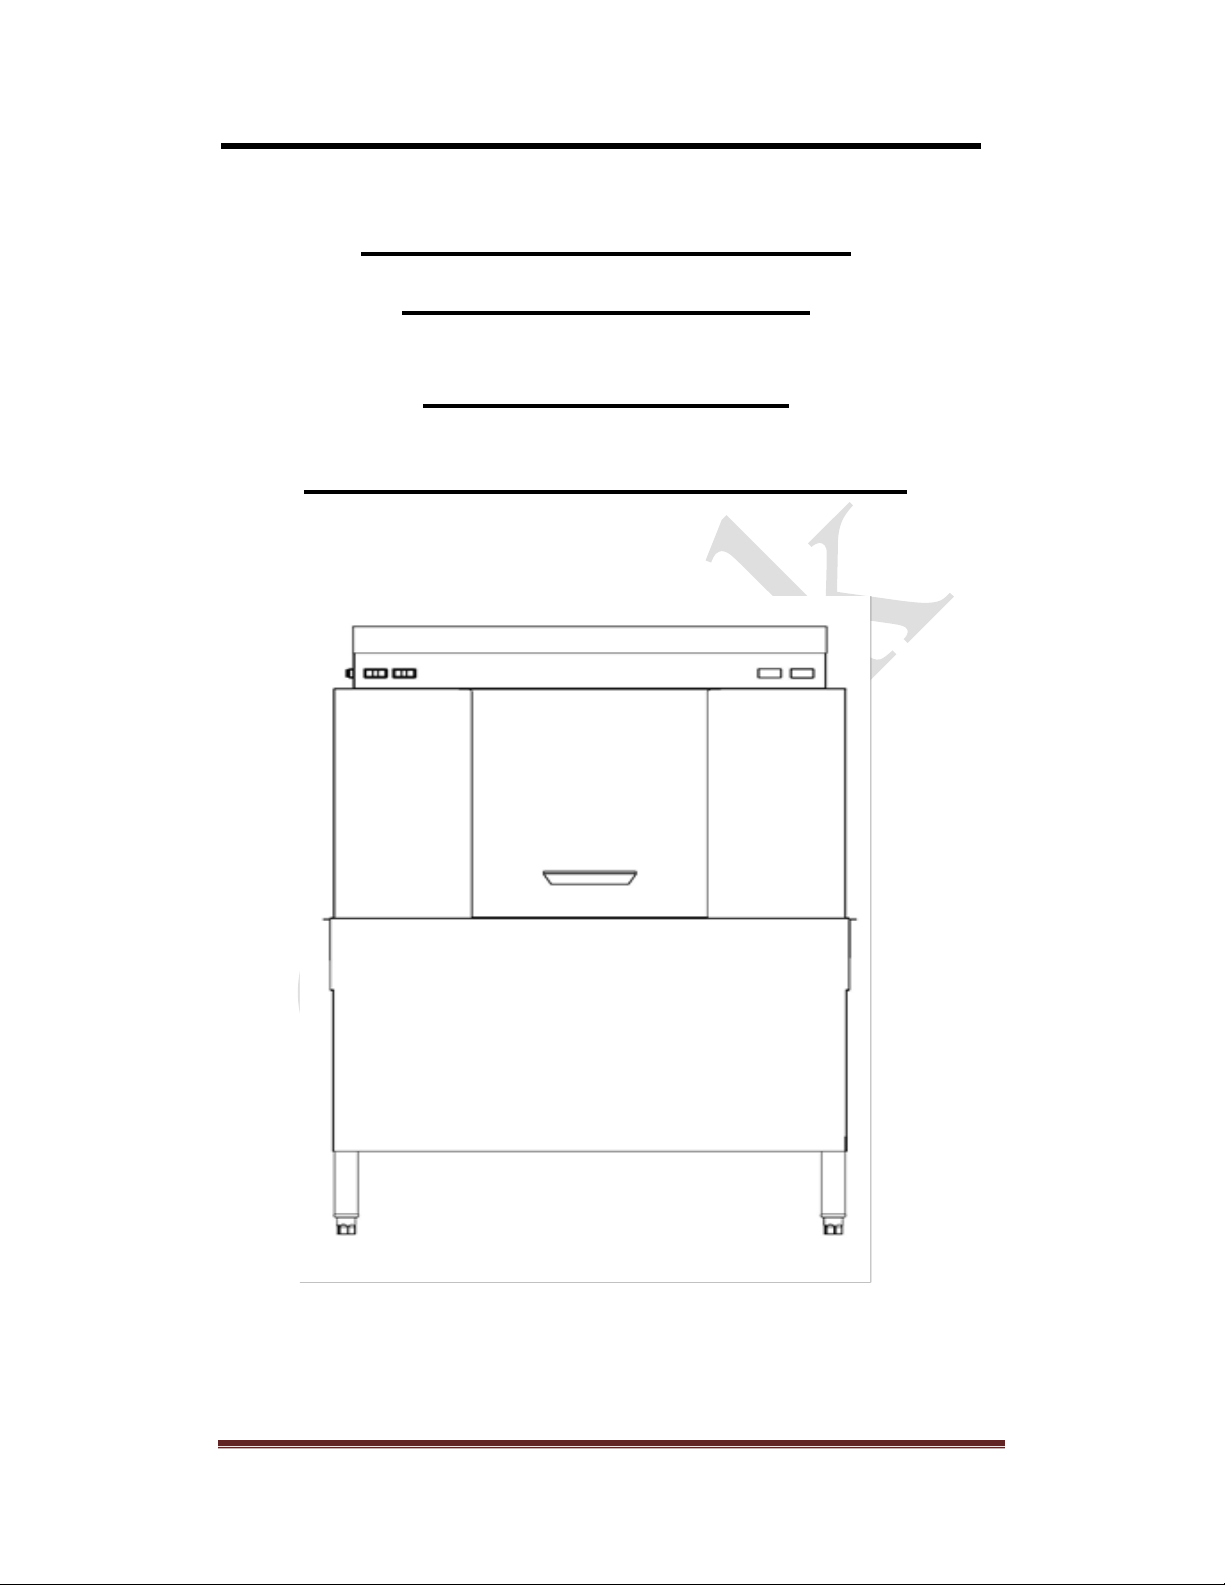
Operating The Machine
After machine has filled, start pumps by pushing MOTOR switch to ON.
Stack dishes in the racks. Do not stack dishes one on top of each other, as water must
have free access to both sides of every dish. Stand plates and dishes up edgewise.
cups, glasses, and bowls should be inverted in open-type or compartment-type rack,
silverware and other small pieces may be scattered loosely over the bottom of a
flat-bottom rack.
When a rack has been loaded, slide it into the machine and start loading another. The
operation of the dishwasher is automatic. Each rack moves through the wash, and
rinse zones, then out onto the clean dish table. The rinse lever is activated by the dish
rack and automatically shuts off the final rinse water when no rack is in the rinse
zone.
Allow dishes to drain and air-dry before removing from rack.
An overload mechanism namely limit switch (located near the conveyor motor) is
provided that will shut off the conveyor drive motor should the racks jam or the load
becomes excessive. After the jam is cleared, push the MOTOR switch to NO to
restart the dishwasher.
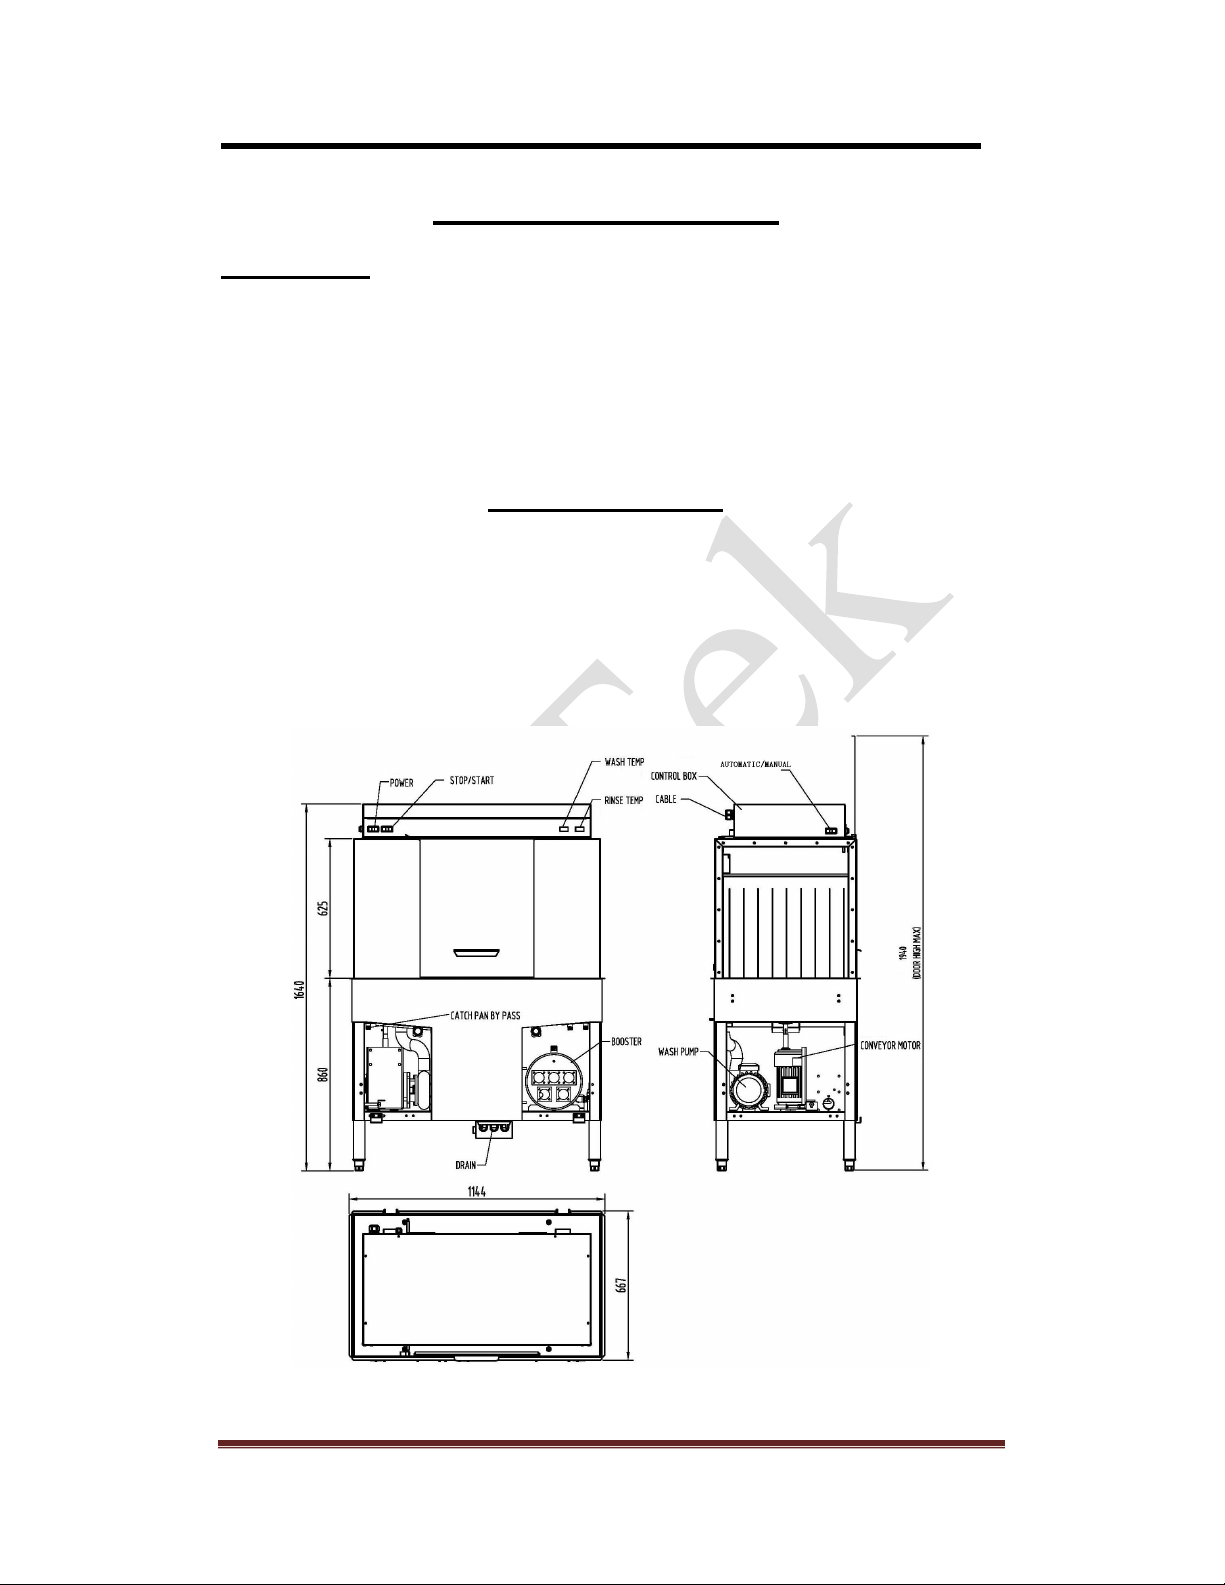
CLEANING
1. Turn MOTOR and POWER switches OFF.
2. Open the door. Standard door interlock switches prevent machine operation with
inspection door open.
3. Open drain by turning drain valve.
4. Check the upper and lower final rinse nozzles, or auxiliary rinse nozzles (if so
equipped) to make sure they are free of lime and solids.
If the nozzles are clogged, open them by poking a straightened-out paper clip
into the opening. Unscrew and remove the rinse arm end cap and, with the splash
curtains in place and the machine door closed, run an empty rack through the
dishwasher as in normal operating procedure.
When the rack exits, open the machine door and replace the end cap.