Glyph Blackbox PRO RAID User manual

1
Blackbox PRO RAID™ User Guide
Tabletop USB-C (3.1, Gen2)
enclosure with RAID 0, RAID 1, JBOD, & SPAN
Proprietary Notice and Disclaimer
Unless noted otherwise, this document and the information herein disclosed are proprietary to Glyph Technologies, 3736 Kellogg Road,
Cortland NY 13045 (“GLYPH”). Any person or entity to whom this document is furnished or having possession thereof, by acceptance,
assumes custody thereof and agrees that the document is given in confidence and will not be copied or reproduced in whole or in part, nor
used or revealed to any person in any manner except to meet the purposes for which it was delivered. Additional rights and obligations
regarding this document and its contents may be defined by a separate written agreement with GLYPH, and if so, such separate written
agreement shall be controlling.
The information in this document is subject to change without notice, and should not be construed as a commitment by GLYPH. Although
GLYPH will make every effort to inform users of substantive errors, GLYPH disclaims all liability for any loss or damage resulting from the use
of this manual or any software described herein, including without limitation contingent, special, or inci-dental liability.
© 2023 Glyph Technologies. All rights reserved. Specifications are subject to change without notice. Glyph and the Glyph logo are
registered trademarks of Glyph Technologies. All other brands and product names mentioned are trademarks of their respective holders.

2
Contacting Glyph
Please use the following contact information to contact Glyph and its distributors.
Glyph USA offers phone support Monday through Friday, 8:00 am to 5:00 PM Eastern Time.
Note: DO NOT ship any return goods to the mailing addresses below unless you have a valid
RMA number. All goods will be refused delivery unless a valid RMA number is displayed on the
outside of the package.
United States of America
Glyph Technologies
3736 Kellogg Rd.
Cortland, NY 13045 USA
Phone: +1 607-275-0345, 1(800) 335-0345
Fax: +1 607-275-9464
www.glyphtech.com
Sales Contact:
Technical Support:
Unpacking Your Blackbox PRO RAID
Your Glyph Blackbox PRO RAID and accessories are packaged in a sturdy shipping container.
Please inspect the container for evidence of shipping damage and mishandling. If the container
is damaged, file a report with the carrier or dealer immediately. Do not attempt to unpack and
operate your Blackbox PRO RAID until the carrier or dealer confirms the damage. If the
container is in good condition, proceed with unpacking Blackbox PRO RAID. Verify that all the
items described in the next section are present and in good condition. If any of the items you
expect to find in your container are missing or damaged, contact the dealer before proceeding
any further. In any case, do keep the shipping container and all packing materials in a safe place.
The Blackbox PRO RAID package includes:
Blackbox PRO RAID Enclosure with 2 Drives
USB-C to USB-C Cable
USB-C to USB-A Cable
Rugged removable cover
External Power Supply

3
About the Blackbox PRO RAID and RAID Modes
Blackbox PRO RAID enclosure contains two hard disk drives, which function as one single
volume. It supports four drive modes: RAID 1 (mirroring), RAID 0 (striping), and CLEAR (JBOD –
just a bunch of disks), and BIG (spanning). Each drive mode has its own advantages, depending
upon the application.
RAID 0 is the default shipping RAID mode. In RAID 0 (striping) mode, the two drives are seen by
the computer as one large drive, and reading and writing occurs on both drives simultaneously.
RAID 0 is designed to increase the performance and data throughput of the drive system. The
Blackbox PRO RAID’s built-in RAID controller splits each piece of data across both of the drives
in segments and distributes the I/O burden. Since data is written without any form of parity data
checking, it allows for the fastest data transfer of all other RAID modes. However, if one drive
becomes damaged, the data on both drives can become corrupted. RAID 0 is not redundant or
fault tolerant like RAID 1, but the trade-off is that it’s the fastest of all RAID levels.
RAID 1 (mirroring) offers data redundancy and real-time backup by writing the same data to the
two hard drives at the same time. Should a drive failure happen, data is still available on the
remaining drive. In RAID 1 mode, the two drives are seen by the computer as one volume but
with half the capacity. For example, a 8TB Blackbox PRO RAID will be seen as a single 4TB drive.
Reading and writing occurs on both drives simultaneously so that each of the drives contains
exactly the same data, mirroring each other.
In CLEAR (JBOD - just a bunch of disks), both hard drives are used independently. You may
choose which hard drive you would like to save data on since each drive will mount individually
to your computer.
BIG (SPANNING) combines multiple hard drives into a single logical unit. Unlike Striping,
Spanning writes data to the first physical drive until it reaches full capacity. When the first disk
reaches full capacity, data is written to the second physical disk.
MAKE SURE TO BACKUP YOUR DATA OFTEN!

4
Setting up the Blackbox PRO RAID
Start by connecting the device and verifying that your computer recognizes the Blackbox PRO
RAID, and it mounts. If you're using Windows see the Windows formatting instructions on page
5. If you intend to use the device in RAID 0 (i.e., the fastest mode with no redundancy) then the
device is set up. If you wish to change the RAID mode see below for changing the raid modes of
the device.
Using the Blackbox PRO RAID with 32bit
Operating Systems
Older versions of Windows, such as XP 32-bit, use Master Boot Record, which doesn’t support
volumes larger than 2.2TB. When the total capacity of the RAID is 2.2TB or higher, you must format
the array using GUID Partition Table (GPT). GPT format is only supported by Windows XP 64-bit
Edition and above, and Mac OS X 10.4 and above. GPT format will not work with XP 32-bit or older
Windows operating systems. If you want to use older 32-bit systems, your total capacity must be
less than 2.2TB in RAID 0 (currently not available smaller than 4TB) or less than 4TB in RAID 1
(mirrored to 2TB).
Blackbox PRO RAID Ports
The original Blackbox PRO RAID contains a single USB-C 3.1 port in the back for connectivity
with the hub having an additional CFAST 2.0, SD card slot and a single USB Type-A port.
The Thunderbolt 3 version has two Thunderbolt 3 ports in the back for daisy chain capabilities
with the hub having an additional CFAST 2.0, SD card slot and a single USB Type-A port.
Front Panel LED
The Blackbox PRO RAID front panel has a single bi-color LED. The LED will display solid blue
when power is on. The LED will flash blue when there is disk activity. The LED will flash or display
a solid red color (or fuchsia) when error conditions exist with the drives inside the array.

5
Formatting Instructions for Windows:
Caution: This procedure will destroy any data currently on the drive. Before formatting a drive,
save any important data it contains.
Navigate to Disk Management:
1. Right-click My Computer and click Manage.
2. In the Computer Management window, under Storage, click Disk Management. You can
also type Disk Management into the search bar in later versions of Windows.
3. Find the Glyph drive in Disk Management. It should contain an EFI partition, a primary
partition and some unallocated space, which is usually few hundred megabytes. Please right
click on the primary partition and click delete volume, you should receive a warning that this
volume was created by another operating system, proceed anyways.
4. In Disk Management, right click the Unallocated partition near the bottom of the window
that corresponds to the capacity of Blackbox PRO RAID (often Disk 1). Click "New Simple
Volume" and the Write Signature Wizard pops up.
5. Use the Wizard to write a signature to the new drive. If you want only one partition we
suggest using a primary partition and selecting the maximum size. In most cases you’ll want to
use NTFS volumes, this is the default for Windows. Ensure “Perform a Quick Format” is checked.
If you need the device to work on multiple operating systems please consider software based
solutions to view file systems with journals across multiple operating systems (Paragon,
MacDrive, etc.).
Formatting will take a few minutes after which your drive will be ready to use.
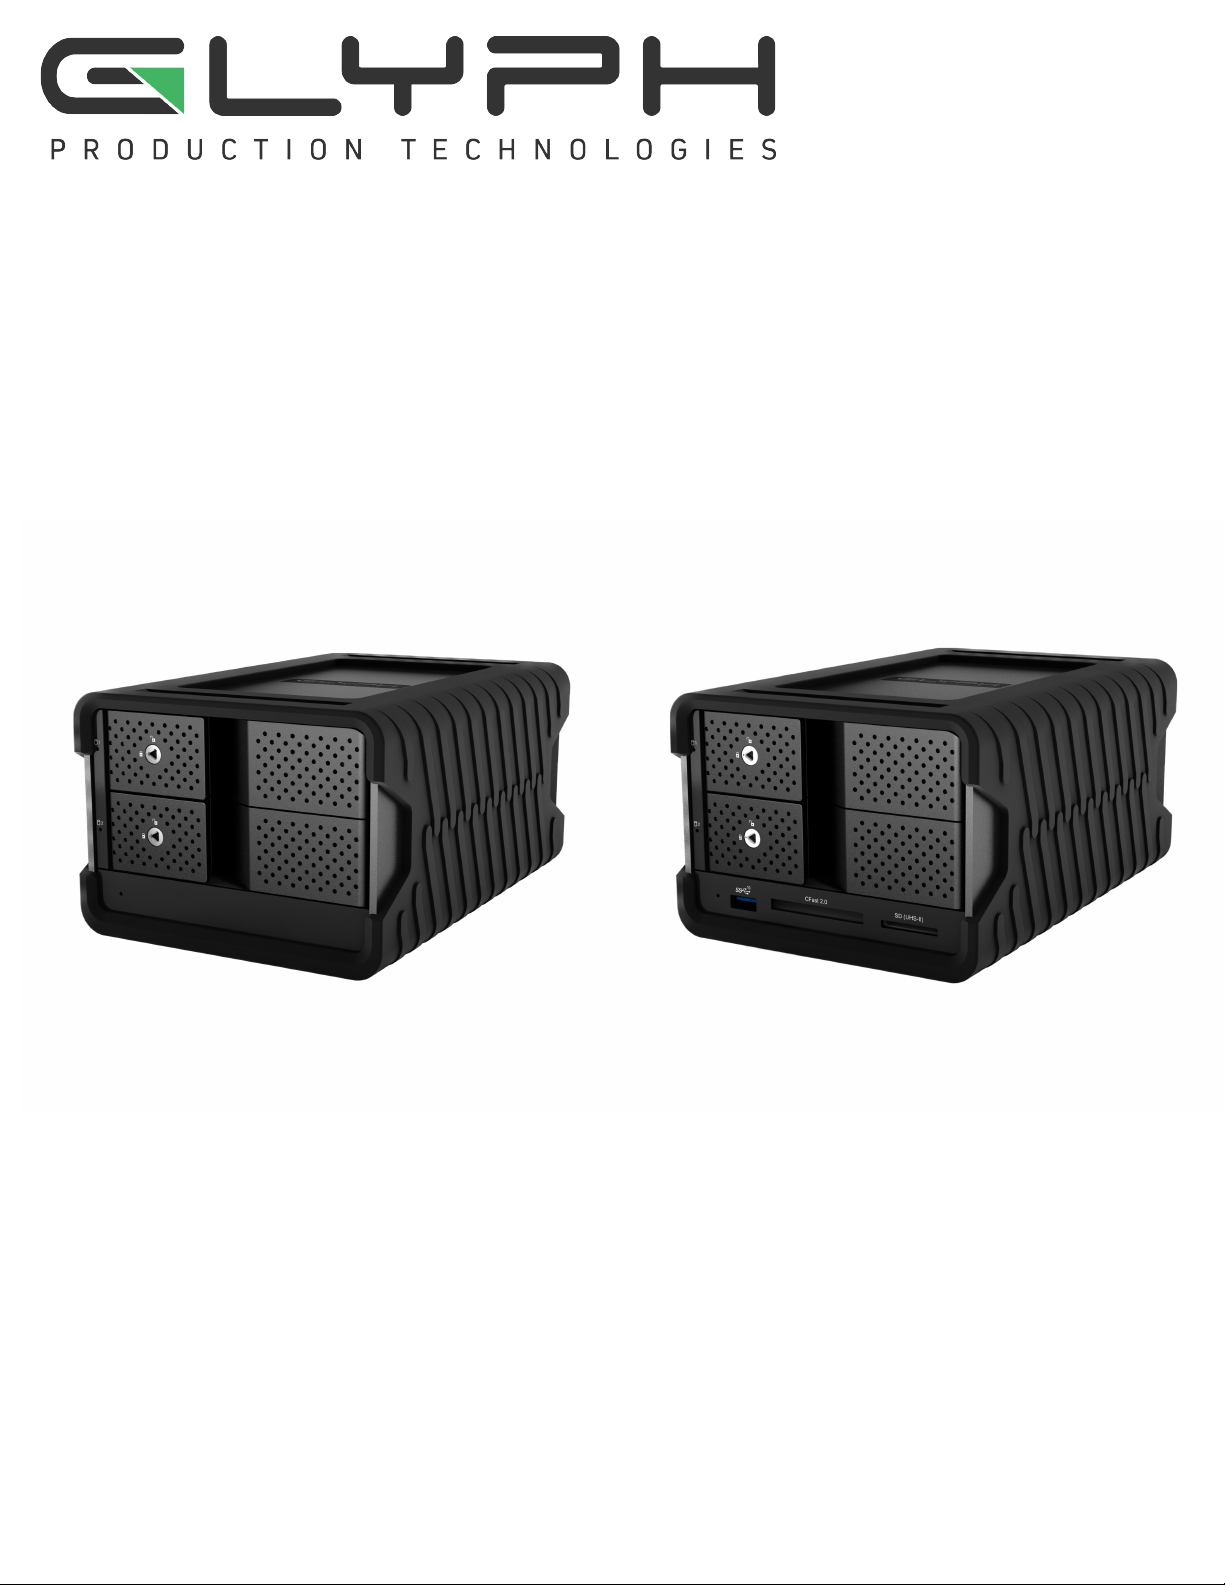
Blackbox PRO RAID Quickstart
Here are instructions for changing the RAID mode of your Blackbox PRO RAID.
Note: By following these instructions you will be erasing any data previously stored on Blackbox
PRO RAID. Please back up your data before proceeding.
1. Make sure the device is on and connected to your computer.
2. Look on the back of the unit near the fan for the diagram of the different RAID-mode
settings.
3. Align the pins with how you want the device configured. RAID 0 (speed); RAID 1
(redundancy); BIG (continuous); CLEAR (both drives act independently).
4. Press and hold the “SET” button for four seconds. You will see the drive eject from your
computer. It will then return with the set RAID mode.
To format the disk on Mac, search Spotlight for the Disk Utility application and click on Blackbox
PRO RAID and then erase. We recommend Mac OS Extended Journaled for the partition and
GUID for the scheme. For Windows, right click on your start menu and select disk management.
Initialize as GPT, and right click on the big black space at the bottom. Click “create new simple
volume” and follow the wizard and default settings.
Your Blackbox PRO RAID should now show up in Disk Utility (on Mac) or Disk Management (on
Windows) and be ready to format. You can always call us at 800-335-0345 for more information.

6
Mac OS X 10.11 Formatting Instructions
(Once Blackbox PRO RAID is connected)
(for older version levels, contact us or contact Apple)
Since your Blackbox PRO RAID comes pre-formatted for Mac you don’t need to format it on
installation. If you decide to reformat or partition your drive at a later date, use Disk Utility
(supplied with the Mac OS X operating system).
Caution: This procedure will destroy any data currently on the drive. Before formatting a drive,
save any important data it contains.
1. Open Disk Utility:
· Double click on your internal hard drive mounted on the desktop.
· Open Applications Folder > Utilities Folder > double click on Disk Utility.
2. Select your Blackbox PRO RAID drive from the list on the left. The top entry represents the
device and the entry underneath it represents the volume associated with that device. Click on
the Volume level.
3. Click on the Erase Tab.
4. Give the drive a name that will represent the volume.
5. Ensure that the format is “Mac OS Extended (Journaled)” from the drop down list.
6. Click the Erase button.
7. Affirm that you wish to erase this volume and reformat with the settings applied.
8. Formatting will take a few moments after which your drive is ready to use.

7
Warranty Information
3 Year Hardware Warranty
2 Year Free Basic Data Recovery Attempt (we cannot guarantee our data recovery attempts will
be successful)
1 Year Advance Replacement within 48 Continental U.S. States only (if Technical Support cannot
resolve your issue via phone).
Your purchase of Blackbox PRO RAID from an authorized Glyph reseller includes a
comprehensive three-year warranty.
Glyph warrants that your Blackbox PRO RAID is free from material and mechanical defects.
Proof of purchase may be required to receive warranty service. If you are unable to provide a
valid proof of purchase, the warranty period will be calculated based on the manufacture date
derived from the enclosure serial number.
What is not covered?
The Blackbox PRO RAID warranty does not cover damage or accidental damage caused by
misuse, modification, alteration, tampering, an unsuitable operating environment, improper
care, or failure caused by another product for which Glyph is not responsible.
What is the warranty procedure?
1. Contact Glyph Technical Service (see below) and obtain an RMA (Return Merchandise
Authorization) number.
2. Carefully pack and ship your Blackbox PRO RAID to the address provided by the Glyph
service representative. There is no need to include cables of any kind, just the Blackbox PRO
RAID unit. Be sure the box is clearly labeled in several places with your RMA number.
Warranty & Technical Support
If at any time you have questions regarding the Blackbox PRO RAID, please contact us using
one of these methods:
Phone support:
855.335.0345 (toll-free U.S. only)
607.275.0345 (international or local)
Email:
Web:
www.glyphtech.com/support
Contact Us
NOTE: Before contacting Glyph support, we recommend you gather the following information
about your configuration:
• Blackbox PRO RAID serial number (located on the bottom of your Blackbox PRO RAID)
• Operating System (Windows 11, or Mac Ventura 13.2.1, etc.)

8
Blackbox PRO RAID Specifications
Part Number
Interfaces
Maximum Transfer Rate
Dimensions
Optional Hub
BBPRxxxxRAID (xxxx is equal to total capacity)
USB-C (3.1, Gen2)
(Compatible with USB 3.0)
Up to 550 MB/s
8.25" x 5.5" x 4.25"
CFast 2.0, SD (UHS-II), USB Type-A (10Gb)
RAID Modes RAID 0, 1, JBOD, SPAN (No Software Required)
Compatibility Formatted for MAC
Compatible with Windows (via reformat)
Modern Unix based, Linux, or BSD
Warranty 3 Year Hardware Warranty
2 Year Free Basic Data Recovery Attempt (we cannot guarantee
our data recovery attempts will be successful)
1 Year Advance Replacement within 48 Continental U.S. States
only

9
Proprietary Notice and Disclaimer
Unless noted otherwise, this document and the information herein disclosed are proprietary to
Glyph Production Technologies, 3736 Kellogg Rd., Cortland, NY 13045 (“GLYPH”). Any person or
entity to whom this document is furnished or having possession thereof, by acceptance,
assumes custody thereof and agrees that the document is given in confidence and will not be
copied or reproduced in whole or in part, nor used or revealed to any person in any manner
except to meet the purposes for which it was delivered. Additional rights and obligations
regarding this document and its contents may be defined by a separate written agreement with
GLYPH, and if so, such separate written agreement shall be controlling.
The information in this document is subject to change without notice, and should not be
construed as a commitment by GLYPH. Although GLYPH will make every effort to inform users
of substantive errors, GLYPH disclaims all liability for any loss or damage resulting from the use
of this manual or any software described herein, including without limitation contingent,
special, or incidental liability.
© 2016 Glyph Production Technologies. All rights reserved. Specifications are subject to
change without notice. Glyph and the Glyph logo are registered trademarks of Glyph
Production Technologies. All other brands and product names mentioned are trademarks of
their respective holders.
Visit our website at www.glyphtech.com for more information.

10
Table of contents
Other Glyph Enclosure manuals
Popular Enclosure manuals by other brands

Eaton
Eaton CROUSE-HINDS GBXE operating instructions

Rockford Fosgate
Rockford Fosgate PUNCH PS-8 Operation manual

StarTech.com
StarTech.com SAT5210U2E instruction manual

Extron electronics
Extron electronics Cable Cubby F55 Edge installation guide

CommScope
CommScope FTUO Installation instruction

Amphenol
Amphenol Charles CUBE-PM628155N1 General description and installation