TABLE OF CONTENTS
PowerSourcesNormalBatteries /ACadaptor..1
Use of Rechargeable Batteries…..............…2
Earphones Connection….......................……3
Player Maintenance....................................…4
Disc Cleaning and Troubleshooting Guide….5
Product Specifications….........................……6
Play Operation(see reverse of this sheet)
BasicDisc Play……......................................…7
Locationof Controls….................................….8
CD Playback ................................................9
MP3-CDs playback .................................…10
Various Playing Modes ................................11
Repeatand IntroScan Play Modes…........…12
RandomPlay……......................................…13
ProgrammedTrack Play…….........................14
DigitalAnti ShockOperation………..........….15
Listeningto theRadio ...................................16
PERSONAL CD/CDMP3
PLAYER WITH FMTUNER
CDMP3719PL
Instruction Manual
SPECIFICATIONS
Earphonesoutput……...................................15mW±0.2mW
Power requirement…...................................DC 6V external and battery 3V
(“AA” Cellx2)
(LR6 or Ni-Cd rechargeable battery)
Dimension…................................................ Approx.153 (W) x 30 (H) x 128 (D)mm
Weight…...................................................... 200g not including battery (Main Unit)
For improvement purpose, specification and design are subject to change without
notice.
Goodmans Product Information Helpline 0870 873 0080
1. This product does not contain a separate Power On/Off switch. After inserting a
disc and installing batteries /AC adaptor, simply press the Play button to switch on
and play a disc.
2. In order to maximize battery life and provide optimum playing time this product
incorporates an Auto Power Off function.
The power to the player will automatically switch off approximately 60 seconds
after a disc has finished playing.
3. The ASP function is automatically engaged when playback starts. For more
information, see section 15 of these instructions.
Helpline No: 0870 873 0080
SAFETY PRECAUTIONS
1. As the laser beamusedinthis compact
disc player is harmful to the eyes, do
not attempt to disassemble the casing.
2. Stop operation immediately ifanyliquid
or solid object should fall into the
cabinet. Unplug the unit and have it
checked by qualified personnel.
3. Do not touch the lens or poke at it. If
you do, you may damage the lens and
the player may not operate properly.
4. Do not put anything in the safety slot .
If you do, the laser diode will be ON
when the lid is still open.
5. If the unit is not to be used for a long
period of time,makesure that all power
sourcesaredisconnectedfromtheunit.
Remove all batteries from the battery
compartment, and unplug the AC
adaptor from the wall outlet. Make it a
practice to remove the AC adaptor by
grasping the main body and not by
pulling the cord.
6. The unit employs a laser. The use of
controlsoradjustmentsorperformance
of procedures other than those
specifiedherein mayresultin exposure
to hazardous radiation.
Note: Zinc./Carbon, or Zinc/Chloride type
batteries are not recommended for this unit
as their use will result in extremely short
playing times. Wherever possible and for
economy it is recommended that the mains
adaptor supplied with this unit used.
4.PLAYERMAINTENANCE
Cleaning the Cabinet
Wipe with a soft cloth. If the cabinet is very dirty, dampen the cloth with a weak solution of
neutral detergent and water, and then wipe clean.
Cleaning the Lens
A dirty lens will cause sound skipping and, if the lens is very dirty, the CD may not work.
Open the disc cover and clean the lens as follows:
Dust or Dry Particles
Using a camera lens brush/blower, blow on the lens couple times, then wipe it lightly with
the brush to remove dust.Then ,blow on the lens once more.
Finger Prints
If the lens cannot be cleaned by using a brush/blower, use a dry cotton swab starting in the
middle and working to the outside edge.
5.DISCCLEANINGANDTROUBLESHOOTING GUIDE
Cleaning the Disc
When a disc becomes dirty, clean it with a cleaning cloth.Wipe the disc from the centre out.
Note:
Do not use solvents such as benzine petrol, thinner, commercially available cleaners or
anti-static spray intended for analogue discs.
Should you experience difficulties in the use of this player please refer to the following
chart before contacting your dealer or the place of purchase.
1. Slide the OPEN knob to open the CD
door.
2. Adjust the VOLUME to minimum.
3. Insertthe disc with thelabel side facing
up.
4. Push down in the centre until disc is
locked in place.
5. Close the lid gently untila clickisheard.
6. Press the PLAY/PAUSE button to start
playing.
7. To pause playback of the CD, press
the PLAY/PAUSE button . The audio
output is muted. To resume playback
press PLAY/PAUSE button again. To
stop playback, press STOP button
once.
8. To turn power off, depress the STOP
button for a few seconds in STOP
mode.
NOTE:
Only compact discs marked with the disc
logoareguaranteedtowork on thisplayer.
Home recorded discs (CDR)recorded on
home PC’s may not play or operate
correctly.
LOW BATTERYALERT
When the “ ” indicator display in the LCD display, this means that the batteries are
weak. In this case the CD player will not function properly and the batteries must be
replaced.
4. If the unit is not to be used for a long
periodof time,makesurethatall power
sourcesaredisconnectedfromtheunit.
Remove all batteries from the battery
compartment, and unplug the AC
adaptor from the wall outlet. Make it a
practice to remove the AC adaptor by
grasping the main body and not by
pulling the cord.
5. The unit employs a laser. The use of
controls or adjustment or performance
of procedures other than those
specifiedherein mayresultin exposure
to hazardous radiation.
Battery Power Operation
1. Open the battery compartment cover
and insert two “AA” alkaline batteries
insidethe battery compartment.Follow
the polarity as indicated on the bottom
of the cabinet.
2. Close the battery compartment cover.
1. POWER SOURCES NORMAL BATTERIES/AC ADAPTOR
AC Operation
1. Insert the DC plug at the end of the AC
adaptor cord into the DC input socket
in unit.
2. Plug the AC adaptor into a 230V AC
power outlet socket.
Note:If the AC plug of this unit does not fit
in your AC outlet, a plug adaptor (not
included) should be used.
Consult your local dealer on the type of
plug adaptor required.
Average Playing
Time (Continuous Play)
BatteryType
Alkaline MN
1500 LR 6 or
Equivalent.
Ni-CAD
rechargeable
(min.
specification
recommended
1.2V - 1800mA)
10 Hours(MP3 CD playback)
9 Hours(Audio CD playback)
About 8 Hours
• Listening with the earphone
Connect the plug of the stereo earphones (included) or headphones (not included) into
the PHONES socket.
Caution: Avoid excessive volume levels and listening to the unit for a long period of time
when using headphone.
2. USE OF RECHARGEABLE BATTERIES
Using Rechargeable batteries
1. Rechargeable batteries cannot be charged in this player.
2. A separate charger will be required obtainable from most HiFi stockists.
NicalcadmiumandNicalMetalHydridebatteriesmay be used in this player(notincluded).
3. If the operating time decreases drastically even when the rechargeable nickel-cadmium
batteries are properly recharged, purchase a new set of rechargeable nickel-cadmium
batteries.
4. When charging for the first time or after a long time, playing time may be reduced.In this
case, charge and discharge the batteries several times.
3. EARPHONES CONNECTION
• Adjust Volume to the desired level.
TO PHONES
Troubleshooting Guide
Problem
Player fails to function
No sound from earphones
No sound when played
through an external amplifier
Intermittent sound
Points to Check
Disc may be inserted upside down
Disc not mounted correctly on chuck
Dirty or defective disc
Dirty pick up lens
Player lid not closed
Moisture/condensation allow player to warm up to room
temperature for 60 minutes.
AC Power to adaptor switched off
Weak batteries
Auto power off has occurred
Earphone plug is not firmly inserted into the PHONES socket
Volume control on the remote is set to zero
Connection is incorrect
Power to external amplifier not switched on
Dirty or defective disc
Dirty pick up lens
Player is subject to excessive vibration
Low battery power
Poor earphone connection
6. PRODUCT SPECIFICATIONS
PICK UP
System Compact disc digital audio system
Laser diode Material: GaAIAs
Properties Wavelength: =780mm
Emission Duration: continuous
Laser output: <44.6µW
Error correction Cross-interleave Reed-solomon code
7. BASIC DISC PLAY
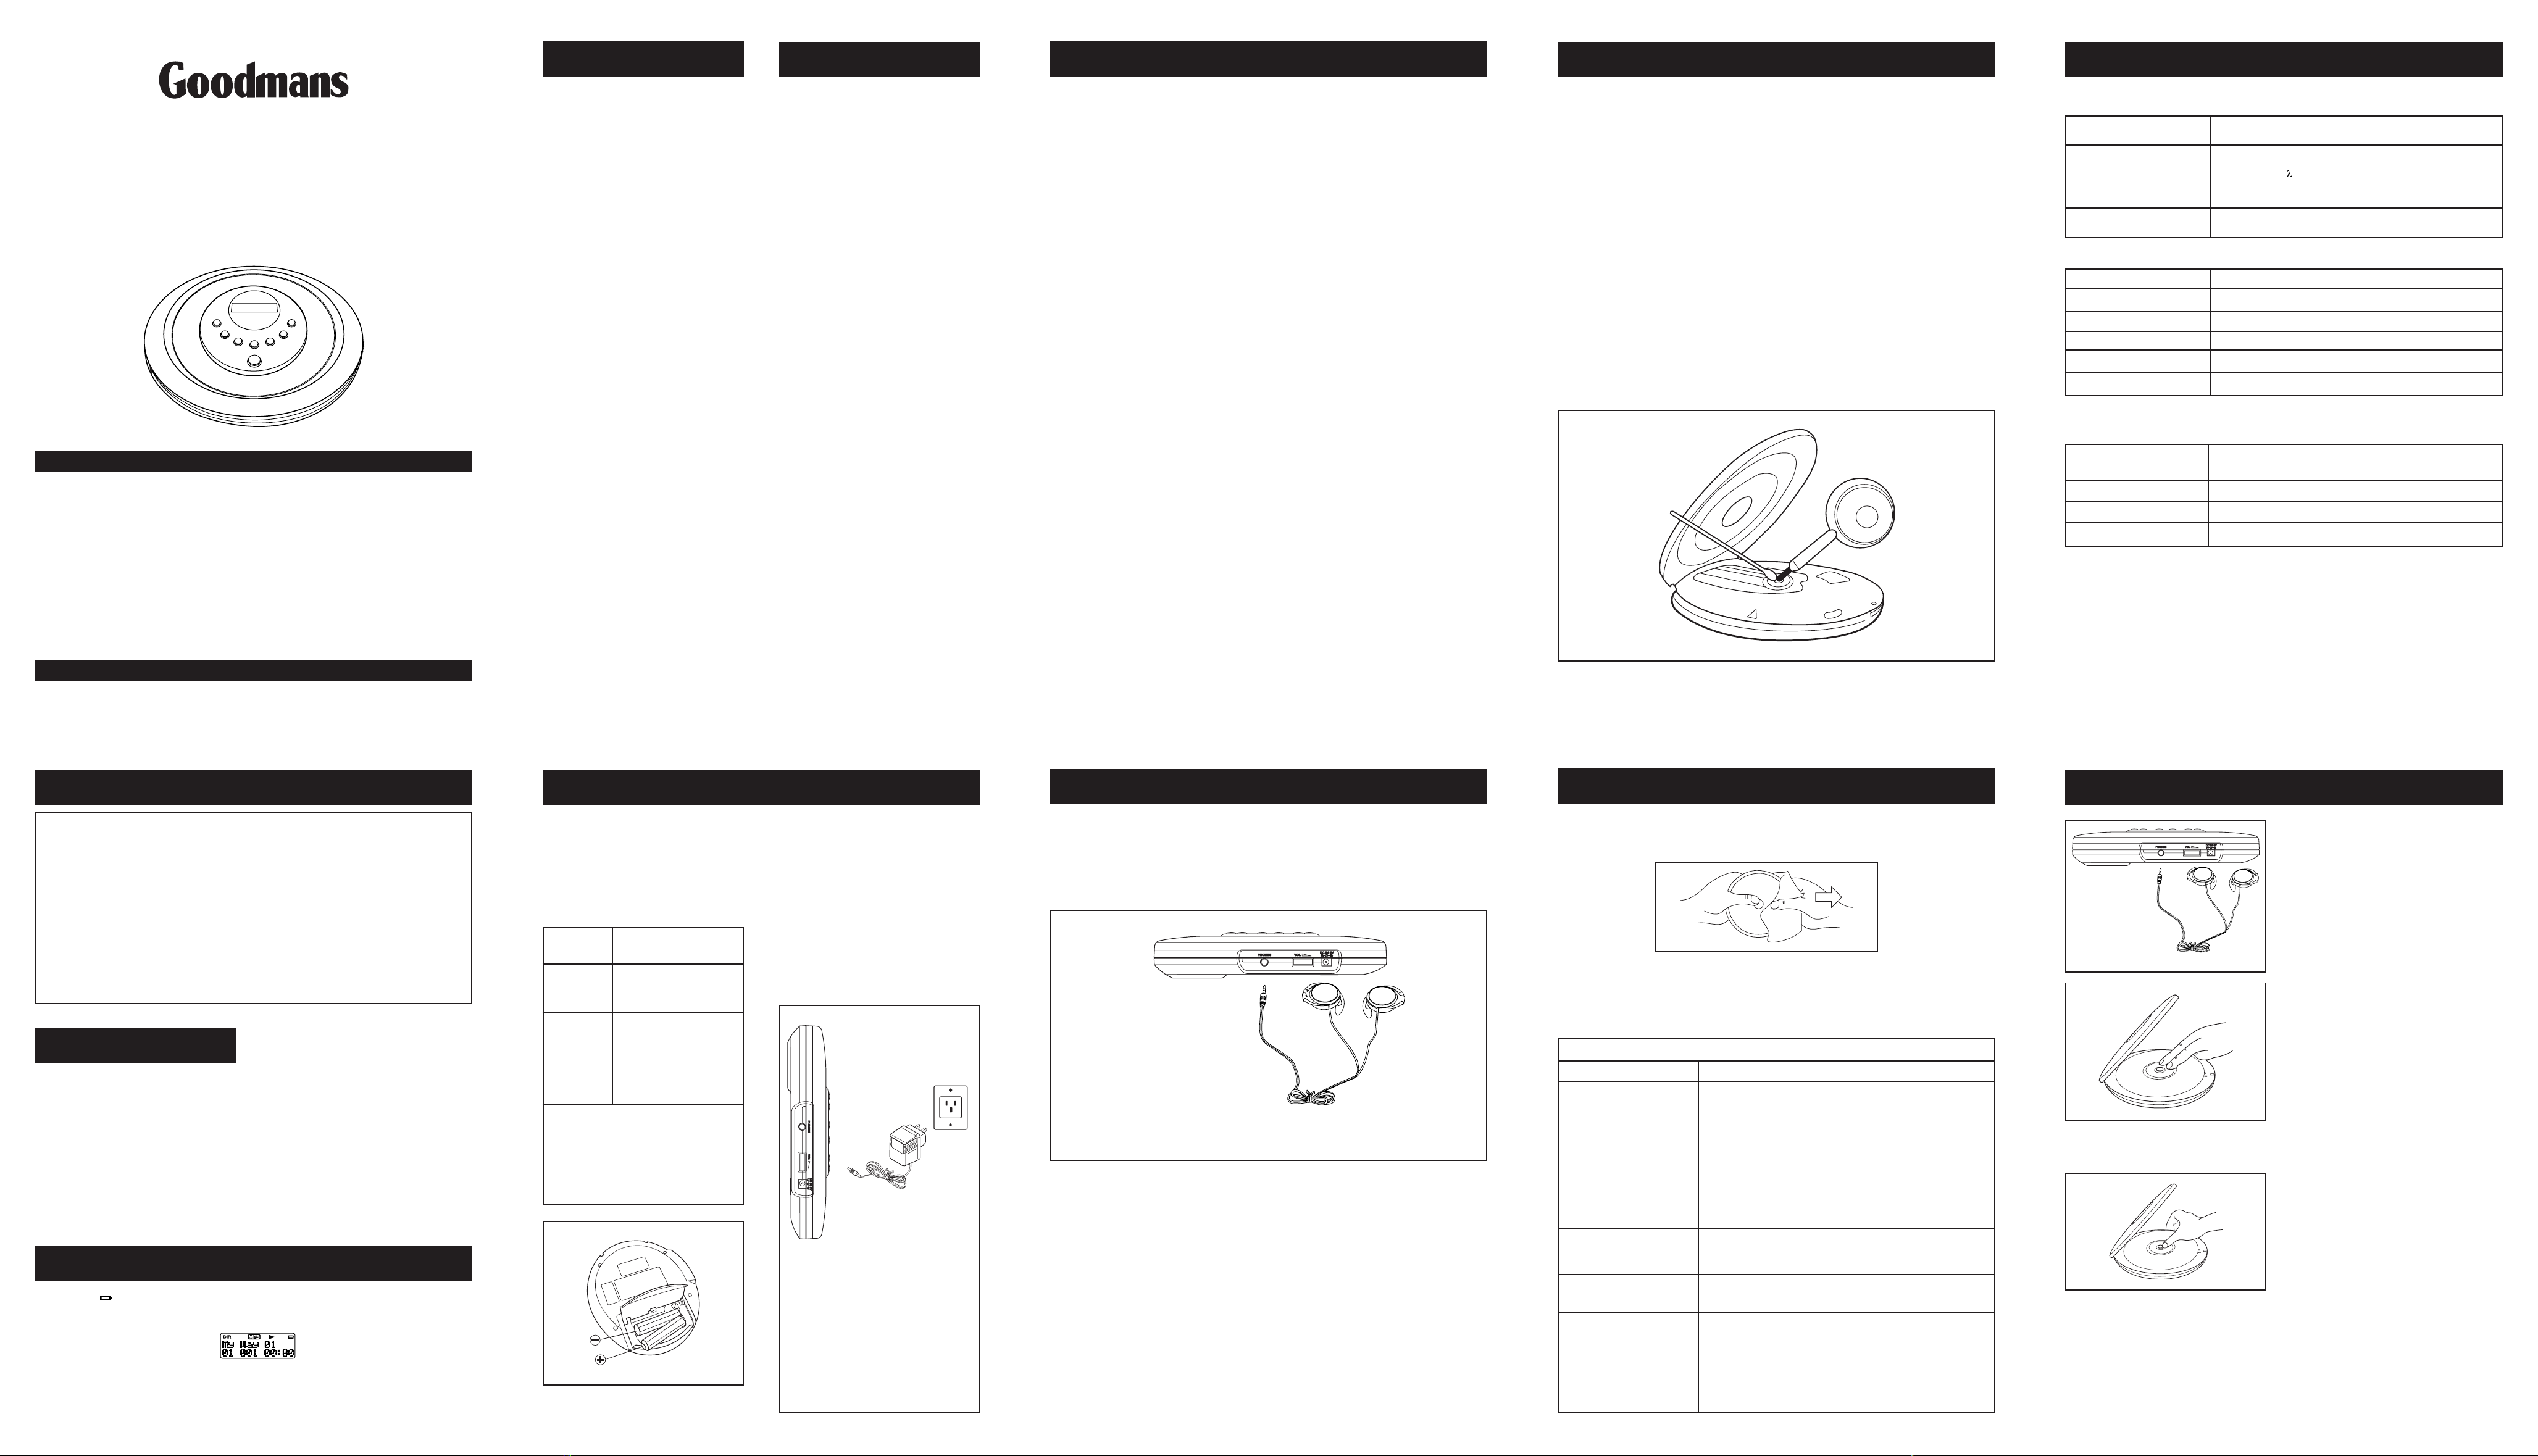
Remove the disc
Holdthe edge and gentlypress the centre
pivot as illustrated.Then pick up the disc.
CAUTION:
Wait for the disc to stop rotating before
sliding the OPEN knob.
NOTE:
This unit can play 3” (8cm) single CD’s
withoutanadaptor.DonotuseaCDsingle
adaptor for these discs.
IMPORTANT NOTES
WARNING
1. To prevent fire or shock hazard, do not
expose the unit to rain or moisture.
2. To avoid electrical shock, do not open
thecabinet.Referservicingto qualified
personnel only.
3. Do not put anything in the safety slot.If
youdo,the laser diode willbeONwhen
the lid is still open.
GENERAL
Power requirements -2x “ AA” alkaline battery
-DC in socket accepts AC power adaptor.
Power consumption 1.2W( DC 6V) UNDER NORMAL CONDITION
Dimension Approx. 153(W) X 30 (H) x 128 (D) mm
Weight Approx. 200g not including battery (Main Unit)
AUDIO
D/A conversion 1-bit DAC 8 times oversampling
Frequency response 20-20,000Hz (+1/-4 dB)
Anti-shock 35 seconds (CD)/106 seconds (MP3) buffer
No. of channels 2 channels (stereo)
Output level Earphone: 15mW±0.2mW (32 Ohms)
Wow and flutter Below measurable limits


