GPX HC425B User manual

Home Music System
User’s Guide for Model HC425B v1226-01
For the most up-to-date version of this User’s Guide, go to www.gpx.com

2
This product utilizes a Class 1 laser to read
Compact Discs. This laser Compact Disc
Player is equipped with safety switches to
avoid exposure when the CD door is open and
the safety interlocks are defeated. Invisible
laser radiation is present when the CD Player’s
lid is open and the system’s interlock has
failed or been defeated. It is very important
that you avoid direct exposure to the laser
beam at all times. Please do not attempt to
defeat or bypass the safety switches.
Safety Instructions & Warnings
Important Safety Instructions
• ReadtheseInstructions.
• KeeptheseInstructions.
• HeedallWarnings.
• Followallinstructions.
• Donotusethisapparatusnearwater.
• Cleanonlywithadrycloth.
• Donotblockanyventilationopenings.Installinaccordance
withthemanufacturer’sinstructions.
• Donotinstallnearanyheatsourcessuchasradiators,heat
registers,stoves,orotherapparatus(includingampliers)that
produceheat.
• Donotdefeatthesafetypurposeofthepolarizedorgrounding
-typeplug.Apolarizedplughastwobladeswithonewider
thantheother.Agroundingtypeplughastwobladesanda
thirdgroundingprong.ewidebladeorthethirdprongare
providedforyoursafety.Whentheprovidedplugdoesnott
intoyouroutlet,consultanelectricianforreplacementofthe
obsoleteoutlet.
• Protectthepowercordfrombeingwalkedonorpinched
particularlyatplugs,conveniencereceptacles,andthepoint
wheretheyexitfromtheapparatus.
• Onlyuseattachments/accessoriesspeciedbythe
manufacturer.
• Unplugthisapparatusduringlightningstormsorwhenunused
forlongperiodsoftime.
• Referallservicingtoqualiedservicepersonnel.Servicingis
requiredwhentheapparatushasbeendamagedinanyway,
suchaspower-supplycordorplugisdamaged,liquidhasbeen
spilledorobjectshavefallenintotheapparatus,theapparatus
hasbeenexposedtorainormoisture,doesnotoperate
normally,orhasbeendropped.
• Useonlywithacart,stand,tripod,bracket,
ortablespeciedbythemanufacturer,or
soldwiththeapparatus.Whenacartisused,
usecautionwhenmovingthecart/apparatus
combinationtoavoidinjuryfromtip-over.
FCC Warnings
Warning: Changes or modications to this unit not expressly
approved by the party responsible for compliance could void the
user’s authority to operate the equipment.
NOTE: This equipment has been tested and found to comply
with the limits for a Class B digital device, pursuant to Part
15 of the FCC Rules. These limits are designed to provide
reasonable protection against harmful interference in a
residential installation. This equipment generates, uses, and can
radiate radio frequency energy and, if not installed and used in
accordance with the instructions, may cause harmful interference
to radio communications. However, there is no guarantee that
interference will not occur in a particular installation. If this
equipment does cause harmful interference to radio or television
reception, which can be determined by turning the equipment off
and on, the user is encouraged to try to correct the interference
by one or more of the following measures:
• Reorientorrelocatethereceivingantenna.
• Increasetheseparationbetweentheequipmentandreceiver.
• Connecttheequipmentintoanoutletonacircuitdierent
fromthattowhichthereceiverisconnected.
• Consultthedealeroranexperiencedradio/TVtechnician
forhelp.
Warning: To reduce the risk of electric
shock, do not remove cover (or back). No
user-serviceable parts inside. Refer servicing
to qualied service personnel.
Warning: DO NOT INGEST BATTERY,
CHEMICAL BURN HAZARD.
ATTENTION
RISQUE D' ÉLECTROCUTION
NE PAS OUVRIR
CAUTION
RISK OF ELECTRIC SHOCK
DO NOT OPEN
The exclamation point within an equilateral
triangle is intended to alert the user to
the presence of important operating and
maintenance (servicing) instructions in the
literature accompanying the appliance.
This symbol indicates that this product
incorporates double insulation between
hazardous mains voltage and user accessible
parts.
The lightning ash with arrowhead symbol,
within an equilateral triangle, is intended to
alert the user to the presence of uninsulated
“dangerous voltage” within the product’s
enclosure that may be of sufcient magnitude
to constitute a risk of electric shock to persons.

Customer Support: 1-888-999-4215
3
Safety Instructions & Warnings
Additional Warnings and Precautions
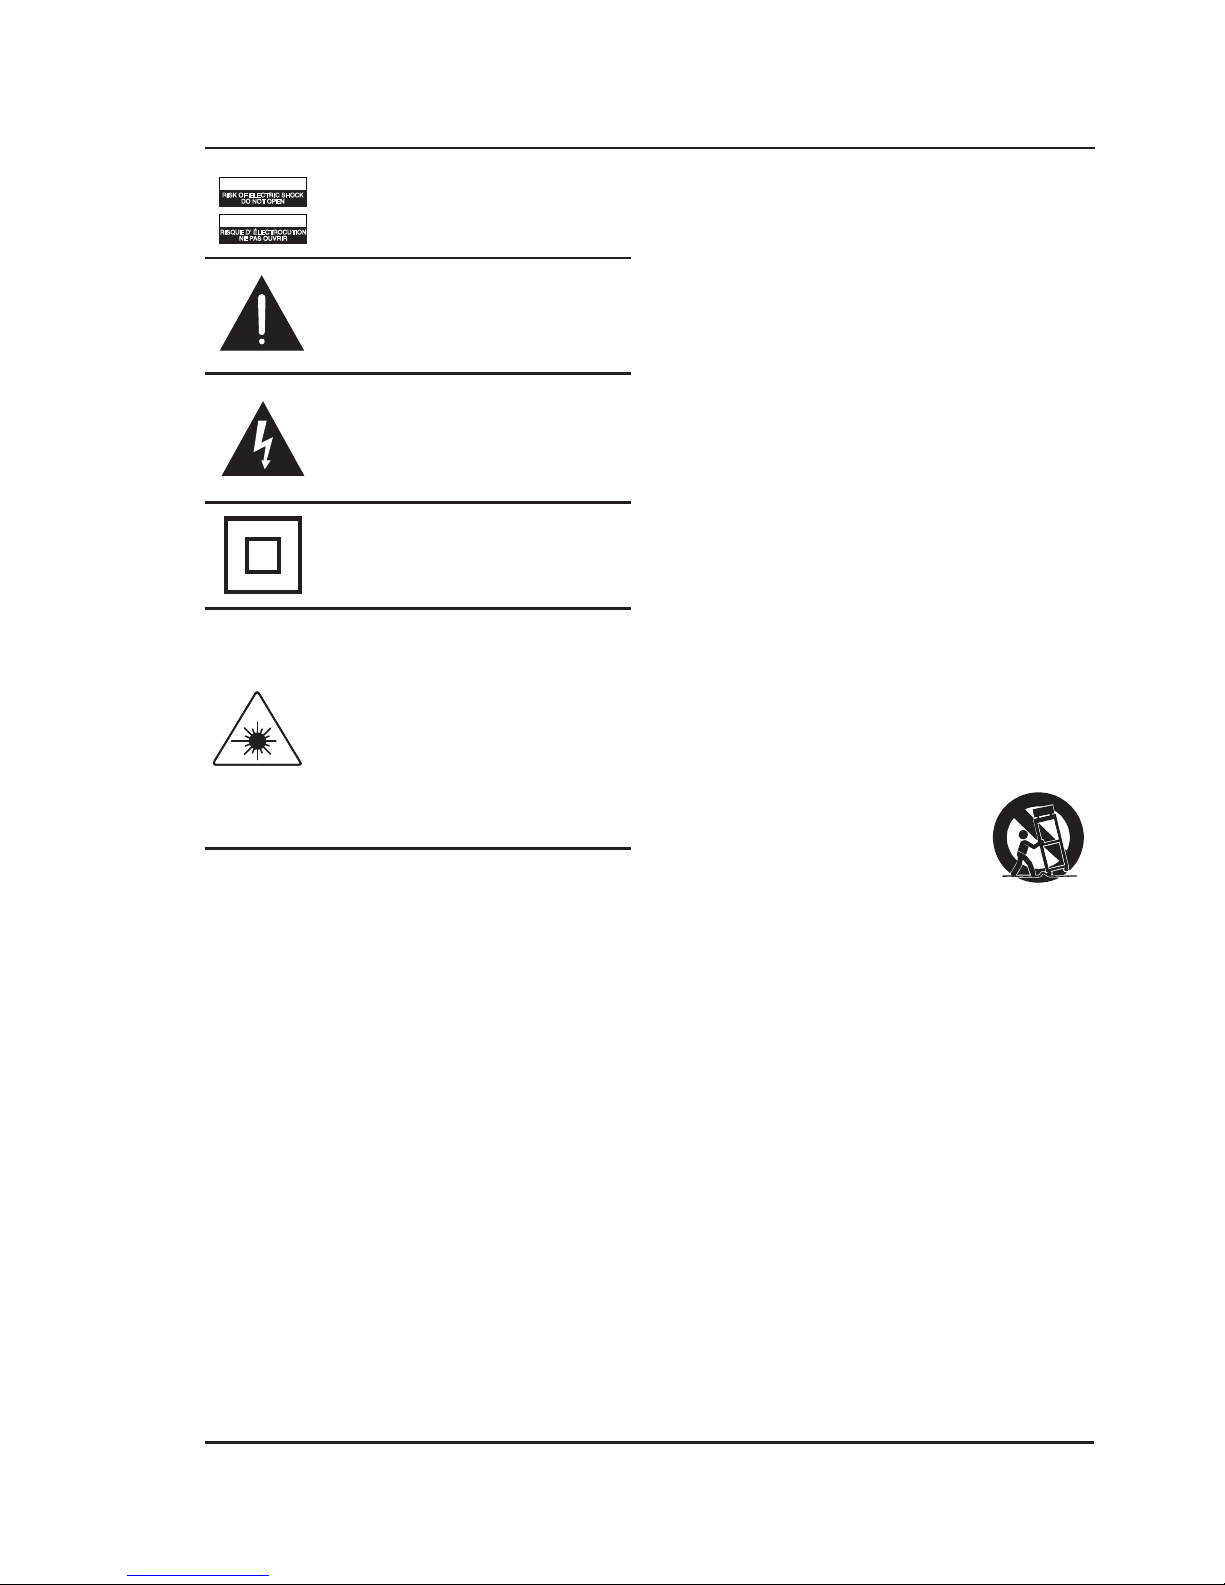
• CAUTION:TOPREVENTELECTRICSHOCK,MATCH
WIDEBLADEOFPLUGTOWIDESLOT,FULLYINSERT.
Avis: AFIN DE PRÉVENIR LES CHOCS ÉLÉCTRIQUES,
FAITES CORRESPONDRE LA FICHE BLANCHE DE LA
PRISE À LA FENTE LARGE, INSÉREZ TOTALEMENT.
• WARNING:Toreducetheriskofreorelectricshock,
donotexposethisapparatustorain,moisture,dripping,
orsplashing.
Avis: Pour réduire le risque d'incendie ou de choc électrique,
n'exposez pas cet appareil à la pluie ou l'humidité ou aux
éclaboussures.
• CaUTiOn: Use of controls or adjustments or performance of
procedures other than those specied may result in hazardous
radiation exposure.
Avis: L’utilisation de commande ou l’exécution de procédures
autres que celles spéciées ici peuvent aboutir à une
exposition à des radiations dangereuses.
• WARNING:Changesormodicationstothisunitnot
expresslyapprovedbythepartyresponsibleforcompliance
couldvoidtheuser’sauthoritytooperatetheequipment.
Avis: Des changements ou des modications sur ce produit
non expressément approuvés par la partie responsable de
la conformité peut annuler le droit de l’utilisateur d’utiliser
cet équipement.
• WARNING:Donotplacethisunitdirectlyontofurniture
surfaceswithanytypeofso,porous,orsensitivenish.As
withanyrubbercompoundmadewithoils,thefeetcould
causemarksorstainingwherethefeetreside.Werecommend
usingaprotectivebarriersuchasaclothorapieceofglass
betweentheunitandthesurfacetoreducetheriskofdamage
and/orstaining.
Avis: Ne placez pas cette unité directement sur des surfaces
de meubles dont la nition serait douce, poreuse ou sensible.
Car, comme tout composé caoutchouc a base d’huiles, les
pieds pourraient laisser des tracs ou des taches à l’endroit ou
ils sont posés. Nous recommandons d’utiliser une protection
comme un linge ou un morceau de verre entre l’unité et la
surface pour réduire le risque de dégât et/ou de tache.
• WARNING:Useofthisunitnearuorescentlightingmay
causeinterferenceregardinguseoftheremote.Iftheunitis
displayingerraticbehaviormoveawayfromanyuorescent
lighting,asitmaybethecause.
Avis: L’utilisation de cette unité en présence de lumières
uorescentes peut causer des interférences lors de l’utilisation
de la télécommande. En cas de dysfonctionnement, éteignez
les sources de lumière uorescentes, car celles-ci pourraient
en être la cause.
• CAUTION:Dangerofexplosionifbatteryisincorrectly
replaced.Replaceonlywiththesameorequivalenttype.
AVIS: Un danger d’explosion est présent lorsque les piles sont
remplacées de manière incorrecte. Remplacez seulement les
piles par des piles de type équivalent.
• WARNING:ereisadangerofexplosionifyouattempt
tochargestandardAlkalinebatteriesintheunit.Onlyuse
rechargeableNiMHbatteries.
AVIS: Charger des piles alcalines dans l’unité peut causer une
explosion. Utilisez seulement des piles rechargeables NiMH.
• WARNING:eremotecontrol’sbuttoncellbatterycontains
mercury.Donotputinthetrash,insteadrecycleordisposeof
ashazardouswaste.
AVIS: Les piles boutons de la télécommande contiennent
du mercure. Ne les jetez pas à la corbeille, recyclez-les ou
disposez-les comme des déchets dangereux.
• WARNING:Lithiumbatteries,likeallrechargeablebatteries,
arerecyclableandshouldberecycledordisposedofinnormal
householdwaste.Contactyourlocalgovernmentfordisposal
orrecyclingpracticesinyourarea.eyshouldneverbe
incineratedsincetheymightexplode.
AVIS: Les piles Lithium ion, comme toutes les autres piles
rechargeables, sont recyclables et doivent être etées avec vos
déchets ménagers. Contactez votre municipalité pour obtenir
des conseils sur les moyens de disposition et de recyclage dans
votre région. N’incinérez pas vos piles, car celles-ci peuvent
exploser.
• WARNING:Shockhazard-DoNotOpen.
AVIS: Risque de choc électrique - ne pas ouvrir
• Caution and marking information is located at the rear or
bottom of the apparatus.
Attention et de marquage des informations est situé sur le
paneau arrière ou inférieur de l’unité.
• Objects lled with liquids, such as vases, shall not be placed
on the apparatus.
Objets remplis de liquides, comme des vases, ne doivent pas
être placés sur l’appareil.
• Mains plug is used as disconnect device and it should remain
readily operable during intended use. In order to disconnect the
apparatus from the mains completely, the mains plug should be
disconnected form the mains socket outlet completely.
La prise du secteur est utilisé pour déconnecter le système.
La prise du secteur ne doit pas être obstruée ou doit être
facilement accessible pendant son utilisation. Pour être
complètement déconnecté de l’alimentation d’entrée, la prise
doit être débranchée du secteur.
• Battery shall not be exposed to excessive heat such as
sunshine, re or the like.
Les piles ne doivent pas être exposées à de forte chaleur,
tel qu’à la lumière du soleil, au feu ou autres choses de
semblable.
• This product is supplied with a coin/button cell battery. If
the coin/button cell battery is swallowed, it can cause severe
internal burns and can lead to death.
Ce produit est livré avec une pile pièce / touche. Si la pile
pièce / bouton est avalé, il peut causer des brûlures internes
graves et peut conduire à la mort.
• Keep new and used batteries away from children. If the battery
compartment does not close securely, stop using the product
and keep it away from children.
Gardez les piles neuves et d’occasion à partir des enfants. Si
le compartiment de la batterie ne pas fermer correctement,
cesser d’utiliser le produit et garder loin des enfants.
• If you think batteries might have been swallowed or placed
inside any part of the body, seek immediate medical attention.
Si vous pensez que les batteries peuvent avoir été avalé
ou placé à l’intérieur d’une partie du corps, consulter
immédiatement un médecin.
• Do not mix old and new batteries.
Ne pas mélanger vieilles et nouvelles batteries.
• Completely replace all old batteries with new ones.
Remplacer complètement toutes les piles par des neuves.
• Do not mix alkaline, standard (carbon-zinc), or rechargeable
(ni-cad, ni-mh, etc) batteries.
Ne mélangez pas des piles alcalines, standard (carbone-zinc)
ou rechargeables (Ni-Cd, Ni-MH, etc) batteries.
• Batteries should be recycled or disposed of as per state and
local guidelines.
Piles doivent être recyclées ou éliminées selon les directives
étatiques et locales.

4
Table of Contents
Your Home Music System � � � � � � � � � � � � � � � � � � � � � � � � � � � � � � � � � � � � � � � � � � � � � � � � � � � � � � � � � � � � � � � � � � � � � � � � � � � � � � � � � �5
Features
Includes
Setup � � � � � � � � � � � � � � � � � � � � � � � � � � � � � � � � � � � � � � � � � � � � � � � � � � � � � � � � � � � � � � � � � � � � � � � � � � � � � � � � � � � � � � � � � � � � � � � � � � � � �5
Connecting the Speakers
Power
Remote
Orientation � � � � � � � � � � � � � � � � � � � � � � � � � � � � � � � � � � � � � � � � � � � � � � � � � � � � � � � � � � � � � � � � � � � � � � � � � � � � � � � � � � � � � � � � � � � � � � �6
Front Controls
Remote
CD, Radio & 3�5mm Aux In � � � � � � � � � � � � � � � � � � � � � � � � � � � � � � � � � � � � � � � � � � � � � � � � � � � � � � � � � � � � � � � � � � � � � � � � � � � � � � � � �8
Loading & Playing a CD
Programming a CD
AM/FM Radio
Programming Radio Stations
Connecting to Aux In
Clock & Alarm � � � � � � � � � � � � � � � � � � � � � � � � � � � � � � � � � � � � � � � � � � � � � � � � � � � � � � � � � � � � � � � � � � � � � � � � � � � � � � � � � � � � � � � � � � � � �9
Setting the Clock
Setting the Alarm
Cancelling/Deactivating the Alarm
Setting the Sleep Timer
Company Information � � � � � � � � � � � � � � � � � � � � � � � � � � � � � � � � � � � � � � � � � � � � � � � � � � � � � � � � � � � � � � � � � � � � � � � � � � � � � � � � � � � 10
Contact Information
Warranty
International Support
Green Initiative

Customer Support: 1-888-999-4215
5
Features
• 2 channel stereo sound
• Top-load CD player: CD, CD-R/RW
• Digital AM/FM radio
• Station memory presets (20 FM, 20 AM)
• Aux in (3.5mm audio input)
• EQ presets
• Analog volume control
• Last user’s setting memory
• Negative LCD display with white backlight
• Digital clock and sleep timer
• Built-in AM/FM antennas
• AC power: built-in AC power cable
Includes
• Remote control with pre-installed CR2025 battery
Setup
Remote
Requires 1 CR2025 button cell battery (included).
Power
Plug the power cord into a standard wall outlet.
Your Home Music System
Connecting the Speakers
Connect the included speakers to the SPEAKER OUTPUT on the back of the music system. The speaker to the right
side of the music system should be plugged into the output labeled “R”. The left speaker should be plugged into the
output labelled “L”.

6
CD Door Open
(top)
LCD Display
Front Controls
Orientation
Volume
Turn to adjust the volume.
Source
Press to change the
media source.
Program/Clock
Press to program a CD.
With the unit off, press
to set the clock.
Repeat
Press to repeat play on
the current audio track.
Tune + /Skip Fwd
Press to cycle forward
through audio tracks.
In Radio Mode, press to
adjust the Tune.
Tune - /Skip Rev
Press to cycle back
through audio tracks.
In Radio Mode, press to
adjust the Tune.
Power
Press to power the
music system off or on.
Play/Pause
Press to play or pause
an audio track.
Stop/Band
Press to stop an audio
track.
Press to cycle between
AM or FM radio.
Mem + /Dimmer
Press to cycle through
radio memory presets.
Press and hold to dim
the display.
Display
With the unit on, press
to cycle between the
clock and media info.

Customer Support: 1-888-999-4215
7
Remote
Display
Press to change the display from
media to clock.
Stop
Play/Pause
EQ
Press to select different
equalizer settings.
Clock Set
With the unit off, press to set
the clock.
Mem + /Dimmer
In Radio Mode, press to cycle
through radio memory presets.
Press and hold to dim/brighten
the display.
Mute
Press to mute the volume.
Power
Press to power the unit on or off.
Source
Press to change the media
source.
Repeat
Press to set an audio
track to repeat.
Skip/Tune
Press to cycle
through audio tracks.
In Radio Mode, press
to adjust radio tuning.
Alarm
With the unit off,
press to set the alarm.
Sleep
Press to set the time (in
minutes) on the sleep timer.
Prog/Mem
Press to program radio
station memory presets
Press to program a CD.

8
AM/FM Radio
An AM/FM antenna is built into the music system.
Adjust the position of the unit to adjust radio reception.
1. Press the Power button to turn the unit on.
2. Press the Source button to switch to FM or AM
radio mode.
3. Press or press and hold the Skip/Tune buttons to
adjust to a radio station.
Programming Radio Stations
1. With the unit on and in AM or FM mode, press the
Tune +/− buttons to adjust to a radio station.
2. Press the Prog/Mem button on the remote or
Clock Set/Mem on the unit.
3. Press the Tune+/- to select a preset number. Up to
20 stations may be preset.
4. Press the Prog/Mem button on the remote or
Clock Set/Mem on the unit to save the stations.
5. Use the Mem + button to cycle through your
memory presets.
Programming a CD
1. Press the Stop button to stop the CD.
2. Press the Prog/Mem button on the remote.
3. Press the Skip/Search buttons to select a track
from the loaded CD to play first.
4. Press the Prog/Mem button again.
5. Repeat steps 3 and 4 to program tracks from the
loaded CD to play in the order they are selected.
6. Press the Play/Pause button to begin playing the
programmed CD.
7. Press the Stop button twice to cancel
the program.
CD, Radio & Aux In
Connecting to Aux In
Requires a 3.5mm audio cable (not included)
1. Connect a 3.5mm audio cable to the Aux In on the
unit and the audio output/headphone jack on a
media player.
2. Press the Source button to switch to Line In mode.
3. Use the controls on the connected device to select
and play audio.
Loading & Playing a CD
Note: This unit is not compatible with MP3 CDs.
1. Press the Source button to switch to CD Mode
radio mode.
2. Open the Disc door.
3. Load a CD or CD-R/RW disc into the unit,
label side facing up.
4. Close the Disc door.
5. Press the Play/Pause button to begin playing the
loaded CD. Press the Skip/Search buttons to cycle
through different tracks.

Customer Support: 1-888-999-4215
9
Clock & Alarm
Setting the Clock
1. With the unit powered off, press the Program/
Clock button on the front of the unit, or the Clk Set
button on the remote. The hour will begin flashing
on the display.
2. Press the Skip/Tune buttons on the front of the
unit or the remote to set the hour.
3. Press the Program/Clock or Clk Set button again.
The minutes will begin flashing on the display.
4. Repeat Step 2 to set the minutes.
5. Press the Program/Clock or Clk Set button again
to finish setting the clock.
Setting the Alarm
1. Press the Alarm button to begin setting the alarm.
The hour will begin flashing on the display.
2. Use the Skip/Tune buttons to set the hours.
3. Press the Alarm button again. The minutes will begin
flashing on the display.
4. Repeat Step 2 to set the minutes.
5. Press the Alarm button again to set the alarm type.
The alarm type will begin flashing on the display.
6. Repeat Step 2 to set the alarm type.
fm = FM radio
bu = buzzer
Cd = CD (Be sure to place a CD in the player)
7. Press the Alarm button again to finish setting the
alarm. “Alarm” will be visible on the left of the display
when the alarm is on.
8. Press & hold the Alarm button to disable the alarm.
“Alarm” will disappear on the display.
9. To cancel the alarm after it has sounded, press the
Alarm button.
Setting the Sleep Timer
1. With the unit powered on, press the Sleep button
on the remote. The display will show the amount of
time in minutes before the timer goes off.
2. Press the Sleep button to set the timer.
Example: 90 minutes, 80, 70, etc.
3. When the time is set, wait for the display to return
to normal.
“Sleep” will be visible on the bottom left of the
display when the sleep timer is on.
4. To turn the Sleep Timer off, perform Step 2 until the
display reads “OFF”.

Customer Support: 1-888-999-4215
10
Green Initiative
Our Environmental Commitment to "Protect for Today and Sustain for
Tomorrow". On a continual basis DPI, Inc. is making efforts to sustain the
environment and improve the recyclability of its products and packaging.
Focusing on “protecting for today and sustaining for tomorrow” DPI,
Inc. has committed to reducing packaging size, increasing the usage of
recyclable plastics, and ensuring that packaging and manuals are made
with up to 85% recycled material. In addition to material consideration,
DPI, Inc. has also focused on the finer details that positively impact the
environment such as employing the usage of soy-based inks.
DPI, Inc. also ensures that the factories that produce the company’s wide
variety of consumer electronics adhere to environmentally friendly air and
water restrictions. This is yet another example that every step of the way
DPI, Inc. is making efforts to lessen any impact on the environment.
In 2011 DPI, Inc. also began conversations with Energy Star in order to
ensure that the consumer electronics being produced meet high standards
of energy efficiency. The ultimate goal is keeping energy costs for
consumers low while providing quality, feature-rich products.
International Support
To download this User’s Guide in English, Spanish, and French, or to get answers to frequently asked questions, visit
the support section at: www.gpx.com
Para descargar este Manual del Usuario en inglés, español y francés, o para obtener respuestas a preguntas
frecuentes, visite la sección de apoyo en: www.gpx.com
Pour télécharger ce guide de l’utilisateur en anglais, espagnol ou français, ou pour obtenir des réponses à des
questions fréquemment posées, consultez la rubrique d’assistance sur: www.gpx.com
Contact Information
Website: www.gpx.com
Phone Support: 1-888-999-4215
Warranty
For Warranty Information and the most up-to-date version of this User’s Guide, go to: www.gpx.com
Company Information
Copyright © 2015 Digital Products International (DPI, Inc.) All other trademarks appearing herein are the property of
their respective owners. Specifications are subject to change without notice.
Table of contents
Other GPX Media Converter manuals