GREADEN GR-3C41A User manual


31

32
GREADEN MANUAL FOR BARBECUE GAS GRILL
Model: GR-3C41A
◆IF A REPLACEMENT IS NECESSARY, PLEASE CONTACT EITHER OUR CUSTOMER SERVICE DEPARTMENT
OR YOUR LOCALDEALER.
◆ THE USE OF UNAUTHORISED PARTS CAN CREATE UNSAFE CONDITIONS AND ENVIRONMENT.
◆ FOR OUTDOOR USE ONLY.
◆ READ THE MANUAL CAREFULLY BEFORE ASSEMBLING AND OPERATING THE APPLIANCE.
◆ ACCESSIBLE PARTS MAY BE VERY HOT. PLEASE KEEP YOUNG CHILDREN AWAY.
◆ PLEASE RETAIN THE MANUAL FOR FUTURE REFERENCE.
◆ PLEASE REMOVE ANY TRANSIT PROTECTION BEFORE ASSEMBLING AND OPERATING THE APPIANCE.
◆ THIS APPLIANCE MUST BE KEPT AWAY FROM FLAMMABLE MATERIALS
◆ PLEASE WEAR PROTECTIVE GLOVES WHEN HANDLING PARTICULARLY HOT COMPONENTS.
◆ PLEASE READ THE CARE AND WARRANTY INSTRUCTIONS CAREFULLY BEFORE USE.

33
(CADERO)
*Do not move the appliance during use
GREADEN
their mixture
or their mixture or their mixture
Main burner
Injector
Side burner
Infrared rear
burner
0,95 mm
0,89 mm
0,95 mm
0,89 mm
0,95mm
0,89 mm
0,84 mm
0,79 mm
/
/
/
/
TECHNICAL INFORMATIONS
*For outdoor use only
*Read the instructions before using the appliance
*WARNING: accessible parts may be very hot. Keep young children
0063/17 away
*This appliance must be kept away from flammable materials during
use
Code d’identification :0063CL7042
*Turn off the gas supply at the gas cylinder after use
*Do not modify the appliance
Appliance Name Outdoor Use Gas Grill
Serial No.
Model No. CBD-410BC /GR-3C41A
Appliance Category I3+(28-30/37) I3B/P (30) I3B/P (37) I3B/P (50)
Type of gas Butane Propane Butane, Propane or Butane, Propane Butane, Propane
Gas Pressure 28-30mbar 37mbar 30mbar 37 mbar 50mbar
Total Heat Input (Hs) 17,8 KW 17,8 kW 20,1 kW 18 kW
gas consumption
1294 g/h
1294 g/h
1462g/h
1309 g/h
(* Injector size marked clearly on the burner valve)
IMPORTANT:
Read the following instructions carefully and be sure your barbecue is properly installed, assembled and
cared for. Failure to follow these instructions may result in serious bodily injury and/or property damage.
If you have any questions concerning assembly or operation, consult your dealer or LPG Gas Company.
Never store a spare cylinder under the barbecue shelves or inside the trolley housing. Any LPG cylinder not
attached to the BBQ for use should be stored outdoors and well away from the appliance.

34
*This appliance is not intended to use on recreational vehicles or a marine environment.
*Only gas cylinder 7kgs or under could be placed inside the trolley for using. Gas cylinders that
are more than 7kgs need to be placed outside the trolley during use.
*The maximum loading weight for the side tables is 20pounds (9kgs). Please do notplace
anything more than 20 pounds (9kgs) on the side tables.
CLEARANCE TO COMBUSTIBLES
Always maintain 1 meter minimum clearance to combustible materials at the rear and sides of the BBQ.
Do not use this BBQ under overhead combustible surfaces.

35
Tips for a Safe BBQ
Before Using Propane and Natural Gas Fired Barbecues
•
Purchase only approved barbecues--check for the label.
•
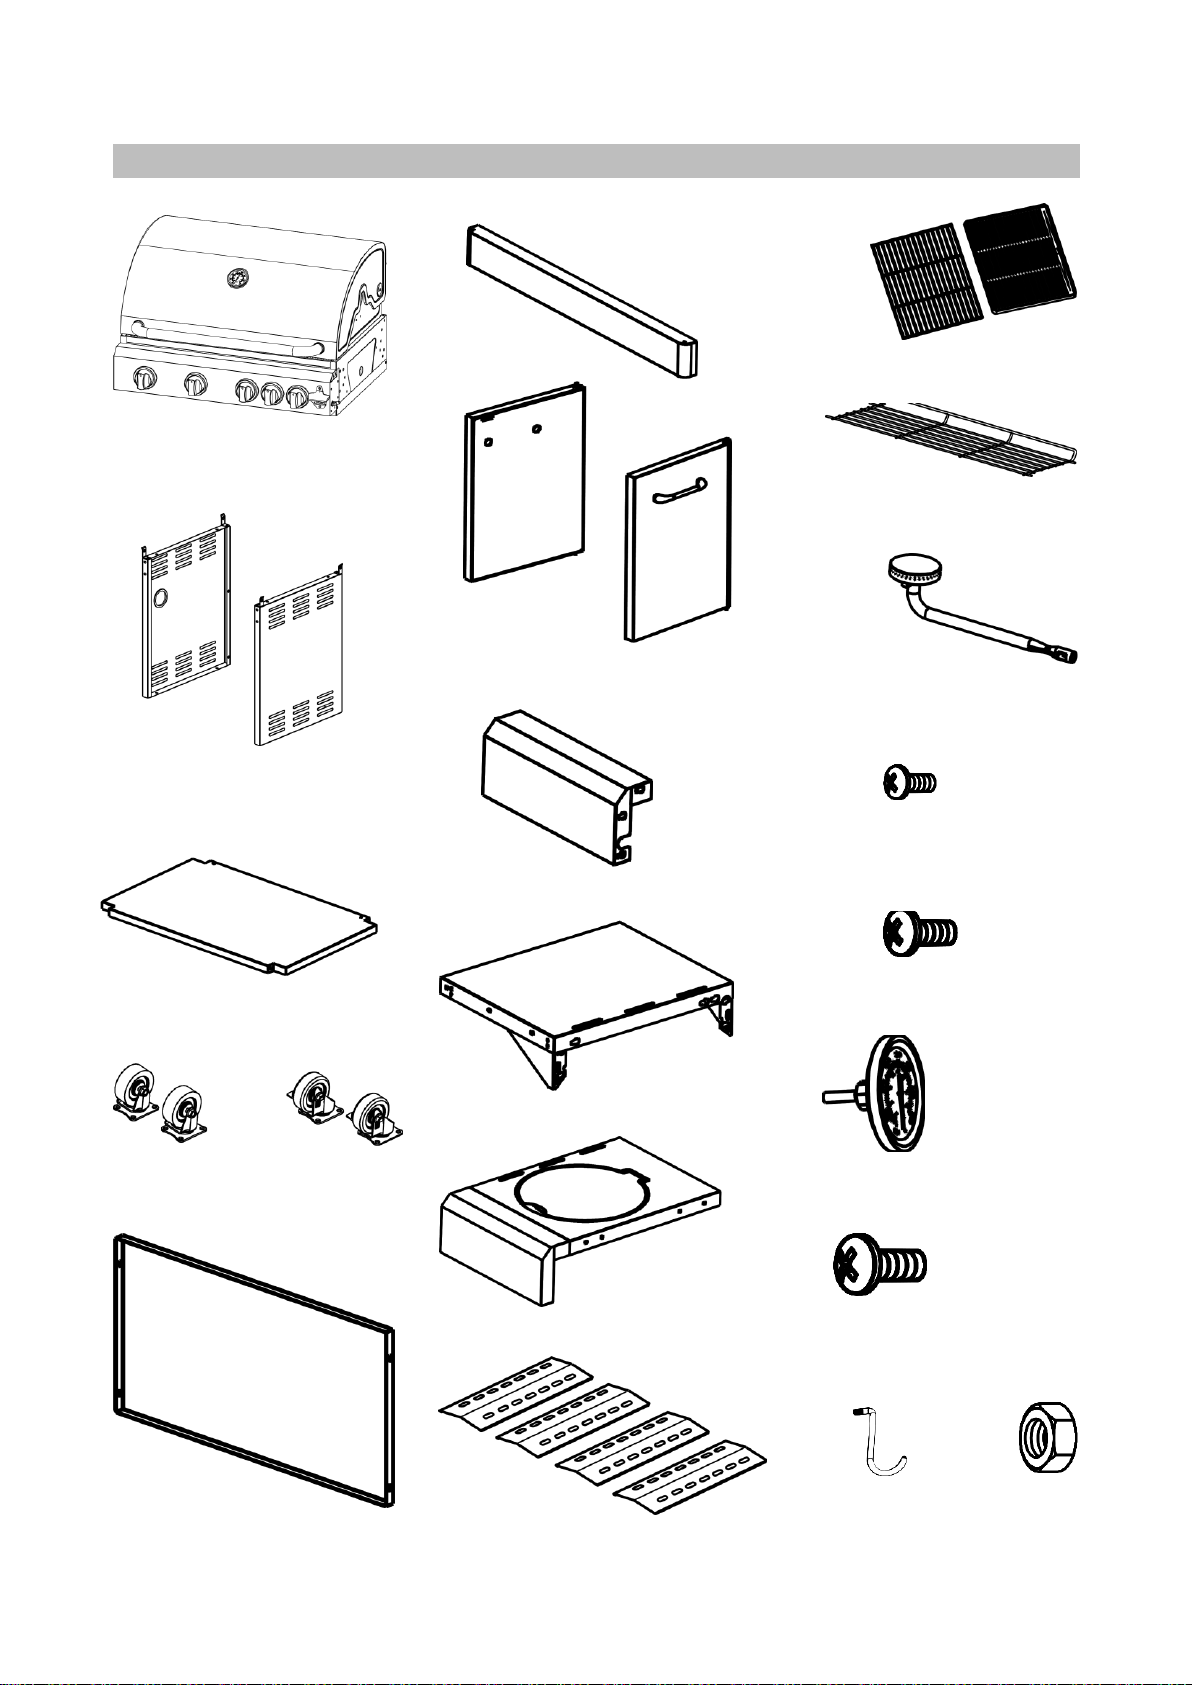
Carefully follow the manufacturer's instructions when assembling a newly-purchased barbecue. If
you have difficulty with the assembly, contact a qualified service person. Many stores which sell
barbecues offer a free assembly service. Ask.
•
Store the instruction manual for the barbecue in a safe place to have on hand forfuture reference.
•
If the barbecue has not been used in a while or whenever the propane tank is changed or refilled,
remove the sear plates to check that the burner holes and tubes connected to the burners are rust
and debris free (orange does not mean rust on a burner, we are talking about missing pieces of
metal). If it looks fine, fire up the barbecue and check for an even flame throughout the burner. If
the flame is not even, replace the burner.
•
Periodically, check all your barbecue connections and supply lines for leaks. Using ordinary
dishwashing liquid mixed with water, spread the solution over all fittings. This means the cylinder
valve on the hose, too. There is a leak if bubbles appear. NEVER use an open flame to test for leaks.
After tightening or replacing the leaking hose or valve, retest forleaks.
Lighting A Propane Barbecue.
•
Open the lid BEFORE lighting the barbecue as a leaking or open valve may cause the accumulation
of propane under the lid or in the basin. This could cause an explosion whenlit.
•
Have a match or barbecue lighter ready before the propane is turned on. If the barbecue does not
ignite, turn the control valves off, then wait five minutes before trying again. KEEP THE LIGHTER
AND MATCHES OUT OF THE REACH OF CHILDREN!
Using the Barbecue.
•
Never leave a lit barbecue unattended.
•
Never move a lit barbecue.
•
Use long-handled utensils and fire-resistant ovenmitts.
•
Wear short sleeves or tight-fitting clothing as loose clothing could catch fire. Never bbq with atie.
•
The barbecue should rest on a solid surface and be located away from shrubbery, foot traffic and
overhangs. Remember, the barbecue stays hot even after being turned off and can burn someone if
they bump into it. Stay by the bbq until it is cool.
•
Ideally, the barbecue should be 3 meters (10 feet) away from the house or anything else that could
catch fire. The area surrounding the barbecue needs to be free of any obstructions that could block
airflow for ventilation and combustion.
•
Never use the barbecue indoors or in a garage.
•
Only open the propane tank a quarter to a one-half turn--the necessary gas required to operate the
barbecue. This also makes it much easier to shut off should a problem arise. This doesn’t apply
when using a clip-on regulator.
•
A certain amount of fat does drip onto the heat source while cooking, causing flaring. Some flaring
is fine as it adds to the barbecue flavor. Excessive flaring, however, is not acceptable. Food should
be moved to another spot on the grill and/or the heat turned off. Trim fat from meat cuts to avoid
excessive flaring and, every so often clean the fat tray and sear plates, fat fires are dangerous and
can ruin the appliance

36
•
Do not operate the barbecue's rotisserie in damp or wet weather as it is connected to an electrical
outlet.
•
When finished with the barbecue, turn the knob valves off first, then the bottle. This allows the gas
in the lines to burn off.
•
After the barbecue has cooled off, cover it to protect it from the weather.
•
Keep a fire extinguisher close by. Never use water on a grease or fat fire as it only causes the flames
to spread. If fire surrounds the propane tank, leave the area immediately (to a distance of at least
200 meters from the tank) and call the fire department.
•
In case of a grease fire, leave the barbecue lid open and turn off the burners if you are able. If not,
turn off the gas supply at quick connect or the shut-off valve.
Transporting and Storing Portable Propane Tanks.
1.
Store propane tanks standing upright in a well-ventilated area outside or in a well-ventilated shed.
A leaking tank creates a potential fire hazard. Never store a propane tank in the house. An
explosion can be easily set off by a spark of static electricity, the flip of a light switch or a pilot light.
2.
NEVER smoke near a propane tank.
3.
Make sure the tank is stored out of the reach of children.
4.
Do not refill a tank that is leaking, is corroded or has any other signs of damage. Ask your propane
distributor to inspect the tank for signs of deterioration before it is refilled.
5.
When transporting a propane tank, make sure it remains in an upright position. Milk cartons work
well for this as they are just the right size to hug the tank securely. The best place for the tank to
travel is in the trunk of the car; secure the trunk lid so it remains slightly open for ventilation. The
tank can also be placed on the rear floor of the passenger side of the car; leave the rear windows
open for ventilation.
6.
When transporting a tank, use a plastic plug in the gas outlet for greatersafety.
7.
Have the tank filled only by qualifiedpersonnel.
Grill Preparation and Safe Cooking.
•
Use hot, soapy water to clean all surfaces and utensils before and after preparing meats or poultry
products. Rinse well after washing.
•
To prevent food from sticking to the grill, brush the BBQ lightly with oil or spray with a nonstick
product.
•
Always use the proper utensils--long-handled--and oven mitts, if required.
•
If the weather is cool or damp or if it is windy, cooking time on the BBQ may belonger.
•
To reduce cooking time for meats and poultry, marinade them first. Marinating tenderizes the
meat, too. Try low-fat Italian dressing and soy sauces. These works well for indoor cooked meals,
too.
•
The BBQ should be preheated before starting to cook.
•
Keep the natural juices inside the meat or poultry. Turn with tongs or a spatula rather than
stabbing with a fork.
•
Use glazes or BBQ sauce during the last 15-20 minutes of cooking only. This well help prevent
burning.
•
When juices run clear from the meat and poultry, it can be removed from thegrill.
•
Bon appetite!

37
NB: THE GAS PIPE/HOSE MUST BE ATTACHED TO THE APPLIANCE CORRECTLY (USING A SPANNER
OR WRENCH, SCREWDRIVER IS 100% NECESSARY) , A FINGER TIGHTENED GAS HOSE/PIPE IS NOT
SAFE AND WILL CAUSE FIRE. BE VERY CAREFUL WHEN TIGHTENING HOSE ONTO BBQ AS CROSS
THREADING CAN OCCUR IF THE USER IS RECKLESS. CROSS THREADING CAN CAUSE GAS LEAKS
AND WILL LEAD TO FIRE. ANY GAS FIRE CAUSED BY THE ABOVE TWO POINTS WILL BE
CONSIDERED CUSTOMER ERROR AND WILL NOT BE GUARANTEED BY GREADEN WILL NOT BE
HELD LIABLE FOR ANY GAS FIRE CAUSED BY INCORRECT HOSE ASSEMBLY. GREADEN WILL NOT
BE HELD LIABLE FOR ANY PERSONAL INJURY OR PEOPERTY DAMAGE IF THE FIRE IS CAUSED BY
CUSTOMER NEGLIGENCE.
NB: ALWAYS MAKE SUER THAT THE HOSE IS NOT RESTING ON THE BOTTOM OF THE APPLIANCE,
IE: DO NOT LET THE HOSE REST AGAINST THE FAT TRAY, THE TRAY IS HOT AND WILL MELT THE
HOSE CAUSING A LEAK AND POTENTIALLY A FIRE. IF THE HOSE IS BURENT IN SUCH MANNER
AND DAMAGES THE APPLIANCE AND OR ANYTHING AROUND THE APPIANCE INCLUDING
PERSONAL INJURY, GREADEN WILL NOT BE HELD LIABLE AS THIS IS AVOIDABLE AND IS
CUSTOMER ERROR.
ALWAYS MAKE SURE THAT THE BBQ KNOBS ARE IN THE “OFF” POSITION WHEN CONNECTING
THE REGULATOR TO THE GAS BOTTLE.
ALWAYS MAKE SURE THAT THE BBQ KNOBS ARE IN THE “OFF” POSITION WHEN DISCONNECTION
THE GAS BOTTLE.
ALWAYS CARRY OUT A LEAK TEST (PLEASE SEE LEAK TEST DETAILS IN USER MANUAL)
PLEASE MAKE SURE THAT THE SIDE BURNER IS CONNECTED AND TIGHTENED BEFORE USING THE
BBQ, FAILURE TO CONNECT ALL HOSES WILL CAUSE A BUILD-UP OF GAS AND AN EXPLOSION.
GREADEN WILL NOT BE HELD LIABLE FOR PERSONAL INJURY OR PROPERTY DAMAGE IF THE USER
HAS NOT CONNECTED THE HOSE CORRECTLY.
Care and cleaning of stainless steel
Stainless steel parts of this appliance are made from 304 & 430 grade stainless steel. To preserve the
appearance and corrosion resistance of the stainless-steel material regular cleaning is required. Although
stainless steel does not rust in the same manner as steel it can still exhibit ‘corrosion ‘blemishes that look
like rust and detract from the appliances appearance. Unlike steel, the corrosion of stainless steel is mostly
confined to the surface and in most cases, can be removed by cleaning, returning the surface to almost like
new.
The most common form of corrosion that affects stainless steel is what is known as ‘Tea Staining”. This
shows up as brown spots on the surface, hence the confusion with rusting. This is most common in coastal
areas but depending on the environment can also occur in inland areas. If the ‘Tea Staining’ marks are not
regularly cleaned from the material surface they can penetration into the material and become very
difficult to remove, the application of a metal polish would then be required.

38
If the appliance is located near swimming pools careful attention to cleaning is required. Pool chemicals
contain chlorides which can affect the stainless steel. This also applies to salt water pools as they contain
salt, namely sodium chloride.
The use of bleaches containing chlorine should not be used to clean the stainless-steel surfaces. If the
residues are not completed rinsed away they can cause heavy pitting of the material. Pitting corrosion eats
deep into the surface and is not easily removed. Heavy polishing is required.
Routine Care
After each use allow the appliance to cool then wipe over with a soft, damp, soapy cloth. (DO NOT USE
CLEANERS CONTAINING CHLORIDE). Finally wipe over with soft, damp cloth. Be sure to wipe off food
particles and cooking residues, some marinates and oils can be acid and therefore attack the metal surface.
Also, cooking residues that are not removed after each use bake into the surfaces during subsequent uses
and become more difficult to remove.
There are several propriety stainless steel cleaners available that can be safely used on this appliance. Read
the directions carefully before using
DO NOT USE STEEL WOOL as particles can become embedded in the surface and then rust resulting in small
brown specs on the surface. If scouring is required to remove stubborn cooking residues use a soft nylon
pad (non-abrasive).
DO NOT USE ABRASIVE CLEANING COMPOUNDS, use cream type.
If the appliance is used on an irregular basis it is advised to still clean regularly and keep it covered from the
elements, either by using a purpose BBQ cover or under a covered porch. Dirt and dust contain corrosive
particles from the environment that can attack the surface. Stainless steel surfaces retain their best
resistance to corrosion when keep clean. Even if the appliance is protected with a purpose BBQ cover check
regularly, condensation underneath the cover may be corrosive due to the local environment and cause
damage to the metal surface.
After cleaning applying a thin coating of ‘light oil’, for example baby oil, will also help protect the stainless-
steel surface from the elements.
Stubborn Stains and Corrosion Spots
Stubborn stains, discoloration, ‘Tea Staining’ can occur from insufficient cleaning, excessive spillage from
cooking, severe environmental conditions and extreme cooking conditions.
There are propriety stainless steel cleaners available that are designed for such instances. Read the
instructions carefully before using.
•Always rub or wipe in the direction of the surface grain or original polishlines.
•Some stainless-steel cleaners may damage painted or plastic surfaces, read the directionscarefully.

39
PARTS DIAGRAM
1
Burner body
2
Left trolley
side 3
Right trolley
side
4
Trolley base
8
Door stop
9
Left door 10
Right door
11
Left side front panel
15
Grill plates
16
Warming rack
17
Burner for the
right side shelf
18
M4x6 Screw x2
19
M5x8 Screw x4
5
Wheels
6
Castor wheels
12
Left side shelf
13
Right side burner
20
Thermometer
21
M6x10 Screw x23
22 23
7
Trolley
back panel
14
Flame tamers

40
ASSEMBLY INSTRUCTIONS
1. Attach the wheels (5) and castors (6) to the trolley base (4)
2. Assembly the left and right side trolley panel (2 and 3) to the trolleybase

41
3. Assembly the back panel (7) to the trolley with screws (21)
4. Assembly the door stop (8) to the trolley, with screws (21)

42
5. Assembly the doors (9 and 10) to the trolley
6. This step requires two people to lift and position the burner body (1) into the trolley. carefully
lower the burner body (1) onto the trolley. Align the two holes on each side, secure with four
M6X10 screws (21)

43
7. Attach the left side front panel (11) to the left side shelf (12) with screws(21)
8. Assembly side shelves to the grill body following below pictures

44
Left side
Right side

45
9. Assembly the side burner
10. Connect the ignition lead

46
11. Place the flame tamers (14)
12. Place the grates and plate(15)

47
13. Place the warming rack (16)
14. Assembly the thermometer

48
15. Attach the two hooks (22) with the two nuts (23)
16. Use the manual lighting stick

49
DO
Use spanner to tighten all gas fittings.
Check gas hose and line connection for
damage, cuts or cracks each time before
using the appliance.
Always leak test with soapy water.
Check main burners regularly for insect nests
such as spiders, ants, etc. Nests are
dangerous and need to be fully removed
before use.
Use the appliance in well ventilated areas.
Cool the appliance before replacing any lid or
cover.
Accessible parts maybe very hot. Always
keep children away from the appliance.
Have the gas cylinder filled by an authorized
Propane supplier.
Always wear protective gloves when
handling hot components.
Close the gas cylinder valve after each use.
Clean the grease tray regularly.
Keep the appliance away from combustible
material, gasoline, flame liquids or vapours.
“Burning off” the barbecue after every use
(for approx 15 minutes) will keep excessive
food residue to a minimum.
DO NOT
Lean over appliance when lighting.
Leave cooking food unattended.
Store combustible material, gasoline or
flammable liquids or vapors within vicinity
of barbecue.
Use appliance with the cover on
Use plastic or glass utensils on the
barbecue.
Use the appliance in strong winds.
Dismantle control valves.
Test for gas leaks with a naked flame.
Store spare gas cylinders in the cabinet.
Lay the gas cylinder down (always keep
upright).
Use appliance indoor.
Modify the constructions of the appliance
or the size of any burner, injector orifice or
any other components.
Move the appliance during use.
Obstruct any ventilation of the appliance.
Allow the flexible gas supply hose or any
electrical cord to come in contact with any
heated surface of the appliance.
Use charcoal or any other solid fuel in this
appliance.
Disconnect any gas fittings while the
appliance is in use.
Use a rusty or dented gas cylinder with a
damaged gas valve.
Table of contents
Other GREADEN Grill manuals
Popular Grill manuals by other brands

Vision grills
Vision grills Kamado S-Series owner's manual

Char-Broil
Char-Broil PERFORMANCE PRO Series Assembly guide

stockli
stockli PizzaGrill Party operating instructions

George Foreman
George Foreman Grand Champ GR1212CAN use and care manual

Molteni
Molteni Salamandre Specifications

Ultra chef
Ultra chef UC275 owner's manual

Kenmore
Kenmore ELITE 141.157941 manual

Electrolux
Electrolux 38 Stainless Steel Use & care manual

AENO
AENO EG1 user manual

recteq
recteq RT-B380 Bullseye Assembly manual and user guide

Star Manufacturing International
Star Manufacturing International 8H-6015CBZ Installation and operating instructions

Char-Broil
Char-Broil V I B E G RI DDLE 535 Product guide