Inst ll tion Instructions
For Xenon Floodlights with PIR
Model Ref: TXPIR120 (Bl ck)
& TXPIR120W (White)
This unit should be installed by a competent
person in accordance with the current IEE
Wiring Regulations. If in doubt consult
a qualified electrician.
INSTALLER - PLEASE READ THIS
INSTRUCTION MANUAL
BEFORE INSTALLING THE UNIT
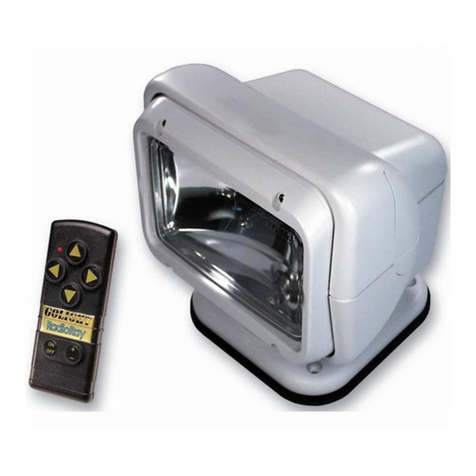
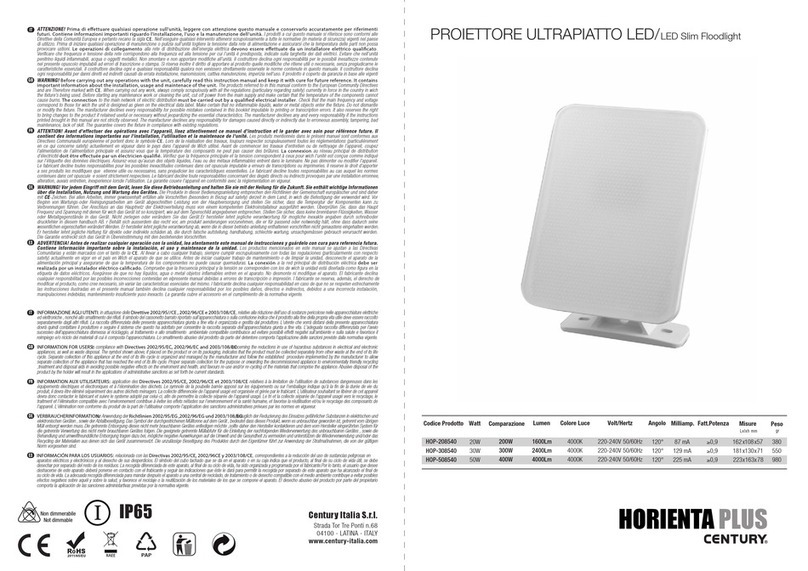
This floodlight is provided with n
infr red detector. The detector senses
‘w rmth movement’ in the surrounding
re nd when it is d rk. When movement
is detected the l mp will come on. This
fitting h s no m nu l override.
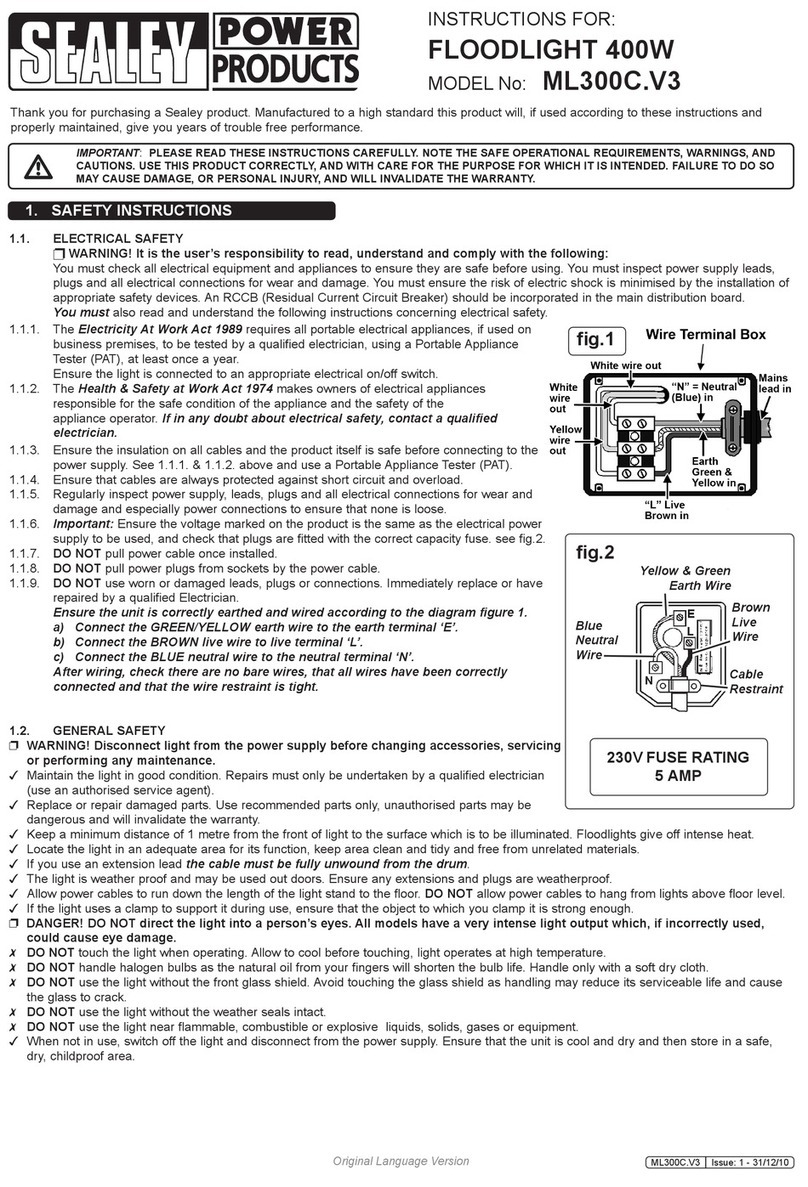
INSTALLATION
Switch the power off before inst ll tion
to prevent electric shock.
NOTE 1.
On inst ll tion try not to inst ll light
fitting close to vent such s vent
from boiler or tumble dryer s hot
ir movement c n c use the l mp to
switch on when it is not required to.
NOTE 2.
P ssing c rs (w rm engines) nd
ne rby trees nd bushes c n c use
your l mp to switch on, due to
sudden ch nge in temper ture nd
gusts of wind. Ple se be r this in
mind when deciding on where to
inst ll your light.
NOTE 3.
Do not mount the fitting in the ceiling.
NOTE 4.
Ple se ensure the dist nce between
the front gl ss of the l mp nd the
surf ce re the l mp is lighting is t
le st 1metre p rt.
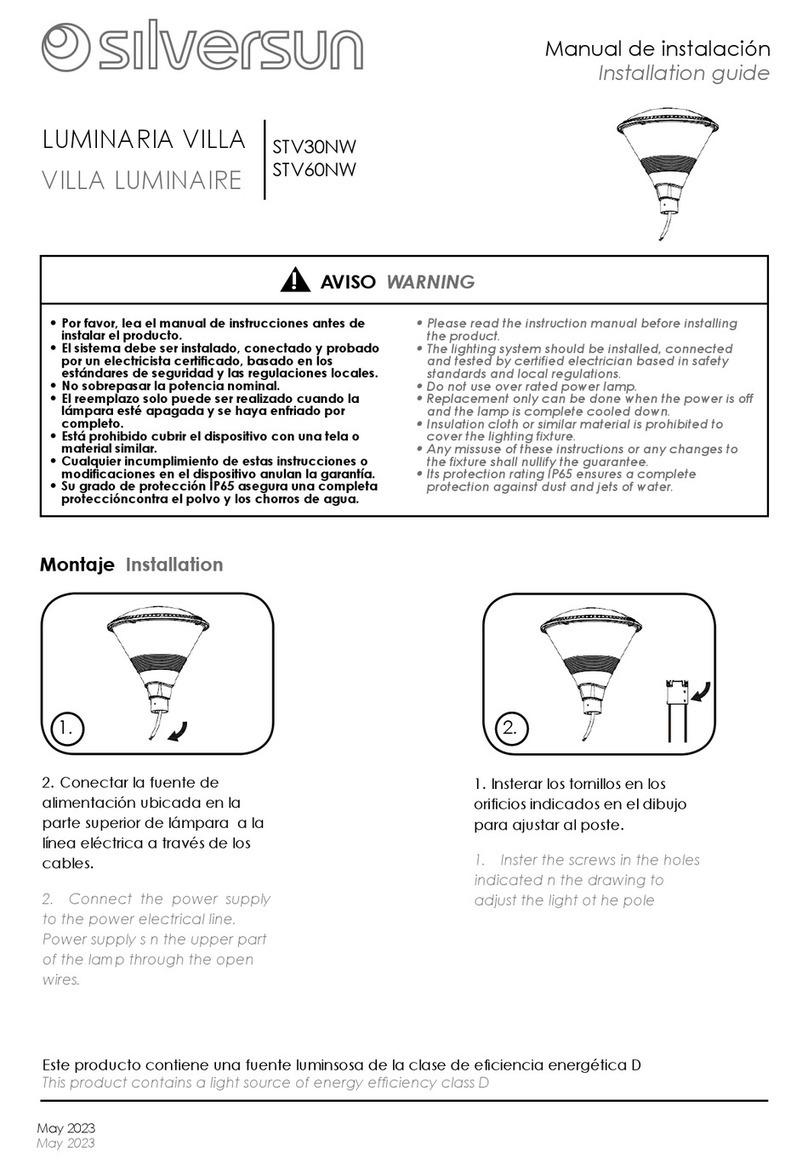
1. The l mp fitting c n be inst lled using
the three holes on the mounting
br cket. The br cket should be
horizont lly fixed. See Fig.2.
2. Loosen the supporter bolts to djust
the inst ll tion ngle of the l mp in
ccord nce with the lighting direction
needed. The lighting direction c nnot
be djusted downw rds more th n
45°,see Fig.2.
Fig. 1
Fig. 3
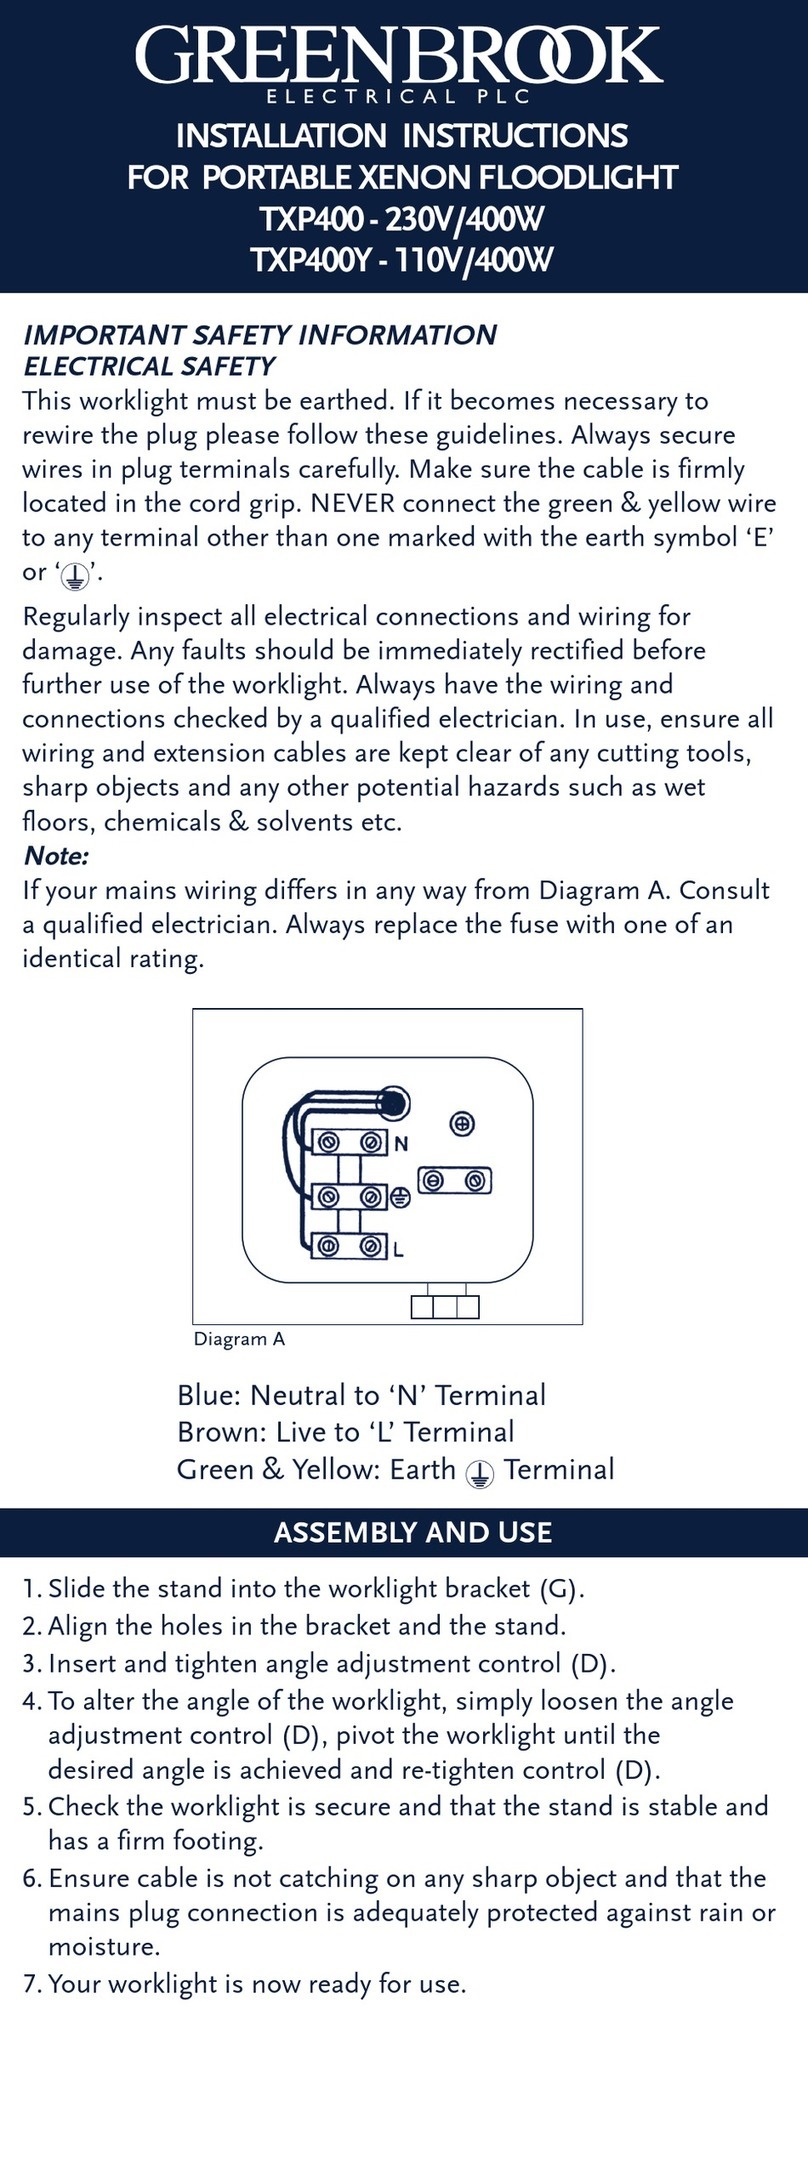
ELECTRICAL WIRING
Open the termin l box cover nd
unscrew the inlet gl nd nd remove
the se ling ring. Thre d the power
cble through the inlet gl nd nd the
se ling ring.
Live = Brown/Red
Neutr l = Blue/Bl ck
E rth = Green nd Yellow
Insert the wire ends into the termin l
block nd then tighten them. Repl ce
the box cover, screw in the inlet
gl nd together with the se ling ring.
INSTALLING THE LAMP TUBE
1. Unscrew the bolt nd open the gl ss
holder. Fit the tube into the tube
socket. Keep the w terproof rubber
p d in its origin l position nd close
the gl ss holder with the bolt.
2. When repl cing the l mp - isol te
the fitting from the supply before
opening the gl ss front. If the l mp
w s recently turned off do not touch
the l mp tube with b re h nds.
Ple se follow l mp m nuf cturers
instructions when fitting the l mp.
3. If gl ss cover becomes cr cked,
repl ce immedi tely before using the
l mp g in.
OPERATION
The infr red detector is equipped with
two djusting controls, see Fig.3. below.
Time Control
The time djustment control djusts
the lighting period of the l mp fter the
detection of movement. This period is
djust ble from 9secs to 10 mins. Turn
the control clockwise to incre se the
lighting period nd nti-clockwise to
reduce the lighting period.
Fig. 2
TXPIR120 Ins ruc ions final:Layou 1 17/6/13 12:02 Page 1
