Greenlee Textron / Subsidiary of Textron Inc. 94455 Boeing Dr., Rockford, IL 61109-2988 815/397-7070
HG3505A / 42303 Portable Power Unit
Operation (cont’d)
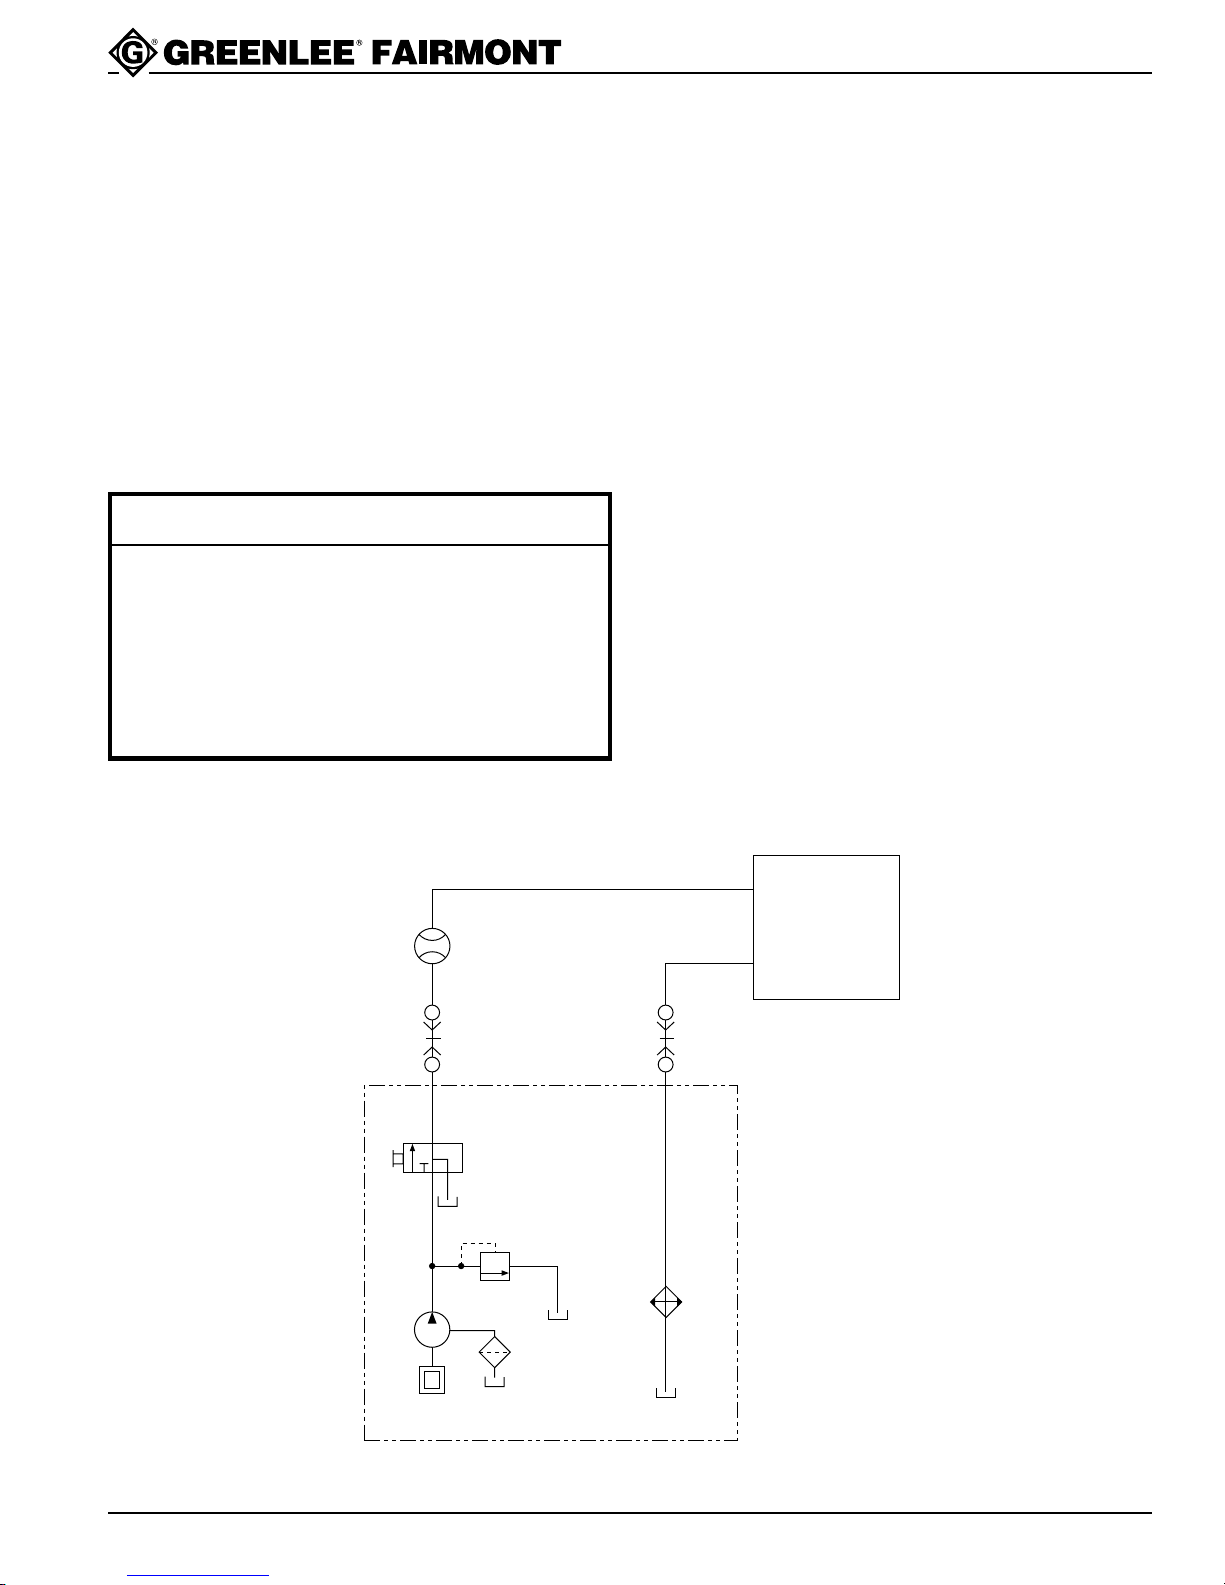
IMPORTANT
Position the power unit on firm level ground.
Pre-Start
1. Check the engine oil level. Refer to the engine
Operating and Maintenance Instructions for the
correct oil type and checking instructions.
2. Check the fuel level. Operating and Maintenance
Instructions for the fuel recommendation.
3. Check the hydraulic reservoir oil level. The hydraulic
oil should appear in the lower 1/4 of the sight
gauge.
4. Verify that all current maintenance has been per-
formed on the power unit. See Maintenance.
Connect the tool hoses and tool to the power unit.
See Hose Connections.
Starting the Power Unit
1. Pull the red bypass valve on the reservoir UP.
2. Set ignition switch to the ON position, and throttle
lever to the START position.
3. Before pulling starter cable, set choke lever to the
CLOSED position if engine is cold, or to HALF
OPEN position if engine is warm.
4. Pull starter cable slowly until some resistance is felt.
Return to starting position, then pull starter cable
out quickly.
Note: If the engine does not start after three attempts,
set choke lever to the OPEN position, to avoid
flooding the engine. Be sure the ignition switch is
in the ON position, and throttle lever is in START
position.
5. After the engine has started, return the choke lever
to the OPEN position, and allow the engine to warm
up for 3-5 minutes without moving the throttle lever.
The efficiency of any hydraulic unit will be reduced
in cold weather if the unit is operated with cold oil.
It is recommended that the power unit be allowed to
warm up before operating any tool.
6. After the engine is warmed up, engine speed can be
controlled by the throttle lever. Move the throttle
lever up, running the engine at full speed.
7. To direct oil to the tool, push the red bypass valve
on the reservoir DOWN.
Stopping Procedure
1. Pull red bypass valve on the reservoir UP to stop
the flow of oil to the tool.
2. Move the throttle lever DOWN to idling speed. Allow
the engine to idle for a moment. Turn ignition switch
to the OFF position.
Note: Do not store unit with fuel in the tank for long
periods of time. Refer to storage procedure in
Kawasaki Engine Service Manual.
Emergency Stopping
In case of an emergency, such as a fire, stop the engine
immediately by turning the ignition switch to the OFF
position.
Lifting the Power Unit
Use appropriate lifting equipment. Make sure all
components used to lift this power unit are rated for
100 lbs (46 kg) and are securely attached between
the power unit and lifting equipment. Inadequate
components may fail and cause the power unit to
fall, resulting in injury or property damage.
Stop the power unit engine before lifting. Take care
when attaching the lifting device (chain, strap, etc.) to
the lifting eye so as not to damage the power unit.