Grid PORSCHE 911 GT3 CUP User manual

INSTRUCTION MANUAL
PORSCHE 911 GT3 CUP
DASHBOARD DISPLAY UNIT
VERSION 1.0
Last updated: 28-10-2022

2|2 17
BEFORE YOU START:
Thank you for your purchase. In this manual we will provide you with the means to
get started using your new dash!
Porsche 911 GT3 Cup
Dashboard Display Unit
Features:
10.3” 1920x720 LCD
Contrast ratio 1000:1
60 FPS
24-bit Colors
24 full RGB LEDs
Multiple software options
Porsche licensed
Mounting the dash is very easy thanks to the included mounting brackets.
We offer a wide range of support for most popular hardware.
In this manual we only display the two mounting brackets included with the dash.
Please review our website to determine which mounting bracket fits your hardware.
Remote control
Included is a simple remote control. Batteries are not included. This is only used
when the screen has gone in hibernation mode. Press the home button to
wake the display up.

3
| |317 17
A10
Mounting the dash
To be able to mount the dash on the hardware of your choice, we provide several
mounting brackets. Which ones you have received may depend on your purchase
and may be different from the following ones we show. However, mounting is all
more of the same. With the instructions for the two included brackets, you should be
able to mount any specific ones for your hardware.

4|4 17
A7
A8
OSW/SC/VRS
Replace the existing upper bolts which hold the motor in place with the countersunk
ones included (A8). Use these bolts, including existing washers and locknuts to fix the
mounting bracket to the front mount.

5
| |517 17
A9
A6
Fanatec DD1/DD2
Locate the accessory mounting holes on your Fanatec hardware and use the two
bolts (A9) from our supplied hardware kit.

6|6 17
SimHub installation
To control the LEDs of the dash, SimHub can be used.
Download the lastest version of SimHub from https://simhubdash.com
Installation
Unzip the downloaded file and run the setup file:
Press ‘Next’.

7
| |717 17
Specify the location where to install the software:
Press ‘Next’.
Make sure all options are checked:
Press ‘Next’.

8|8 17
Press ‘Install’.
After installation press ‘Finish’.

9
| |917 17
SimHub configuration
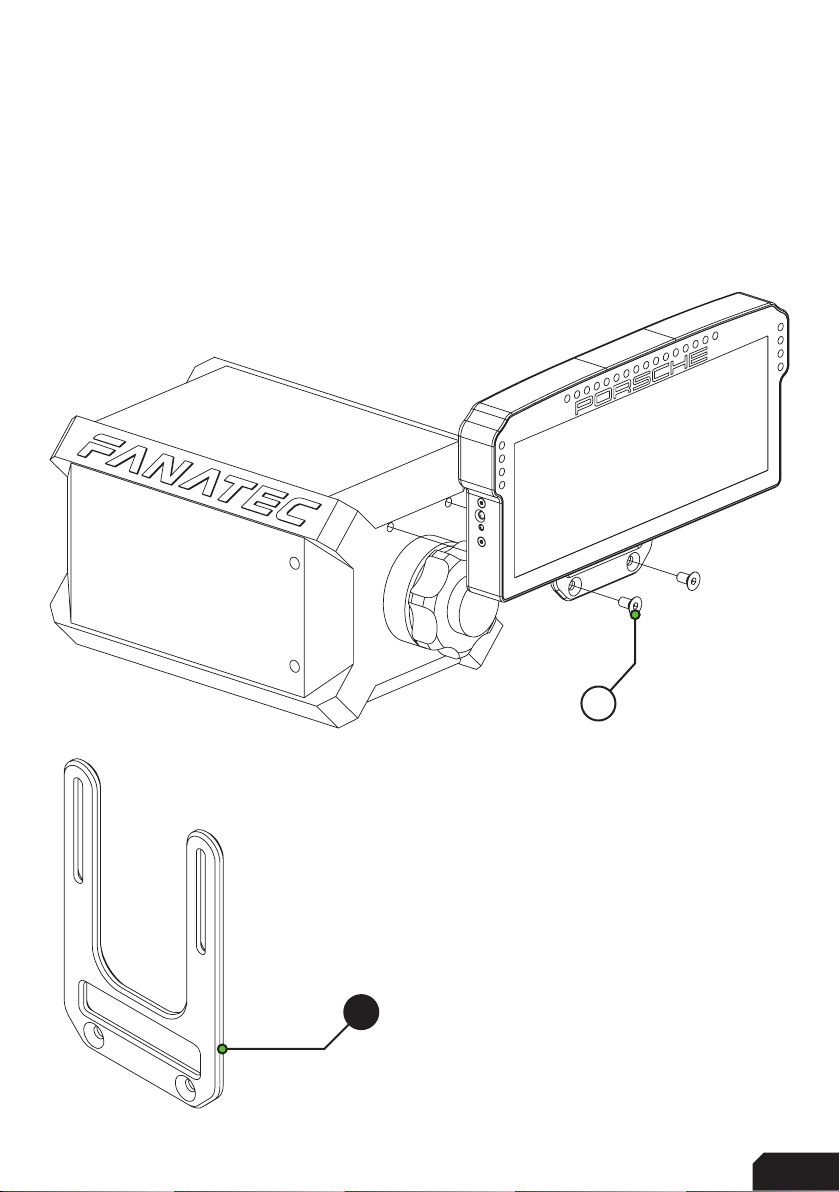
If you haven’t connected the dash with the supplied USB cable to your computer, this
is required from this point forward. Also, don’t forget to plug in the power supply.
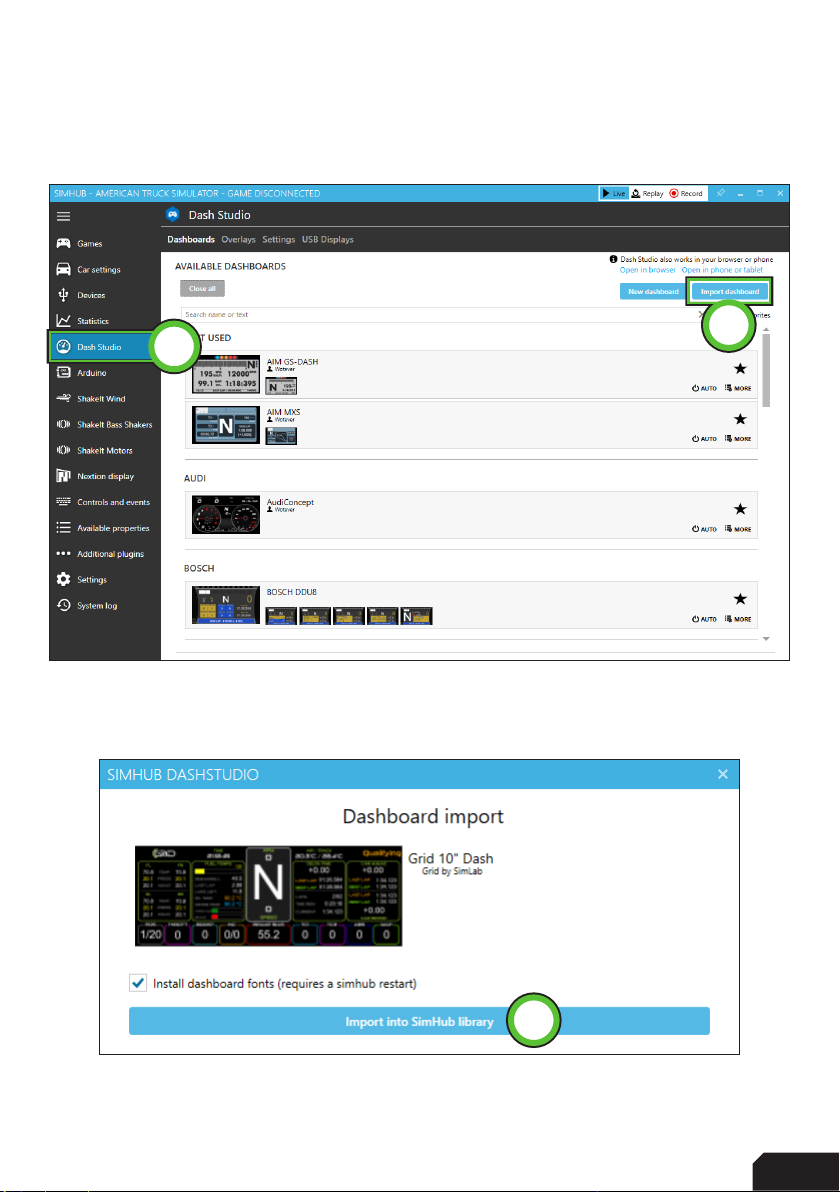
Since this product offers a significant increase in screen space, we created a dash-
board layout ourselves. This way you can enjoy the DDU10 the way it is meant to be.
GRID 10” dashboard download:
Preparation
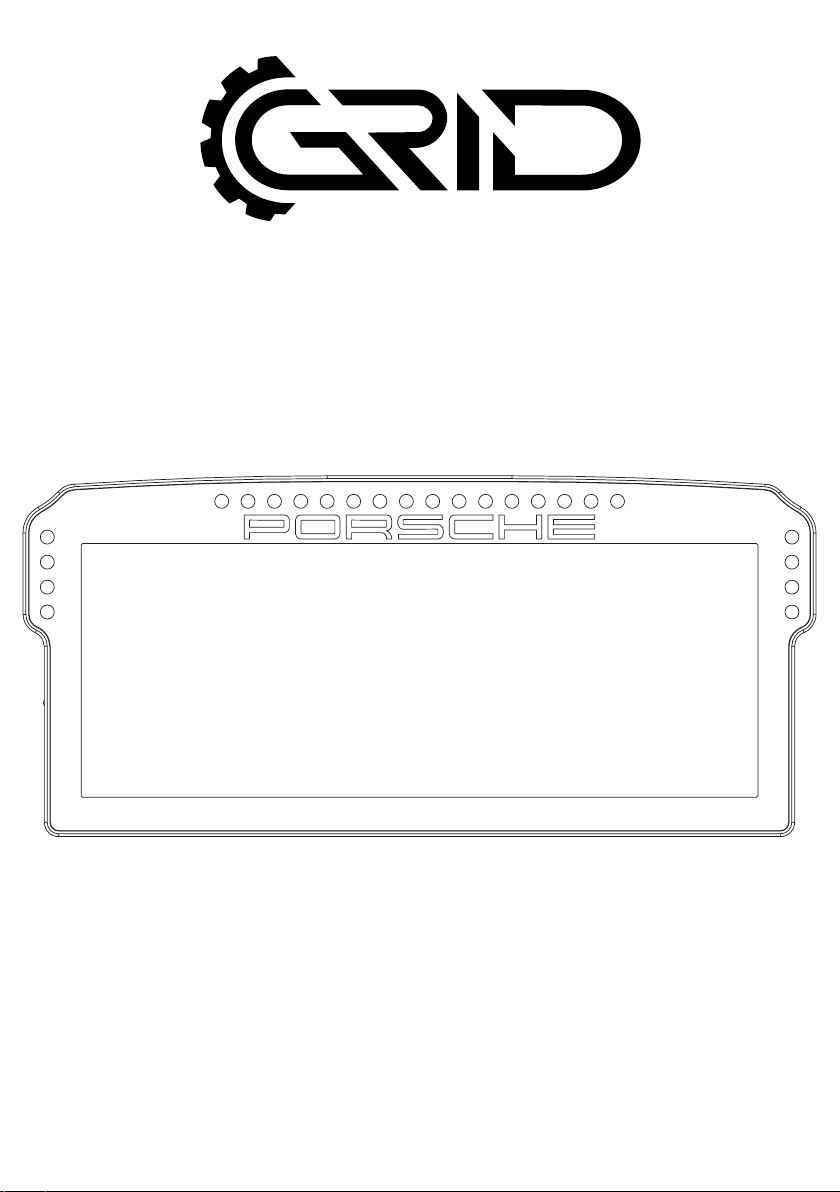
This dash isn’t just any dash, it’s an actual monitor! That means running a dashboard
on it almost couldn’t be easier and is almost literally, plug and play.
Just be sure to ‘extend’ from your desktop. Press ‘windows-key’+p and press
‘Extend’, now you can use the DDU10 as a monitor. On to SimHub.

10 |10 17
12
3
Dashboards
If you don’t see the same or similar page layout after opening SimHub, please
press ‘Dash Studio’ (1).
To import the GRID dash, press ‘Import dashboard’ (2), find your download location
and press open.
Press ‘Import into SimHub library’ (3) to complete the process.

11
| |1117 17
4
3
1
2
In the searchbar (1), type ‘grid’ to find the new dashboard. We suggest making this
one a favorite (2). Hover over the dashboard thumbnail and press ‘Start’ (3).
A popup will appear, select ‘On specific monitor’ (4).
Choose the target monitor and press ‘OK’ to confirm.

13
| |1317 17
1
Here we can manage LED profiles.
Press the ‘Profiles manager’ (1) option and proceed to the next page in this manual.
.

14 |14 17
3
2
Press the import profile icon (2).
Browse to the location where you stored the LED profile, select it and press ‘Open’.
The load the profile, make sure it is selected (DDU profile) and press ‘Load’ (3).

15
| |1517 17
Changing the LEDs’ functions.
To change the LED effects you need to know the LED numbering of the dash. The
numbering starts at the bottom left and continues clockwise to the bottom right.
See the image below for reference:
There should be enough info in the provided LED profile to be able to adjust to your
liking. Just keep in mind, you mostly need two values. The number of the LED where
you want an effect to start, and the amount of LEDs to use for said effect (in a clock-
wise direction).
For further assistance and more information on effects, please see the SimHub
documentation.
1
242
3
4
5 6 7 8 9 10 11 12 13 14 15 16 17 18 19 20
24
2423
22
21

16 |16 17
HDMI-IN
IR-SENSOR POWER-LED
DC-POWER USB
Inputs and indicators
Since this dash is a bit more involved than our usual products, we will show the
layouts for the input and indicator sections of the dash.
Bottom - Inputs
Side - Indicator LEDs

17
| |1717 17
Bill of materials
More information
If you still have some questions regarding assembly of this product or about the
manual itself, please refer to our support department. They can be reached at:
Alternatively, we now have Discord servers where you can hang out or ask for help.
www.sim-lab.eu/discord / www.gridbysimlab.com/discord
Product page on the
GRID by Sim-Lab website:
IN THE BOX
#Part QTY Note
A1 Porsche 911 GT3 Cup DDU 1
A2 USB B cable 1
A3 HDMI cable 1
A4 Remote control 1
A5 DC power supply 1
A6 Bracket Fanatec DD1/DD2 1
A7 Bracket OSW/SC/VRS 1
A8 Bolt M8 X 50 DIN 7991 2
A9 Bolt M6 X 12 DIN 7991 2 Used with Fanatec.
A10 Bolt M5 X 10 DIN 7991 2 To fit mounting bracket to dash.
Bill of materials
Other manuals for PORSCHE 911 GT3 CUP
2
Table of contents