GRILLWORKS Infierno 240 Tigre Quick start guide

®
Inerno 240 Tigre/166/100®
Installation & Use
A MAJOR CAUSE OF GRILL-RELATED FIRES IS FAILURE
TO MAINTAIN REQUIRED CLEARANCES (AIR SPACES)
TO COMBUSTIBLE MATERIALS. IT IS OF UTMOST
IMPORTANCE THAT THIS GRILL BE INSTALLED ONLY
IN ACCORDANCE WITH THESE INSTRUCTIONS.

INTRODUCTION
INSTALLATION
GETTING STARTED
FUEL & COOKING
CLEANING
COMPONENTS
MAINTENANCE
3
4
6
7
9
10
11
e Inerno 240 Tigre, Inerno 166 and 100 are designed to provide the ultimate
stages for wood-red exibility, performance and showmanship. Operated and
cared for correctly these units will thrill chefs and guests alike. ere is no more
powerful live-re statement than an Inerno in a show kitchen.
In this guide you’ll nd recommendations for transport, preparation, operation
and care of these two agships. Please read every word here and ensure everyone
working around the grill does too—rewarding Inerno operation is dependent
on a skilled and informed restaurant team. Take care also to follow local codes
regarding solid fuel installations and food safety guidelines.
If you have any questions or comments about your Inerno do not hesitate to
call or email us. We want to hear from you.
Best regards,
Benjamin Eisendrath
President & CEO
orders@grillworks.com / (855) 434-3473
Infierno 166
Inerno 240 Tigre/166/100®
Installation & Use

INTRODUCTION 3
INSTALL AND USE ONLY IN ACCORDANCE WITH GRILLWORKS INSTALLATION AND
OPETING INSTRUCTIONS.
Contact your local building or re ocials about restrictions and installation inspections
in your area.
IF THE INFIERNO IS IMPROPERLY INSTALLED A FIRE MAY RESULT. FOLLOW
THE INSTALLATION MANUAL TO REDUCE RISK.
FOR USE WITH SOLID FUEL ONLY. KEEP FLAMMABLE ITEMS CLEAR OF THE
AREA AROUND THE GRILL: Do not store ammable liquids such as gasoline, kerosene
or lighter uids in the vicinity of the Inerno. Always keep the area around it free and clear of
any and all combustible materials.
MAINTENANCE AND SERVICE SAFETY: Improper installation, adjustment, alteration,
service or maintenance can cause property damage, injury or death. Read the installation,
operating and maintenance instructions thoroughly before installing, operating or servicing
this appliance.
WARNING: Never use gasoline, kerosene, lighter or lantern uid or similar accelerants to start
or maintain a re in this grill. Keep all such items well away from the grill when in use.
IMPORTANT: is grill must be installed, maintained, operated and serviced by authorized
professionals.
A MAJOR CAUSE OF GRILL RELATED FIRES IS A FAILURE TO MAINTAIN REQUIRED
CLEANCES TO COMBUSTIBLE MATERIAL. IT IS CRITICAL THAT THIS GRILL BE
INSTALLED IN ACCORDANCE WITH THESE INSTRUCTIONS.
USE SOLID FUEL ONLY DO NOT USE PRODUCTS NOT SPECIFIED FOR THIS GRILL.
READ ALL INSTRUCTIONS BEFORE INSTALLING AND USING THIS APPLIANCE
SAVE THESE INSTRUCTIONS
Infierno 166

INSTALLATION 4
UNLOADING & MOVING
Using a Crane
e Inernos are modular and travel in large crates. e
modules may be lied while still in the crates using straps rated
to at least 5,000 lbs. ey also may be lied aer the crate is
removed using the same type of straps. e modules are very
top and backheavy due to the large amount of re brick lining
the oor and back. TAKE THIS WEIGHT DISTRIBUTION
INTO ACCOUNT WHEN LIFTING THE GRILL.
Using a Forklift
You may use a pallet jack once the Inerno been removed
rom the delivery vehicle. Whether inside or removed from
the crate, make sure to li from the back, positioning the jack
under the center of the grill spread as wide a possible. TAKE
WEIGHT DISTRIBUTION INTO ACCOUNT. e grill
weighs over 5,000 lbs, make sure the forkli is rated to li well
in excess of this weight.
Using a Pallet Jack
You may use a pallet jack once the Inerno has been removed
from the delivery vehicle. Whether inside or removed from
the crate, make sure to li from the back, positioning the jack
under the center of the grill spread as wide a possible. ONLY
USE ON A FLAT SURFACE MOVING THIS GRILL ON
AN INCLINE WITH A PALLET JACK IS NOT SAFE AND
CAN CAUSE INJURY OR DAMAGE TO PROPERTY OR
THE GRILL.
NEVER PUT THE INFIERNO ON ITS BACK, FRONT OR
SIDE! SIGNIFICANT DAMAGE TO COMPONENTS OF
THE GRILL CAN OCCUR. USE GREAT CARE WHEN
MOVING AN INFIERNO.
IF YOU HAVE ANY QUESTIONS OR CONCERNS
CONTACT GRILLWORKS AT (855) 434-3473. BE SAFE!
CLEARANCES
e Inerno should be installed with 2” clearance to
noncombustible materials near the back of the unit. e sides
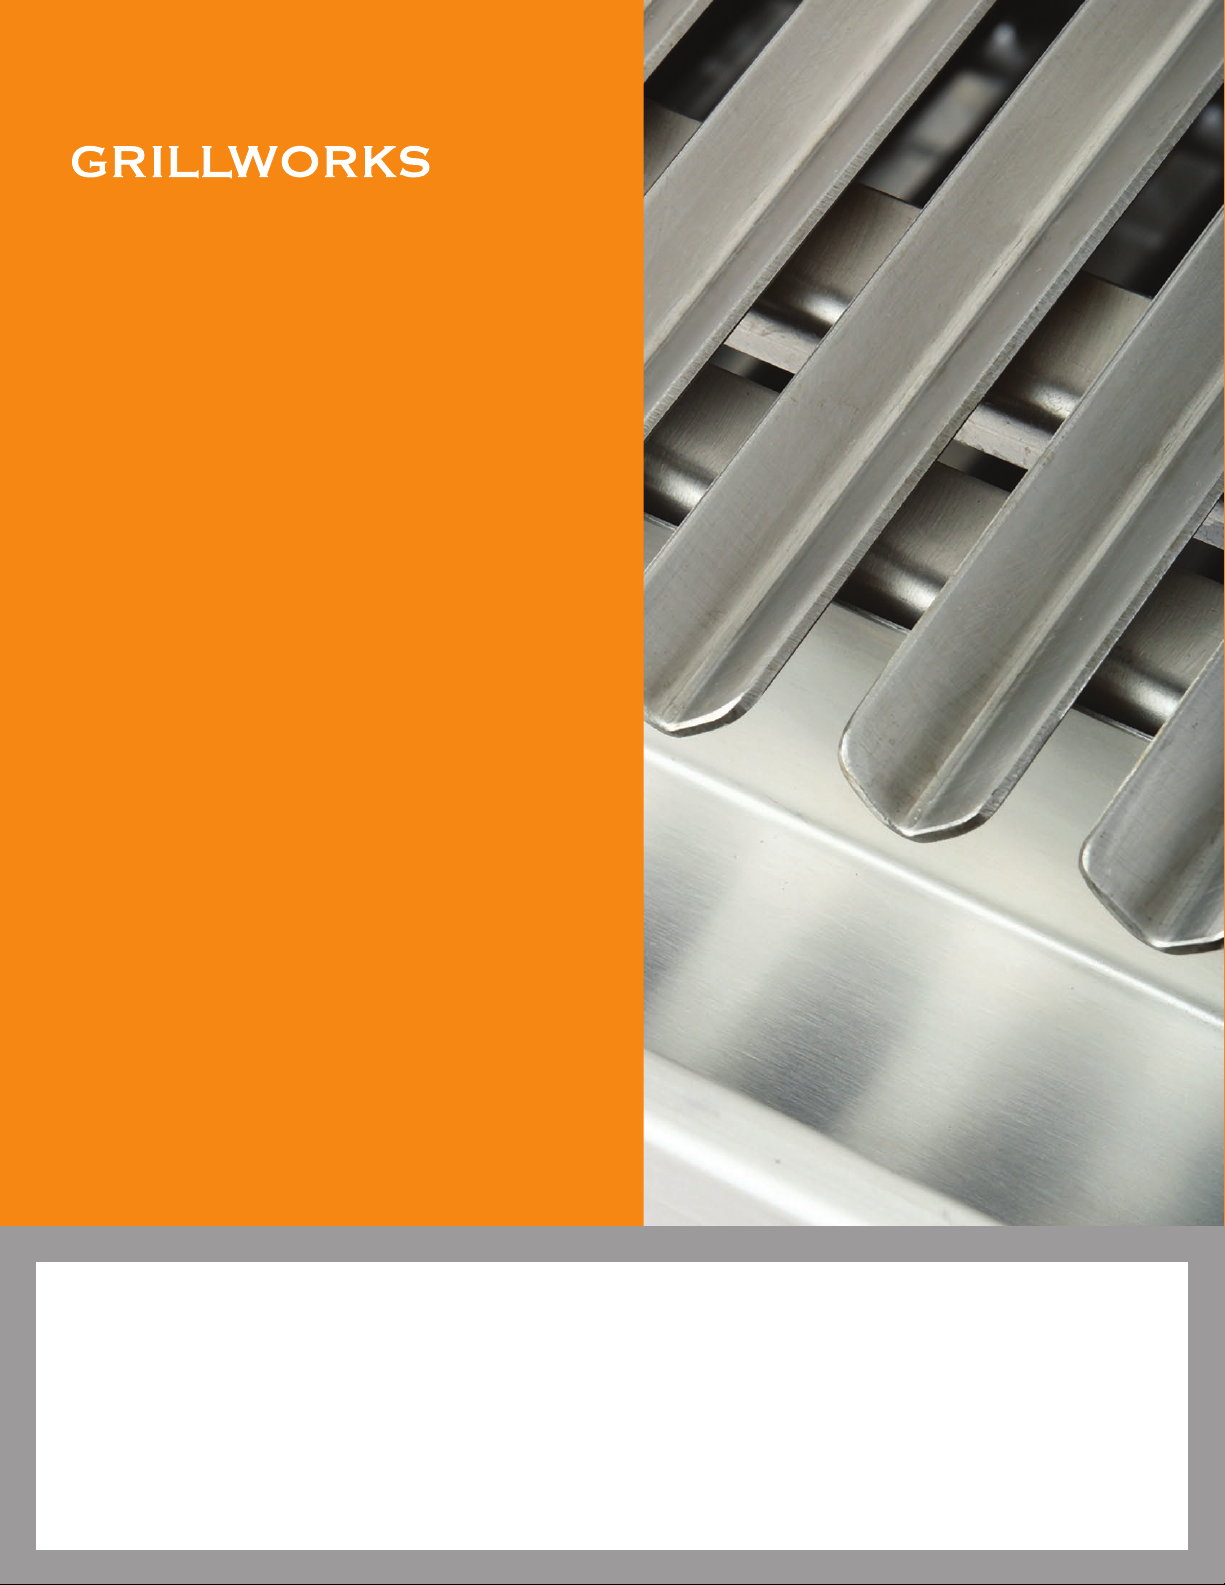
should have 6” of clearance in case the gear li system needs
to be reached (if the unit is ordered on wheels this may be
reduced to 4”) e front of the unit must have at least 36”
clearance to other equipment or walls for proper operation.
WARNING DO NOT PACK REQUIRED AIR SPACES
WITH INSULATION OR OTHER MATERIALS. e grill is
adequately insulated and the best outer insulator is free
air space.
Only install the Inerno on a non-combustible oor. is non-
combustible oor must extend at least 48” at the front of the
unit, 36” at the sides and 48” at the rear (if the grill is installed
exposed at the back). If installed as a built-in (without legs) the
base it is installed on must also be non-combustible.
THE ENTIRE AREA OVER THE INFIERNO MUST
BE NONCOMBUSTIBLE EXTENDING 48” IN ALL
DIRECTIONS (IF NOT ENCLOSED) AND THE GRILL
MUST BE INSTALLED UNDER A SUITABLE TYPE 1
SOLID FUEL HOOD SYSTEM.
ANY FACADE MATERIALS AROUND THE GRILL MUST
BE NON-COMBUSTIBLE.
IF THIS GRILL IS NOT PROPERLY INSTALLED A FIRE
MAY RESULT. A MAJOR CAUSE OF GRILL RELATED
FIRES IS A FAILURE TO MAINTAIN REQUIRED
CLEANCES (AIR SPACES) TO COMBUSTIBLE
MATERIALS. IT IS CRITICAL THAT THE
INFIERNO GRILL BE INSTALLED BY A QUALIFIED
PROFESSIONAL AND ONLY IN ACCORDANCE WITH
THESE INSTRUCTIONS. WARNING: DO NOT PACK
AIR SPACES AROUND GRILL WITH INSULATION.
ALERT: Installation, operation and servicing of this
appliance can expose you to ceramic dust. ALWAYS
WEAR PROTECTIVE EYEWEAR AND RESPITORY
PROTECTION AS A PRECAUTION AGAINST
INHALATION OR EYE INJURY.
Inerno 240 Tigre/166/100®
Installation & Use

INSTALLATION 5
HAND PROTECTION IS ALSO RECOMMENDED
AGAINST POSSIBLE SHARP EDGES. Please read this
entire manual before you install the grill. Failure to follow
the instructions may result in property damage, bodily injury
or death. Contact your local building or re ocials about
restrictions and installation inspection in your area.
PLEASE READ THIS ENTIRE MANUAL BEFORE
YOU INSTALL THE INFIERNO GRILL. FAILURE
TO FOLLOW INSTRUCTIONS MAY RESULT IN
PROPERTY DAMAGE, BODILY INJURY OR EVEN
DEATH. CONTACT YOUR LOCAL BUILDING OR
FIRE OFFICIALS ABOUT RESTRICTIONS AND
INSTALLATION INSPECTION IN YOUR AREA.
VENTING
THIS COOKING EQUIPMENT IS TO BE INSTALLED
UNDER AN EXHAUST HOOD TESTED FOR
COMPLIANCE WITH THE STANDARD FOR
VENTILATION CONTROL AND FIRE PROTECTION
OF COMMERCIAL COOKING OPETIONS NFPA 96
OR WITH THE REQUIREMENTS IN THE STANDARD
FOR EXHAUST HOODS FOR COMMERCIAL
COOKING EQUIPMENT, UL 710.
As with all solid fuel cooking equipment and ductwork,
REGULAR DUCTWORK CLEANING IS CRITICAL TO
PREVENT FIRE.
A re suppression system (ANSUL) is required for the
Inerno grill. Refer to local and national requirements to
determine the system required for your installation of this grill.
Creosote—Formation and need for removal: When wood or
charcoal (SOLID FUEL) is burned slowly, it produces tar and
other organic vapors that combine with expelled moisture to
form creosote. e creosote vapors condensein the relatively
cool exhaust. As a result, creosote residue accumulates on the
ue lining and exhaust hood. THIS CREOSOTE BUILDUP
CAN IGNITE. IF IGNITED THIS CAN CREATE AN
EXTREMELY HOT AND DANGEROUS FIRE. Creosote
build up should be removed regularly to reduce the risk of re.
CANADA:
THIS COOKING EQUIPMENT IS TO BE INSTALLED
UNDER AN EXHAUST HOOD TESTED FOR
COMPLIANCE WITH THE NATIONAL BUILDING
CODE OF CANADA AND THE NATIONAL FIRE CODE
OF CANADA, OR WITH THE REQUIREMENTS IN CAN/
ULC-S646.
CET APPAREIL DE CUISSON DOIT ETRE POURVU
D’UNE HOE D’ASPITION QUI A ETE SOUMISE A
L’ESSAI AUX FINS TO CONFORMITE AVEC LE CODE
NATIONAL DU BATIMENT DU CANADA ET LE CODE
NATIONAL DE PREVENTION DES INCIENDIES DU
CANADA OU AVEC LES EXIGENCES DE LA NORME
CAN/ULC-S646.
CONTACT LOCAL BUILDING OFFICIALS OR
FIRE OFFICIALS ABOUT RESTRICTIONS AND
INSTALLATION INSPECTION IN YOUR AREA.
COMMUNIQUER AVEC LES AGENTS DU BATIMENT
OU LES AGENTS D SERVICE D’INCENDIE AU SUJET
DES RESTRICTIONS ED DE L’INSPECTION DE
L’INSTALLATION DANS LA REGION.

Inerno 240 Tigre/166/100®
Installation & Use
GETTING STARTED 6
GETTING STARTED
DO NOT OVERFIRE—WHEN FLAME SPILLS OUT OF
THE GRILL YOU ARE OVERFIRING.
Do not use products not specied for use with this grill.
In order to produce the most consistent results and get the
most out of the exible design of the Inerno, you’ll need a
good re. ere are two approaches to starting that re.
Fire Cage Ignition
e Inerno is equipped standard with rear-mounted re cages
behind the grill stations.
is cage is based on the South American “brasero” which is
a basket used to burn whole pieces of wood down to charcoal.
Load the re cage with paper, kindling and smaller pieces of
wood in that order from the boom LOOSELY to ensure good
air ow. You may also use natural starters like “Fat Wood” or
other nontoxic solid fuel starters in the re cage. Place a few
more pieces of wood and/or chunk charcoal underneath the
cage. is fuel will be ignited by the coals that will begin falling
out of the boom of the cage once it is going. Light the cage
from the boom and feed it larger pieces of wood as the re
progresses. e combination of coals produced by the cage
and the coals/wood ignited underneath the cage will fuel
the Inerno’s re bed. Rake them forward under the cooking
surfaces when you are ready to cook.
WARNING: THE FIRE CAGE PRODUCES A POWERFUL
VERTICAL BURN. FLAME SHOULD NEVER EXTEND
HIGHER THAN THE TOP OF THE GRILL’S FIRE BRICK
BACK. MAINTAIN A SMALL FIRE TO REDUCE THE
POTENTIAL FOR EMBER ESCAPE AND TO PREVENT
TRIGGERING YOUR ANSUL SYSTEM.
Conventional Ignition
e Inerno can also be lit like a traditional solid fuel grill
by starting the cooking re on the hearth under the cooking
surfaces. Using paper, kindling and smaller pieces of wood,
build the re over the ash grates in the middle of the Inerno’s
brick oor, they will aerate the young re. You may use
natural starters here too, like Fat Wood or natural starter
bricks. Charcoal chimneys (found in many hardware stores)
are also a good way to build a quick hot coal bed if not using
the re cage.
TIP: It is recommended that the Inerno be lit at least one
hour before cooking to ensure the grill’s re box and brick has
come up to uniform temperature.
If your Inerno is equipped with a Blanco Oven, this is lit
underneath, or you may move coals from one of the anking
grill stations under it. Push the coals and re to the back near
the intake vent at the rear of the oven.

FUEL & COOKING 7
SOLID FUEL: WOOD VS CHARCOAL
Both wood and charcoal are instrumental in running a
successful cooking re in the Inerno.
Dry charcoal burns slowly over a long period, and is a reliable
source of heat, but will not add much in the way of avor to
what is cooked over it.
Well seasoned (10-15% moisture content) wood will burn
relatively quickly and produce a moderate amount of avorful
smoke. You should consider the whole wood you burn to be
the “seasoning” heat. e moisture le in the wood is what
will carry the unique avor of the wood type being used to the
food and ultimately the diner.
In a restaurant seing, balance the use of high quality chunk
charcoal with a supply of excellent whole wood to achieve
both steady heat and high avor. Consumption levels for
both types of fuel can vary widely as the Inerno allows open
air ow. e operator can control this by using more or less
charcoal, building smaller res, or lighting only a single grilling
station when less cooking area is needed.
THE INFIERNO LIFT SYSTEM
e Inernos have two or four crank wheel-controlled grilling
stations. Cast aluminum wheels raise and lower the grilling
frames through a wide vertical range over the re to control
cooking temperature. To raise the le frame the wheel is
turned counterclockwise. e right frame is raised by turning
the wheel clockwise.
e Inerno X li system is comprised of a chain drive that
is turned by the crank wheel, which in turn engages a vertical
worm gear housed in the side of the Inerno body. is
system raises and lowers the grill frames and holds them at
innite height levels—no catch or levers are required, you
simply crank up or down until the desired height over the
re is reached, then let go. A brass height indicator shows
the operator what level the grill surface has reached so this
information can be easily recorded for future repeatable
results or to communicate correct seings to another cook.
e indicator is marked 1-10.
Chain and indicator with chain guard in place.
Chain and indicator system with chain guard removed.

COOKING ZONES
Air ow in the Inerno comes in from the front and up
through the re grates in the hearth base. is creates three
distinct heat zones on the grilling surfaces, front to back. e
dierence in heat on the surface just a few inches forward or
back can be dramatic.
Note: because the operator has a very large height range
available for the cooking surfaces, temperatures can be
controlled through a near-innite range. e zones below are
based on the grill surfaces positioned 4-8” above a wood/
coal bed. For precise readings on surface temperature we
recommend noting the temperature readings at the various
height indicator levels (1-10) when the grill is underway,
as every ventilation system varies in air ow and therefore
temperature. A guntype infrared thermometer should be on
hand at all times.
Basting Pans
Each grill surface empties into a removable basting pan
aached to the front of the li frame via a keyhole system, OR
if equipped with our high volume funnel drain the juices will
be directed into the oor slit. e V-Channel standard surfaces
capture oils and juices to reduce aring and to deliver them to
the pans for use in basting and sauces, or into the oor catch
for removal. MAKE SURE THE PICKUP CONTAINER
IS POSITIONED TO CATCH THE OILS.
Low Heat Zone
e front of the grilling surfaces, closest to the operator, are
the warm zone. Under normal cooking circumstances, with the
grill red and running, this area comprising the rst six inches
of grill surface will be 200-300 degrees Fahrenheit when set
4-8” above the coal/wood bed.
Medium Heat Zone
e center of the grill surface, the six inches positioned more
completely over the bulk of the re bed will range from 300-
600 degrees at 4-8” high.
Searing Zone
e rear six inches of the grilling surfaces, closest to the rear
wall of the grill and to the re cage, will be the hoest area,
both because of their positioning and the ow of hot air up the
rear wall of the grill. At 4-8” over the re, this area will produce
very high heat, ranging from 600-900 degrees depending on
the intensity of the re.
Surface Cooling
Once a grill surface is raised further from the re, for example
to rest an item, it will cool quickly. Remember this when
lowering it again for high heat the stainless will need a couple
minutes to come back up to searing temperatures.
FUEL & COOKING 8
L
M
S
Inerno 240 Tigre/166/100®
Installation & Use
L
M
S

CLEANING 9
CLEAN UP
WARNING DO NOT QUENCH HOT GRILL WITH
WATER. e Inerno’s grill surfaces and basting pans all li
o for cleaning. ey are 304 stainless steel and can be washed
by hand or in a commercial dishwasher. If using a dishwasher,
the grill surfaces should be re-oiled (seasoned) again before
cooking as they will be dry aer going through the machine.
Ash collects in the drawers below the rebrick base. e ash
falls through the re grates placed in the re brick. WAIT
UNTIL THE GRILL HAS COOLED BEFORE EMPTYING
THE ASH DWERS.
Disposal of ashes—ashes should be placed in a metal
container with a tight-ing lid. e closed container should
be placed on a non-combustible oor well away from all
combustible materials pending nal disposal. e ashes
should be retained in the closed container until all cinders
have thoroughly cooled.
Excess grease or ash buildup around the grill’s moving parts
and external surfaces should be wiped o once the grill has
cooled. If a drainage container is in use then it should be NSF
approved, closed and removed and disposed of every day.

COMPONENTS 10
Center Station / Blanco Oven
is central station is home to charcoal production or to the Grillworks
Blanco Oven depending on how the unit was equipped at order. If open,
or without the Blanco, this station is used for hearth cooking and charcoal
production both directly on the hearth or using the standard re cage at the
rear. Once the station is lit, whole pieces of hardwood are placed in the cage
to break down into coals to rake forward. WARNING: NEVER ALLOW
THE FLAME LEVEL TO EXCEED THE HEIGHT OF THE STATION!
If your Inerno includes a Blanco Oven, then re and coals are built in front
of the oven then pushed back toward the intake vent at the rear to power it.
Grill Station
Operated by an aluminum crankwheel, each li frame carries two swappable
grill surfaces. Heat is controlled both by grill surface height and by direct
manipulation of the re on the hearth below. FOLLOW LUBRICATION
INSTRUCTIONS FOR THE GEARBOX, VERTICAL SCREW AND
ROLLERS (pages 12-14) AWAYS CHECK THAT TVEL IS SMOOTH
BEFORE OPETION.
Resting Shelf
A resting shelf with a drop-in bar surface is positioned over each grill station.
is area can be used for resting, elevated smoking or for warm storage. e
bars are designed to take hooks for suspending items over the grill station.
Grill Station Fire Cage
Each grill station has its own re cage. ese can be used to provide extra
coals and re directly to the grill station. WARNING: KEEP FLAME LEVEL
BELOW THE TOP OF THE GRILL STATION FME.
Ash Drawers
Each grill station has an ash grate embedded in the re brick oor. is
aerates the re above and allows ne ash to fall safely into the ash drawer
below. When full the drawer can be removed for easy emptying.
Hearth Zone/Heat Door
e Inerno is designed to give chefs as large expanse of brick hearth to
use as an improvisational baking or broiling area as possible. e brick is well
suited to pot placement or direct-coal cooking. A drop-down door is hinged
to the front of the hearth. When closed it provides additional heat protection
for the operator. When open the door serves as a long staging zone or shelf.
Make sure the hinge area is clean and clear before closing the door.
Drop-down Door Hinge and Heat Shield
e front of the Inerno’s hearth is shielded by a brick-lined barrier and a
hinged drop-down door, which doubles as a work shelf or staging area
when open as shown.
Infierno 100
KEEP THESE INSTRUCTIONS
Inerno 240 Tigre/166/100®
Installation & Use

MAINTENANCE 11
MAINTENANCE & CARE
e Inerno’s body is constructed entirely in 304 stainless
steel. e tubular main frame is 2”x2” in 11 gauge. e side
and boom panels are 7 gauge. e back plate is 7 gauge. e
grate supporting the re brick is 1” x 3/16 19SW4. e re
brick oor is constructed of 2.3”x4.5”x9” brick, the sides are
lined in 1.125”x4.5”x9” brick. Any brick can be individually
replaced by liing them out of the oor or loosening the back
cap at the top of the grill with a hex key.
e Inerno’s cooking system is designed for maximum
motion and exibility. All moving parts, especially the li
systems, need to be checked for free motion BEFORE EVERY
USE. Ash and other normal side-products of cooking and re
can build up on the tracks the li system travels on and can
impede motion if le uncleaned. If care is taken to maintain
your Inerno will thrill your dining room for years to come.

BEFORE EVERY USE check that the li system is free of debris
or excess ash and that travel is smooth. Variations in resistance
between grill stations are normal, each element is hand-made
so small tolerances can make for varying feel. If there is any
excessive resistance, questionable noises or big changes to how
the li system is functioning, call or email us for assistance.
BEFORE EVERY USE examine the brick base and the seams
between the bricks, excess build up underneath the bricks
can cause them to heave up and become uneven. If this occurs
remove the bricks on an o night and do a thorough cleaning,
replacing when done (they are removable).
BEFORE EVERY USE examine the vertical screw gear and
apply a small amount of food-safe lubricant if it is dry. Do not
over-apply, it should only appear damp.
AFTER EVERY USE make sure the hinge area between the
hearth heat shield and drop-down door is clear of anything that
could be trapped when the door is closed.
AFTER EVERY USE li out the uid collection pans and
funnels and clean thoroughly. Flush and clean the drainage
tube with disinfecting cleaner.
WEEKLY remove the top plate of the li system gear box
and check that the gears appear clean and damp with lubricant.
If dry add a small amount of food safe oil.
MAINTENANCE 12
D
D
Inerno 240 Tigre/166/100®
Installation & Use

LUBRICATION & MECHANICAL
Daily
Open the top cap and check that the gears in the main gearbox
are damp with lubrication (see recommended lube types).
Daily
Visually inspect the vertical lead screw, rollers and vertical
track—all should be free of debris and damp with lube
(add lube if dry). Clean the track with stainless steel cleaner.
MAINTENANCE 13
REGULAR LUBRICATION AND CLEANING IS CRITICAL TO LONG TERM OPERATION

Weekly
Add recommended lube to the main gearbox
(approximately 2 oz per gearbox).
Monthly
Remove chain housing and inspect drive chain, clean of any
debris, add lube if dry.
MAINTENANCE 14
REGULAR LUBRICATION AND CLEANING IS CRITICAL TO LONG TERM OPERATION
WEEKLY IMAGE NEEDED

All professional Grillworks products are
NSF listed and approved for use in food service.
KEEP THESE INSTRUCTIONS!
Infierno 240 Tigre

www.grillworks.com
orders@grillworks.com
(855) 434-3473
The Grillery®, The Grillworks®, V-Channels®, Grillworks Infierno®
and Argentine Inspired, American Made® are registered trademarks
of ® Grillworks LLC. U.S. PAT. 4,462,306, U. S. PAT. D708,889 S,
additional patents pending
Made in USA
Argentine Inspired. American Made.TM
®
This manual suits for next models
2
Table of contents
Other GRILLWORKS Grill manuals