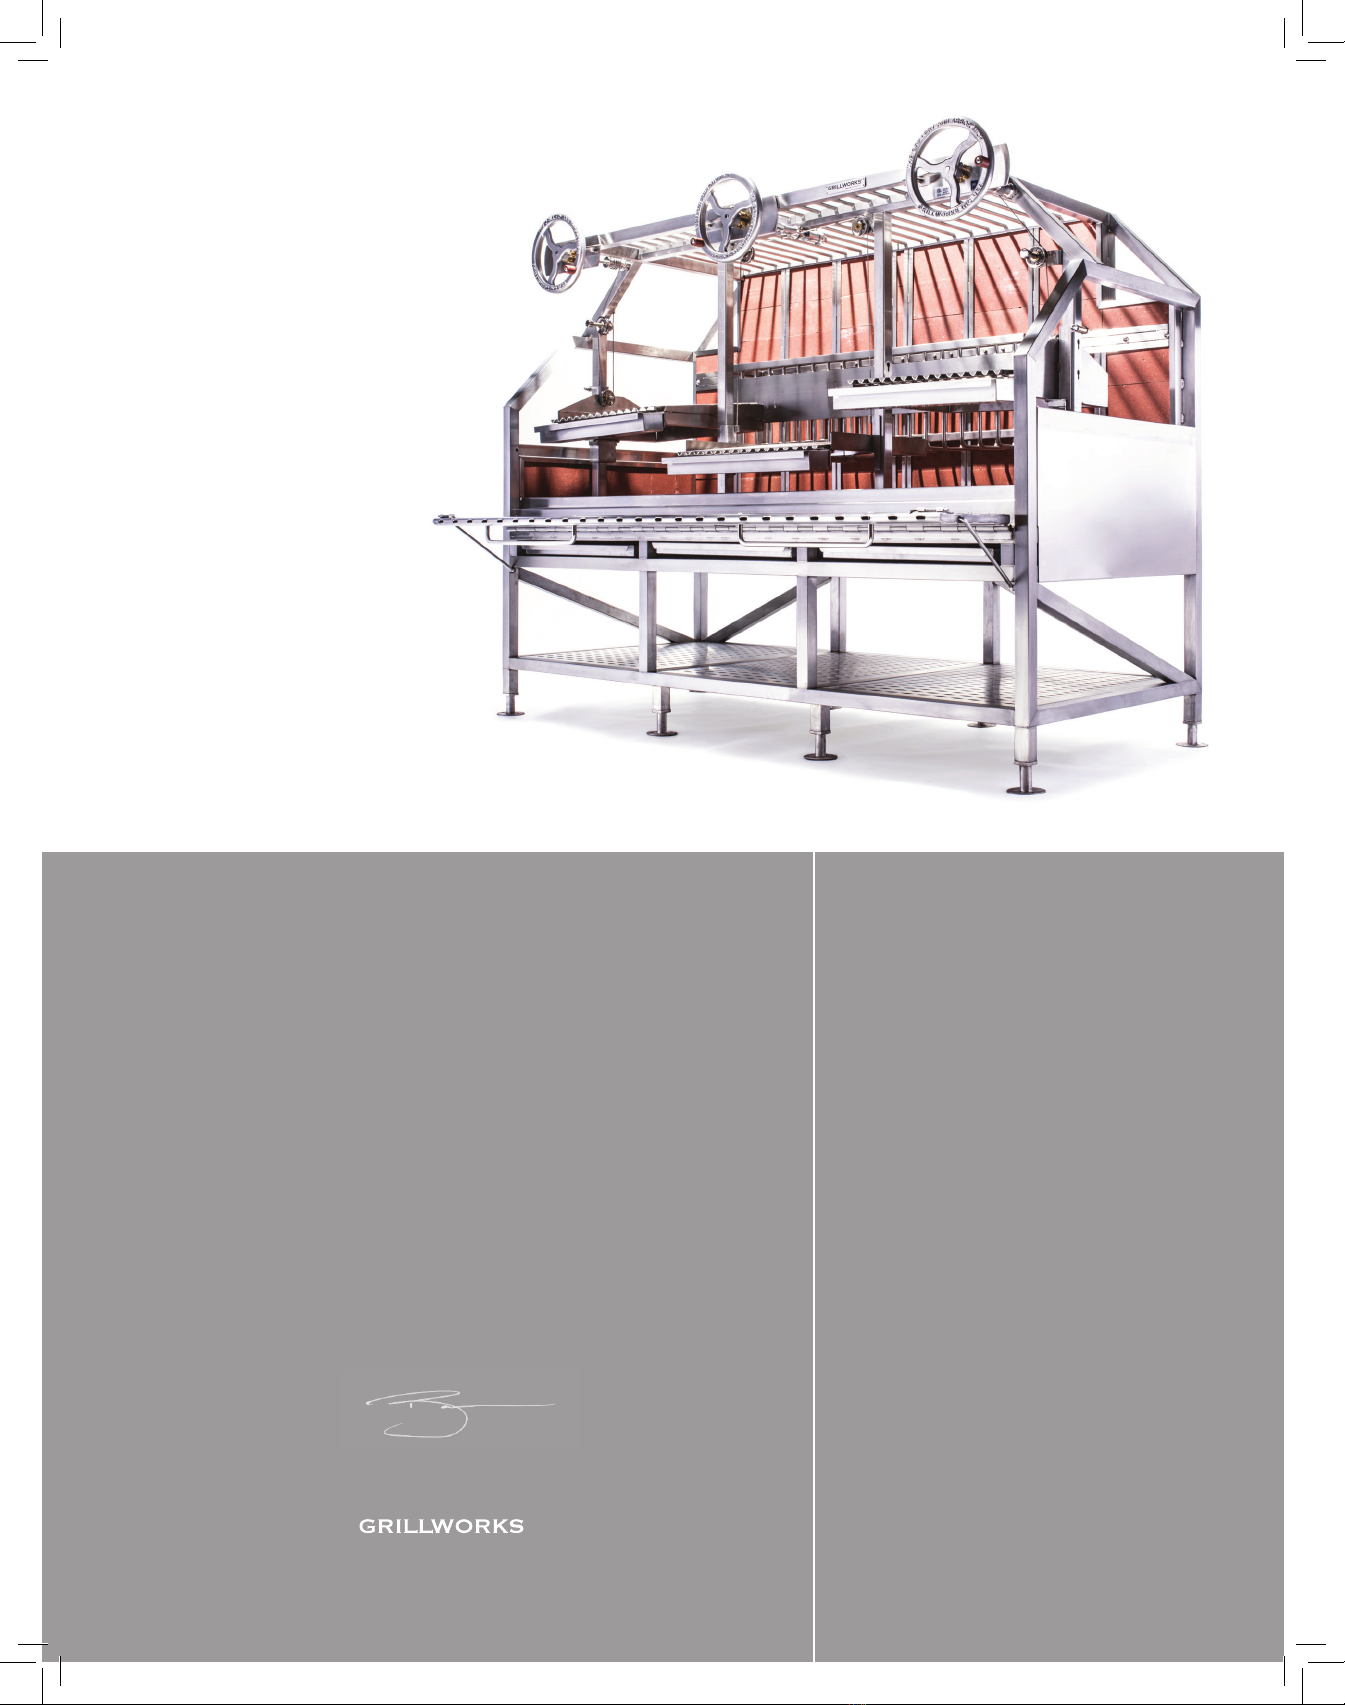
GRILLWORKS Infierno 52/64/80 Quick start guide

®
Inerno 52/64/80®
Installation & Use
A MAJOR CAUSE OF GRILL-RELATED FIRES IS FAILURE
TO MAINTAIN REQUIRED CLEARANCES (AIR SPACES)
TO COMBUSTIBLE MATERIALS. IT IS OF UTMOST
IMPORTANCE THAT THIS GRILL BE INSTALLED ONLY
IN ACCORDANCE WITH THESE INSTRUCTIONS.

INTRODUCTION
INSTALLATION
GETTING STARTED
FUEL & COOKING
CLEANING & MAINTENANCE
COMPONENTS
Inerno 52/64/80®
3
4
6
7
9
10
e Inerno 52, 64 and 80 are designed for the ultimate in wood-red
exibility, performance and showmanship, in a footprint friendly to a cooking
line or multiple-station installation. Operated and cared for correctly these units
will thrill chefs and guests alike.
In this guide you’ll nd recommendations for transport, preparation, operation
and care of the Inerno 52, 64 and 80. Please read every word here and ensure
everyone working around the grill does too. Rewarding Inerno operation is
dependent on a skilled and informed restaurant team. Take care also to follow
local codes regarding solid fuel installations and food safety guidelines.
If you have any questions or comments about your Inerno do not hesitate to
call or email us. We want to hear from you.
Best regards,
Benjamin Eisendrath
President & CEO
orders@grillworks.com / (855) 434-3473
Infierno 80

Inerno 52/64/80®
Installation & Use
INTRODUCTION 3
Contact your local building or re ocials about restrictions and installation inspections in your area.
INSTALL AND USE ONLY IN ACCORDANCE WITH GRILLWORKS INSTALLATION AND
OPETING INSTRUCTIONS
IF THE INFIERNO IS IMPROPERLY INSTALLED A FIRE MAY RESULT. FOLLOW THE
INSTALLATION MANUAL TO REDUCE RISK.
KEEP FLAMMABLE ITEMS CLEAR OF THE AREA AROUND THE GRILL: Do not store
ammable liquids such as gasoline, kerosene or lighter uids in the vicinity of the Inerno. Always
keep the area around it free and clear of any and all combustible materials.
MAINTENANCE AND SERVICE SAFETY: Improper installation, adjustment, alteration, service
or maintenance can cause property damage, injury or death. Read the installation, operating and
maintenance instructions thoroughly before installing, operating or servicing this appliance.
WARNING: Never use gasoline, kerosene, lighter uid or similar accelerants to start or maintain, of
‘freshen up’ a re in this grill. Keep all such items well away from the grill when in use.
IMPORTANT: is grill must be installed, maintained, operated and serviced by authorized
professionals.
A MAJOR CAUSE OF GRILL RELATED FIRES IS A FAILURE TO MAINTAIN REQUIRED
CLEANCES TO COMBUSTIBLE MATERIAL. IT IS CRITICAL THAT THIS GRILL BE
INSTALLED IN ACCORDANCE WITH THESE INSTRUCTIONS.
USE SOLID FUEL ONLY$WOOD OR CHARCOAL$DO NOT USE PRODUCTS NOT
SPECIFIED FOR THIS GRILL
READ ALL INSTRUCTIONS BEFORE INSTALLING AND USING THIS APPLIANCEREAD ALL INSTRUCTIONS BEFORE INSTALLING AND USING THIS APPLIANCE
SAVE THESE INSTRUCTIONS
Infierno 80

Inerno 52/64/80®
Installation & Use
INSTALLATION 4
UNLOADING & MOVING
USING A CNE
e grill travels in a large crate. It may be lied while
still in the crate using straps rated to at least 3000 lbs.
It also may be lied aer the crate is removed using the
same type of straps. e grill is very top and back-heavy
due to the large amount of re brick lining the oor and
back. TAKE THIS WEIGHT DISTRIBUTION INTO
ACCOUNT WHEN LIFTING THE GRILL.
USING A FORKLIFT
Li the grill from the rear, positioning the forks as widely
as possible under the center station of the Inerno grill.
e grill is very rear-heavy due to the large amount of
rebrick lining the oor and back. Make sure the forkli
is rated to li well in excess of the Inerno’s weight.
USING A PALLET JACK
You may use a pallet jack once the grill has been
removed from the delivery vehicle. Whether inside or
removed from the crate, make sure to li from the back,
positioning the jack under the center of the grill spread as
wide a possible. ONLY USE ON A FLAT SURFACE$
MOVING THIS GRILL ON AN INCLINE WITH
A PALLET JACK IS NOT SAFE AND CAN CAUSE
INJURY OR DAMAGE TO PROPERTY OR
THE GRILL.
NEVER PUT THE INFIERNO ON ITS BACK,
FRONT OR SIDE! SIGNIFICANT DAMAGE TO
COMPONENTS OF THE GRILL CAN OCCUR.
USE GREAT CARE WHEN MOVING AN INFIERNO.
IF YOU HAVE ANY QUESTIONS OR CONCERNS
CONTACT GRILLWORKS AT (855) 434-3473
BE SAFE!
CLEANCES
e Inerno should be installed with 2” clearance to
noncombustible materials on the sides and back of the
unit. e front of the unit must have at least 36” clearance
to other equipment or walls for proper operation.
WARNING DO NOT FILL AIR SPACES
SURROUNDING THE GRILL WITH INSULATION.
e grill is adequately insulated and the best outer
insulator is free air space.
Only install the Inerno on a non-combustible oor. is
non-combustible oor must extend at least 48” at the
front of the unit, 36” at the sides and 48” at the rear (if
the grill is installed exposed at the back). If installed as a
built-in (without legs) the base it is installed on must also
be non-combustible.
THE ENTIRE AREA OVER THE INFIERNO MUST
BE NONCOMBUSTIBLE EXTENDING 48” IN ALL
DIRECTIONS (IF NOT ENCLOSED) AND THE
GRILL MUST BE INSTALLED UNDER A SUITABLE
TYPE 1 SOLID FUEL HOOD SYSTEM.
Any façade materials to the front or over the grill MUST
BE NON-COMBUSTIBLE.
IF THIS GRILL IS NOT PROPERLY INSTALLED A
FIRE MAY RESULT. A MAJOR CAUSE OF GRILL
RELATED FIRES IS A FAILURE TO MAINTAIN
REQUIRED CLEANCES (AIR SPACES) TO
COMBUSTIBLE MATERIALS. IT IS CRITICAL
THAT THE INFIERNO GRILL BE INSTALLED BY
A QUALIFIED PROFESSIONAL AND ONLY IN
ACCORDANCE WITH THESE INSTRUCTIONS.
WARNING: DO NOT PACK AIR SPACES AROUND
GRILL WITH INSULATION OR OTHER
MATERIALS
ALERT: Installation, operation and servicing of
this appliance can expose you to ceramic dust.
ALWAYS WEAR PROTECTIVE EYEWEAR AND
RESPITORY PROTECTION AS A PRECAUTION
AGAINST INHALLATION OR EYE INJURY.

Inerno 52/64/80®
Installation & Use
INSTALLATION 5
HAND PROTECTION IS ALSO RECOMMENDED
AGAINST POSSIBLE SHARP EDGES. Please read
this entire manual before you install the grill. Failure to
follow the instructions may result in property damage,
bodily injury or death. Contact your local building or re
ocials about restrictions and installation inspection in
your area.
PLEASE READ THIS ENTIRE MANUAL BEFORE
YOU INSTALL THE INFIERNO GRILL. FAILURE
TO FOLLOW INSTRUCTIONS MAY RESULT IN
PROPERTY DAMAGE, BODILY INJURY OR EVEN
DEATH. CONTACT YOUR LOCAL BUILDING OR
FIRE OFFICIALS ABOUT RESTRICTIONS AND
INSTALLATION INSPECTION IN YOUR AREA.
VENTING
e hood and ductwork used over the Inerno must
be approved for solid fuel and installed in accordance
with NFPA 96 and all relevant local and national
code requirements for solid fuel appliances.
THIS COOKING EQUIPMENT IS TO BE
INSTALLED UNDER AN EXHAUST HOOD
TESTED FOR COMPLIANCE WITH THE
STANDARD FOR VENTILATION CONTROL
AND FIRE PROTECTION OF COMMERCIAL
COOKING OPETIONS NFPA 96 OR WITH
THE REQUIREMENTS IN THE STANDARD
FOR EXHAUST HOODS FOR COMMERCIAL
COOKING EQUIPMENT, UL 710
CANADA:
THIS COOKING EQUIPMENT IS TO BE
INSTALLED UNDER AN EXHAUST HOOD
TESTED FOR COMPLIANCE WITH THE
NATIONAL BUILDING CODE OF CANADA AND
THE NATIONAL FIRE CODE OF CANADA, OR
WITH THE REQUIREMENTS IN CAN/ULC-S646.
CET APPAREIL DE CUISSON DOIT ETRE POURVU
D’UNE HOE D’ASPITION QUI A ETE
SOUMISE A L’ESSAI AUX FINS TO CONFORMITE
AVEC LE CODE NATIONAL DU BATIMENT
DU CANADA ET LE CODE NATIONAL DE
PREVENTION DES INCIENDIES DU CANADA
OU AVEC LES EXIGENCES DE LA NORME CAN/
ULC-S646
CONTACT LOCAL BUILDING OFFICIALS OR
FIRE OFFICIALS ABOUT RESTRICTIONS AND
INSTALLATION INSPECTION IN YOUR AREA
COMMUNIQUER AVEC LES AGENTS DU
BATIMENT OU LES AGENTS D SERVICE
D’INCENDIE AU SUJET DES RESTRICTIONS ED
DE L’INSPECTION DE L’INSTALLATION DANS LA
REGION
As with all solid fuel cooking equipment and ductwork,
regular cleaning and inspection is critical to prevent re
risk. Typically this cleaning and inspection should occur
AT LEAST monthly.
A re suppression system (ANSUL) is required for the
Inerno grill. Refer to local and national requirements
to determine the system required for your installation of
this grill.
Creosote - Formation and need for removal: When wood
or charcoal (SOLID FUEL) is burned slowly, it produces
tar and other organic vapors that combine with expelled
moisture to form creosote. e creosote vapors condense
in the relatively cool exhaust. As a result, creosote residue
accumulates on the ue lining and exhaust hood. THIS
CREOSOTE BUILDUP CAN IGNITE. IF IGNITED
THIS CAN CREATE AN EXTREMELY HOT AND
DANGEROUS FIRE. Creosote build up should be
removed regularly to reduce the risk of re.

Inerno 52/64/80®
Installation & Use
GETTING STARTED 6
GEING STARTED
DO NOT OVERFIRE - WHEN FLAME SPILLS OUT
OF THE GRILL YOU ARE OVERFIRING
Do not use products not specied for use with this grill.
In order to produce the most consistent results and get
the most out of the exible design of the Inerno, you’ll
need a good re. ere are two approaches to starting
that re.
Fire Cage Ignition
e Inerno is equipped with a rear-mounted re cage.
is cage is based on the South American “brasero”
which is a basket used to burn whole pieces of wood
down to charcoal. Load the re cage with paper, kindling
and smaller pieces of wood in that order from the
boom LOOSELY to ensure good air ow. You may
also use natural starters like “Fat Wood” or other
nontoxic solid fuel starters in the re cage. Place a few
more pieces of wood and/or chunk charcoal underneath
the cage. is fuel will be ignited by the coals that will
begin falling out of the boom of the cage once it is
going. Light the cage from the boom and feed it larger
pieces of wood as the re progresses. e combination of
coals produced by the cage and the coals/wood ignited
underneath the cage will fuel the Inerno’s re bed. Rake
them forward under the cooking surfaces when you are
ready to cook.
WARNING: THE FIRE CAGE PRODUCES A
POWERFUL VERTICAL BURN. FLAME SHOULD
NEVER EXTEND HIGHER THAN THE TOP OF
THE GRILL’S FIRE BRICK BACK. MAINTAIN A
SMALL FIRE TO REDUCE THE POTENTIAL FOR
EMBER ESCAPE AND TO PREVENT TRIGGERING
YOUR ANSUL SYSTEM.
Conventional Ignition
e Inerno can also be lit like a traditional solid fuel
grill by starting the cooking re on the hearth under
the cooking surfaces. Using paper, kindling and smaller
pieces of wood, build the re over the ash grates in the
middle of the Inerno’s brick oor, they will aerate the
young re. You may use natural starters here too, like
Fat Wood or natural starter bricks. Charcoal chimneys
(found in many hardware stores) are also a good way to
build a quick hot coal bed if not using the re cage.
TIP: It is recommended that the Inerno be lit at least
one hour before cooking to ensure the grill’s re box and
brick has come up to uniform temperature.

Inerno 52/64/80®
Installation & Use
FUEL & COOKING 7
WOOD VS CHARCOAL
Both wood and charcoal are instrumental in running a
successful cooking re in the Inerno.
Charcoal, being dry and burning slowly over a long
period, is a reliable source of heat, but will not add much
in the way of avor to what is being cooked over it.
Well seasoned (10-15% moisture content) wood will
burn relatively quickly and produce a moderate amount
of avorful smoke. You should consider the whole wood
you burn to be the “seasoning” heat. e moisture le in
the wood is what will carry the unique avor of the wood
type being used to the food and ultimately the diner.
In a restaurant seing, balancing the use of both high
quality chunk charcoal for heat with a supply of excellent
whole wood for avor is oen the most economical and
practical approach to geing the best of both heat and
avor worlds. Consumption levels for both types of fuel
can vary widely as the Inerno allows open air ow. e
operator can control this by using more or less charcoal,
building smaller res, or lighting only a single grilling
station when less grilling area is needed.
THE INFIERNO LIFT SYSTEM
e Inerno 52 and 64 have two crank wheel-controlled
li frames, the 80 has two or three, all carrying two grill
surfaces each. e wheels raise and lower the grilling
frames through a wide vertical range over the re to
control cooking temperature. To raise the le frame the
wheel is turned counterclockwise. e right frame is
raised by turning the wheel clockwise.
Each frame takes two removable grill surface sections.
In order for the cables that li the frames to wrap
on their barrels correctly these surfaces$and their
weight should be in place when the wheel is turned.
IMPORTANT: to release and lower any of the li frames
the catch levers must be released by pressing down on the
inner end. Take weight o by holding the crank handle,
push down on the inside end of the lever, then lower the
frame gently. Release the lever at the height desired.
DO NOT FORCE THE WHEEL BACKWARD
WITHOUT RELEASING THE LEVER.

COOKING ZONES
Air ow in the Inernos comes in from the front and up
through the re grates in the hearth base. is creates
three distinct heat zones on the grilling surfaces, front
to back. e dierence in heat on the surface just a few
inches forward or back can be dramatic.
Note: because the operator has a very large height range
available for the cooking surfaces, temperatures can
be controlled through a near-innite range. e zones
below are based on the grill surfaces positioned 4-8”
above a wood/coal bed. For precise readings on surface
temperature we recommend the use of an infrared
guntype thermometer.
Low Heat Zone
e front of the grilling surfaces, closest to the operator,
are the warm zone. Under normal cooking circumstances,
with the grill red and running, this area comprising the
rst six inches of grill surface will be 200-300 degrees
Fahrenheit when set 4-8” above the coal/wood bed.
Medium Heat Zone
e center of the grill surface, the six inches positioned
more completely over the bulk of the re bed will range
from 300-600 degrees at 4-8” high.
Searing Zone
e rear six inches of the grilling surfaces, closest to the
rear wall of the grill and to the re cage, will be the hoest
area, both because of their positioning and the ow of hot
air up the rear wall of the grill. At 4-8” over the re, this
area will produce very high heat, ranging from 600-900
degrees depending on the intensity of the re.
Surface Cooling
Once a grill surface is raised further from the re,
for example to rest an item, it will cool quickly.
Remember this when lowering it again for high heat$
the stainless will need a couple minutes to come back up
to searing temperatures.
Basting Pans
Each grill surface empties into a removable basting
pan aached to the front of the li frame via a keyhole
system. e V-Channel standard surfaces capture oils
and juices to reduce aring and to deliver them to the
chef for use in sauces or to baste back onto the food for
added avor!
Inerno 52/64/80®
Installation & Use
FUEL & COOKING 8
L
M
S
L
M
S
Low Heat Zone
Medium Heat Zone
Searing Zone

Inerno 52/64/80®
Installation & Use
CLEANING & MAINTENANCE 9
CLEAN UP
WARNING DO NOT QUENCH HOT GRILL.
e Inerno’s grill surfaces and basting pans all li
o for cleaning. ey are 304 stainless steel and can
be washed by hand or in a commercial dishwasher. If
using a dishwasher, the grill surfaces should be re-oiled
(seasoned) again before cooking as they will be dry aer
going through the machine.
Ash collects in the drawers below the rebrick base.
e ash falls through the re grates placed in the re
brick. WAIT UNTIL THE GRILL HAS COOLED
BEFORE EMPTYING THE ASH DWERS.
Disposal of ashes - ashes should be placed in a metal
container with a tight-ing lid. e closed container
should be placed on a non-combustible oor well away
from all combustible materials pending nal disposal.
e ashes should be retained in the closed container until
all cinders have thoroughly cooled.
Excess grease or ash buildup around the grill’s moving
parts and external surfaces should be wiped o once the
grill has cooled.
MAINTENANCE & CARE
e Inerno’s body is constructed entirely in 304
stainless steel. e tubular main frame is 1.5” x 1.5” in
16 gauge square. e side and boom panels are 14
gauge. e back plate is 7 gauge. e grate supporting
the re brick is 1” x 3/16” 19SW4. e re brick oor is
constructed of 2.3” x 4.5” x 9” brick, the sides are lined
in 1.125” x 4.5” x 9” brick. Any individual brick can be
replaced by liing it out of the oor or loosening the back
cap at the top of the grill with a hex key.
e Inerno’s cooking system is designed for maximum
motion and exibility. All moving parts, especially the li
systems, need to be checked for free motion BEFORE
EVERY USE. Ash and other normal side-products of
cooking and re can build up on the tracks the li system
travels on and can impede motion if le uncleaned.
BEFORE EVERY USE check that the rollers that the li
system uses to travel up and down the track are free to
move. Do not over tighten them. It is recommended that
the rollers be lightly lubed with cooking oil before use to
ensure they roll smoothly.
BEFORE EVERY USE check the hex screws in the
barrels that pick up the cables to ensure they are tight
and seated correctly. Do the same with the set screws in
the star wheel (the 4-pronged cog that holds the grill at
height). Also inspect or clear the rollers that travel up and
down the tracks to ensure they can turn freely.
BEFORE EVERY USE inspect the li cables for any wear,
and make sure they are seated correctly in the pulleys and
wrapping correctly on the barrels. If they are wrapping
unevenly simply lower the surfaces to the lowest point
and raise them back up, this will straighten the wrap on
the barrels. IF THERE IS ANY DAMAGE TO A CABLE
REPLACE IT IMMEDIATELY. e cables loosen via
hex key from the barrels and can be quickly swapped
WHEN THE GRILL IS NOT IN USE. e Inerno
comes with spares, Grillworks can always provide more.
See correct lift cable wrap on the left-station barrel.
The retaining hex screws are located at the front end of
each barrel.

Inerno 52/64/80®
Installation & Use
COMPONENTS 10
Fire Station/Fire Cage
is rear-wall mounted re cage is home to charcoal production. Whole
pieces of hardwood are placed in the cage where they are naturally broken
down, dropping through the open base of the cage when ready. ese are
then moved around the hearth and underneath the grill surfaces for cooking.
WARNING: NEVER ALLOW THE CAGE FLAME LEVEL TO EXCEED
THE HEIGHT OF THE STATION!
Grill Station
Operated by an aluminum crankwheel, each li frame carries two swappable
grill surface sections. e wheels turn machined aluminum barrels that pick
up stainless high-ex cables running through brass pulleys to li the surfaces.
Heat is controlled both by grill surface height and by direct manipulation of
the re on the hearth below. Each V-Channel® surface section has swivel-out
leveling feet under the front crossbar that allow either a juice-catching slant
or a level cooking surface. Always check the hex set screws in the crank wheel,
star wheel and cable pickup barrel for rm t before operating.
Resting Shelf
A removable shelf is available for the space behind the crankwheels and
high over the re box. e rear of this bar-surface shelf can be used as a
searing area over the re cage, while forward it serves as a warm resting or
storage space.
Ash Drawers
Each grill station has an ash grate embedded in the re brick oor. is
aerates the re above and allows ne ash to fall safely into the ash drawer
below. When full the drawer can be removed for easy emptying.
Hearth Zone/Heat Door
e Inerno is designed to give chefs as large expanse of brick hearth to
use as an improvisational baking or broiling area. e brick is well suited to
scorching at breads, pot placement or direct-coal cooking. e entire width
of the grill hearth is covered by a drop-down door that when closed protects
the chef, and when open serves as a long staging zone or shelf.
KEEP THESE INSTRUCTIONS
Infierno 64

All professional Grillworks products are
NSF listed and approved for use in food service.
KEEP THESE INSTRUCTIONS!
Infierno 64

www.grillworks.com
orders@grillworks.com
(855) 434-3473
The Grillery®, The Grillworks®, V-Channels®, Grillworks Infierno®
and Argentine Inspired, American Made® are registered trademarks
of ® Grillworks LLC. U.S. PAT. 4,462,306, U. S. PAT. D708,889 S,
additional patents pending
Made in USA
Argentine Inspired. American Made.TM
®
Table of contents
Other GRILLWORKS Grill manuals