manuals.online logo
Brands
  1. Home
  2. •
  3. Brands
  4. •
  5. Grizzly
  6. •
  7. Safe
  8. •
  9. Grizzly T10722 User manual

Grizzly T10722 User manual

For questions or help with this product contact Tech Support at (570) 546-9663 or techsupport@grizzly.com
MODEL T10722/T10723
FINGERPRINT SAFE
INSTRUCTIONS
COPYRIGHT © FEBRUARY, 2013 BY GRIZZLY INDUSTRIAL, INC.
NO PORTION OF THIS MANUAL MAY BE REPRODUCED IN ANY SHAPE
OR FORM WITHOUT THE WRITTEN APPROVAL OF GRIZZLY INDUSTRIAL, INC.
FOR MODELS MANUFACTURED SINCE 01/13 #TS15619 PRINTED IN CHINA
Introduction
The Model T10722/T10723 Fingerprint Safe (see
Figure 1) provides three methods of securing
your belongings:
• Biometric fingerprint verification
• PIN number
• Key
This safe features a soft mat inside to protect
secured items, a removable upper shelf, and
mounting holes for securing to a wall or the floor.
Specifications
Overall Dimensions
T10722 .................. 13
3⁄4" W x 10" H x 9
7⁄8" D
T10723 ................. 15" W x 11
3⁄4" H x 11
3⁄4" D
Maximum Fingerprints ..................................... 32
Maximum PIN Numbers .................................... 8
Fireproof ..........................................................No
Required Batteries .........................4 AA, Alkaline
Small Item Inventory
Description Qty
Protective Mat .................................................... 1
Anchor Studs M8-1.25 x 50 ............................... 4
AA Alkaline Batteries ......................................... 4
Keys ................................................................... 2
Grizzly cannot replace lost or stolen keys.
Please contact your local locksmith if this
happens.
To reduce the risk of lost or stolen keys,
keep them in a secure location that is sepa-
rate from the safe.
DO NOT store keys inside safe!
Figure 1. Model T10723 Fingerprint Safe.
A. Reset Button
B. Battery Compartment
C. Dead Bolts
D. Fingerprint Scanner
E. Green Light
F. PIN Pad
G. Red Light
H. Door Handle
I. Security Pad
J. Keyhole Cover
K. Activation Button
Before using the safe to store items, you
need to install the batteries, record one or
more fingerprints, and record a PIN number.
Installing Batteries
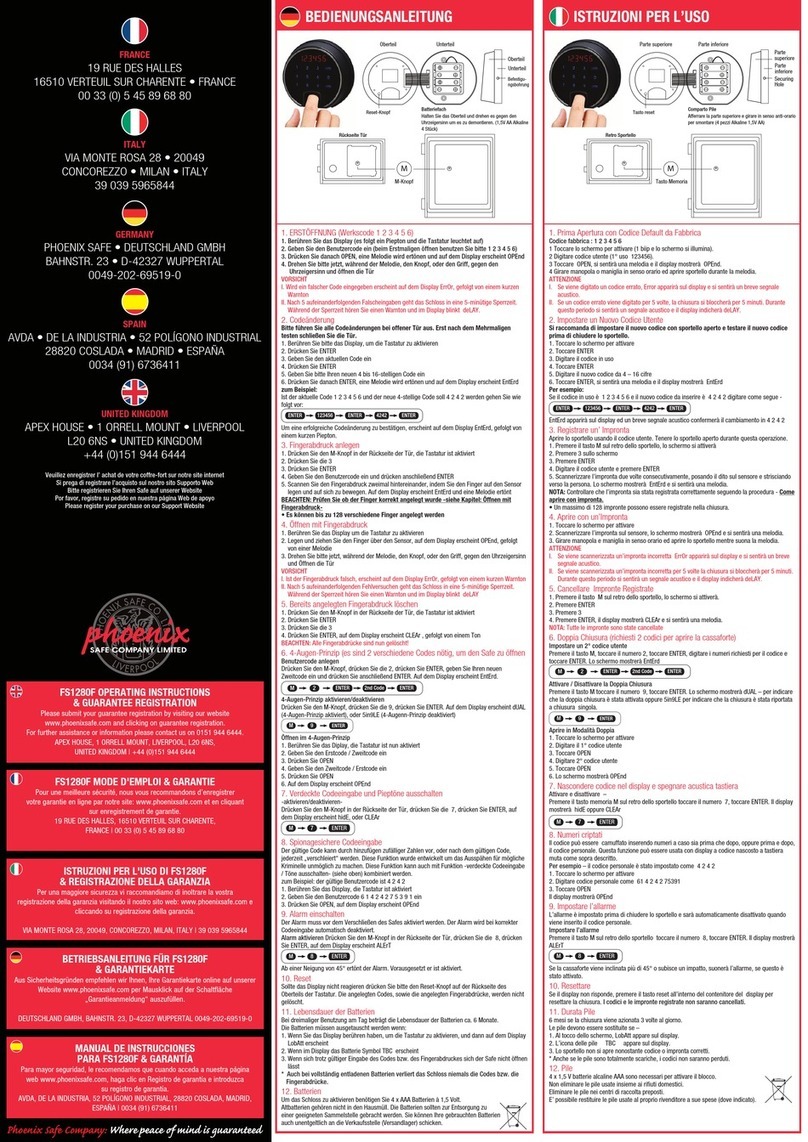
1. Slide the keyhole cover down to remove it,
then use the key to open the door.
2. Slide the cover off the battery compartment,
install four AA batteries, then re-install the
cover.
Note: Orient the batteries as directed by the
illustrations on the back wall of the battery
compartment.
Fingerprint Scanning Tips
The fingerprint scanner uses light to read the dif-
ference between the ridges and valleys of your
fingerprint.
Follow these tips to successfully use your fin-
gerprint to operate the safe:
• Keep your finger tip clean, especially of oily
or sticky substances.
• Keep the scanner surface clean (refer to the
Cleaning section on Page 4).
• Center your finger tip flat on the scanner with
medium pressure. If you use too much or too
little pressure, the scanner may not be able
to tell the difference between the ridges and
valleys of your fingerprint.
• If your forefinger tip is narrow, use your thumb
or middle finger to provide a wider fingerprint.
• If your finger tip is very dry, restore the natural
oil and moisture by rubbing it on your palm,
along the bridge of your nose, or across your
forehead.
• If your finger tip is wet or excessively moist,
dry it with a soft cloth. Do not use paper or
other material that will leave particles on the
skin surface.
1
2
3
4
Figure 2. Controls identification.
K
J
H
I
E
D
F
G
C
B
A
Identification
Model T10722/T10723 (Mfg. Since 01/13) -3-
Most of the safe operations are time sensi-
tive. In general, you will have approximately
five seconds between finishing one action
in the procedure and starting the next.
Otherwise, you will have to start with Step 1
to begin the procedure again.
Locking Safe
To lock the safe, make sure the dead bolts are
withdrawn into the door, then close the door and
rotate the door handle counterclockwise 1⁄4 turn.
Unlocking with Fingerprint
1. Press and release the activation button.
2. When the fingerprint scanner lights up, place
your fingerprint on the scanner with medium
pressure.
— If your fingerprint was verified, the green
light will flash once, then, after a pause, will
remain lit for approximately five seconds.
During this time, use the door handle to
unlock and open the door.
— If the red and green lights flash together,
the fingerprint was not verified. Try again.
Unlocking with PIN Number
1. Use the PIN pad to enter the PIN number and
press the activation button.
— If the PIN number was verified, the green
light will flash once, then, after a pause, will
remain lit for approximately five seconds.
During this time, use the door handle to
unlock and open the door.
— If the red and green lights flash together,
the fingerprint was not verified. Try again.
Re-setting to Factory Defaults
1. Open the door, then press and hold the reset
button until the following sequence is com-
plete:
• One beep with a flash of the green light.
• 15 flashes of the green light.
• One beep with a flash of the green light.
The safe is now set to factory defaults without any
fingerprint scans in memory and the PIN number
set to “1234.”
Recording Fingerprint
1. With the safe door open, then press and
release the reset button.
2. Place your fingertip on the fingerprint scanner
with medium pressure.
— If properly recorded, the green light will
flash once, then, after a pause, flash again.
— If the red and green lights flash together,
the fingerprint was not recorded. Try again.
Recording PIN Number
1. Press and hold the number “1” key on the
PIN pad until the green light flashes once,
then, after a pause, flashes again.
Note: The default factory-set PIN number is
“1234”.
2. Enter the current PIN number and press the
activating button.
— If the PIN number was accepted, the green
light will flash once.
3. Enter the new PIN number and press the
activation button.
Note: PIN numbers must be 4–8 numbers in
length.
4. Repeat Step 3.
—If properly recorded, the green light will
flash once, then, after a pause, flash again.
— If the red and green lights flash together,
the PIN number was not recorded. Try
again.
-4- Model T10722/T10723 (Mfg. Since 01/13)
Mounting Safe
The safe has holes through the back and bottom
for mounting to a wall or floor.
When mounting to a wall, we recommend secur-
ing 1" wood stock to the wall studs, then securing
the safe to the wood. Make sure the mounting will
hold the weight of the safe and contents, as well
as the forces of opening and locking the door.
Batteries
The electronics of the safe are powered by four
AA batteries. If the fingerprint scanner or PIN pad
does not respond or if the red light on the security
pad stays ON when attempting a procedure, the
batteries need to be replaced.
Use the key to open the safe and replace the
batteries with four high-quality AA alkaline batter-
ies. Refer to Installing Batteries on Page 2 for
detailed instructions.
Note: When the batteries are removed, the record-
ed fingerprint scans and PIN number stay in non-
volatile memory and will remain functional when
the batteries are replaced.
Cleaning
Use a soft cloth moistened with warm water to
clean the painted surfaces of the safe. Do not use
solvents, abrasives, or spray cleaners that can
damage the finish or electronic components.
Always keep liquids away from the security pad
and the battery compartment to prevent damaging
the electronic components.
Regularly clean the fingerprint scanner lens with a
soft cloth moistened with warm water. Do not use
paper products that can scratch the lens. Do not
use chemicals or spray cleaners that can damage
the lens or electronic components.
Symptom Possible Cause Possible Solution
Security pad
does not properly
respond to input;
red light stays on.
1. Batteries are low or dead.
2. Electronic components are at fault.
1. Replace batteries.
2. Replace safe or use keys to operate.
Fingerprint scanner
will not record
fingerprint.
1. Scanner lens is dirty.
2. Fingerprint not readable.
3. Security pad memory has reached maximum
limit of 32 fingerprint scans.
1. Clean scanner lens.
2. Follow the Fingerprint Scanning Tips on Page 2.
3. Erase security pad memory by re-setting to factory
defaults.
Troubleshooting
Review the troubleshooting and procedures in this section if a problem develops with your safe. If you need
additional help with a procedure, call our Technical Support at (570) 546-9963.
Note: Grizzly cannot replace lost or stolen keys. Please contact your local locksmith if this happens.

This manual suits for next models

1

Other Grizzly Safe manuals

Grizzly T10250 User manual

Grizzly

Grizzly T10250 User manual

Grizzly GS702 User manual

Grizzly

Grizzly GS702 User manual

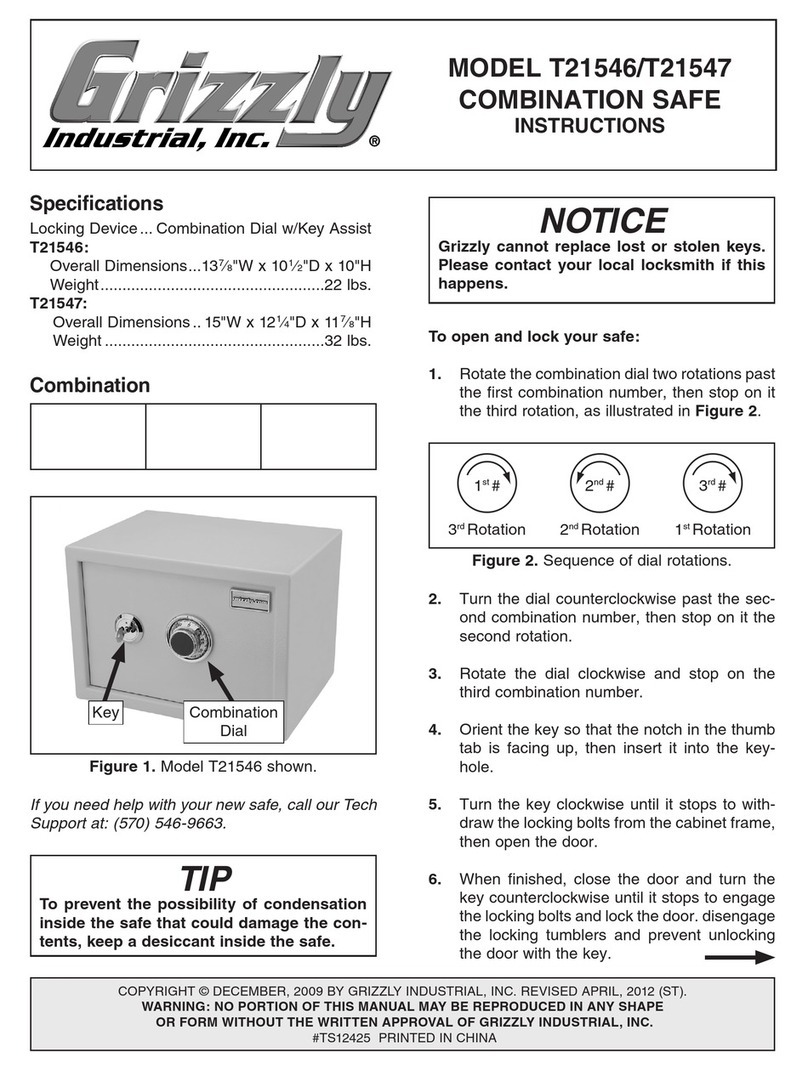
Grizzly T21546 User manual

Grizzly

Grizzly T21546 User manual

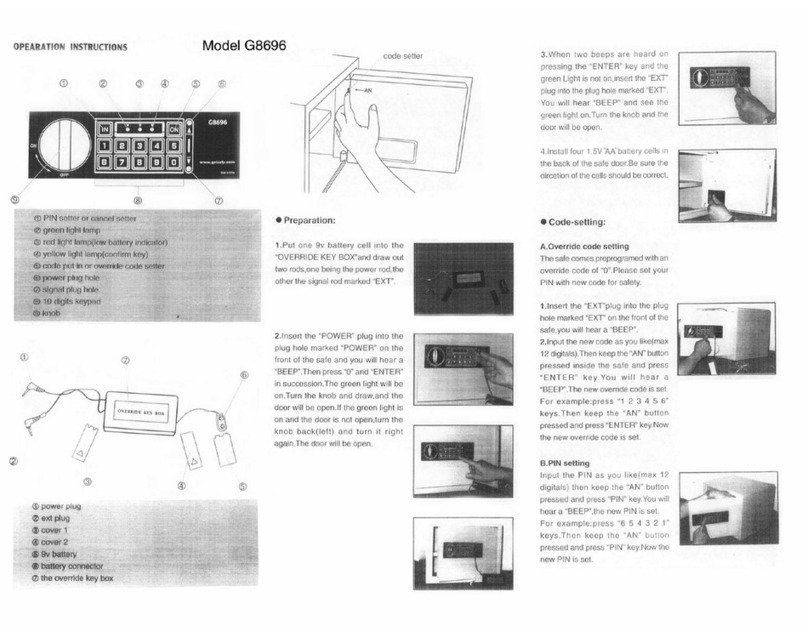
Grizzly G8696 User manual

Grizzly

Grizzly G8696 User manual

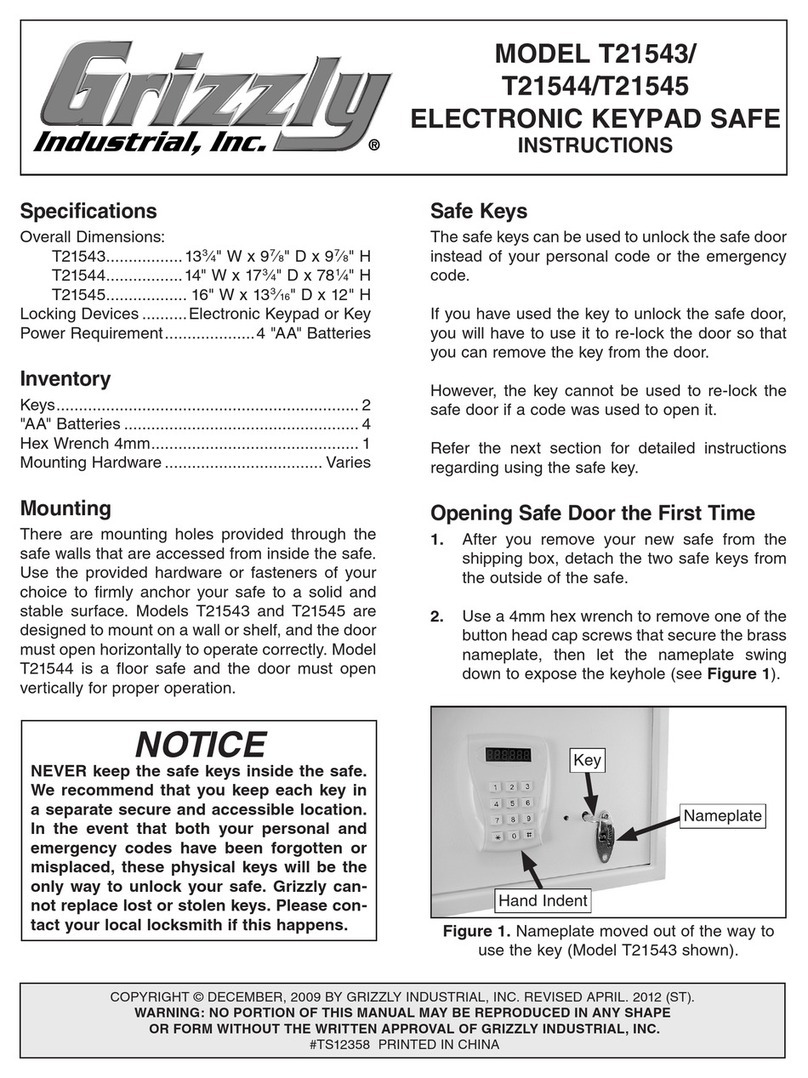
Grizzly T21543 User manual

Grizzly

Grizzly T21543 User manual

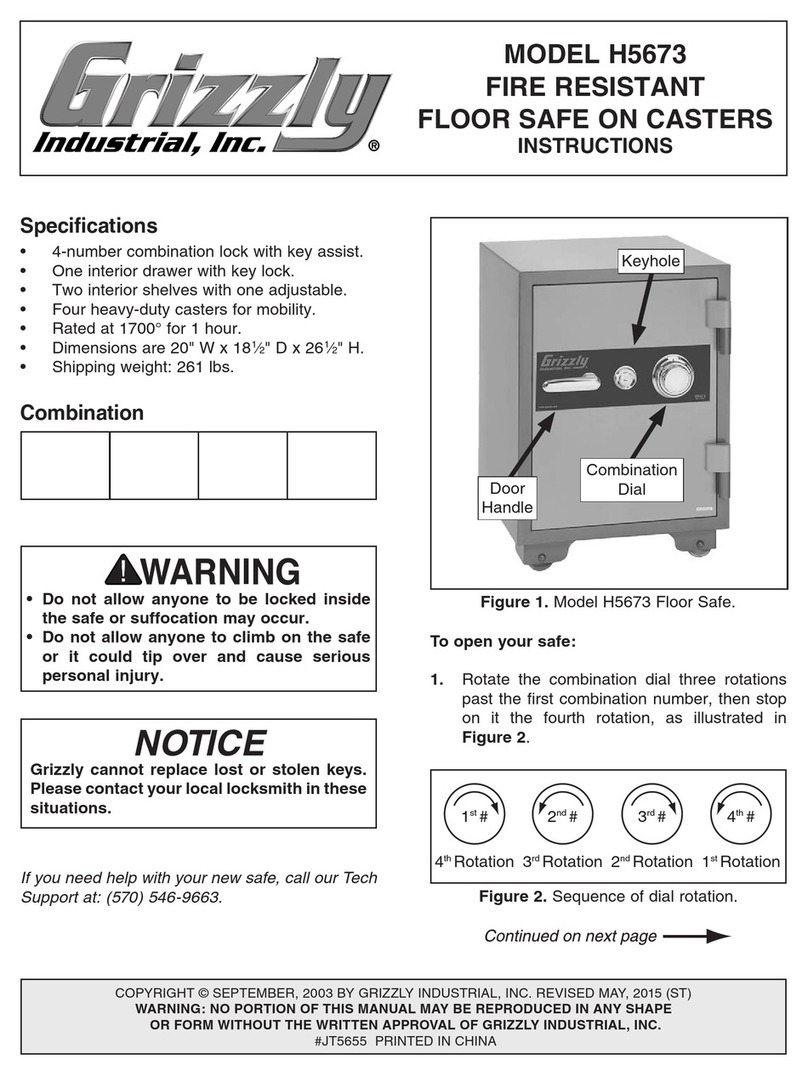
Grizzly H5673 User manual

Grizzly

Grizzly H5673 User manual

Popular Safe manuals by other brands

SentrySafe EF4738E user manual

SentrySafe

SentrySafe EF4738E user manual

BAHAG Security Box BH4 C instructions

BAHAG

BAHAG Security Box BH4 C instructions

Mesa Safe MFS Series operating manual

Mesa Safe

Mesa Safe MFS Series operating manual

Phoenix FS2230K Series operating instructions

Phoenix

Phoenix FS2230K Series operating instructions

ratiotec RT 500 Instruction manuals

ratiotec

ratiotec RT 500 Instruction manuals

Honeywell 2111 manual

Honeywell

Honeywell 2111 manual

Stack-On QPS-2012-E instructions

Stack-On

Stack-On QPS-2012-E instructions

Assa Abloy Sentinel Digital Ph III RF-Online Upgrade manual

Assa Abloy

Assa Abloy Sentinel Digital Ph III RF-Online Upgrade manual

Honeywell 2074E Operations & installation guide

Honeywell

Honeywell 2074E Operations & installation guide

U-Line H-6732 quick start guide

U-Line

U-Line H-6732 quick start guide

Hornady SnapSafe GlideVault 75404 owner's manual

Hornady

Hornady SnapSafe GlideVault 75404 owner's manual

ExecutiveSafe P85EB Operation manual

ExecutiveSafe

ExecutiveSafe P85EB Operation manual

Phoenix KS0030E Series operating instructions

Phoenix

Phoenix KS0030E Series operating instructions

Wordlock Stor-More Key Safe Using

Wordlock

Wordlock Stor-More Key Safe Using

Steren SEG-515 instruction manual

Steren

Steren SEG-515 instruction manual

Stack-On SECURITY PLUS instructions

Stack-On

Stack-On SECURITY PLUS instructions

Yale YSS-250-EB1 installation instructions

Yale

Yale YSS-250-EB1 installation instructions

Varan 5417-1207 user manual

Varan

Varan 5417-1207 user manual

manuals.online logo
manuals.online logoBrands
  • About & Mission
  • Contact us
  • Privacy Policy
  • Terms and Conditions

Copyright 2025 Manuals.Online. All Rights Reserved.