manuals.online logo
Brands
  1. Home
  2. •
  3. Brands
  4. •
  5. Grohe
  6. •
  7. Plumbing Product
  8. •
  9. Grohe SENSIA IGS User manual

Grohe SENSIA IGS User manual

Drücken Sie «allgemeine Einstellungen»,
um zu den Sonderfunktionen zu gelangen.
Drücken Sie «Duscharm vor», um den
Duscharm auszufahren.
Drücken Sie den Entriegelungsknopf und
ziehen Sie die Düse vorsichtig ab.
Drücken Sie «Duscharm zurück», um den
Duscharm ohne Düse wieder einzufahren.
Die Öffnung für den Duscharm können Sie
mit einem feuchten Lappen reinigen.
Alle Dichtungen an der neuen
Düse müssen zwingend gefettet
werden.
Drücken Sie «Duscharm vor», um den
Duscharm erneut auszufahren. Setzen
Sie die neue Düse vorsichtig auf, bis sie
einrastet.
Drücken Sie «Duscharm zurück», um
den Duscharm wieder einzufahren und
danach «Menü», um zum Hauptmenü
zurückzukehren.
Druk op “Algemene instellingen” om
naar de speciale functies te gaan.
Druk op “ Verleng spoelarm” om de
spoelarm naar voren te bewegen.
Druk op de ontgrendelingsknop en trek
de sproeikop voorzichtig los.
Druk op “ Verkort spoelarm” om de spoel-
arm zonder sproeikop terug te bewegen.
De opening voor de spoelarm kan met een
vochtige doek worden gereinigd.
Alle afdichtingen van de nieuwe
sproeikop moeten altijd worden
ingevet.
Druk op “ Verleng spoelarm” om de spoel-
arm weer naar voren te bewegen. Bevestig
de nieuwe sproeikop voorzichtig op de
spoelarm, totdat hij vastklikt.
Druk op “ Verkort spoelarm” om de spoel-
arm terug te bewegen en daarna op
“Menu” om weer naar het hoofdmenu te
gaan.
Sensia ®IGS
GROHE
99.0328.031/ÄM 231960/03.15
www.grohe.com
GRUNDEINSTELLUNGEN
SONDERFUNKTIONEN
ECO
1
Deutsch
8,4–14 °dH
BASISINSTELLINGEN
SPECIALE FUNCTIES
Eco
1
8,4-14 °dH
Nederlands
Appuyez sur «Réglages généraux» pour
accéder aux fonctions spéciales.
Appuyez sur «Avance du bras de
douchette» pour faire avancer le bras
de douchette.
Appuyez sur le bouton de déverrouillage
et retirez la buse avec précaution.
Appuyez sur «Recul du bras de douchette»
pour faire rentrer le bras de douchette sans
buse. Vous pouvez nettoyer l’ouverture du
bras de douchette en utilisant un chiffon
humide.
Tous les joints au niveau de
la nouvelle buse doivent être
impérativement graissés.
Appuyez sur «Avance du bras de
douchette» pour faire de nouveau sortir
le bras de douchette. Placez avec
précaution la buse neuve jusqu’à ce
qu’elle s’enclenche.
Appuyez sur «Recul du bras de douchette»
pour faire rentrer le bras de douchette,
puis sur « Menu » pour revenir au menu
principal.
RÉGLAGES DE BASE
FONCTIONS SPÉCIALES
ÉCO
1
15-25°fH
Français
D F NL
Press “ General settings ” to access the
special functions.
Press “ Extend spray arm ” to extend the
spray arm.
Press the release button and carefully
remove the nozzle.
Press “ Retract spray arm ” to retract the
spray arm without the nozzle. Clean the
spray arm opening with a damp cloth.
All seals on the new nozzle must
be lubricated.
Press “ Extend spray arm ” to extend
the spray arm again. Fit the new nozzle
carefully until it clicks into place.
Press “ Retract spray arm ” to retract the
spray arm again and then “ Menu ” to return
to the main menu.
BASIC SETTINGS
SPECIAL FUNCTIONS
Eco
1
15–25°fH
English
GB
Setzen Sie das Spezialwerkzeug am unteren
Rand der Blende an. Dort bendet sich eine
Öffnung für das Werkzeug.
Drücken Sie das Werkzeug sanft nach unten,
bis die Blende aus der Klick verankerung
ge hoben ist. Sichern Sie die Blende mit der
zweiten Hand vor dem Herunterfallen. Heben
Sie die Blende ganz ab und entfernen Sie sie.
Setzen Sie die neue Blende am oberen Rand
an und klicken Sie sie mit Druck ein. Achten Sie
darauf, dass die Werkzeug öffnung nach unten
ausgerichtet ist.
Plaats het speciale gereedschap op de onderste
rand van de afschermkap. Hier bevindt zich een
opening voor het gereedschap.
Druk het gereedschap voorzichtig naar beneden
totdat de afschermkap uit de klikverbinding is
verwijderd. Gebruik uw andere hand om de
afschermkap vast te pakken. Til de afschermkap
helemaal uit de klikverbinding en verwijder hem.
Plaats de nieuwe afschermkap op de bovenste
rand en klik hem onder het uitoefenen van
enige druk vast. Let erop dat de opening voor
het gereedschap naar beneden wijst.
Sensia ®IGS
GROHE
99.0328.031/ÄM 231960/03.15
www.grohe.com
Placez l’outil spécial sur le bord inférieur du
cache, à l’endroit où se trouve une ouverture
pour l’outil.
Pressez doucement l’outil vers le bas, jusqu’à
ce que le cache sorte de la xation à crans.
Maintenez le cache de l’autre main pour
l’empêcher de tomber. Soulevez entièrement
le cache et retirez -le.
Placez le nouveau cache sur le bord supérieur
en appuyant fortement. Veillez à ce que
l’ouverture de l’outil s’oriente vers le bas.
D F NL
Установите специальный инструмент под
нижний край заглушки. Там находится
специальное отверстие для инструмента.
Слегка нажмите на инструмент по
направлению вниз так, чтобы заглушка
приподнялась и вышла из защелкивающегося
крепления. Второй рукой удерживайте
заглушку, чтобы она не упала вниз.
Полностью поднимите заглушку и снимите ее.
Установите новую заглушку, начиная с
верхнего края, защелкните ее нажатием.
Проверьте, чтобы отверстие для инструмента
было направлено вниз.
Place the special tool on the bottom edge of
the faceplate, where you will nd an opening for
the tool.
Push the tool gently down until the faceplate
lifts out of the click lock. Use your other hand
to hold the faceplate so it does not fall. Lift the
whole faceplate out and remove it.
Fit the new faceplate from the top edge and
press it rmly to click it into place. Make sure
that the tool opening is at the bottom.
GB RUS

Other manuals for SENSIA IGS

3

Other Grohe Plumbing Product manuals

Grohe Euroeco Cosmopolitan E 36 269 User manual

Grohe

Grohe Euroeco Cosmopolitan E 36 269 User manual

Grohe Aquatower 27 200 User manual

Grohe

Grohe Aquatower 27 200 User manual

Grohe Eurodisc 33 772 User manual

Grohe

Grohe Eurodisc 33 772 User manual

Grohe Ondus 19 438 User manual

Grohe

Grohe Ondus 19 438 User manual

Grohe Atrio 19 723 User manual

Grohe

Grohe Atrio 19 723 User manual

Grohe GROHTHERM 3000 COSMOPOLITAN 34 276 User manual

Grohe

Grohe GROHTHERM 3000 COSMOPOLITAN 34 276 User manual

Grohe EUROPLUS E 36 239 User manual

Grohe

Grohe EUROPLUS E 36 239 User manual

Grohe Kensington 25 073 User manual

Grohe

Grohe Kensington 25 073 User manual

Grohe Agira 20 425 User manual

Grohe

Grohe Agira 20 425 User manual

Grohe Tenso 32 366 User manual

Grohe

Grohe Tenso 32 366 User manual

Grohe Grohtherm 1000 34143 User manual

Grohe

Grohe Grohtherm 1000 34143 User manual

Grohe EUROSMART COSMOPOLITAN E 36 334 User manual

Grohe

Grohe EUROSMART COSMOPOLITAN E 36 334 User manual

Grohe 19 844 User manual

Grohe

Grohe 19 844 User manual

Grohe GROHTHERM SMARTCONTROL 29 126 User manual

Grohe

Grohe GROHTHERM SMARTCONTROL 29 126 User manual

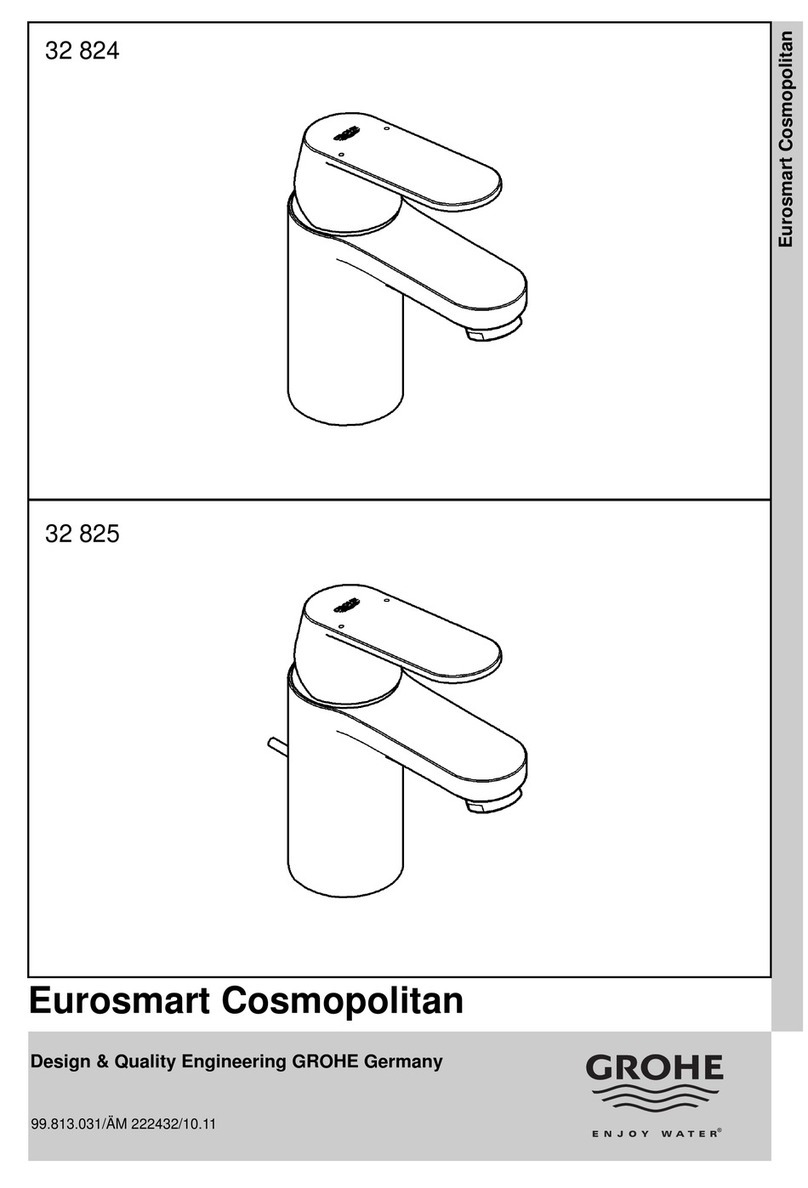
Grohe 32 824 User manual

Grohe

Grohe 32 824 User manual

Grohe 27 389 User manual

Grohe

Grohe 27 389 User manual

Grohe Bridgeford 20 135 User manual

Grohe

Grohe Bridgeford 20 135 User manual

Grohe 06675XX0 User manual

Grohe

Grohe 06675XX0 User manual

Grohe Chiara Series User manual

Grohe

Grohe Chiara Series User manual

Grohe BauEdge 29039000 User manual

Grohe

Grohe BauEdge 29039000 User manual

Grohe EUROSMART COSMOPOLITAN E 36 339 User manual

Grohe

Grohe EUROSMART COSMOPOLITAN E 36 339 User manual

Grohe Tectron 38 698 User manual

Grohe

Grohe Tectron 38 698 User manual

Grohe Atrio 19 392 User manual

Grohe

Grohe Atrio 19 392 User manual

Grohe Eurodisc Cosmopolitan 19 573 User manual

Grohe

Grohe Eurodisc Cosmopolitan 19 573 User manual

Popular Plumbing Product manuals by other brands

Moen SANI-STREAM 8797 manual

Moen

Moen SANI-STREAM 8797 manual

Cistermiser Easyflush EVO 1.5 manual

Cistermiser

Cistermiser Easyflush EVO 1.5 manual

Kohler Triton Rite-Temp K-T6910-2A installation guide

Kohler

Kohler Triton Rite-Temp K-T6910-2A installation guide

BEMIS FNOTAB100 Installation instruction

BEMIS

BEMIS FNOTAB100 Installation instruction

Hans Grohe ShowerTablet Select 700 13184000 Instructions for use/assembly instructions

Hans Grohe

Hans Grohe ShowerTablet Select 700 13184000 Instructions for use/assembly instructions

Akw Stone Wash Basin Installation instructions manual

Akw

Akw Stone Wash Basin Installation instructions manual

Enlighten Sauna Rustic-4 user manual

Enlighten Sauna

Enlighten Sauna Rustic-4 user manual

Moen ShowHouse S244 Series quick start guide

Moen

Moen ShowHouse S244 Series quick start guide

Sanela SLWN 08 Mounting instructions

Sanela

Sanela SLWN 08 Mounting instructions

Franke 7612982239618 operating instructions

Franke

Franke 7612982239618 operating instructions

Heritage Bathrooms Granley Deco PGDW02 Fitting Instructions & Contents List

Heritage Bathrooms

Heritage Bathrooms Granley Deco PGDW02 Fitting Instructions & Contents List

Tres TOUCH-TRES 1.61.445 instructions

Tres

Tres TOUCH-TRES 1.61.445 instructions

STIEBEL ELTRON WS-1 Operation and installation

STIEBEL ELTRON

STIEBEL ELTRON WS-1 Operation and installation

Miomare HG00383A manual

Miomare

Miomare HG00383A manual

BELLOSTA revivre 6521/CR1 quick start guide

BELLOSTA

BELLOSTA revivre 6521/CR1 quick start guide

American Standard Heritage Amarilis 7298.229 parts list

American Standard

American Standard Heritage Amarilis 7298.229 parts list

BorMann Elite BTW5024 quick start guide

BorMann

BorMann Elite BTW5024 quick start guide

Moen 1225 quick start guide

Moen

Moen 1225 quick start guide

manuals.online logo
manuals.online logoBrands
  • About & Mission
  • Contact us
  • Privacy Policy
  • Terms and Conditions

Copyright 2025 Manuals.Online. All Rights Reserved.