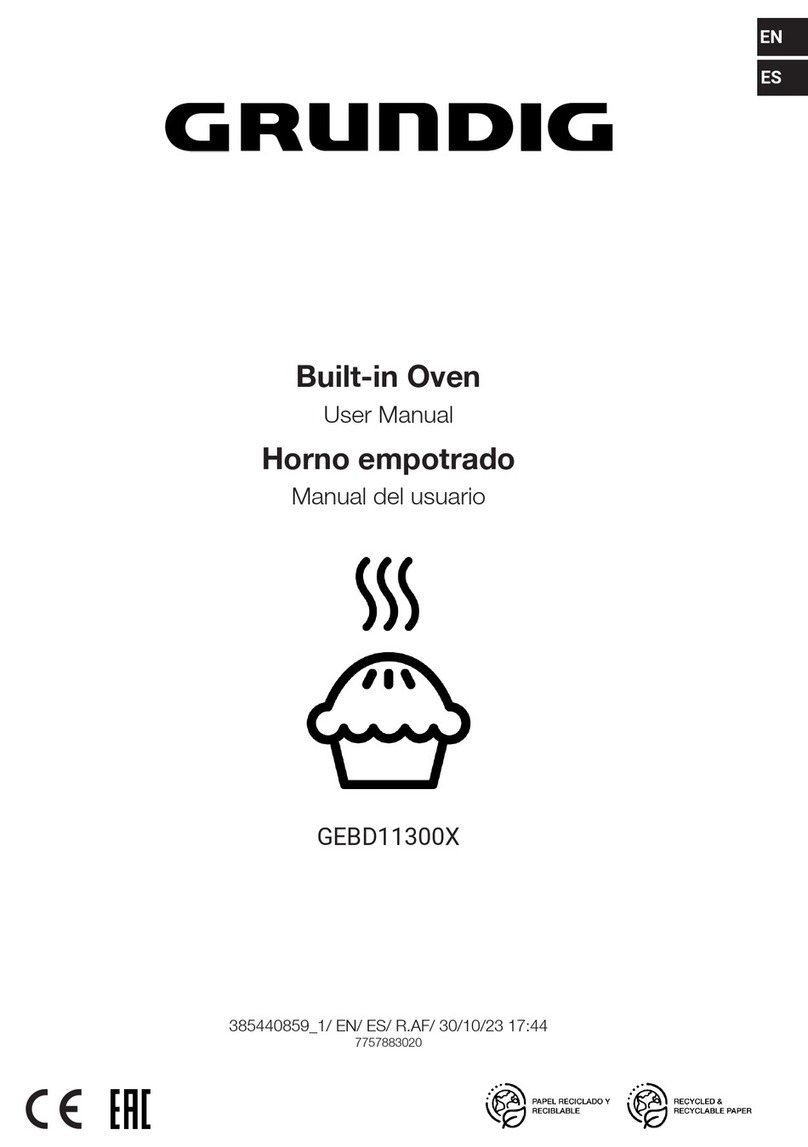
Grundig GEKMD 45000 B User manual
Other Grundig Oven manuals
Grundig
Grundig GEBD19401BHAI User manual

Grundig
Grundig Edition 75 Backofenset User manual

Grundig
Grundig GEBM19300DXP User manual

Grundig
Grundig GEKW19400DX User manual

Grundig
Grundig GEDM12300B User manual
Grundig
Grundig GEBM19300BMP User manual

Grundig
Grundig GEBM19400DXMPH User manual

Grundig
Grundig GEBM19301BC User manual

Grundig
Grundig GEBM12600BHI User manual
Grundig
Grundig GEBM11301XP User manual
Grundig
Grundig GEKW19400B User manual
Grundig
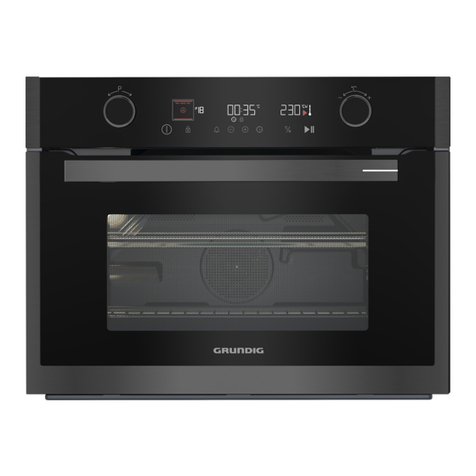
Grundig GEKW19400DX User manual
Grundig
Grundig GEBM11301XC User manual

Grundig
Grundig GEBD19300DX User manual

Grundig
Grundig GEBM19600DXHI User manual
Grundig
Grundig GEBM19300BC User manual

Grundig
Grundig GEKW12300B User manual

Grundig
Grundig GEBM19400DXPH User manual

Grundig
Grundig GEBD19401DXHI User manual
Grundig
Grundig GEDM12300W User manual


