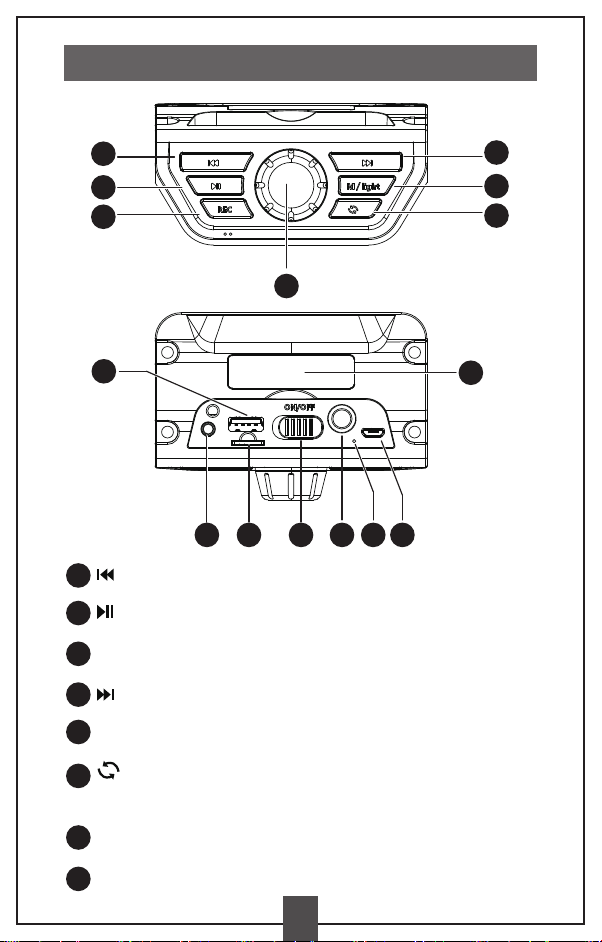
Gsou M1 User manual

PARTY SPEAKER
Manual
M1

INTRODUCTION
Button:
Button:
Button:
M/Light Button: Short press to switch mode.
Long press Turn on/Off Dazzle lamp.
Volume button: select volume increase clockwise/volume
decrease anticlockwise.
Aux interface: connect the aux cable to the speaker, and connect the other
end to the external sound source.
Button:
REC Button:Long press to play the recording file in the U disk / TF mode.short
press to record in the U disk / TF Card mode with the microphone inserted.
1
2
3
1
2
3
4
5
6
4
5
6
7
7
8
15
14
8910 11 12 13
Short press previous track.
Short press to play next track.
depth (EC01 EC02 EC03).In the mode of U disk / TF Card, short press to
switch single cycle / play in sequence.
After inserting the microphone,long press to switch reverberation
Short press Pause/Play.Long press disconnect current bluetooth.
1

FUNCTIONS
Wired microphone port: insert the microphone with 6.35 "connector to
use the microphone.
Charging indicator light: the red light is always on when charging,
and the red light is off when fully charged.
USB charging port: connect the USB cable, and connect the charger or
computer USB port to charge the speaker.
U disk interface: insert U disk to play songs in U disk.
LED display: it can display the status / mode of the speaker.
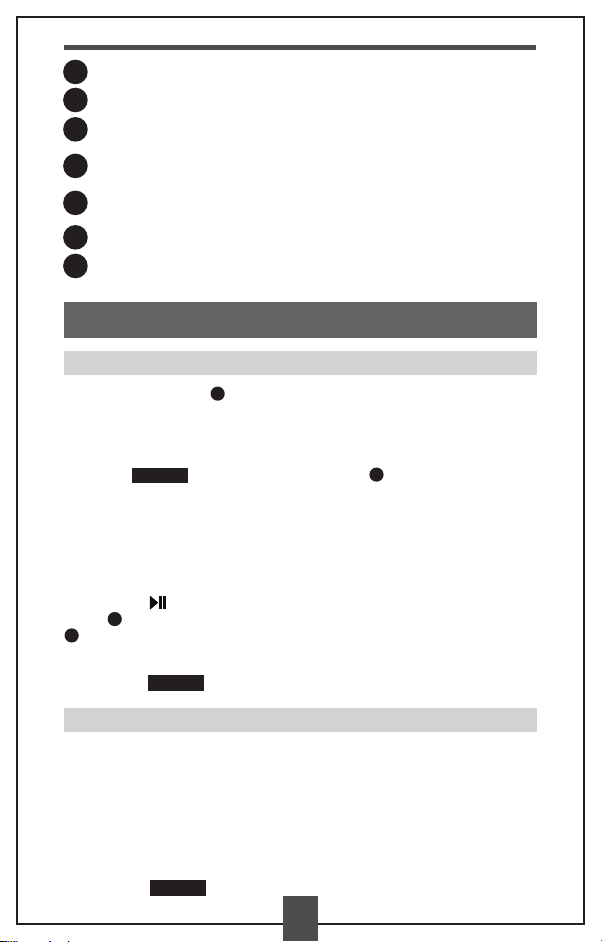
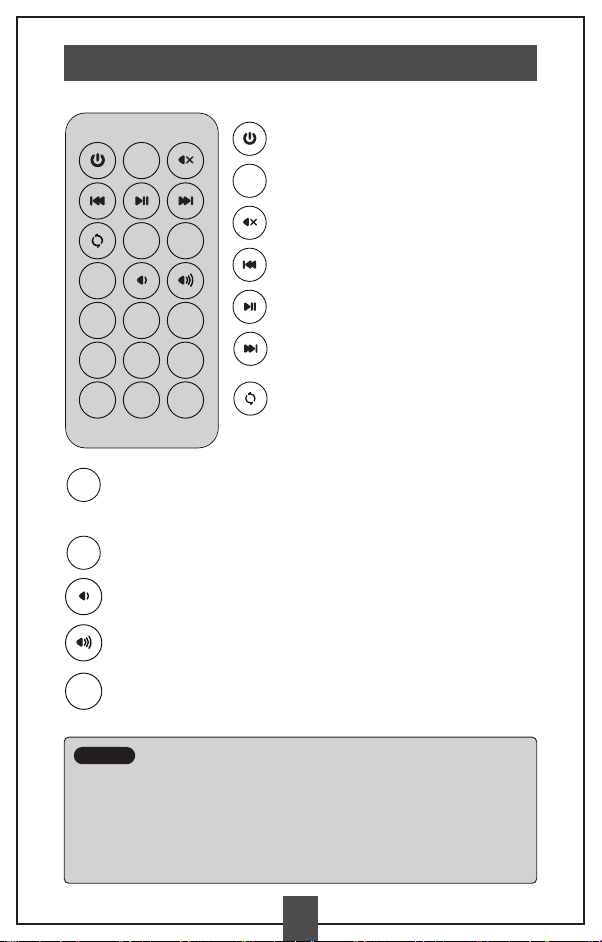
1. Turn the power switch to the left and turn it on. If the speaker is not plugged
into the TF Card / USB / aux cable, the speaker will automatically enter Bluetooth
mode, the display shows “ bLUE ”.
2. If the speaker has one of the TF Card / USB flash disk / aux lines, you need to
short press to switch to the display screen "bLUE" Bluetooth mode is
displayed, Bluetooth to be connected status is displayed,the "blUE" flashes, and
the "blUE" indicator light is always on if the connection is successful.
3. Turn on the Bluetooth of the mobile phone to search for pairing. A successful
pairing tone will indicate that pairing is successful. Turn on the mobile phone
tone,Music player plays music wirelessly.
4. Short press to play / pause; when pausing, the play / pause symbol on the
display flashes; when playing, the play / pause symbol on the display
is always on; long press to disconnect the current connection, and then pair
again.
5. Short press button to switch to other modes.
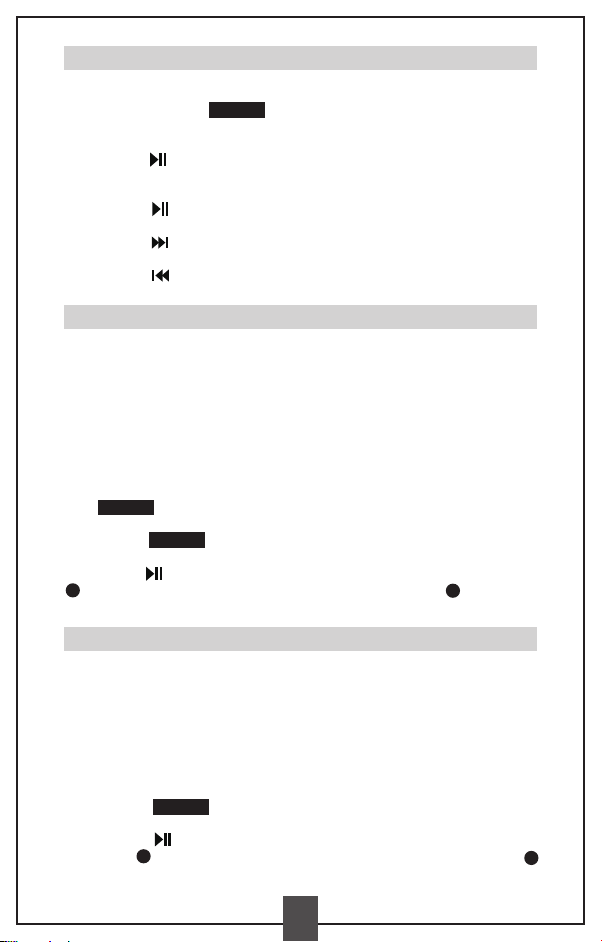
1. After power on, insert the AUX cable to automatically switch to AUX mode
(after plug priority), and "AUX" will be displayed on the display.
2. If the AUX line is inserted in the Power OFF state (without U disk / TFCard),it
will automatically enter the AUX mode when power on.
3. If AUX cable(or U disk/TF Card) are inserted in when Power OFF state,short
press the button again can switch to AUX mode.
4. Short press Button to switch other modes.
BLUETOOTH
TF Card slot: Insert TF Card to play music.
Power switch: Power ON/OFF.
9
10
15
10
15
15
11
12
13
14
AUX
15
M / light
M / light
M / light
2

Maximum U-disk capacity supported: 32G
Supported song formats: MP3 WMA WAV FLAC APE .
USB MODE
Maximum TF card capacity supported: 32G
Supported song formats: MP3 WMA WAV FLAC APE.
TF CARD MODE
Default search frequency:87.5-108MHZ
1. Power on,short press button to switch FM mode,the FM frequency
will be displayed.
2. Long press enter into auto searching,after the station search is completed,
the station will be saved automatically.
3. Short press button Play/Pause.
4. Short press button to play next station.
5. Short press button to play previous station.
1. Insert the U-disk after power on, the speaker will automatically detect and
enter the U-disk mode (plug-in priority), and "USB / TF" will be displayed.
2. If the U disk is inserted in the Power OFF state (no TF card is inserted), the
speaker will automatically enter the U disk mode after power on.
3. If the U disk is inserted in the Power OFF state (with the TF card inserted),
press the key again to switch to the U disk mode.
4. Short press to switch to other modes.
5.Short press to play/pause; when pause, the play/pause symbol on the display
flashes; when playing, the play / pause symbol on the display is always on.
1. Insert the TF card after power on, the speaker will automatically detect and
enter the U-disk mode (plug-in priority), and "USB / TF" will be displayed.
2. If the TF card is inserted in the power OFF state, it will enter TF mode
automatically after power on.
3. Short press to switch to other modes.
4. Short press to play / pause; when pause, the play / pause symbol on
the display flashes; when play, the play / pause symbol on the display
is always on.
FM RADIO
M / light
M / light
M / light
M / light
15 15
15 15
3

TF-AUX-FM-Bluetooth-U disk-TF (cycle)
1. After power on, insert the microphone with 6.35" interface, and the speaker will
automatically enter microphone mode.
2. Insert the microphone with 6.35" interface before power on. After power on, it
needs to plug in and unplug the microphone interface again, so that the
microphone can work normally.
Low voltage indication: battery voltage < 3.4V, battery symbol flashes on display .
When charging, the indicator light is on, and the indicator light goes out when
the battery is full.
Mode switching sequence
MICROPHONE MODE
Low voltage state
Charging state
Turn the power switch to the right to turn off, and then turn the power switch
to the left to turn on;
Reset after crash
Set the playback volume of the speaker and turn it off. The volume of the speaker
will be memorized next time it is turned on, the same as last time.
Volume memory
OTHER
SPECIFICATIONS
Bluetooth version:
Driver spec:
Size:
Net weight:
Frequency response:
Sensitivity:
S/N ratio:
Distortion:
Working distance:
Transmission Power:
5.0
Φ5.25in 2Ω/15W
246*156.5*342 mm
1900 g +/- 50 g
100HZ - 20KHZ
80dB
≥85dB
≤1% @ 10W
about 33 feet/ 10M
Class2, ≤4dbm
After power on, the mode priority of the speaker is: TF Card - U disk -AUX - Bluetooth, if
not inserted, skip the current mode and enter the next mode automatically;
Notice:
15
12
10
10
4

CONTAIN
REC
M / light
USB
Charge
Cable x1
M1x1
Manual x1
Bluetooth profiles:
Working current:
Working voltage:
Charging voltage:
Charging current:
Battery capacity:
Static standby current under shuttdown status:
Static standby current under power on status:
Charging time:
Playtime at full volume:
Playtime at 60% volume:
Waterproof:
A2DP, AVRCP, HFP
≤1200mA
3.3 - 4.2V
DC 5V
≤1000mA
3600mAh
≤2uA
≤170mA
about 4-5 hours
about 2.5 hours
about 7 hours
IPX6
IPX6, this speaker is fully water resistant and dust proof. Do not soak it under water.
Notice:
Remote Control x1 Wired Microphone x1
Mode
REC Light
1
0
2 3
4 5 6
7 8 9
5

REMOTE CONTROL
Notice:
Mode
REC Light
1
0
2 3
4 5 6
7 8 9
1. When using the remote control, the remote control needs to face the front of
the speaker as far as possible (speaker direction); The distance from the speaker
should not exceed 6 meters.
2. For the first time using the remote control, you need to pull out the transparent
insulating strip at the bottom. Otherwise, the remote control will not works.
3. The songs are sorted according to the chronological order of copying the
songs to the U disk / TF card.
Mode
Short press ON/OFF(Turn the power switch
to the left and turn it on.)
Short press to switch mode.
Short press Mute/Un-mute
Short press previous track
Short press next track
Short press Pause/Play.
Long press disconnect current BT.
After inserting the microphone,long press to
switch reverberation,depth (EC01 EC02 EC03).
In the mode of U disk / TF Card, short press
to switch single cycle / play in sequence.
REC
Light
0~9
In U disk / TF card mode and the microphone is inserted, short press
recording / short press again to cancel recording;
long press to play recording file / long press again to cancel
playing in U disk / TF mode.
Short press turn ON/OFF Dazzle lamp.
Short press to increase volume
Short press to decrease volume
Speaker in U disk and TF mode, short press to play the corresponding
song in U disk / TF card.
It supports a combination of up to two digits (From 1~ 99)
6

WIRED MICROPHONE INSTRUCTION
1.Please power on SPLASH-XTREME and insert the wired microphone into the
SPLASH-XTREME slot, and then power on the microphone. After that, the “MIC”
wording appears in the SPLASH-XTREME screen display.
2.If the wired microphone is inserted while SPLASH-XTREME in power off status,
there is no any working function for the microphone. You will need to re-insert the
microphone.
Your speaker is covered by a limited warranty. It is backed by 1 year performance
warranty against any manufacturing defects in material or workmanship from the
date of original purchase. This warranty entitles the purchaser to get the product
repaired or replaced under the following conditions:
WARRANTY POLICY
The company reserves the right to the product modification for appearance
and function,which is subject to change without prior notice.
Notice:
◆The warranty applies to the original purchase, Proof of original purchase is required.
◆The warranty does not cover the damage caused by misuse, abuse or
improper storage.
◆In no event shall be responsible for any direct, incidental, consequential or
other damages of any kind.
7

This device complies with Part 15 of the FCC Rules. Operation is subject to the
following two conditions:
(1) this device may not cause harmful interference, and
(2) this device must accept any interference received, including interference that
may cause undesired operation.Changes or modifications not expressly approved
by the party responsible for compliance could void the user's authority to operate
the equipment.
NOTE: This equipment has been tested and found to comply with the limits for a
Class B digital device, pursuant to Part 15 of the FCC Rules. These limits are
designed to provide reasonable protection against harmful interference in a
residential installation. This equipment generates, uses and can radiate radio
frequency energy and, if not installed and used in accordance with the instructions,
may cause harmful interference to radio communications. However,there is no
guarantee that interference will not occur in a particular installation.
If this equipment does cause harmful interference to radio or television reception,
which can be determined by turning the equipment off and on, the user is encouraged
to try to correct the interference by one or more of the following measures:
-- Reorient or relocate the receiving antenna.
-- Increase the separation between the equipment and receiver.
-- Connect the equipment into an outlet on a circuit differentfrom that to which the
receiver is connected.
-- Consult the dealer or an experienced radio/TV technician for help.
The device has been evaluated to meet general RF exposure requirement.
The device can be used in portable exposure condition without restriction.
FCC WARNING >>>
8
Table of contents
Other Gsou Speakers manuals