10
Lesson 3a: Scan and Read. (bills, phone book, tables, spreadsheets).
Steps:
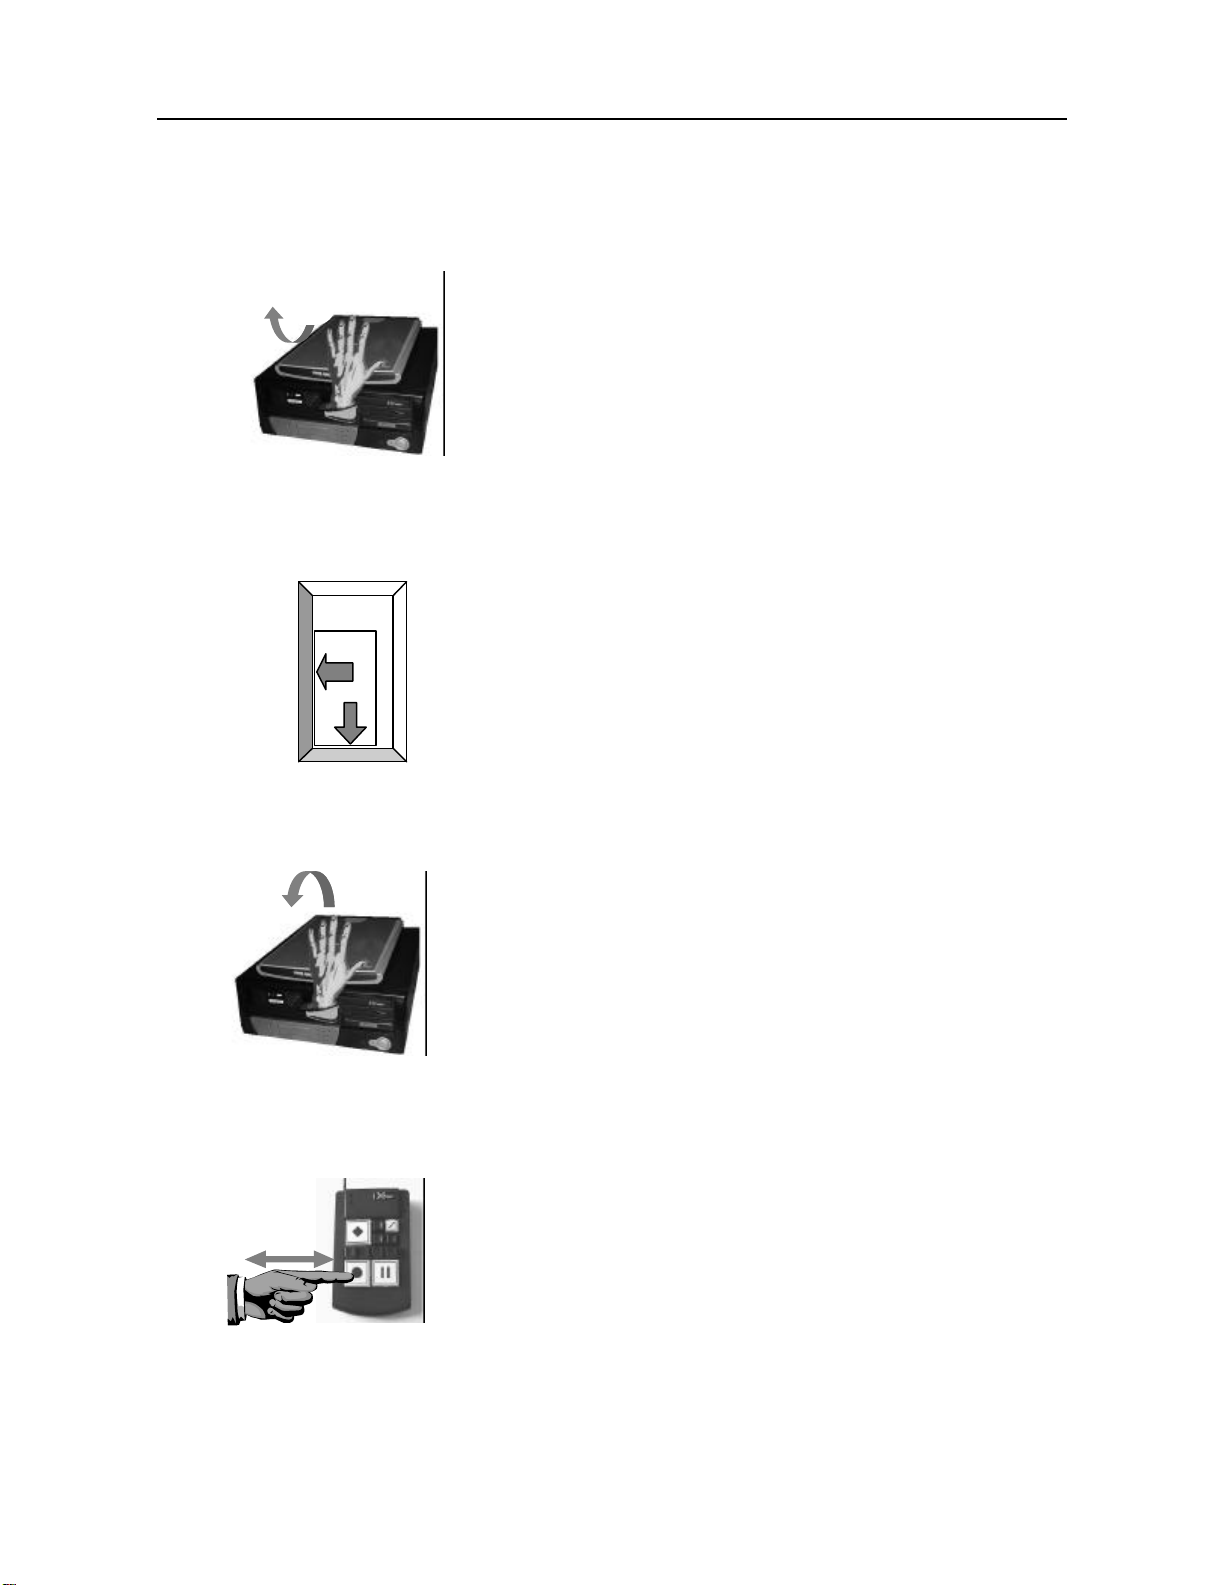
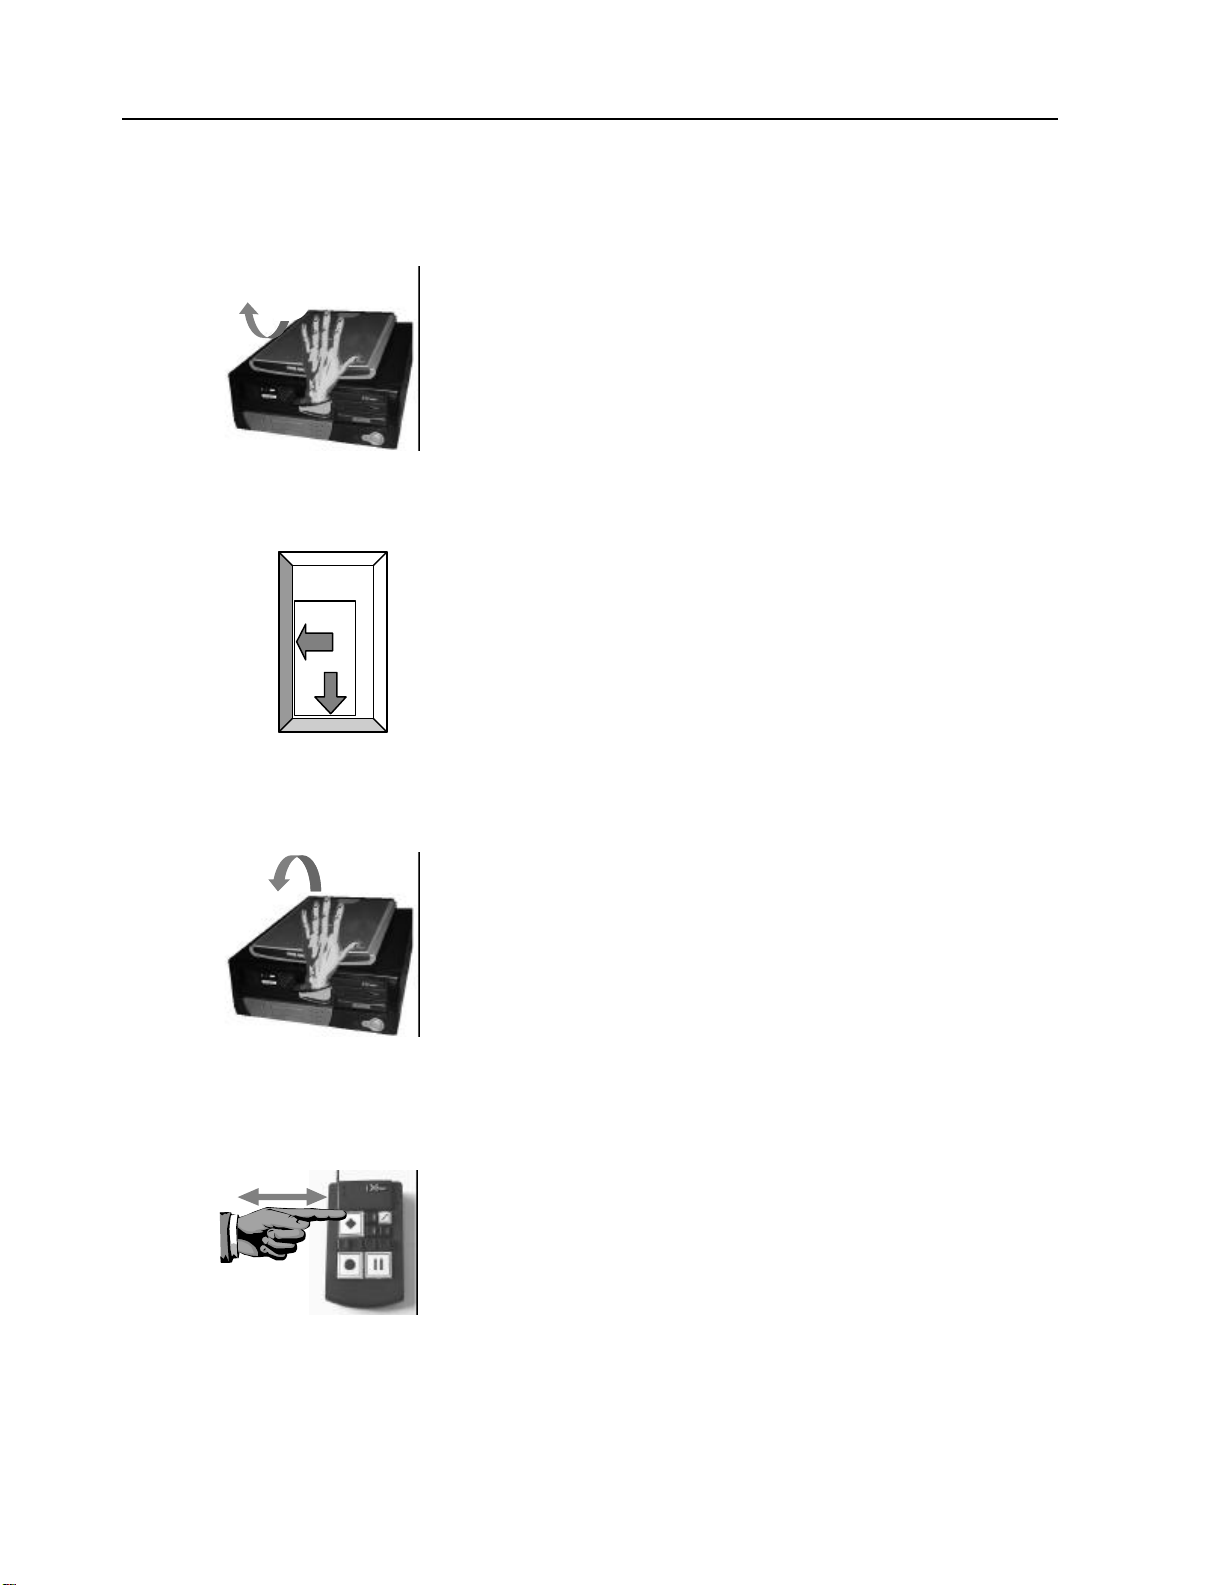
1. Lift the Scanner Lid.
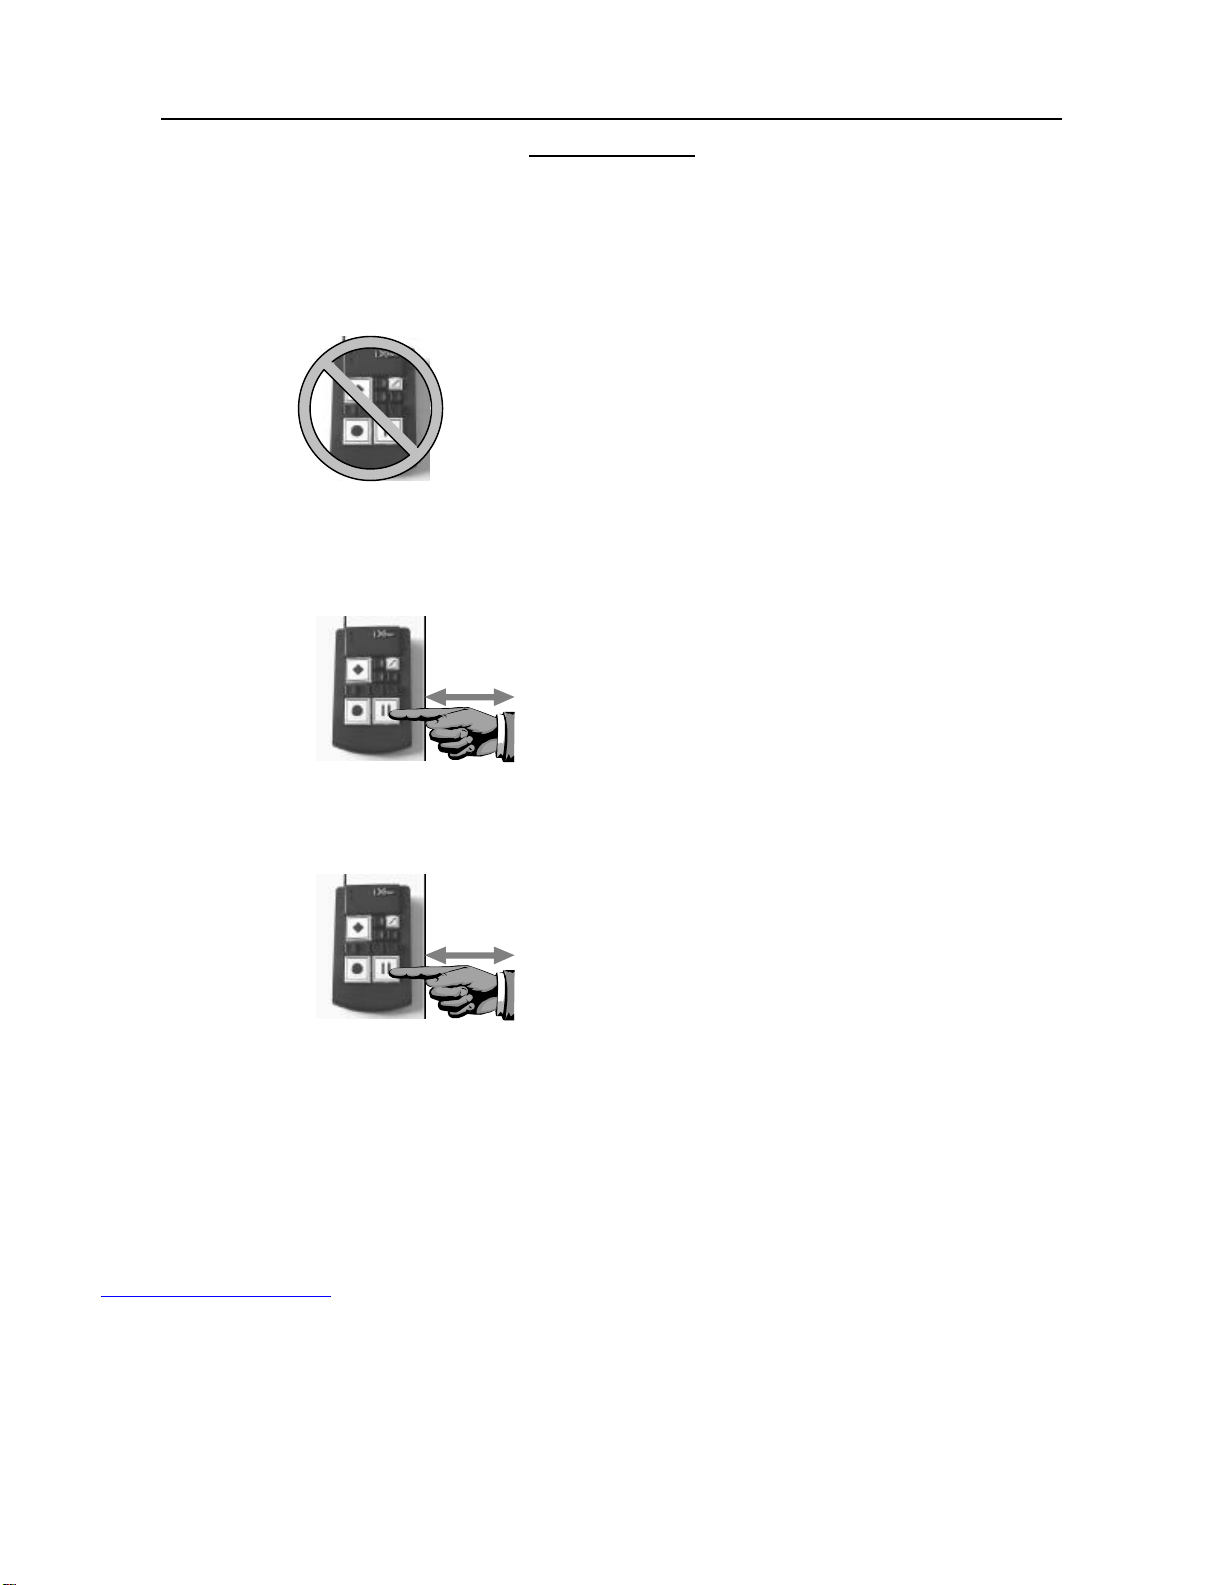
2. Place a document onto the scanner
glass.
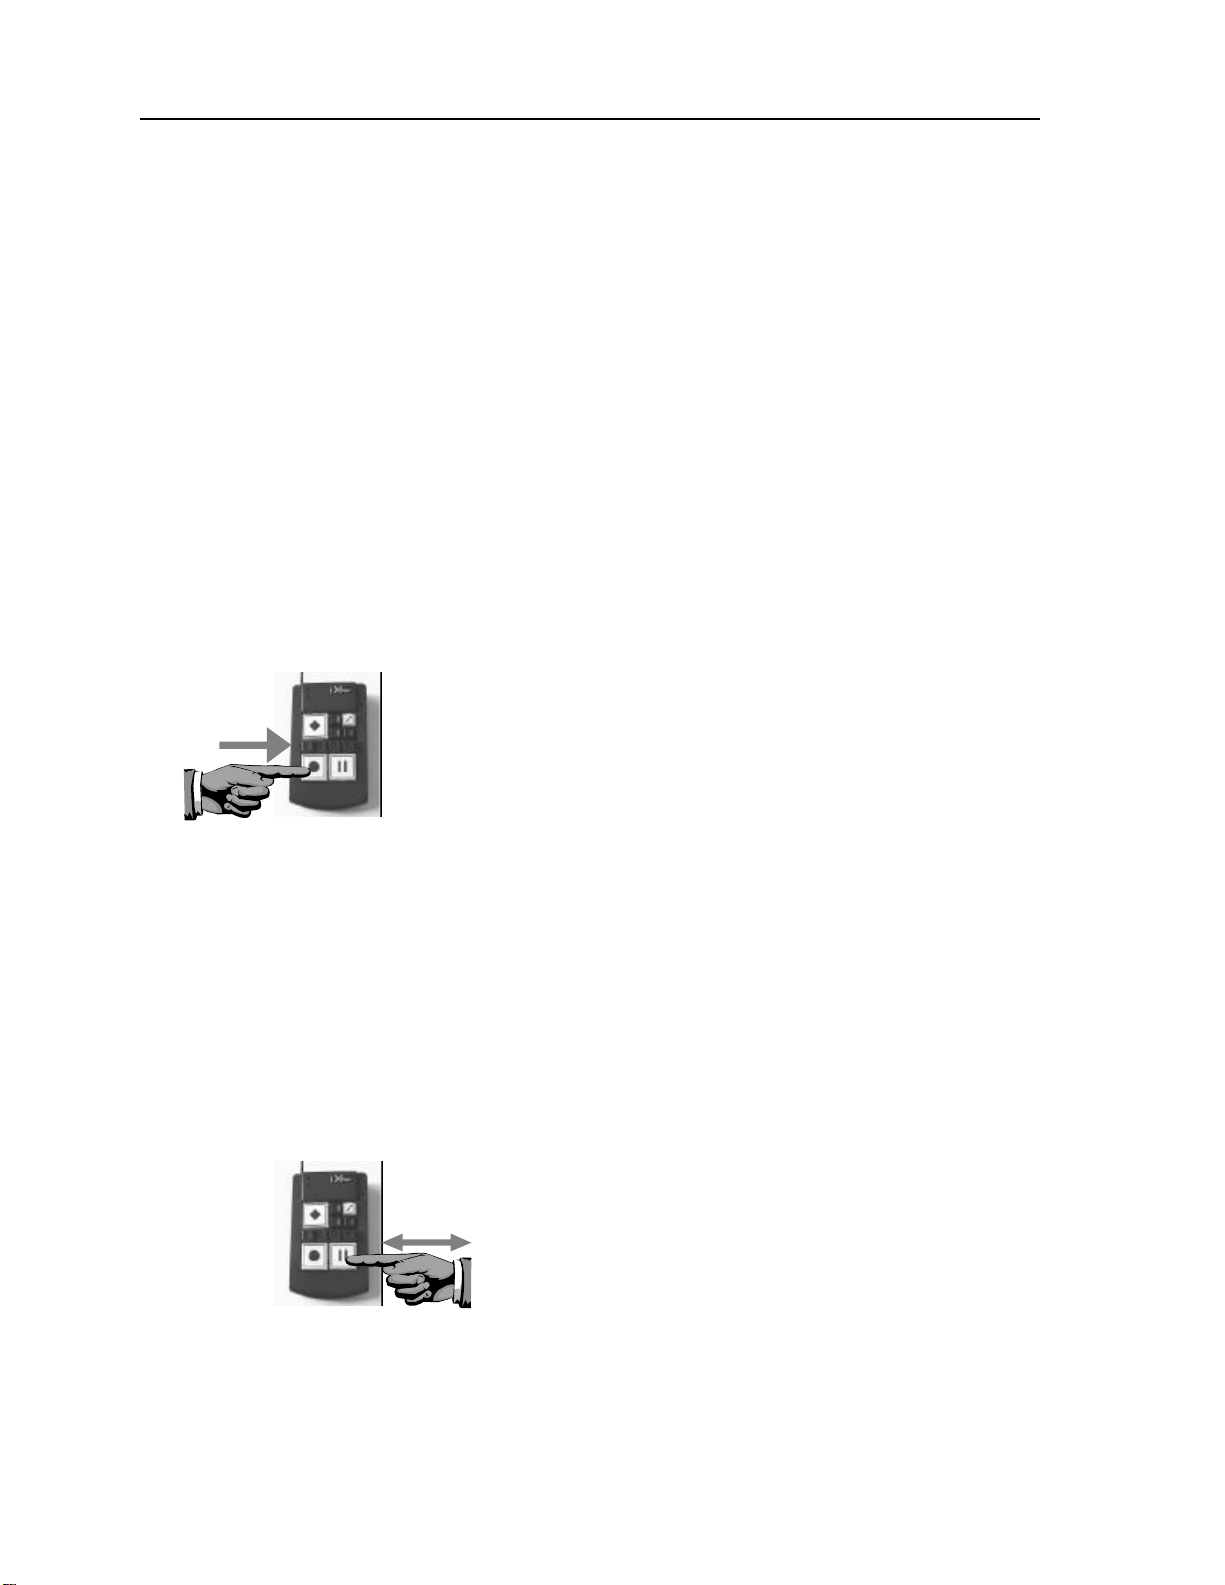
3. Lower the scanner lid.
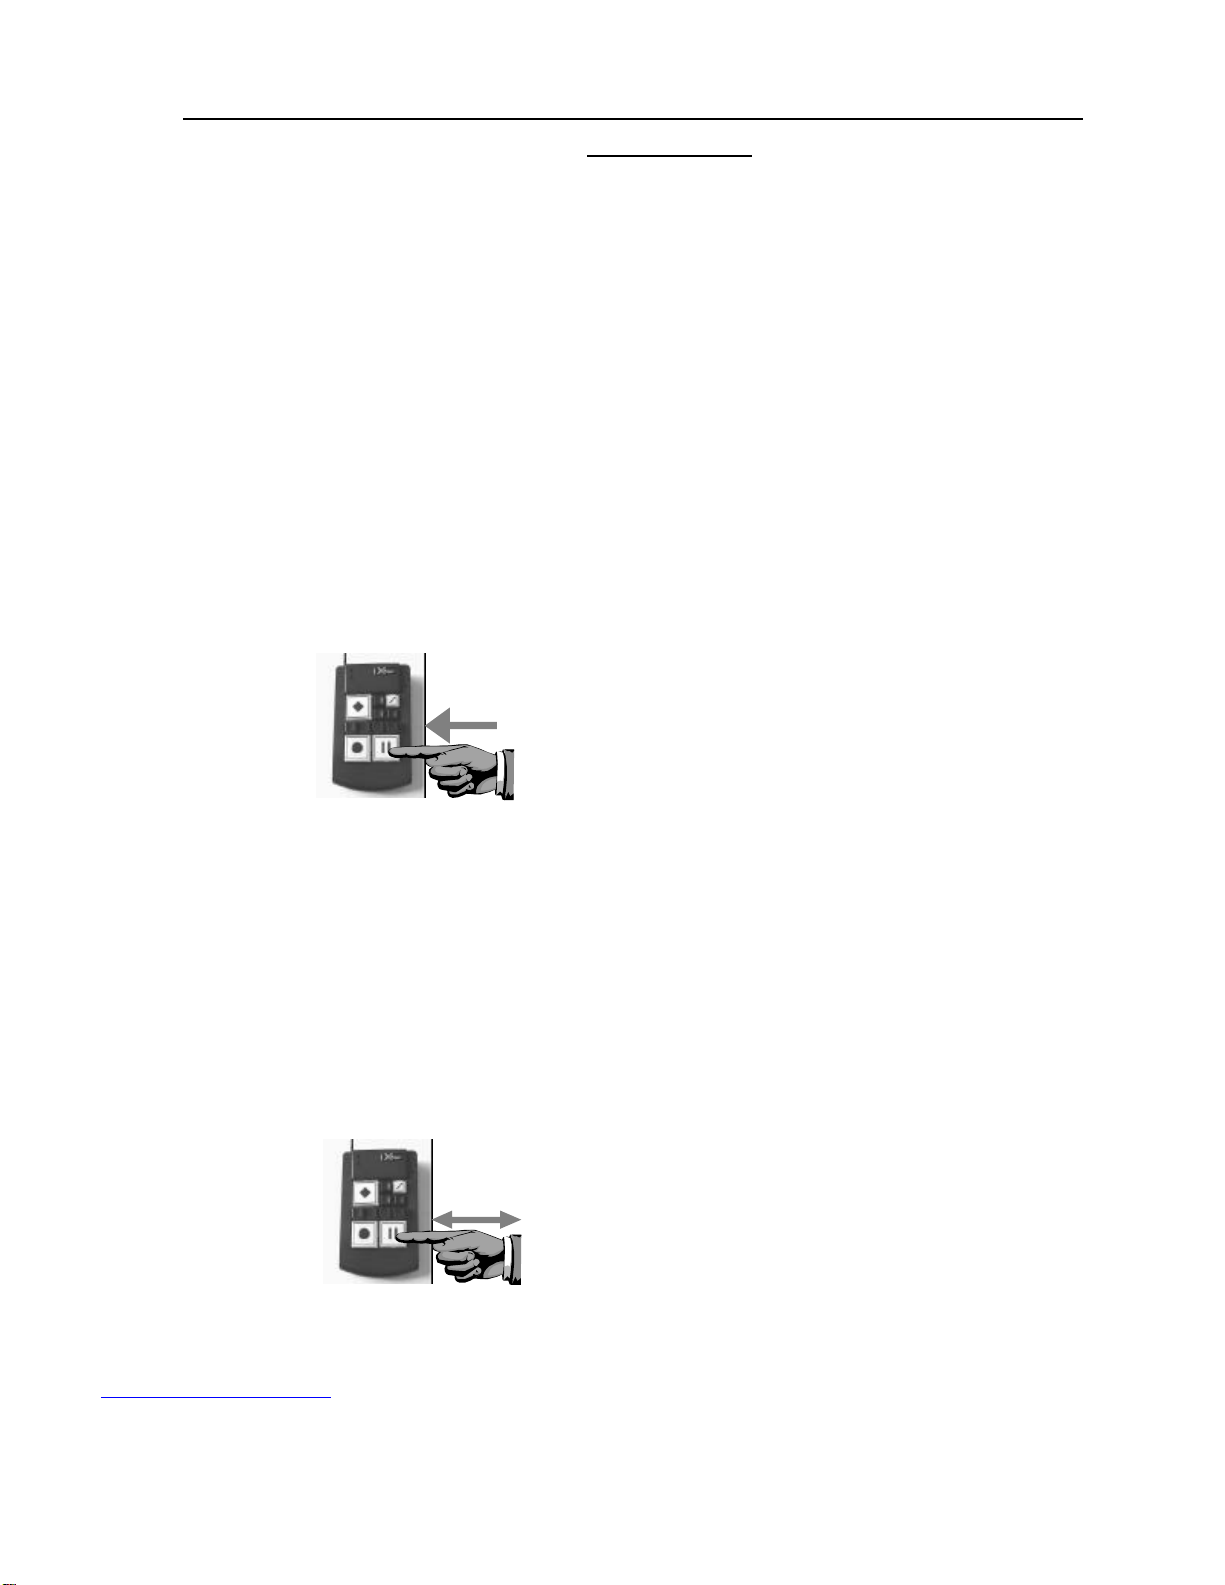
4. Press the Mode Key.
How: Place your hand on top of the Extreme Reader’s
Scanner. Slide your hand toward yourself until you
reach the Top/Front edge of the scanner. Lift the
thin plastic lid up and away from you, just like you
would open a box lid. The scanner’s glass is now
exposed.
How: Place the printed side of any paper on the scanner
glass facing down so that what you wish to have
read is touching the scanner glass. It is best to slide
the paper such that it lines up with the Front and
Left edges of the scanner glass. A plastic lip is
present to assist in lining up the page properly.
How: Carefully and slowly, reach for and lower the
scanner’s lid back to it’s original location.
Depending on the thickness of your reading
material, the lid may not close completely. In the
case of reading thick material, it would be best if
slight pressure were placed on the top of the
partially closed scanner lid.
How: The Mode Key can be found on the keypad at the
Top/Left corner (if the keypad cord is pointing
away from you). The Mode key has a raised
diamond on it that you can feel. Press it completely
down and quickly release the key. The Extreme
Reader will announce that, “You are now in Tabular
Mode.” If for some reason the Extreme Reader
announces that you are in a different mode, press
the Mode Key repeatedly until it says, “You are
now in Tabular Mode.”