5
After Sales Helpline 0345 640 2020
HOW TO USE
Push the On/Off Switch forward to turn on your vacuum. Backwards to turn off your vacuum.
1. Picking up dry debris:
Use your vacuum to pick up dirt, dust, food crumbs, etc. from bare floors, rugs, counters, upholstered
furniture, automobile interiors, etc. After dry clean-ups, empty and clean the Dirt/Liquid container
before picking up liquid or wet spills.
2. Picking up liquids or wet debris:
Use your vacuum to pick up liquid spills and wet debris. For better liquid clean-ups on hard surfaces
like counter and glass tops, insert the Squeegee & Upholstery Brush into the Suction Nozzle. Pull the
squeegee side through the liquid to assist the clean-up whilst vacuuming to collect the liquid.
The liquid capacity of the Dirt/Liquid Container is 175mL.
Hold the vacuum with the Suction Nozzle pointing vertically down towards the floor, the Dirt/Liquid
Container is full when the liquid level is about 3 inches up from the suction end.
After liquid clean-ups, empty the Dirt/Liquid Container and thoroughly clean the Dirt/ Liquid Container,
and Filter to prevent the formation of mould and mildew.
MAINTENANCE
Running Time
• This product may be used for up to 20 minutes continuously and then allowed to cool for 10 minutes
before using again. This protects the motor from damage and prolongs the life of the product.
Operating And Maintenance
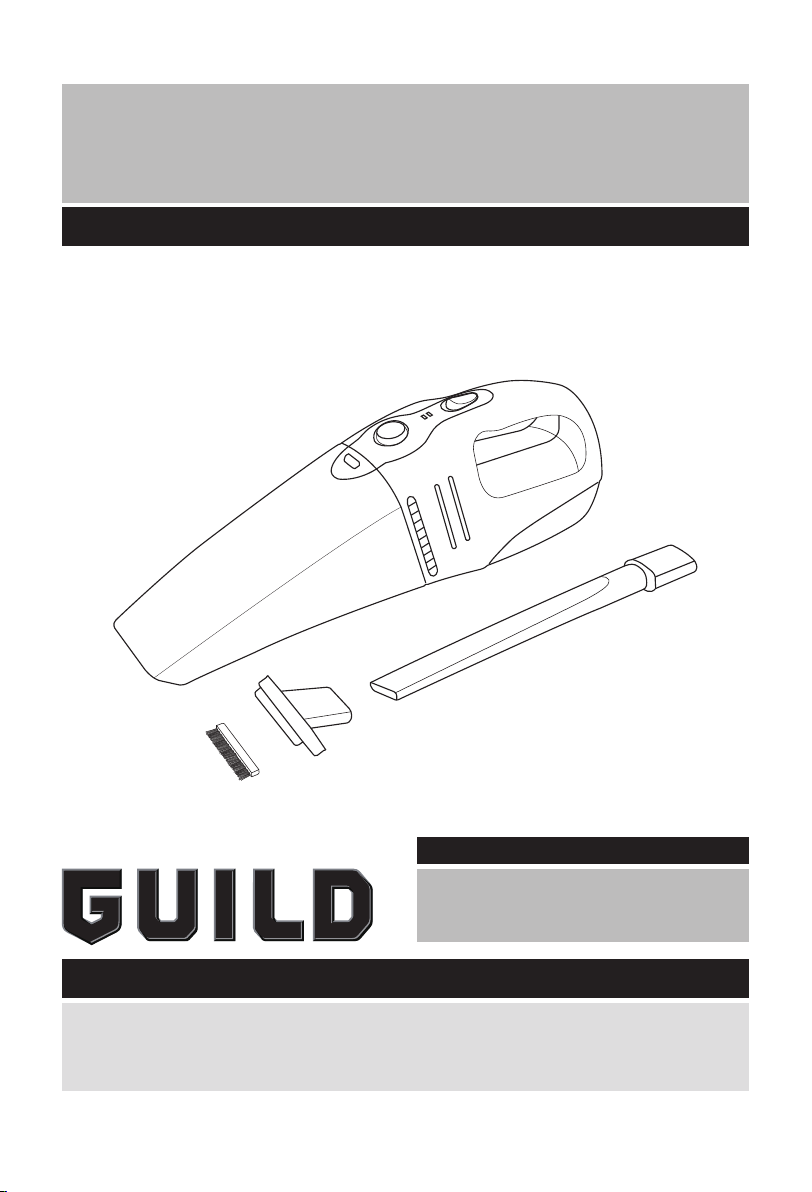
Crevice Tool:
• Use for hard to reach areas such as the side of car seats
Combined Upholstery Brush and Squeegee:
• For wet spills remove the brush by pulling it away from the assembly to give better access to the squeegee
• For dry debris the brush can be left connected to help collect the debris from areas such as car matts
Make sure that the Filter is dry before you operate the vacuum. The Filter should be replaced periodically
as required to provide optimal vacuum performance, or when the Filter has been damaged. Contact after
sales support 0345 640 2020 for spare parts.
IMPORTANT: Never clean the vacuum by completely immersing the vacuum in water! It should be
disassembled for cleaning (refer to exploded diagram on page 4).
Proper use and care of your vacuum will extend the life of the vacuum and its accessories. Thoroughly
cleaning the Filter after each use will improve performance. Mould or mildew may form in the Dirt/Liquid
Container, Filter if they are not properly cleaned.