INSTALLATIONCAUTION
*Locate the TV in the room where light does
not strike the screen directly.
*Total darkness or a reflection on the picture
screen can cause eyestrain. Soft and indirect
lighting is recommended for comfortable
viewing.
*Allow enough space between the TV and the
wall to permit ventilation.
*Avoid excessively warm locations to prevent
possible damage to the cabinet or premature
component failure.
*Do not cover the ventilation openings when
using theTV.
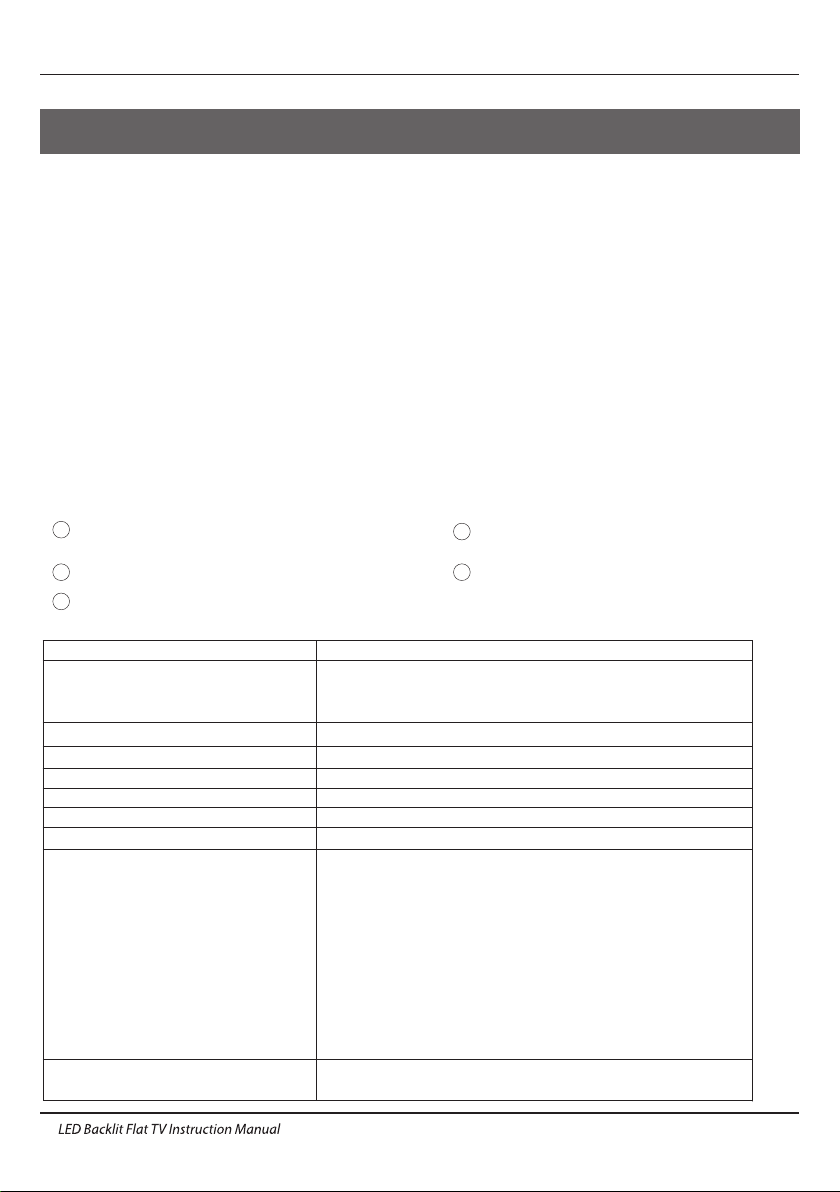
Main parameter
Main features
4 NICAM;
5 T;ime-shift
3
HDMI interface ;
High luminance, wide viewing
angle;
2
Used as Television, display terminal,
PC display;
1
Never tamper with any components inside the
TV, or any other adjustment controls not
described in this manual. All LED-TV's are high
voltage electrical equipment.
When you clean dust or any water drops off the
SCREEN or CABINET or around any of the
buttons or connectors, the power cabled should
be removed from the power socket. Wipe the TV
with a soft, dry, dust free cloth.
During thunderstorms, unplug the power cable
and aerial / antenna cable to prevent damage to
your TV and any other devices connected to it.
All repairs to this TV should only be performed
by qualified TV service
personnel.
02 Introdution
Introduction
Panel
PAL-B/G ,I , D/K
PAL/SECAM/MPEG2/MPEG4/H.264
AC 100 -240 V 50/60Hz
Composite video input >=350
YPbPr >=400
TV System
Video Signal System
Input Power Voltage
Power consumption
Standby Power consumption
Audio Output Power(THD ≤7%)
Signal Input/Output
Horizontal definition (TV line)
SECAM-B/G , D/K , NTSC ,
DVB-T, DVB-C,DVB-T2
1200(DTV);99(ATV)Storage channel number
78W
2x8W
≤0.50W
43"
05
High-Definition Multimedia Interface (HDMI) x 3
Composite Video Input x 1
Audio Input x 2
Y Cb (Pb )Cr (P r) x 1
USB x 2
RF x 1
LAN x 1
Headphone Output x 1
COAXIAL Output x 1
Analog RGB(VGA) x 1