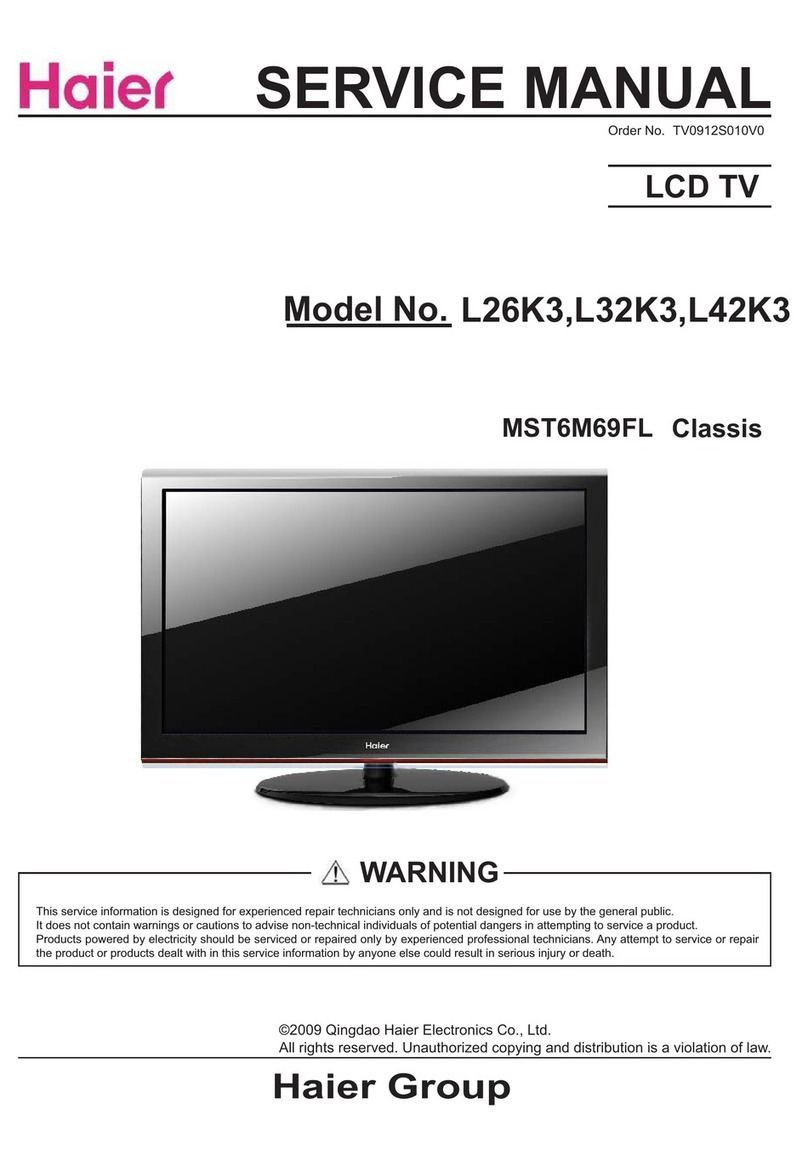
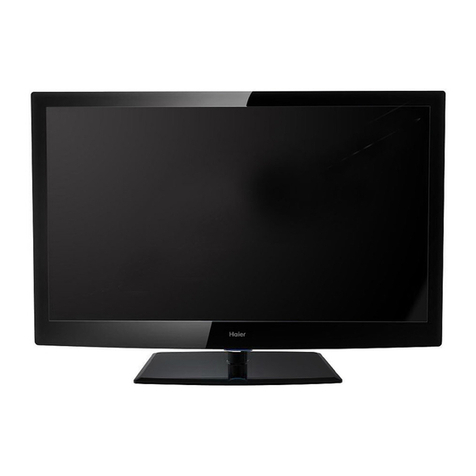
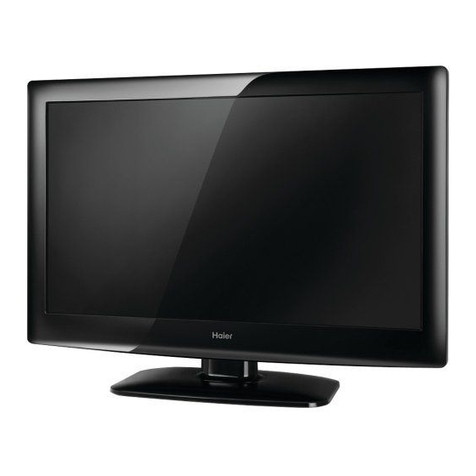
Haier L30CV6-A1 User manual

Owner s Manual
TFT-LCD COLOUR TV
L30CV6-A1
Please read thismanual carefully before
using your televisionand keep thismanual
in a goodplace for futurereference.
30 TFT-LCD TV High Brightness & Contrast NICAM/A2 Stereo Sound

CAUTION
RISK OF ELECTRIC SHOCK
DO NOT OPEN
CAUTION: TO REDUCE THE RISK OF ELECTRIC SHOCK,
DO NOT REMOVE COVER (OR BACK).
NO USER-SERVICEABLE PARTS INSIDE.
REFER SERVICING TO QUALIFIED SERVICE PERSONNEL.
This symbol is intended to alert the user to the presence
shock to persons.
This symbol is intended to alert the user to the presence of
important operating and maintenance (servicing) instructions in the
literature accompanying the appliance.
of uninsulated magnitude to constitute a risk of electric


General Precaution..............................................................................................2
Position of keys and plug-ins...............................................................................4
Front panel........................................................................................................4
Back cover interface..........................................................................................4
Function of remote controller...............................................................................5
Precaution for the remote control and the screen...............................................6
Basic operation....................................................................................................7
Switching your television on and off..................................................................7
Programs selecting and volume adjusting.........................................................7
Quick view function............................................................................................7
Mute function.....................................................................................................7
Choosing the language of the display on the screen.........................................7
Menu sections......................................................................................................8
Programs setting up.............................................................................................9
ing...........................................................................................9
...............................................................................................9
................................................................................................10
Skip the channel ...............................................................................................10
........................................................................................11
Adjusting the picture............................................................................................11
Adjusting the picture settings.............................................................................11
Adjusting the sound.............................................................................................12
...........................................................................................12
TV set up.............................................................................................................13
...............................................................................................13
Signal source setting.........................................................................................13
Changing the picture standard..........................................................................13
Others.................................................................................................................14
Setting the timer................................................................................................14
Auto adjusting function......................................................................................14
Picture still function...........................................................................................14
Teletext function................................................................................................15
External audio and video device connections...................................................17
Connected to PC as a monitor..........................................................................18
Specifications.....................................................................................................19
Troubleshooting guide........................................................................................20
Automatic search
Manual searching
Manual fine tune
Selecting the picture formate.............................................................................12
Adjusting the sound
OSD tune setting
Sound System Select
CONTENTS
The unit shouldnot be placedin a built-ininstallation
such as abook-case, limited spacerack unless proper
ventilation is provided.
- This maycause fire byoverheating or damagethe
unit by falling.
Do not usethe unit indirect sunlight andkeep
it away fromheaters, stoves, andother sources
of heat.
- This maycause a fire.
During storm conditions (especiallywhen there
is lighting) unplugyour TV setfrom the main
electrical outlet andantenna.
Do not connecttoo many extensioncords or
plugs to an outlet.
- This maycause a fire.
Do not attemptto service theunit. Contact an
authorized dealer orrepair service.
- Servicing theunit yourself maycause an
electric shock orfire.
General Precautions
Do not use theunit near water,oil or inflammables.
- This maycause a fire.
Do not usea damaged plugand do notlet the
power cord toucha heat source.
- This maycause an electricshock or fire.
Place the uniton a flatand stable surface.
- The unitcan cause injuryor damage theunit by falling.
Keep the poweradapter away fromany heat source.
- This maycause a fire.
If there areany unusual soundsor smells coming
from the unit, unplugit immediately and contact
an authorized dealeror repair service.

Do not useor store inflammablesubstances
near the unit
- This maycause an explosionor fire.
Place the unitaway from thewall for wellventilation.
- This maycause a fire.
Place the antennaaway from theelectric wire,
not to toucheven though itfalls down bywind.
- This maycause an electric shock.
Do not touch theplug with wet hands.
- This maycause an electric shock.
Be sure toplug in tightlyand hold theplug,not the
cord when disconnecting theplug from the walloutlet.
- This maycause a fire.
If an outsideantenna is connectedto the unit,do not let
the rain water getinto the unit bybending or antenna wire
sealing
- This maycause an electricshock or fire.
Unplug the unitfrom the walloutlet before cleaning.
Use a smooth cloth.Do not use industrialchemicals.
- This maycause an electricshock or fire.
If the connectorbetween the plugand the pinis dusty or
dirty, cleanit. Do not spraydetergent directly on theunit.
- This maycause an electricshock or fire.
Do not touchthe antenna wireand disconnect the
plug from theelectrical outlet duringstorms or lightening.
- This maycause an electricshock or fire.
Disconnect the plugfrom the outletif it isnot
used for along period oftime.
- This maycause an electricshock or fire.
General Precautions continued


Function Of Remote Controller
Buttons and Descriptions
PC input button
switch the signal source to PC
DC power standby button
switch on or standby
Picture still button
Input source switch button
Auto adjustment button(PC status only)
Information display button
Sleep time button
Mute button
Digital button
Quick view button /hold function(text)
Picture Mode Button/size function(text0
I/II A2 and NICAM button
Disappear menu button
Used as the left/right buttons in the OSD
menu screen;used for the adjustment of
volume when the OSD menu is not shown
on the screen.
Used as the up/down buttons in the OSD
menu screen; used for the adjustment of
channel when the OSD menu is not shown
on the screen.
Menu button and used to confirm an action
Channel back and forward buttons
Volume up and down buttons
(The teletext function buttons,refer to
the TELETEXT Application)
Note: The figure of the remote controller
is only for reference.
PC
CH
STILL INPUT POWER
AUTO CLOCK MUTE DISPLAY
EXIT
MENU
VOL
TEXT
?
INDEX TIME
SUBTITLE
MIX
Q.VIEW/HOLD PIC/SIZE
I/II

Preparation For The Remote Control And The Screen
1 Remove the cover of battery
compartment as shown in the figure
Cautions:
1 Ensure thatthere is noobstacle
to signals fromthe remote controller
to the receivingsensor of the
television set.
2 Keep theremote controller away
from heat sourceor high moisture
and avoid impactsto the remote
controller.
3 Do notoperate the remote
controller directly infloodlight
or strong sunlight.
2 Properly load one 1.5V Alkaline
battery(AA) 2 in the compartment
of the remote controller.
Do not mix new and used
batteries.
3 Replace the cover of the battery
compartment.
Do not recharge the
batteries.
TV game/PC
If the TV set is used for playing TV games or PC for a long time, permanent shadows will
appear on the screen. Please follow instructions below to avoid such retrieval damages
to the LCD screen.
---Set the brightness and contrast to a lower level;
---Please avoid display a static image on the screen, otherwise a permanent afterimage
will appear on the LCD screen.
---static image, including sign, video game, computer image, teletext, and 4:3 picture
mode;
---The damages of the LCD screen panel below don't belong to the operation bugs,
therefore they are not included within the guarantee;
Caring of the TV cover and the LCD screen panel:
Unplug the power cable from the outlet on the wall, use a soft cloth moistened with
neutral detergent to clean the cover and the screen.
Don't use benzene, alcohol-based or gasoline to clean the TV.
NOTE:
If the environment temperature is much low, the picture will reach the
normal brightness after a period of time. It is not the trouble of the TV (the picture will
reach a normal brightness after a while).
There might be separate brightness or scotomas on the screen, or there might be some
blue, green or red dots which are dead pixels. These won't affect the LCD screen.

Switching Your Television On And Off
NOTE: If theset is onstate, press thePower button, the set
can switch intothe standby state.
Standby set plug the leadinto an appropriatesocket,
then press thePower Switch buttonon the back,and the
red power indicatorwill light.
1 If the TV is inthe state ofstandby,press the Power key
on the remotecontrol or onthe back panelof the set,then
you can switchstandby to onstate.
2 Press the Power button again toget into thestandby state.
Press CH / buttons ordirect-digit button toselect the
program which youfavorite.
Programs Selecting And Volume Adjusting
Press VOL / keys to adustthe volume .
Press the Q.VIEW/HOLD key to goback to thechannel you
viewed.
Quick View Function
Mute Function
1 press MUTE button, a signwill appear ofthe screen, and
the sound ofthe set iscut off.
2 In order torecover the sound,press the MUTE button or
VOL / buttons.
Choosing The Language Of The Display On The Screen
Display the submenu and selectthe language item.
1 Press the MENU button to selectthe Setup sub menu.
Language English
Off
3 Press buttons toselect the language.
2 Press buttons toselect the Language item.
PC STILL INPUT POWER
AUTO CLOCK MUTE DISPLAY
CH VOL

Tint 50


Manual Fine Tune
3 Press buttons repeatedlyto start fine-tune
until the pictureand the soundbecomes satisfactory.
And press EXIT button to disappearthe menu.
If the reception is clear, you do not have to fine-tune the channel,
as this is done automatically during the search and store operation.
If however the signal is weak or distorted, you may have to fine-tune
the channel manually.
Manual Store
ATM
Fine Tune
Add/Erase Off
Sound System D/K
1 Press MENU button repeatedly toselect Ch.
2 Press buttons toselect Fine Tune.
5 Press EXIT key disappear the menu.
Skip The Channel Which You Don't Want
1 Press buttons ordirect-digit choosing
button to selecta channel youwant to skip.
2 Press MENU button continuously toselect Ch
3 Press buttons toselect Add/Erase.
4 Press buttons toswitch it On.
When you selectchannels with button,this channel
will be skipped,However, youcan also usethe Direct-digit
Choosing button onthe remote controlto select thischannel
directly.
Note recover the skipped channel
1 Use Direct-Digit Choosing button to select the number of the
channel to be recovered.
2 Press MENU button to select Ch.
3 Press button to select Add/Erase and press
to switch into Off.
<V->/<V+> key to change

Tint 50


The information providedon this pageis useful ifyou find
that some channelshave not beenstored during theinitial
set-up process.
There are some different signal sources inthis set, and
you may selectthe signal sourcethat show upas the following
sequence:
2 Press button toselect Source item.
Signal Source Setting
1 Press MENU buttonrepeatedly to selectSetup menu.
3 Press button toselect the signalsource that you
want.
Changing The Picture Size
There are some different signal size inthis set, and
you may selectthe size thatshow up asthe following
sequence: Fill Screen 4:3 Wide Cinema Sub Title.
1 Press MENU button to selectSetup menu.
3 Press button toselect the sizethat you want.
2 Press button to select Size.
4 Alaso you canselect the requiredsignal source by
simply pressing theINPUT or the PC/TV button on theremote
control.
Language English
Source TV
Osd Tone Off
Size Fill Screen
Language English
Source TV
Osd Tone Off
Size Fill Screen
NOTE: In the sub menu, the Source may show up as in the following
sequence:
TV AV SCART AV S-Video SCART RGB YCbCr YPbPr DVI PC

Setting The Timer
NOTE Press CLOCK button on theremote control Ifthe sleep
timer is seton ,the screenwill display. To cancel thesleep
timer function, pressthe CLOCK button repeatedly andselect
0.
PC STILL INPUT POWER
AUTO CLOCK MUTE DISPLAY
Using this function.The TV set can be changed into the
standby status aftera period ofpreset time fromwhen
this function isactivated.
Press CLOCK button to enterthe sub menu then press
button repeatedly andcycle through thepreset time
intervals( 0-10-...-180-240 minutes),press MENU button to
active the function
PC STILL INPUT POWER
AUTO CLOCK MUTE DISPLAY
Auto Adjusting Function
Press the AUTO button on theremote control tostart auto
adjusting the display.
PC STILL INPUT POWER
AUTO CLOCK MUTE DISPLAY
Picture Still Function
Press the STILL button to freeze(orsuspend) the current
screen. you maypress the STILL button or any other key
again to continuethe playing.
NOTE this functiong isonly available inPC mode.
NOTE This function isnot available inPC DVI YPbPr
mode.

TELETEXT FUNCTIONS
Teletext is an information system, broadcast by certain channels,
which can be read like a newspaper . It also provides subtitles for
people with hearing difficulties or those who are unfamiliar with the
language in which a particular programme is being broadcast (cable
networks, satellite channels, etc.).
You can press TEXT button into TEXT mode, press again to leave TEXT
mode. All menu related functions are notavailable in TEXT mode. Only a
few direct button control functions are available in TEXT mode, they are:
1 Page up/down
Result: Use the PRO+/- buttons to browse next or previous page.
2 Page number entering
Result: To select a teletext page either directly enter the page number
using the numeric button pad on the remote control or use the
PRO+/- buttons, or the coloured Fast Text buttons.

TELETEXT FUNCTIONS
MIX
While in Teletext mode press the MIX button will show the teletext data
superimposed on top of the TV picture. Press the MIX button again to revert
back to Full text.
HOLD
Q.VIEW/HOLDPressing the button will stop the teletext page automatically
updating. This feature is very useful where there are several teletext pages
or data on the same page number.
Fast text coloured buttons
Fast text automatically displays the four most commonly used pages that the
broadcaster thinks that you may want to choose next. Press the same
coloured button on the remote control as the coloured link at the bottom of
the teletext page to go directly to that page.
SIZE
PIC/SIZEPressing the button to change from different screen display size.
This feature is very useful as it magnifies the image making the characters
easier to read.
REVEAL
Pressing the button will reveal hidden text. This feature is used to reveal
information such as answers to Teletext on-line interactive puzzles.
TIME
By entering its 4-digit number to enter a secondary page;While in normal TV
mode only, pressing the button TIME will display the teletext time in the top
right corner for a few seconds.
TEXT
Press the TEXT button on the remote control to turn teletext On/Off.
SUBTITLE
SUBTITLEPressing the button will get the teletext decoder to automatically
search for the subtitle page. In NZ the subtitle is usually page 801.
INDEX
Press the INDEX button to show the list of teletext contents

Some external signal sources, such as VCR, video camera or PC,
can be linked to the television.
A/V INPUT
1 Connect the audio output terminal of VCD.
to the AUDIO-IN input terminal of LCD TV;
2 Press button to select multi audio mode;
3 Press PLAY button of the VCD and begin to watch.
INPUT
If we select the S-VIDEO as the signal input terminal
,the picture effect would be better than the (A/V) video input
terminal.
1 Connect the S-VIDEO input terminal of DVD to the
S-VIDEO input terminal of TV
2 Connect the left/right audio output terminal of DVD to
the corresponding terminal
3 Press button repeatedly till you get
4 Press the PLAY button on the DVD player ,and the TV would play
the program of the DVD disk.
INPUT S-VIDEO
S-VIDEO INPUT
AUDIO IN
LR
S-VIDEO
IN VIDEO IN
AUDIO IN
LR
S-VIDEO
IN VIDEO IN
DTV INPUT
1 The chromatism(Y/PbCb/PrCr) terminal connect the
chromatism output terminal of the picture output equipment
such as the DVD,HDTV.and the audio may transfers
through the AUDIO IN terminal.
2 Press the button to select YCbCr mode or the
YPbPr mode
3 Press the PLAY button on the equipment to watch the TV.
INPUT
LR
AUDIO IN Y Cb/Pb Cr/Pr
Headphone port
Plug the headphone in the television headphone port, then the
television program sound will be heard from the headphone, not
by the television speaker. Press VOL+/- buttons to increase or
decrease the sound volume. No sound will be heard if MUTE button
is pressed.
POWER ANT.
PC-
AUDIO IN
HEADPHONE
AUDIO IN
LRLR
SCART
S-VIDEO
IN
AUDIO IN Y Cb /Pb Cr/ Pr
VIDEO IN
EXTERNAL AUDIO AND VIDEO DEVICE CONNECTIONS
ANTENNA INPUT
Connect the CATV or antenna to the
ANT input terminal of TFT-LCD;
NOTE: For better effect of the signal, it is recommended
that you use an outdoor aerial or coaxial cable.
Laser DVD with outputterminal
Table of contents
Other Haier LCD TV manuals

Haier
Haier HL26P2 User manual

Haier
Haier LT15R1BW User manual

Haier
Haier L26V6-A8K User manual

Haier
Haier L32F1120 User manual

Haier
Haier HL55XZK22 User manual

Haier
Haier LD42U7000 User manual

Haier
Haier HL19KN2 User manual

Haier
Haier HL22F1 - Designer F-Series - 22" LCD TV User manual

Haier
Haier L32A9-AK User manual

Haier
Haier LE19B610 User manual

Haier
Haier LE40K6600G User manual

Haier
Haier HL32XK2 User manual

Haier
Haier HL32LE2 User manual

Haier
Haier HLH326BB - 32" LCD TV User manual

Haier
Haier HL55XZK22 User manual

Haier
Haier L24M3HA User manual

Haier
Haier LE32K6000 User manual

Haier
Haier HL19D2 User manual

Haier
Haier LE40B50 User manual

Haier
Haier LET26C400HF User manual