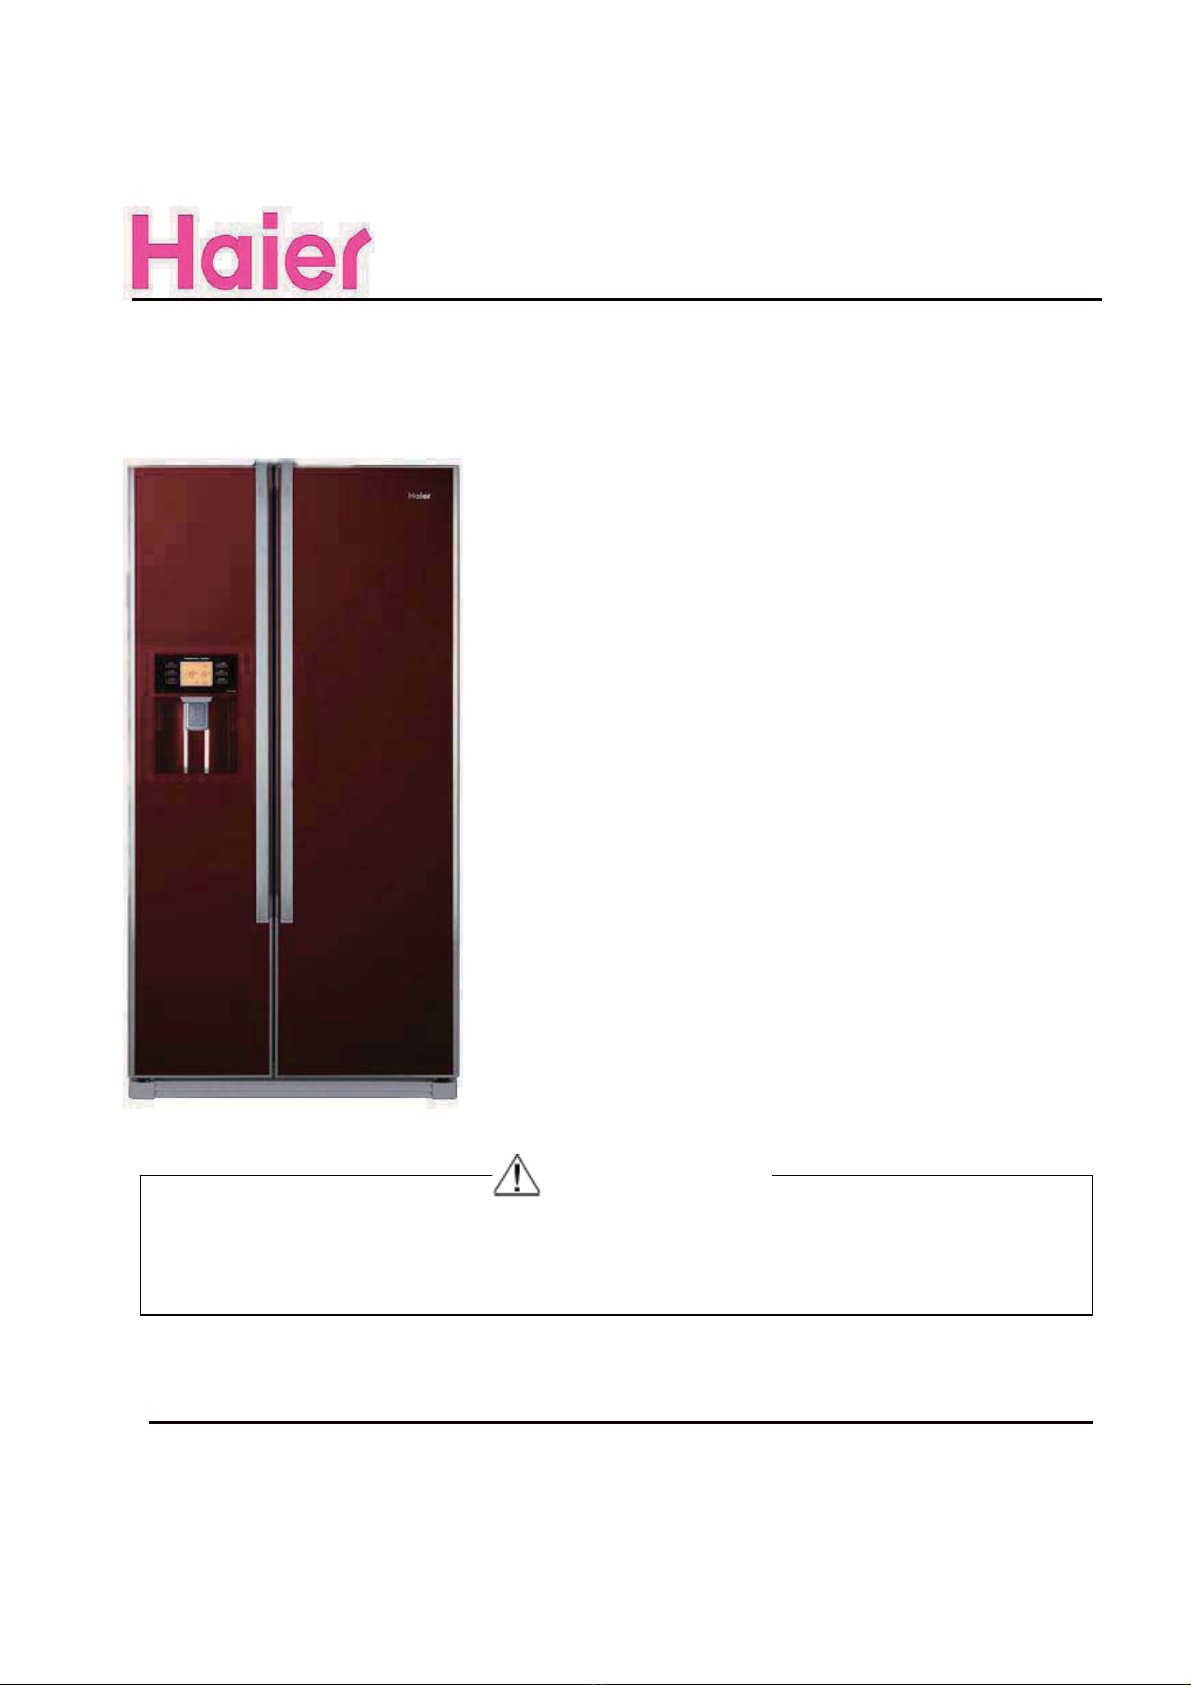
Haier HRF-633CJB User manual

Order No.Ref0912S024V0
Ƽ2009 (HAIER ELECTRICAL APPLIANCES COR. LTD)
All right reserved. Unauthorized copying and distribution is a violation of lawDŽ
Refrigerator
SERVICE MANUAL
MODEL:
HRF-633CJB
This service information is designed for experienced repair technicians only and is not designed for use by the general public. It
dose not contain warnings and cautions to advice non technical individuals of potential dangers in attempting to service a product.
Product powered by electricity should by serviced or repaired only by experienced professional technicians. Any attempt to service
or repair the product or products dealt with in this service information by anyone else could result in serious injury or death.
WARNING
Haier Group

SERVICE MANUAL
Model: HRF-633CJB
2
Issue 2009-12-24
Rev. Ref0912S024V0
Contents
Table of Contents ·········································································································· 2
1. General Information·································································································· 4
1-1. General guideline 4
1-2. Insurance test 4
1-3. How to read this Service Manual 5
2. Product Feature ········································································································ 6
2-1. Specifications 6
2-2. Main Functions and Features 8
2-3. External views 9
2-4. Product Dimensions 9
3.
Disassembly
············································································································ 10
3-1. Remove the doors 10
3-1-1. Remove the kick moulding 10
3-1-2. Dismantles and install the upper decoration strip and cables 10
3-1-3. Dismantle and install the middle and lower hinge 10
3-2. Adjusting the Doors 11
3-3. Assembling the handles 11
3-4. Disassembling the switch 12
3-5. Removing the Air-Duct 12
3-5-1. Removal of fridge air-duct 12
3-5-2. Removal of freezing air-duct 12
3-6. Disassembling 13
3-7.Disassembling the 14
4. Control and display system ····················································································· 15
4-1. Control and display panel 15
4-2.Function adjustment 15
4-3. Sensor Distribution and Malfunction Codes 19
4-3-1. Sensor location description 19
4-3-2. Graphic display of the sensor location 20

SERVICE MANUAL
Model: HRF-633CJB
3
Issue 2009-12-24
Rev. Ref0912S024V0
5. Control principle of electronic component ···························································· 21
5-1. Air Escaper 21
5-2. Control Principle of the Fan motor 21
5-3. Defrost control principle 21
5-4. Ice maker work principle 22
6. System flow principle······························································································· 23
6-1. Refrigeration flow chart 23
6-2. Perspective of the Refrigeration System 24
6-3. Diagram of icemaker water way 24
7. Circuit diagram·········································································································· 25
7-1. Circuit diagram 25
7-2. Main Control PCB diagram 25
8. Trouble shooting······································································································· 26
8-1. Common problems and solutions 26
8-1-1. Food in the fridge storage compartment is frozen 26
8-1-2. The buzzer beeps to alarm 26
8-1-3. No defrosting 26
8-1-4. Neither displaying nor starting when powering on 27
8-1-5. Poor freezing effect accompanied by loud noise 27
8-1-6.Common problems with icemaker system 28
8-2. Examination and Solutions for Other Problems 29
8-3. Checking flow chart 30

SERVICE MANUAL
Model: HRF-633CJB
4
Issue 2009-12-24
Rev. Ref0912S024V0
Chapter 1 General Information
1-1. General Guidelines
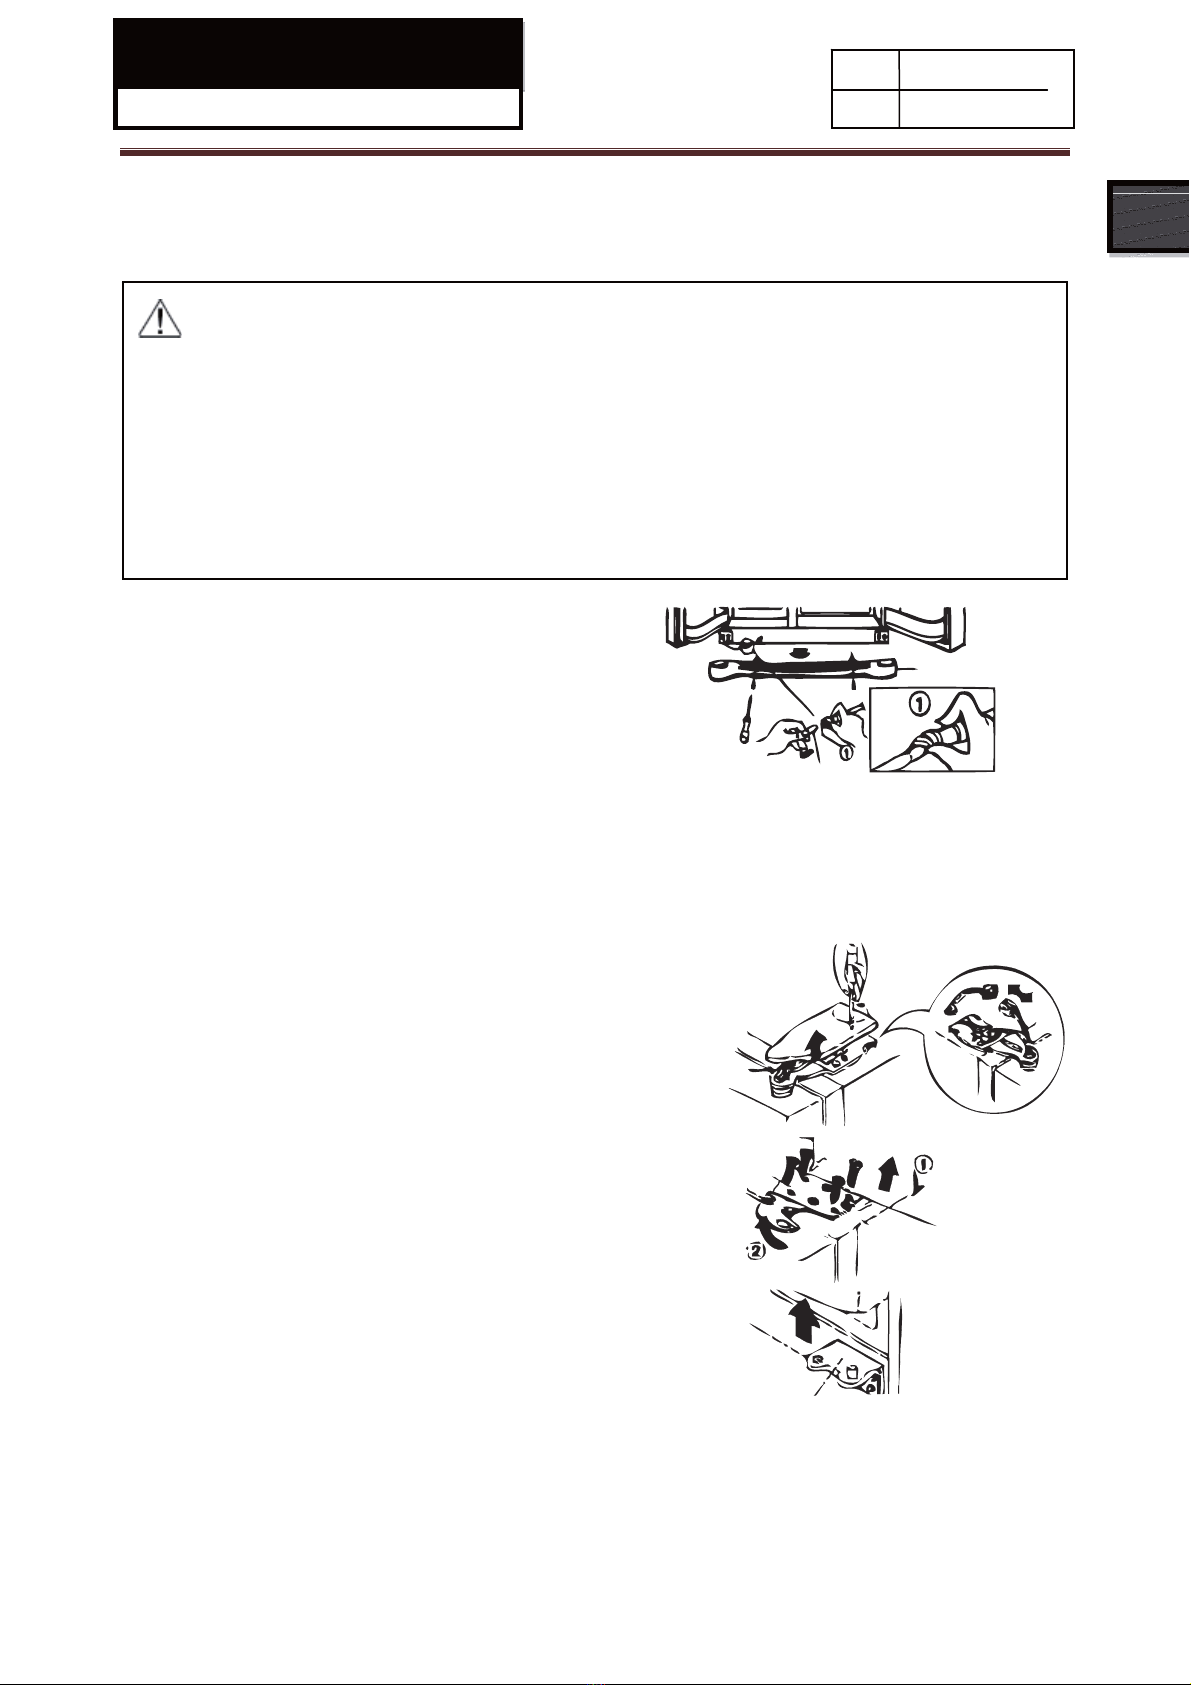
When servicing, observe the original lead dress. If a short circuit is found, replace all parts which
have been overheated or damaged by the short circuit. After servicing, see to it that all the protective
devices such as insulation barriers, insulation papers shields are properly installed. After servicing,
make the following leakage current checks to prevent the customer from being exposed to shock
hazards.
1) Leakage Current Cold Check
2) Leakage Current Hot Check
3) Prevention of Electro Static Discharge (ESD) to Electrostatic Sensitive
1-2. Insurance test
1. Check if there is any leak of current.
2. Cut out the power supply before the repair to avoid an electrical shock hazard.
3. In the case of a live-line test, insulating gloves should be worn to avoid potential electrical shock.
4. Confirm the rated current, voltage and capacity before testing with any kinds of instruments.
5. Watch if the upper door is open when you check something at a lower position.
6. Take out every part in the cabinet before moving the machine, especially things like panels (e.g. glass
shelf).
7. Please wear intact cotton gloves when repair any parts of the evaporator, so that scratches by the
sharp fins can be avoided.
8. If there is a breakdown with the refrigeration system, please surrender the machine to the service
center, else the leaked refrigerant may pollute the atmosphere.
9. The refrigerator use AC of 220V with a frequency of 50Hz.
10. A big fluctuation of voltage (exceed the range 187230V) may cause a start failure of the refrigerator,
a burn-out of the control panel and compressor, or an abnormal sound from the compressor in
operation. In this condition an automatic voltage regulator over 750W should be added.
11. Take care not to damage the supply line. Don’t yank at the line; pull the plug out gently from the
receptacle. Don’t press the line under the cabinet or step on it. Take care not to roll on or damage the
supply line when moves the machine from the wall.
12. In the case of leakage of inflammable gases like carbon monoxide, open the door and windows. Don’t
pull out or insert the plugs of the appliance.
13. Don’t touch the refrigeration surface of the freezing compartment when the refrigerator is in operation,
especially when your hand is wet, else you may be glued to the surface.
14. Pull out the plug of power supply during clearance or power outage. Wait at least five minutes to
resume the power supply in order to prevent damage to the compressor caused by continuous restart.

SERVICE MANUAL
Model: HRF-633CJB
5
Issue 2009-12-24
Rev. Ref0912S024V0
Photo used in this manual
The illustration and photos used in this Manual may not base on the final design of products, which
may differ from your products in some way.
1-3. How to read this Service Manual
1-3-1. Using Icons
The meaning of each icon is described in the table below:
Note:
A “note” provides information that is not indispensable, but may nevertheless be valuable to the
reader, such as tips and tricks.
Caution:
A “caution” is used when there is danger, through incorrect manipulation, may damage equipment,
loose data, get an unexpected result or has to restart (part of) a procedure.
Warning:
A “warning” is used when there is danger of personal injury.
Reference:
A “reference” guides to other places in this binder or in this manual, where we will find additional
information on a specific topic.

SERVICE MANUAL
Model: HRF-633CJB
6
Issue 2009-12-24
Rev. Ref0912S024V0
Chapter 2 Product Feature
2-1. SPECIFICATIONS
HRF-663CJB
1. Model information
Product identification (Refrigerator/Freezer) Refrigerator
Description of appliance Side-by-side
Family type American style
Type of appliance (FS = free standing, BI = built-in) FS
Type of cooling system (NF=no frost/ S=static) NF
Climate class* SN/N/ST
2. Basic features
Energy efficiency class A+
Freezer compartment star rating */***
Gross capacity l 590
Total net capacity l 500L
Net capacity refrigerator compartment l 326L
Net capacity freezer compartment (total) l 174L
Net capacity adjustable temperature drawer l /
Freezing capacity / 24 hours kg/24 h 10kg/24 h
Energy consumption / year kWh/year 412.5
Energy consumption (EN153) per 24 h kWh/24 h 1.13
Kind of coolant (R134a/R600a) R600a 80g
Approvals (VDE / TÜV / IMQ / NF / ÖVE / DEMKO etc.) TÜV
Certifications ( CE / ISO 9001/2 / LGA) GS/CE /EMC
3. Key features
Cooling system: (K = Compressor / A = Absorption) K
Number of compressor(s) n° 1
Defrosting Fridge / Freezer (M=manual A=automatic) A
Control system (E = Electronic / M = Mechanical) E
Fuzzy logic Y
4. Control panel
External control display Y

SERVICE MANUAL
Model: HRF-633CJB
7
Issue 2009-12-24
Rev. Ref0912S024V0
Fridge room Temperature range (from>to) °C 3 to 7°C/
Freezer room Temperature range (from>to) °C -15 to -22°C
Super Cooling (Fridge) N
Super Freezing (Freezer) Y
Over temperature alarm Red lamp / LCD-LED / Acoustic) Acoustic
Controllamps (Green/yellow/red) Y
5. Basics data
Voltage / frequency 220-240 V~/ 50Hz
Input power / mains fuse (intensity) W /A 200 / 2.2
6. Aesthetics
Door profile (F = flat / R = rounded / S = streamline) F
Handle (External/Metal/Integrated) External
Available colours Black glass
7. Interior description
Fridge compartment:
Shelves:
Number (Total / adjustable) n° / n° 3/3
Type (gr=grill / g=glass / p=plastic) G
Colour (w=white / lb=light blue / g=green / t=transparent.) t
Bottle holder / bottle(s) n° / n° 4/4
Crisper(s):
Number / colour t = transparent, w = white n° / - 2/T
Shelf (on salad crisper) (g=glass / p=plastic) 1/G
Door:
Storage rack(s) (Total) n° / n° 5
Type of rack(s) g=glass / p=plastic P
Inside colour (w=white / lb=light blue / t=transparent.) w
Freezer compartment:
Drawer(s) Number/colour n° 2/T
Adjustable temperature drawer n°
Shelf number / p=plastic, g=glass ,W=wire n° / n° 3 / G
Door rack(s) number / p=plastic, g=glass 4 / P
8. Accessories
Interiorlight(fridge/freezer) W 25/25
Special ice maker (T=Twist, A = Automatic) A
Eggs tray(s) 1
Adjustable feet (front / rear) n° / n° 2 / 0
Castors (front/rear) n° / n° 2 / 2
Length of cable/incl. plug cm 200
9. Product dimensions
Unit dimensions ( H / W / D) cm 177*89*73.6
Depth Without handle cm 67

SERVICE MANUAL
Model: HRF-633CJB
8
Issue 2009-12-24
Rev. Ref0912S024V0
Depth with open door cm 1188
Door open angle n° <135
Net weight kg 145
10. Packing dimensions & load ability
Packingdimensions (H / W / D) cm 189.4*96*77
Gross weight kg 155.0
40 ' Container load pcs 28
40 ' HC Container load pcs 28
11. Logistic / recycling information
Packing weight kg 10.0
Packing materials / Recycling symbols (RS) RS
Carton Kg 7
12. Service
Users instruction (languages) Multi-languages
2-2 Main Functions and Features
ƹAutomatic ice cube maker ,
ƹSliding glass shelves
ƹSlim profile with spacious interior
ƹThe freezer compartment is equipped with a user-friendly frost-free system and manages to
freeze foods quickly and evenly
ƹTemperature adjustment before defrosting
ƹAutomatic trouble indicator
ƹBuzzer warning when door is open
ƹIntelligent mode

SERVICE MANUAL
Model: HRF-633CJB
9
Issue 2009-12-24
Rev. Ref0912S024V0
2-3. External views
2-4. Product Dimensions

SERVICE MANUAL
Model: HRF-633CJB
10
Issue 2009-12-24
Rev. Ref0912S024V0
Chapter 3 Disassembly
3-1Remove the doors
3-1-1Remove the kick moulding
Remove the kick moulding,and then release
thewater coupler. Slide the kick moulding up to
remove it,and then release the water coupler
while pressing on area(1) as shown in the
illustration.
3-1-2 Remove the Freezer door
1)Unscrew the hinge covers. Disconnect all
wires except for the grounding wire.
2)Remove the screws from the upper hinge
following the direction as indicated by Arrow(1).
Then remove the upper hinge following the
direction as indicated by Arrow(2).
3)Lift the freezer compartment door to remove it.
Next,lift the door enough to be able fully pull out
the water line.
3-1-3 Remove the Fridge door
1) Loosen the hinge cover bolts, and then
remove the cover. Disconnect any wires
except for the grounding wire.
2) Remove the screws from the upper hinge
following the direction as indicated by Arrow
(1). Then remove the upper hinge following
the direction as indicated by Arrow (2).
3) Lift the refrigerator compartment door to
removeit.
Precautions During Dismantling and Installation of The Door
(1) Before removing the doors, please remove food from the shelves and the bottle guards. Then,
unplug the refrigerator power cord to avoid personal injury, product damage or property loss.
(2) During dismantling of the door, in order to avoid possible personal injury, product damage or
property loss, at least two adults are needed to perform the following operations.
(3) While lifting the hinges to separate it from the door, please take care to prevent the door from
falling forward.
Water coupler
Toe moulding
Wires
Upper hinge
Screw
Lower hinge

SERVICE MANUAL
Model: HRF-633CJB
11
Issue 2009-12-24
Rev. Ref0912S024V0
note: Reinstall the doors by reversing the removal steps.
3-2 Adjusting the Doors
If the freezer compartment door is lower than that of the refrigerator compartment, insert the wrench in
the groove of the left screw and turn it in the direction of the arrow until both doors are the same height.
(see pic1)
If the freezer compartment door is higher than that of the refrigerator compartment, insert the wrench
in the groove of the right screw and turn it in the direction of the arrow until both doors are the same
height. (see pic2)
3-3 Assembling the handles
1) Put the pothook of handle into the connector (as illustration 1); then pull down the handle hardly
while the top of handle and top of door are in the same level (as illustration 2).
2) Put the bolt into the right holes with the help of screwdriver (as illustration 3).
3) When you are disassembling the door handle, please operate as the opposite way of assembling.
Handle
Connector
Handle Holder
illustration 1 illustration 2
illustration 3

SERVICE MANUAL
Model: HRF-633CJB
12
Issue 2009-12-24
Rev. Ref0912S024V0
3-4 Disassembling the switch
1. To remove the switch pulls out it with a “_”type
screwdriver as shown in.
2. Disconnect the lead wire from switch.
3-5 Removing the Air-Duct
U
nplug the refrigerator before removing the air-duct
3-5-1 Air-Duct assmebly in fridge
1. Unplug the power cord from the outlet;
2. Remove the fridge shelf;
3. Remove the lamp cover ;
4. The bulb can be replaced;
5. Loosening 2 screws fixed to ceiling of inner liner;
6. Pull out the electric damper, wind passage and the wind passage cover;
7. After replaced the disabled parts, assemble in reverse order of disassembly.
3-5-2 Air-Duct assmebly in Freezer
1. Unplug the power cord from the outlet;
2. Remove the freezer shelf;
3. Remove the lamp cover;
4. The bulb can be replaced;
5. Loosening 2 screws fixed the cover and pull out the top freezer air tower;
6. Pull out the bottom freezer air tower and unplug the sensor cable;
7. Pull out the freezer rack, unplug the fan motor cable and separate the fan motor, fan motor cover and
the rack;

SERVICE MANUAL
Model: HRF-633CJB
13
Issue 2009-12-24
Rev. Ref0912S024V0
8. Pull out the freezer air shutter;
9. Unplug the defrost sensor cable and replace it;
10. Assemble in reverse order of disassembly.
3-6 Disassembling the display panel
1. Unplug the power cord from the outlet;
2. Loosening 2 screws fixed the bottom of control panel assembly;
3. Unplug the display panel;
4. Loosening 4 screws fixed the control panel.

SERVICE MANUAL
Model: HRF-633CJB
14
Issue 2009-12-04
Rev. Ref0912S024V0
3-7 Disassembling the Icemaker
1. Unplug the power cord from the outlet;
2. Pull out the ice-crushed box assembly and loosening the screws from the ice-crushed box slide way; 3.
Pull out the ice-crushed box slide way;
4. Take out the ice box and then take out the ice box motor;
5. Loosening 4 screws from the ice maker support and put it out;
6. Loosening 2 screws from the ice-crushed motor box and put it out;
7. Disconnected the ice-crushed motor box cable.

SERVICE MANUAL
Model: HRF-633CJB
15
Issue 2009-12-24
Rev. Ref0912S024V0
Chapter 4 Control and display system
4-1. Control and display panel
A---Fuzzy logic
B---Freezer temperature
C---Lock function
D---Ice/Water
E--- Refrigerator temperature
F----Quick freeze
G----Fuzzy logic indicator
H----Water filter indicator
I-----Ice maker indicator
J----- Quick freeze indicator
K----- Freezer temperature indicator
L------ Refrigerator temperature indicator
M-----Lock function indicator
N-----Water selected indicator
O-----Cubed ice selected indicator
P-----Crushed ice selected indicator
4-2. Function adjustment
ƵFuzzy logic function
If fuzzy logic is activated, the appliance will adjust inside temperature automatically according to
ambient temperature. Fuzzy logic is activated and inactivated by consecutive press of button A, then
Fuzzy logic indicator G will turned on and off.
A
B
C
F
E
D
MNOP
GK I J
A
G

SERVICE MANUAL
Model: HRF-633CJB
16
Issue 2009-12-24
Rev. Ref0912S024V0
ƵQuick Freeze
Quick freeze function is designed to preserve the nutritional value of food as the food will freeze
completely in the shortest period possible. To use the ‘Quick Freeze’ function, press button F.
Indicator J will illuminate to show you that the function is operational, and this function will switch off
automatically in 3 hours later. To switch ‘Quick Freeze’ off under the ‘Quick Freeze’ condition, press
button F again – indicator J will go out.
Note: the Quick freeze cannot be activated if the fuzzy logic is set.
ƵSetting and Adjusting the Temperature
The appliance is preset at fuzzy logic, which can be inactivated by a press of Fuzzy logic button A,
indicator G will go out.
Setting and adjusting temperature as follows: (Fuzzy logic must be inactivated.)
To adjust the refrigerator temperature under unlocked condition, press button E, the indicator L will
flash. Each subsequent press of button E will adjust the temperature circled as follows:
5ć-4ć-3ć-7ć-6ć-5 .ć
To adjust the freezer temperature under unlocked condition, press button B, the indicator K will flash.
Each subsequent press of button B will adjust the temperature circled as follows:
-18ć—— -20ć—— -22ć—— -15ć—— -17ć—— -18 .ć
F
J
A
BE
GK

SERVICE MANUAL
Model: HRF-633CJB
17
Issue 2009-12-24
Rev. Ref0912S024V0
ƵIce cube/water select
The appliance is pre-set at crushed ice condition when the power supply is connected, indicator P
illuminates. Press the button D to choose the option you want.
ƵSwitching the icemaker on/off
To close the ice maker, press and hold the button F and A for 3 seconds, indicator I and N comes on, it
is indicating that the ice maker has been turned off, this will shut off the water supply to the ice maker,
no cubed and crushed ice, Ice/Water button cannot be used for selecting between water, cubed ice
and crushed ice, but it will not affect the water dispenser, cool water is still available.
If you want to turn on the ice maker, press and hold the button F and A for 3 seconds, indicator I turns
off, ice maker restart to run as usual.
Note: 1) if indicator N, O and P cannot be selected, please confirm if the ice maker has been turned
off according to the above information.
2) the ice maker turns on when you re-connect the electricity supply.
D
P
NO
AF
NOP
I

SERVICE MANUAL
Model: HRF-633CJB
18
Issue 2009-12-24
Rev. Ref0912S024V0
ƵSwitching the refrigerator On/Off
To switch off the refrigerator, press and hold button E for 3 seconds, indicator L will disappear, but the
light will continue to illuminate.
To switch the refrigerator on again, press and hold button E, indicator L will reappear and the
refrigerator will begin to run as usual.
ƵLocking and Unlocking the appliance
To lock the appliance, press and hold button C for 3 seconds under the unlock condition, indicator M
will light;
To unlock the appliance, press and hold button C for 3 seconds, indicator M will go out.
Note: Above functions can be used when the appliance has been locked.
ƵChanging the water filter
L
E
C
M
D
H

SERVICE MANUAL
Model: HRF-633CJB
19
Issue 2009-12-24
Rev. Ref0912S024V0
When the water filter indicator light H comes on, it is indicating that the water filter requires changing
(approximately every 6 months). After finishing the change, press and hold button D for 3 seconds,
indicator light H will disappear.
ƵError Codes
In the event of an error occurring, the Freezer temperature indicator K and Refrigerator temperature
indicator L will show one of the following codes: E0, E1, E2, F1, F2, and F3.
The meanings of those error codes please find in chapter 4-3
ƵOpen door warning
If any door and home bar is left for more than 30 seconds the Door Alarm function will start to remind
you to close the door.
ƵControl Function Display
30 seconds after the final press of any button, the display will be blank. The display will illuminate
when the door is opened, or if you press any button.
ƵPower-breaking Memorizing Function
When the refrigerator turns off as a result of a power surge, the state of the refrigerator before the
power break is memorized. Once restarted, this allows the refrigerator to operate with the programmed
default values as before the power break.
Note: this function is not suit for switching ice maker off and locking the refrigerator.
4-3 Sensor Distribution and Malfunction Codes
4-3-1 Graphic display of the sensor location
(F)
(D)
(ICE)
(5)
(5)
()

SERVICE MANUAL
Model: HRF-633CJB
20
Issue 2009-12-24
Rev. Ref0912S024V0
4-3-2 Error code display
NO Item Error Code Meanings of Code
1 Normal Display No
2 Refrigerator R1 sensor malfunction F1 R1 SNR short circuit or open circuit
3 Refrigerator R2 sensor malfunction F2 R1 SNR short circuit or open circuit
4 Ambient temperature Sensor malfunction F3 RT SNR short circuit or open circuit
5 Freezer sensor malfunction F4 F SNR short circuit or open circuit
6 Defrost sensor malfunction F6 D SNR short circuit or open circuit
7 Icemaker sensor malfunction F7 ICE SNR short circuit or open circuit
8 Signal transmit component E0 No reflect when setting ,between display PCB
and Power PCB no signal transmitted over 2 min
9 Freezer fan motor malfunction E1 No single send out more than 30 seconds
10 Cooling fan motor malfunction E2 No single send out more than 30 seconds
11 Defrost Heating System error Ed
Defrost sensor temperature can’t reach to 7
centigrade after temperature rise more than 2
hours
Table of contents
Other Haier Refrigerator manuals

Haier
Haier HB21F User manual

Haier
Haier HSL04WNBSS - 02-01 User manual

Haier
Haier HRZ-98AA User manual

Haier
Haier HR-195 User manual

Haier
Haier AFL631 series User manual

Haier
Haier HR-386KAAME User manual

Haier
Haier AFL631CWE User manual

Haier
Haier HRF520BW User manual

Haier
Haier HRF-288K Series User manual

Haier
Haier HR-60/A User manual

Haier
Haier BI SD 177 User manual

Haier
Haier HA10TG20S User manual

Haier
Haier HRT02WNC - 1.7 Cubic Foot Refrigerated... User manual

Haier
Haier D1FM636C User manual

Haier
Haier HRTS User manual

Haier
Haier NF-588FR/A Parts list manual

Haier
Haier HRF-265F User manual

Haier
Haier HTE10WNA User manual

Haier
Haier HRF-368AE User manual

Haier
Haier HDW3620DNPK User manual