MENU
AUDIO
ADJUST
TUNING
FUNCTION
TIMER
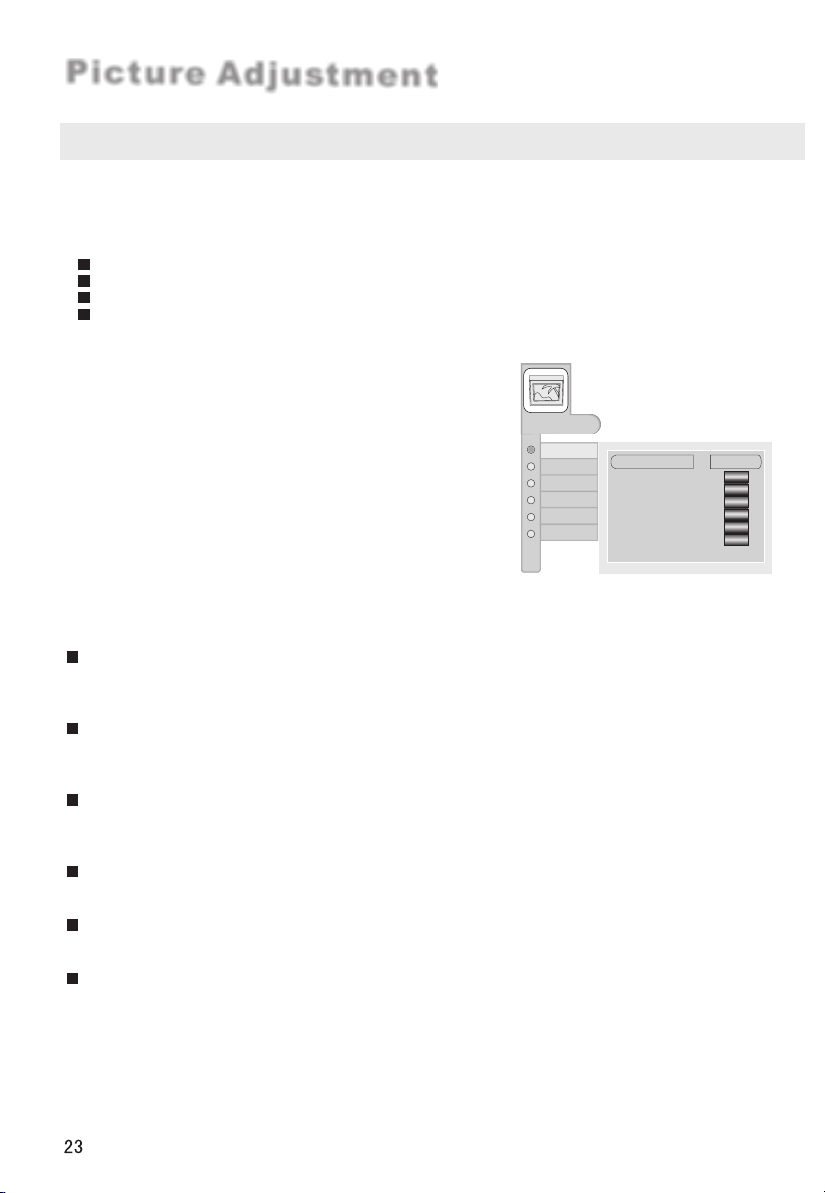
PICTURE
Volume
Balance
Audio Mode
Treble
Bass
Auto Volume
Woofer
Music
0
0
0
0
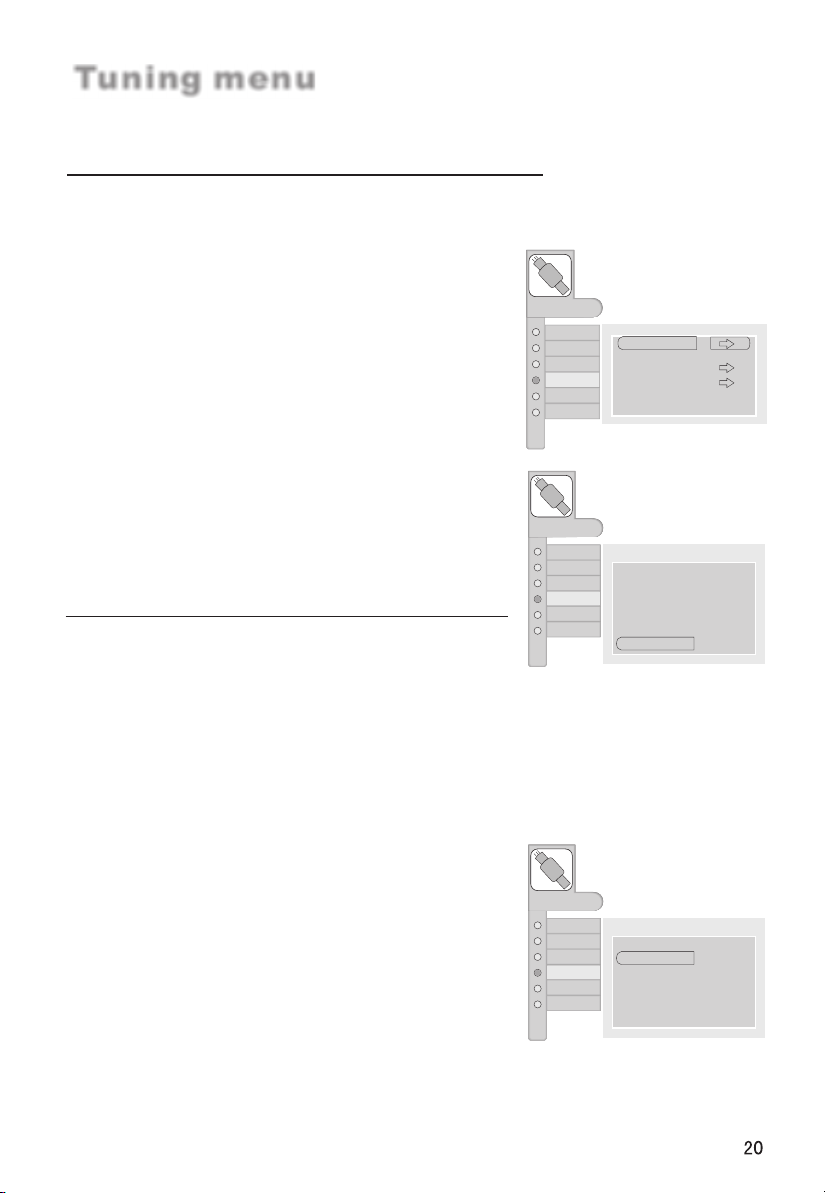
1 Press MENU button and thenuse CH+/- button
to select the AUDIO menu.
2 Press VOL+/- buttonand then useCH+/- button
to select .
3 Press VOL+/- buttonto .
4
the item toadjusted
obtain the desiredeffect
When you aresatisfied with your choice, press
the EXIT button to return to normal viewingor
press MENU button to return to the previous
menu.
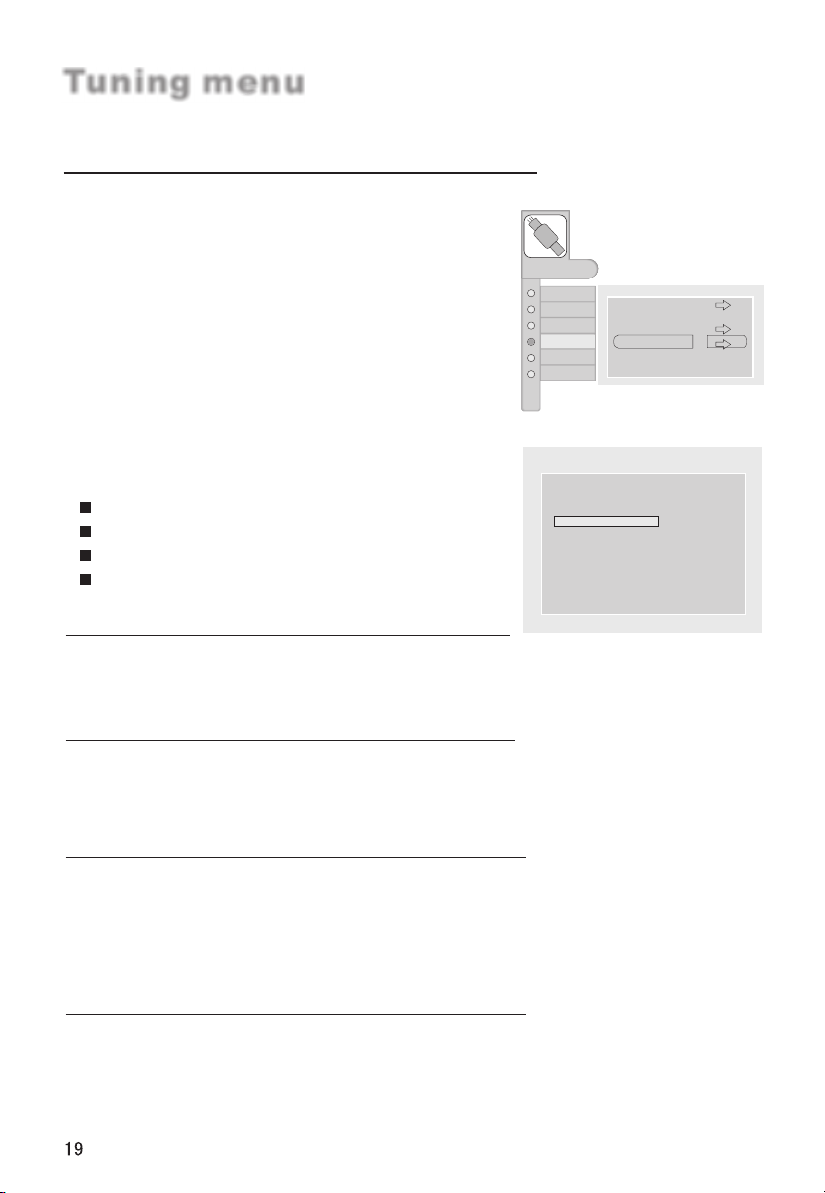
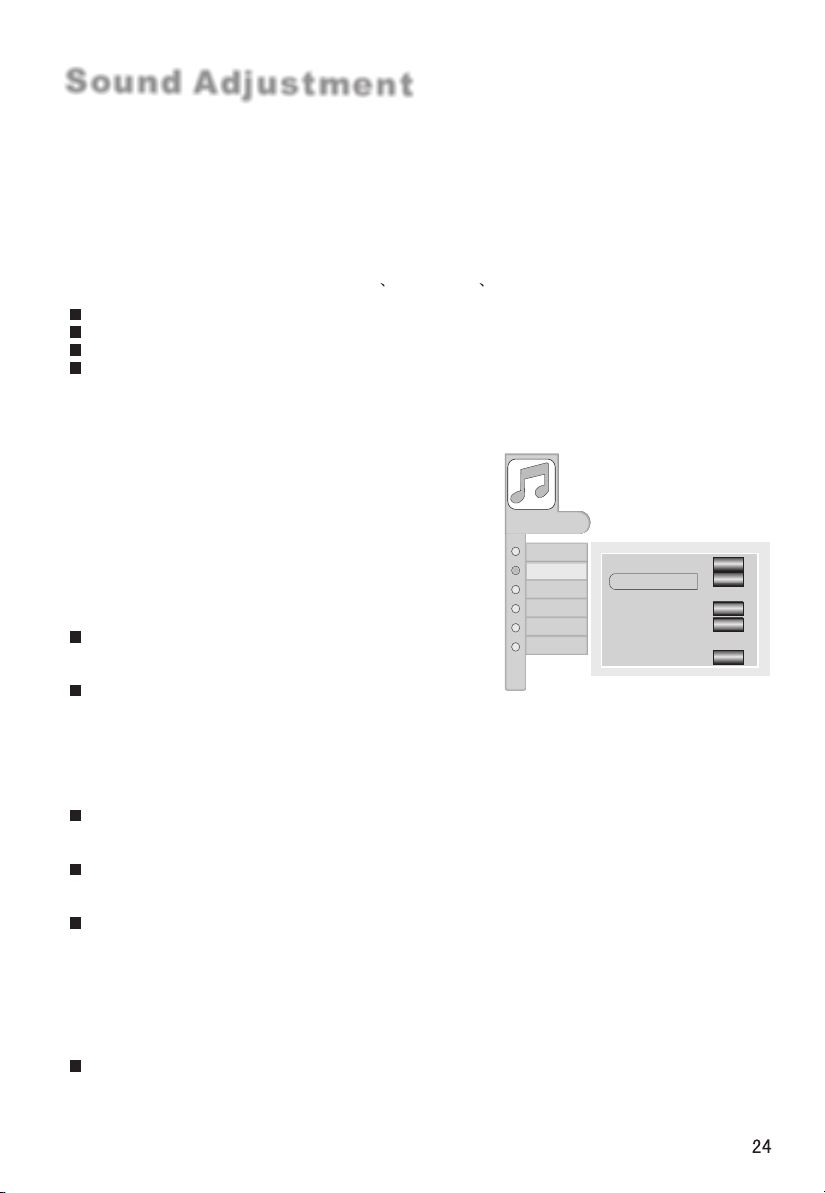
Sound Adjustment
Sound modes
The sound mode provides thepre-defined sound settings. Press the S.STD buttonto select
the option.(Music/Personal/Standard/Hall)
Personal:
Standard:
A sparesetting that canbe adjusted to personal tastes
Normal sound withmoderate bass andtreble setting
Designed to reducethe bass andtreble which enhances the voice fornews programs
Enables extra bassand treble toenhance the movie experience
Hall:
Music:
How to customize your own sound status
Volume
This will adjustthe sound outputlevel.
Balance
This will adjustthe output ofthe right and left speakers to obtain the best reproduction for
your listening position.
Treble
This will adjustthe treble outputlevel.
Bass
This will adjustthe bass outputlevel.
Auto Volume
Each broadcasting stationhas its ownsignal conditions,
djust the volumeevery time thechannel is changed. This feature lets you automatically
adjust the volumeof the desiredchannel and reduces the volume differences between
channels and programs,providing a moreconstant overall level.
Press CH+/- buttonto Select Auto Volume,
press VOL+/- buttonto set Auto Volume as Off or On
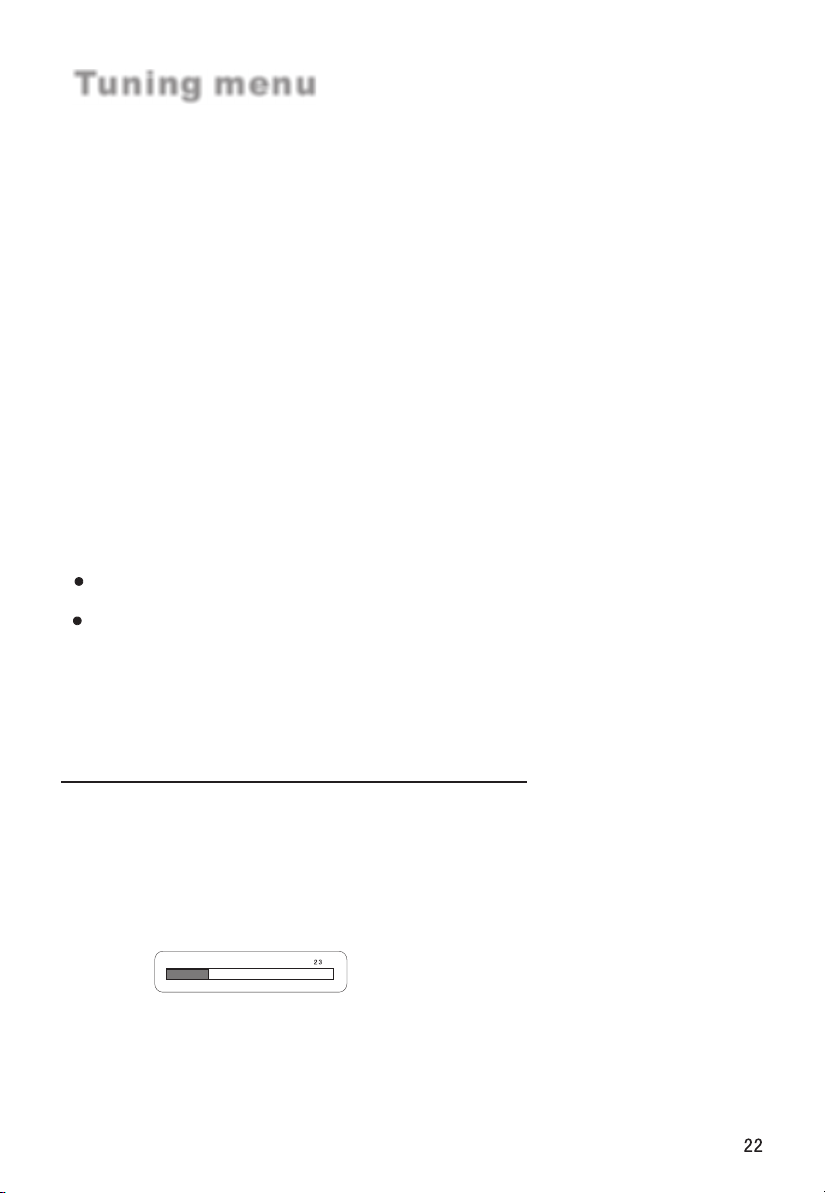
Woofer
Woofer is a speaker thatcomplements front speaker`sreproduction capability oflow-pitched
sound. Press CH+/-button to Select Woofer,
press VOL+/- buttonto adjust thedesired value.
The intermediate valueis 0. Whenindication value of Balance
increases toward+50, soundof the rightand left speakerbecomes stronger and weaker,
respectively. When indication valueof Balance decreasestoward -50, sound of the right
and left speakerbecomes weaker andstronger.
making it sometimesdifficult to
a
This select themodes for soundreproduction dependent onthe broadcast signals or signals
from external inputsreceived.
Press CH+/- buttonto Select Audio Mode,
press VOL+/- buttonto select theMusic Personal Standard or Hall.
0
OFF