Always keep aeration pump away from water.
Unplug or power off all devices before performing maintenance.
Pump may be used in freezing temperatures when in constant operation. Store pump in a dry
room temperature area if it will not be in constant operation.
The pump can be used for indoor and outdoor operation.
Use a clean damp cloth when washing the exterior of the pump. Make sure pump is unplugged.
Ensure that the power voltage and frequency to be utilized conform to the power requirements
specified on the product nameplate before use. Use a standard GFCI outlet.
This pump should be grounded while in use to prevent electric shock.
Pump surfaces become very hot during operation, allow surfaces to cool before handling.
If pump falls into water, unplug before retrieving it. Let qualified technicians check your pump
before using it again.
Carefully examine the appliance after installation, if the supply cord is damaged, it must be
replaced by a qualified technician in order to avoid hazard.
Do not carry pump by the power supply cord. Disconnect the plug when not in use and before
performing maintenance.
The unit is to be supplied through a residual current device (RCD) having a rated residual
operating current not exceeding 30mA.
Maintenance is required periodically to help ensure longevity of pump.
Immediately unplug the power cord during operation if any unusual activity occurs. Contact
your distributor or qualified technician.
Ensure that the power cord hangs below the electrical outlet to form a “Drip Loop”. This will
prevent water from running down the cord into the outlet.
Failure to follow the instructions and warnings in this manual may result in voiding of
warranty, pump’s damage, and/or serious injury. Be sure to read and save this manual for
future reference.
Pg. 5
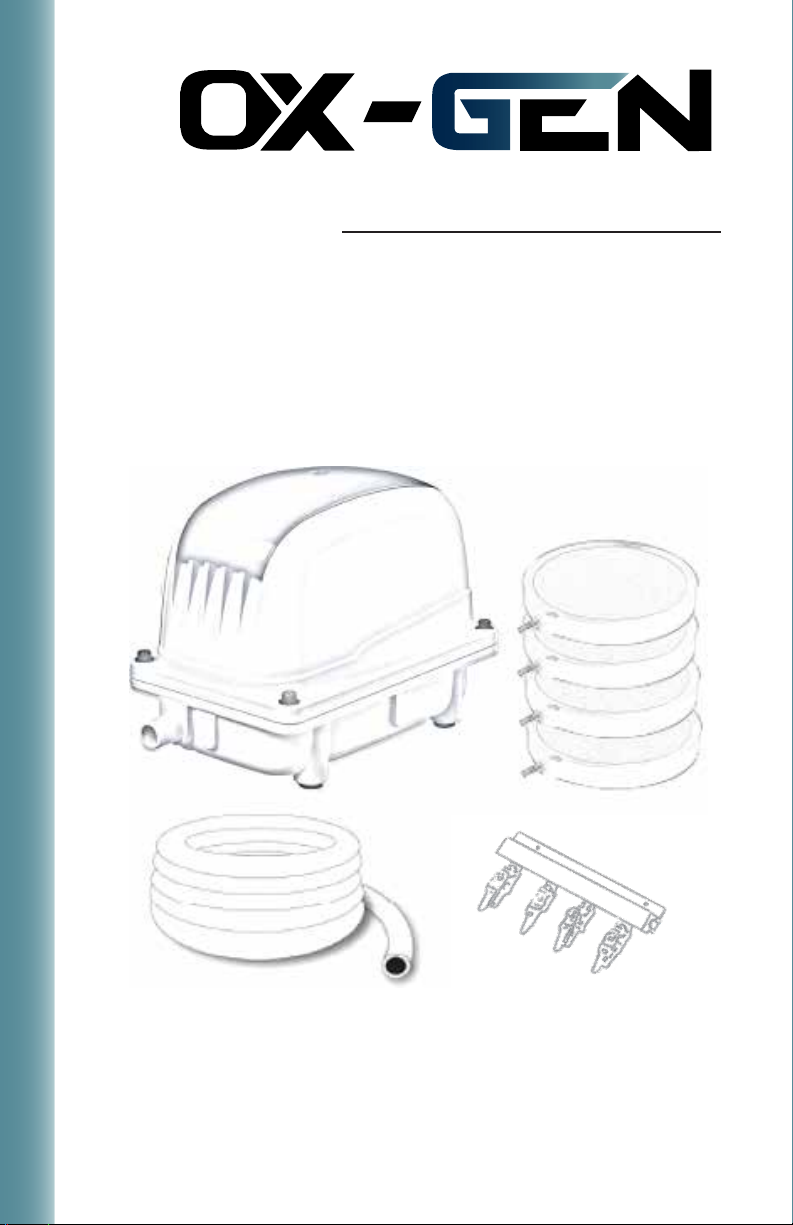
OX-Gen Aeration
Safety Criteria