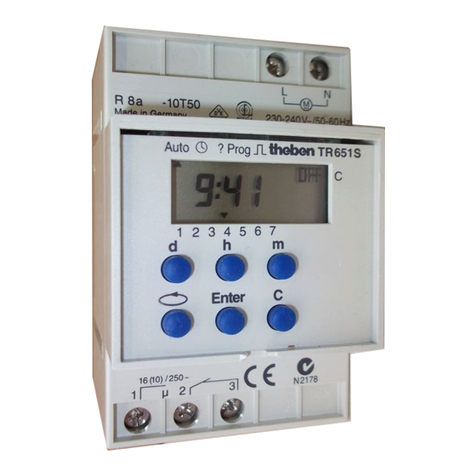
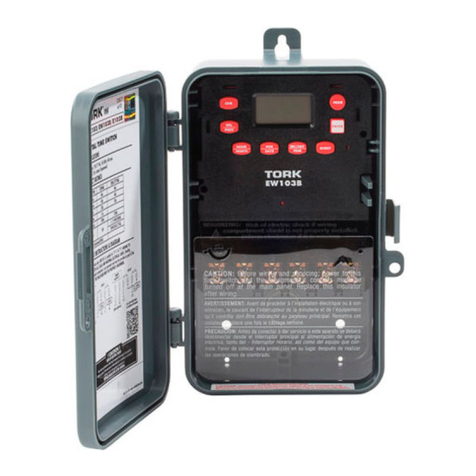
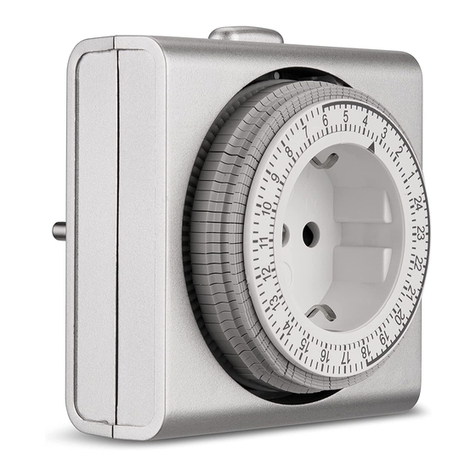
Han Seung HTS-AT10 User manual

※Please read the operating manual before
using for proper use and safety.
Digital Timer Operating Manual
HTS-AT10 Digital Timer
1. Description of Parts & Function Buttons
Model : HTS-AT10
Select Switch
Date/Time Display
Mode No./Status
Day of week
Mode Display
Function Buttons
Function Buttons
1)”Menu/Move”: Mode change & move cursor to right.
(Data reset after 5 seconds of continuous press)
I/O Terminal
2)” ▲ ” : No. Increment (Manual ON/OFF at initial display)
☞Manual “ON” will be set to “OFF” at next OFF time and
Manual “OFF” will be set to “ON” at next ON time
3)” ▼ ” : No. Decrement
4) “Save”:Save input data (check current date at initial display)
-1-
HTS-AT10 Digital Timer
2. Current Date/Time Change
: Mode is changed to “Current Date/Time” setting when electricity
Is supplied.
☞
Display is changed to initial display when
“
Save
”
button is
HTS-AT10 Digital Timer
3.Handy Functions
1)Turn the top “Select Switch” and select desired function
☞
Display
is
changed
to
initial
display
when
Save
button
is
Pressed after no change has been made.
☞Display is changed to initial display after 1 minute of no change.
☞Data and internal clock is maintained by the power shortage
recovery function.
①Set Month with “▲”, “▼”and
press “Menu/Move” once.
②
Set
Date
with
“
▲
”“
▼
”
and
①Weekly Timer : Various days & 25 ON,OFF times can
be set in 1 day.
②Weekly Pulse : Pulse difference & day can be set 24
times
③Yearly Timer: Operating duration(Start date/End date &
10 ON,OFF times can be set in 1 day.
④Weekly Cycle : Repeating duration(Start day/hour,
dd h d h
③Set Year with “▲”, “▼”and
press “Menu/Move” once.
②
Set
Date
with
▲
,
▼
and
press “Menu/Move” once.
④Set Hour with “▲”, “▼”and
press “Menu/Move” once.
2)At Initial display(Current time) press “▲” to force ON/OFF
by overriding set time.
(☞Returns to set status after 1 day from forced ON/OFF)
en
d
d
ay/
h
our ) an
d
repeat ON
h
our,
repeat OFF hour can be set.
3)At Initial display(Current time) press “Save” to display
current date/time.(☞Returns to initial display in 5 secs)
4)Returns to initial display(current time) after 1 minute of
⑤Set Minute with “▲”, “▼”and
press “Save” once.
※Press “Menu/Move” to set the
Current Date/Time again
Initialize -2- -3-
4)Returns
to
initial
display(current
time)
after
1
minute
of
no button pressing while changing internal data
5)Built in batteries enables power shortage
recovery function (semi-permanent)

HTS-AT10 Digital Timer
4. Day of Week Changing Sequence
: When changing day of week press “▲”to move clockwise and
“
▼
”t t l k i
HTS-AT10 Digital Timer
5-1) Weekly Timer(25)
: Adjust the Select Switch to No. 1
(incremented by 1 minute)
press
“
▼
”
t
o move coun
t
er c
l
oc
k
w
i
se.
Mon ~
Sun Mon
~ Sat
Mon
~ Fri
Sat
Sun
①
③
⑮②
⑭
(incremented
by
1
minute)
Change to setting mode by pressing “Menu/Move” once.
①Set day of week with “▲”,”▼” and
press “Menu/Move” once. (See 4 Page
“day of week changing sequence”)
②
Set 01 ON Hour with“▲”
,
”▼” and
Mon~
Wed
Thu
~ Sat
Sat ,
Sun
Wed
Thu
Fri
⑤
⑪
⑬ ④
⑥
⑫
②
,
press “Menu/Move” once.
③Set 01 ON Minute with “▲”, ”▼”
and press “Menu/Move” once.
④Set 01 OFF Hour with “▲”, ”▼”
and press “Menu/Move” once.
⑤
Set 01
OFF Minute
with
“
▲
” ”
▼
”
-4-
Sun
Mon, We
d, Fri
Tue, Thu,
Sat
Mon
Tue
⑦
⑨⑧
⑩
⑤
Set
01
OFF
Minute
with
▲
,
▼
and press “Menu/Move” once.
※ Press “Menu/Move” for multiple
settings
Initialize
-5-
HTS-AT10 Digital Timer
5-2)Weekly Pulse(24)
: Adjust the Select switch to No. 2 (1 sec~60 minutes)
HTS-AT10 Digital Timer
5-3)Yearly Timer(10)
: Adjust the Select Switch to No. 3 (incremented by 1 minute
①Set Pulse Minute with “▲”, ”▼”
and press “Menu/Move” once.
②Set Pulse Seconds with “▲”, ”▼”
and press “Menu/Move” once.
Change to setting mode by pressing “Menu/Move” once.
③Set Yearly OFF Date(month) with
“▲”, ”▼” and press “Menu/Move” once.
①Set Yearly ON Date(month) with
“▲”, ”▼” and press “Menu/Move” once.
②Set Yearly ON Date(day) with
“▲”, ”▼” and press “Menu/Move”once.
Change to setting mode by pressing “Menu/Move” once.
③Set Pulse Day of week with “▲”, ”▼”
and press “Menu/Move” once.
(See “3.Day of Week changing sequence”)
④Set 01 ON Hour with “▲”, ”▼”
and press “Menu/Move” once.
⑤Set 01 ON Hour with
“▲”, ”▼” and press “Menu/Move” once.
④Set Yearly OFF Date(day) with
“▲”, ”▼” and press “Menu/Move” once.
⑥Set 01 ON Minutes with
“▲”, ”▼” and press “Menu/Move” once.
⑦
Set 01 OFF Hour with
-6-
⑤ Set 01 ON Minute with “▲”, ”▼”
and press “Save” once.
Initialize ※ Press “Menu/Move” for multiple settings.
Initialize
⑦
“▲”, ”▼” and press “Menu/Move” once.
⑧Set 01 OFF Minute with
“▲”, ”▼” and press “Save” once.
※Press “Menu/Move” for multiple settings.
-7-

HTS-AT10 Digital Timer
5-4)Weekly Cycle
:
Adjust the Select switch to No. 4
(Time Differene;10min
~
24Hrs)
HTS-AT10 Digital Timer
6.Wiring How to
③
Set
repeat ON Minute
with
①Set repeat ON day of week with
“▲”,”▼” and press “Menu/Move” once.
.
②Set repeat ON Hour with
“▲”,”▼” and press “Menu/Move” once.
:
Adjust
the
Select
switch
to
No.
4
(Time
Differene;10min 24Hrs)
Change to setting mode by pressing “Menu/Move” once.1)Direct control of load
③
Set
repeat
ON
Minute
with
“▲”,”▼” and press “Menu/Move” once.
⑤Set repeat OFF Hour with
“▲”,”▼” and press “Menu/Move” once.
④Set repeat OFF day of week with
“▲”,”▼” and press “Menu/Move” once.
⑥Set repeat OFF Minute with
“▲”
,
”▼”
and press
“
Menu/Move
”
once
.
2)Electromagnetic control
(Single Phase)
-8-
Initialize
,
and
press
Menu/Move
once
.
⑦Set repeat ON Hour difference
with “▲”,”▼” and press “Menu/Move” once.
⑧Set repeat OFF Hour difference
with “▲”,”▼” and press “Save” once.
-9-
NO NC
COM POWER
HTS-AT10 Digital Timer
7.Product Specifications
MODEL HTS-AT10
HTS-AT10 Digital Timer
8-1)Cautions
1)Input voltage must be within allowed voltage range and
the right capacity circuit breaker and wire must be used
Nominal Voltage 220VAC/60HZ
Load capacity resistance load 10A(inductive load:2A)
Operation Mode
(no. of operations)
Weekly Timer(25),Weekly Pulse(24),
Yearly Timer(10), Weekly Cycle(10)
Operation Cycle Weekly or Yearly
Installation Exposed on the panel, DIN Rail used
the
right
capacity
circuit
breaker
and
wire
must
be
used
.
2)Connect a Surge Absorber after using electromagnetic
switch to prevent malfunction an damage when use other
than resistance load
3)Keep out of reach of children to prevent electric shocks.
4)Bodily damage or property damage caused by misuse or
negligence cannot be held responsible to the
manufacturer.
Operation Temperature -10℃ ~ 60℃
Humidity Range 0% ~ 80%
Output type RELAY contact type(1C)
Dimensions 52(W)x96(L)x48(H)mm
8-2)Warranty
1) Any faulty that occurred in the manufacturing process or
while in proper operation within 18 months of the
manufactured date, we will repair free of charge if
contacted to our company.
2)Repairs that fall into below categories are charged for
repair services even within the warranty period.
①Malfunctions caused by User imputation.
②
Mlf ti db U i ti
www.hsa2000.co.kr
-10-
②
M
a
lf
unc
ti
ons cause
d
b
y
U
ser
i
ncau
ti
ousness
③Malfunctions caused by natural disasters
④Repairs performed by unauthorized personnel
other than an employee of our company who
modified or damaged the product
-11-
●Main Office & Factory : 293-3, HYOMOK 2 DONG,
DONG GU, DAEGU, SOUTH KOREA
TEL . +82-53-745-4720
FAX. +82-53-745-4726
Other Han Seung Timer manuals
