manuals.online logo
Brands
  1. Home
  2. •
  3. Brands
  4. •
  5. Harbor Freight Tools
  6. •
  7. Welding System
  8. •
  9. Harbor Freight Tools VULCAN MIG GUN LINER Assembly instructions

Harbor Freight Tools VULCAN MIG GUN LINER Assembly instructions

Other Harbor Freight Tools Welding System manuals

Harbor Freight Tools Vulcan Migmax 215 Assembly instructions

Harbor Freight Tools

Harbor Freight Tools Vulcan Migmax 215 Assembly instructions

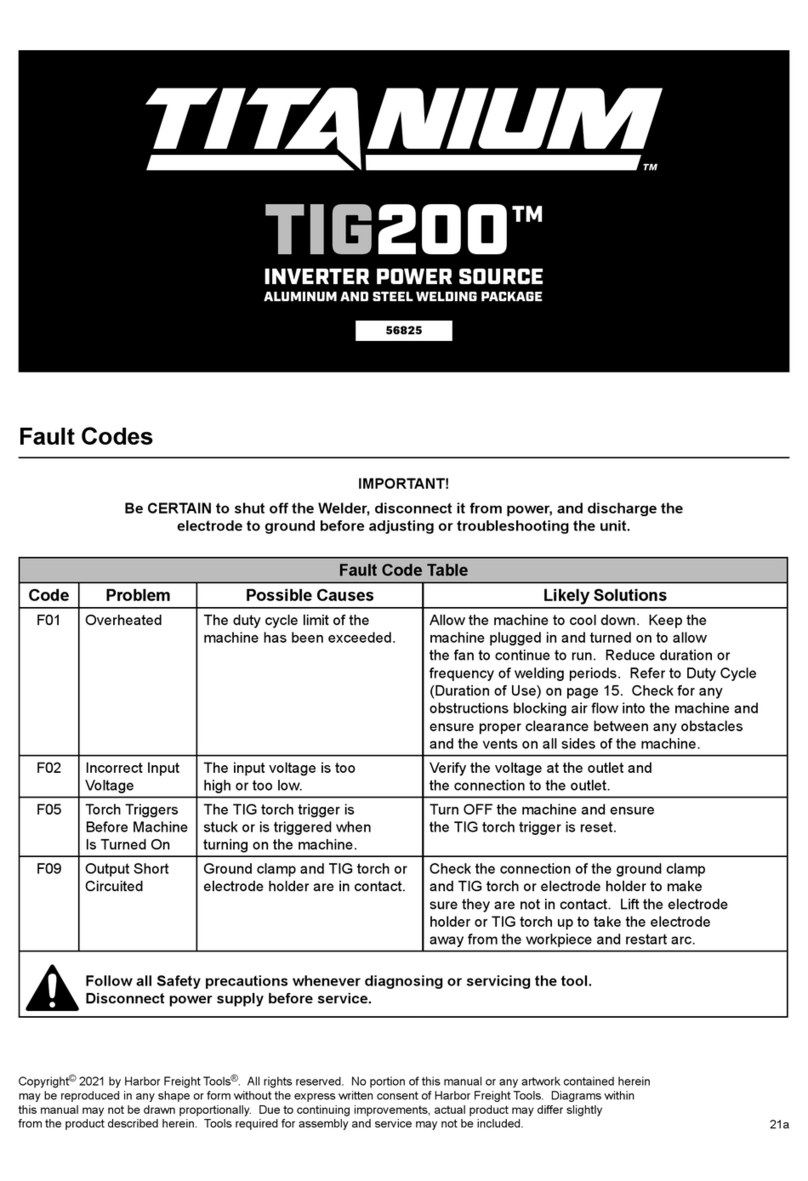
Harbor Freight Tools TITANIUM TIG200 User manual

Harbor Freight Tools

Harbor Freight Tools TITANIUM TIG200 User manual

Harbor Freight Tools VULCAN PROTIG 200 Assembly instructions

Harbor Freight Tools

Harbor Freight Tools VULCAN PROTIG 200 Assembly instructions

Harbor Freight Tools Vulcan VA-SPLG Assembly instructions

Harbor Freight Tools

Harbor Freight Tools Vulcan VA-SPLG Assembly instructions

Harbor Freight Tools PVC WELDING KIT 41592 User manual

Harbor Freight Tools

Harbor Freight Tools PVC WELDING KIT 41592 User manual

Popular Welding System manuals by other brands

Razorweld RAZORCUT45 instruction manual

Razorweld

Razorweld RAZORCUT45 instruction manual

Lincoln Electric Fleet 500 Operator's manual

Lincoln Electric

Lincoln Electric Fleet 500 Operator's manual

Migatronic OMEGA 220 quick guide

Migatronic

Migatronic OMEGA 220 quick guide

Magmaweld ID 300T DC user manual

Magmaweld

Magmaweld ID 300T DC user manual

Sealey POWERMIG Series instructions

Sealey

Sealey POWERMIG Series instructions

Defort 98291254 user manual

Defort

Defort 98291254 user manual

Hobart Welding Products AirForce 375 owner's manual

Hobart Welding Products

Hobart Welding Products AirForce 375 owner's manual

GF MSA 330 instruction manual

GF

GF MSA 330 instruction manual

Hakko Electronics FX-888D instruction manual

Hakko Electronics

Hakko Electronics FX-888D instruction manual

Abicor Binzel ABIPLAS WELD 100 W operating instructions

Abicor Binzel

Abicor Binzel ABIPLAS WELD 100 W operating instructions

EWM Taurus 355 Basic TDM operating instructions

EWM

EWM Taurus 355 Basic TDM operating instructions

Thermal Dynamics PakMaster 100 XL plus operating manual

Thermal Dynamics

Thermal Dynamics PakMaster 100 XL plus operating manual

Berner PLASMACUT 54 instruction manual

Berner

Berner PLASMACUT 54 instruction manual

Pro Spot PR-155 Assembly instructions

Pro Spot

Pro Spot PR-155 Assembly instructions

Forney 210 operating manual

Forney

Forney 210 operating manual

Thermal Arc 400S operating manual

Thermal Arc

Thermal Arc 400S operating manual

Lincoln Electric HANDYMIG 170I Operator's manual

Lincoln Electric

Lincoln Electric HANDYMIG 170I Operator's manual

GYS PROTIG 201 AC/DC Original instructions

GYS

GYS PROTIG 201 AC/DC Original instructions

manuals.online logo
manuals.online logoBrands
  • About & Mission
  • Contact us
  • Privacy Policy
  • Terms and Conditions

Copyright 2025 Manuals.Online. All Rights Reserved.

Visit our website at: http://www.harborfreight.com
Email our technical support at: [email protected]
Owner’s Manual & Safety Instructions
Save This Manual Keep this manual for the safety warnings and precautions, assembly,
operating, inspection, maintenance and cleaning procedures. Write the product’s serial number in the
back of the manual near the assembly diagram (or month and year of purchase if product has no number).
Keep this manual and the receipt in a safe and dry place for future reference. 17e
When unpacking, make sure that the product is intact
and undamaged. If any parts are missing or broken,
please call 1-888-866-5797 as soon as possible.
Copyright© 2017 by Harbor Freight Tools®. All rights reserved.
No portion of this manual or any artwork contained herein may be reproduced in
any shape or form without the express written consent of Harbor Freight Tools.
Diagrams within this manual may not be drawn proportionally. Due to continuing
improvements, actual product may differ slightly from the product
described herein. Tools required for assembly and service may not be included.
Read this material before using this
product. Failure to do so can result in
serious injury. SAVE THIS MANUAL.
Page 2 For technical questions, please call 1-888-866-5797. Item 63797
IMPORTANT SAFETY INFORMATION
1. Disconnect welder power and discharge
electrode to ground before installing.
2. Install only according to these instructions.
Improper installation can create hazards.
3. Wear ANSI-approved safety goggles and
heavy-duty work gloves during installation.
4. Keep installation area clean and well lit.
5. Keep bystanders out of the area during installation.
6. Do not install when tired or when under the
influence of alcohol, drugs or medication.
7. This product is not a toy. Do not allow
children to play with or near this item.
8. Use as intended only.
9. Inspect before installing; do not use
if parts are loose or damaged.
Installation Instructions
Read the ENTIRE IMPORTANT SAFETY INFORMATION section at the beginning of this document
before set up or use of this product.
1. Disconnect welder power supply and
discharge electrode to ground.
2. Disconnect MIG Gun Cable from welder.
3. Remove the Nozzle and Tip from
the end of the MIG Gun.
4. Lay the MIG Gun Cable straight on a flat surface.
5. Remove small Set Screw in the
side of the MIG Connector.
6. Grab the plug at the end of the old Liner
and slide it out of the MIG Gun Cable.
7. Wear ANSI-approved safety goggles and a dust
mask. Then, blow compressed air through the
MIG Connector to clean out the MIG Gun Cable.
Page 3For technical questions, please call 1-888-866-5797.Item 63797
8. Lay out the old and new Liners flat next to each
other. Line up the plug ends of the Liners with one
another. Trim off the plain end of the new Liner
even with the other liner. Make sure the end of the
new Liner remains open while cutting and remove
any Liner pieces that are left hanging after cutting.
9. Insert the new Liner into the end of the MIG
Connector until it is fully inserted. Make sure
the O-ring seats properly into the Connector.
10. Hold the new Liner in place in the MIG Connector
while securing it in place using the Set
Screw on the side of the MIG Connector.
11. Reassemble the MIG Gun and
connect it to the Welder.
3491 Mission Oaks Blvd. • PO Box 6009 • Camarillo, CA 93011 • 1-888-866-5797
Limited 90 Day Warranty
Harbor Freight Tools Co. makes every effort to assure that its products meet high quality
and durability standards, and warrants to the original purchaser that this product is free from
defects in materials and workmanship for the period of 90 days from the date of purchase. This
warranty does not apply to damage due directly or indirectly, to misuse, abuse, negligence or
accidents, repairs or alterations outside our facilities, criminal activity, improper installation,
normal wear and tear, or to lack of maintenance. We shall in no event be liable for death,
injuries to persons or property, or for incidental, contingent, special or consequential damages
arising from the use of our product. Some states do not allow the exclusion or limitation of
incidental or consequential damages, so the above limitation of exclusion may not apply to
you. THIS WARRANTY IS EXPRESSLY IN LIEU OF ALL OTHER WARRANTIES, EXPRESS
OR IMPLIED, INCLUDING THE WARRANTIES OF MERCHANTABILITY AND FITNESS.
To take advantage of this warranty, the product or part must be returned to us with
transportation charges prepaid. Proof of purchase date and an explanation of the complaint
must accompany the merchandise. If our inspection verifies the defect, we will either repair or
replace the product at our election or we may elect to refund the purchase price if we cannot
readily and quickly provide you with a replacement. We will return repaired products at our
expense, but if we determine there is no defect, or that the defect resulted from causes not
within the scope of our warranty, then you must bear the cost of returning the product.
This warranty gives you specific legal rights and you may also
have other rights which vary from state to state.
Note: Replacement parts are not available for this item.