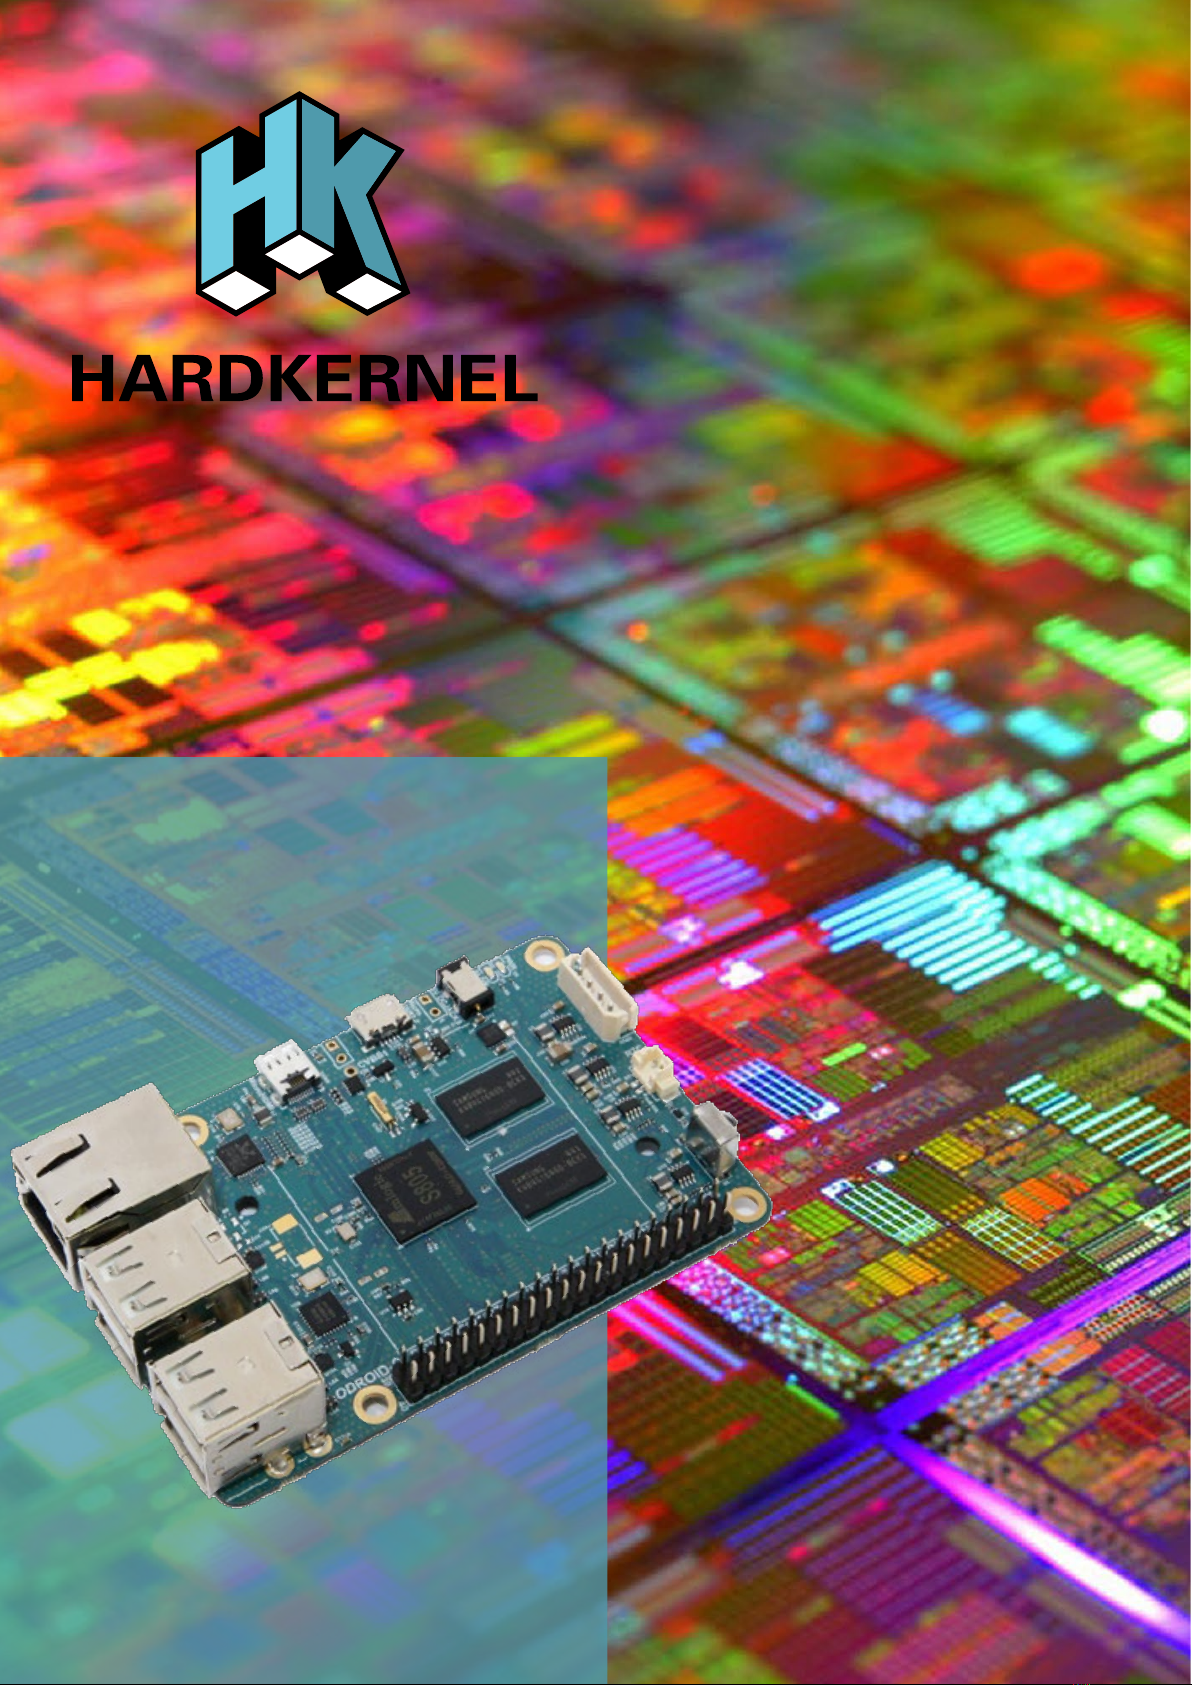
HARDKERNEL ODROID-C1 User manual
ODROID-C1
USER MANUAL
rev. 20150929

Chapter 1 • Welcome.....................................................................................1
Differences between a typical PC and a Single Board Computer (SBC) ........2
Components Included on an SBC ...................................................................2
Block Diagram .................................................................................................3
Board Image....................................................................................................3
Attaching Peripherals ......................................................................................3
Power Supply ..................................................................................................5
Monitor.............................................................................................................6
Keyboard and Mouse ......................................................................................6
Ethernet and Wi.............................................................................................7
MicroSD Card..................................................................................................7
eMMC Module .................................................................................................7
LED Status ......................................................................................................8
Technical Specications ..................................................................................8
Heatsink..........................................................................................................11
Temperature Measurement ............................................................................14
Frequently Asked Questions...........................................................................14
Chapter 2 • Getting Started..........................................................................19
Home Computing Network .............................................................................19
Preparing the Work Area ................................................................................20
Flashing an Image..........................................................................................21
Boot Media .....................................................................................................21
Windows 7+....................................................................................................24
Linux...............................................................................................................27
OSX................................................................................................................29
Powering Up...................................................................................................29
Troubleshooting..............................................................................................29
Conguring Linux............................................................................................31
Conguring Android........................................................................................32
Powering Down ..............................................................................................33
Index ODROID-C1
Beginner’s Guide

Chapter 3 • Operating Systems...................................................................34
Ubuntu/Debian................................................................................................34
Linux Basics ...................................................................................................35
Kernel .............................................................................................................36
GUI .................................................................................................................36
720p vs 1080p................................................................................................36
Progressive vs Interlaced Video.....................................................................37
Video Downconversion...................................................................................37
Video Upconversion .......................................................................................38
HDMI Overscan..............................................................................................38
Disabling Monitor Overscan ...........................................................................39
Display Setting Button on Remote Control.....................................................39
Command Line Interface ................................................................................40
Disk Partitions.................................................................................................40
Web Browsing ................................................................................................41
Kodi (formerly XBMC).....................................................................................41
Ofce and Productivity Applications ...............................................................42
Music and MIDI...............................................................................................43
How do I Add a MIDI Interface to the C1?......................................................43
Experimental Music with the C1 .....................................................................44
Android ...........................................................................................................44
Desktop Environment .....................................................................................44
ODROID Utility and Updater...........................................................................45
Setting the Display Resolution........................................................................45
Kodi ................................................................................................................46
Netix..............................................................................................................46
Gaming...........................................................................................................46
Using Bluetooth Devices with Android............................................................47
Adding an ODROID-VU Touchscreen ............................................................47
Chapter 4 • Hardware Tinkering ..................................................................48
USB/UART .....................................................................................................48
Bluetooth Module 2.........................................................................................53
Index ODROID-C1
Beginner’s Guide

Tinkering Kit....................................................................................................58
ODUINO ONE ................................................................................................61
ODROID-SHOW2...........................................................................................63
16x2 LCD I/O Shield.......................................................................................65
Weather Board ...............................................................................................66
3.2inch TFT+Touchscreen Shield...................................................................68
USB-DC Plug Cable 2.5x0.8mm ....................................................................71
USB-SPDIF ....................................................................................................71
USB-CAM 720P..............................................................................................74
UPS2 ..............................................................................................................76
USB GPS Module...........................................................................................76
Conclusion......................................................................................................79
Additional Resources......................................................................................79
Addendum
C1+ Features..................................................................................................80
Index ODROID-C1
Beginner’s Guide

Credits
Authors: Rob Roy
Venkat Bommakanti
Art Editor: Bruno Doiche
Contributors: Alan Tung
Anawat Hokoon
Patrick Oberli
Robert Cleere
What we stand for.
We strive to symbolize the edge of technology,
future, youth, humanity, and engineering.
Our philosophy is based on Developers.
And our efforts to keep close relationships with
developers around the world.
For that, you can always count on having the
quality and sophistication that is the hallmark of
our products.
Simple, modern and distinctive.
So you can have the best to accomplish
everything you can dream of.
© 2015 Hard Kernel, Ltd. • 704 Anyang K-Center, Gwanyang, Dongan, Anyang, Gyeonggi, South Korea, 431-815
Hardkernel manufactures the ODROID family of quad-core development boards and the world’s rst ARM big.LITTLE single
board computer.
Read our monthly magazine at http://magazine.odroid.com.
You can join the growing ODROID community with members from over 135 countries at http://forum.odroid.com.
Explore the new technologies offered by Hardkernel at http://www.hardkernel.com.

1ODROID C1 USER MANUAL
Congratulations on purchasing the ODROID-C1! It is one of the
most powerful low-cost Single Board computers available, as well
as being an extremely versatile device. Featuring a quad-core
AmLogic processor, advanced Mali GPU, and Gigabit ethernet, it can
function as a home theater set-top box, a general purpose computer for
web browsing, gaming and socializing, a compact tool for college or ofce
work, a prototyping device for hardware tinkering, a controller for home
automation, a workstation for software development, and much more.
Some of the modern operating systems that run on the
ODROID-C1 are Ubuntu, Android, Fedora, ARCHLinux, Debian, and
OpenELEC, with thousands of free open-source software packages
available. The ODROID-C1 is an ARM device, which is the most wide-
ly used architecture for mobile devices and embedded 32-bit comput-
ing. The ARM processor’s small size, reduced complexity and low
power consumption makes it very suitable for miniaturized devices
such as wearables and embedded controllers.
Welcome

2ODROID C1 USER MANUAL
Differences between a typical PC and a Single Board Com-
puter (SBC)
If you are used to using a standard PC such as an OSX or Win-
dows machine, there are a few small differences to note when transi-
tioning to an ARM device. To begin with, the speed of an ARM pro-
cessor is not directly comparable to the speed of an Intel processor.
Because of the efciency of the CPU, the C1 can give great response
time that feels just as fast as using a more expensive computer. The
operating systems available for the C1 are also highly optimized,
and benet from the expertise of many open-source contributors that
continually review each others’ work that bring daily improvements to
the OS.
In addition, nearly all of the applications available for the C1
also have their source code publicly available, which means that
you can freely modify and update the applications to t your specic
needs. Program authors often maintain a GitHub repository, where
suggestions can be submitted, reviewed and distributed to all of the
application’s users.
The C1 also uses Solid State technology for its storage media,
although a conventional hard disk may be used as an auxiliary de-
vice. The boot partition can be stored on either a microSD card or
the much faster eMMC module, and Hardkernel’s products have the
unique distinction of supporting removable eMMC modules, so that
operating systems may be switched out conveniently and easily. An
eMMC module is a type of storage typically used in a smart phone,
and is one of the more advanced compact media devices available.
The power consumption of a typical personal computer can be
anywhere between 100W and 1000W or more, depending on the pe-
ripherals, processor and type of power supply used. However, the
ODROID-C1 uses between 5W and 10W, greatly reducing your elec-
tricity bills, as well as allowing unique power congurations such as
compact solar power cells and long-running batteries.
Components Included on an SBC
The ODROID-C1 contains many of the same connections as a
typical computer, with 4 USB ports, a microUSB OTG port, an Ethernet
port that supports Gigabit transfer speeds, a microHDMI connector for
720p and 1080p monitors, and a 5V/2A DC power connector. In addi-
tion to these standard inputs, the C1 also includes a 40-pin GPIO port,
an external RTC battery connector, a USB-UART serial console port,
an eMMC module connector, and a dedicated slot for a microSD card.
For more details, refer to the ODROID-C1 introductory video at http://
youtu.be/DvJSCzIGr1E.
Chapter 1

3ODROID C1 USER MANUAL
Block Diagram
The following diagram illustrates conceptually how the compo-
nents of the C1 t together:
C1 Block Diagram and Annoted Board Image
Attaching Peripherals
The C1 supports the services of numerous peripherals. The image
below depicts the following peripherals: Power Supply Unit (PSU) cable,
USB / UART debug cable, RTC battery cable, Infra Red (IR) receiver, USB
WiFi dongle, HDMI cable, USB / Wireless keyboard / mouse dongle, USB
Touch cable, Ethernet cable, and the audio headphone cable attached to
the 3.5mm port on an HDMI monitor such as an ODROID-VU.
Chapter 1

4ODROID C1 USER MANUAL
ODROID-C1 peripherals
The image below shows the use of an ODROID-VU HDMI touch-
screen monitor supporting stereo audio, and 10-point touch control.
ODROID-VU HDMI Monitor
This image depicts the use of the Tinkering kit designed for C1
useful to experiment with circuit design and related software monitor-
ing and control, which is detailed in Chapter 4.
C1 Tinkering kit
Chapter 1

5ODROID C1 USER MANUAL
Power Supply
The C1 board requires a 5V/2A DC power source. The dedicat-
ed power connector (miniature barrel jack) can accept a DC plug cable
with a plug that has an outer diameter of 2.5mm and an inner diameter
of 0.8mm. The plug inner core (center) is positive (attached to the RED
wire in the cable) and outer cylinder is negative (attached to BLACK
wire in the cable). The C1 can be powered using different options,
which are outlined below.
5V DC 2A PSU
Attach the plug to the power connector on the C1. Plug the 2-pin
PSU into the power outlet. The pins are of Asian standard, and you
may need an adapter to use in your region - such as the Americas.
The PSU pictured above is available from Hardkernel.
USB DC plug cable
Attach the USB end of this cable to the USB port of a charging
device that can generate 2A @5V, and attach the plug to the C1. This
cable is also available from Hardkernel.
DC plug cable
If you have a 5V DC 2A PSU which does not have the required
plug, you can cut off the plug from such a power supply. Expose about
½” of the red/black wires on the psu cable and attach them to the same
colored cables of this cable, then solder the joints. You can cover the
joint using electrical tape or a heat-shrink wrap. Attach the plug to the
Chapter 1

6ODROID C1 USER MANUAL
C1 and insert the PSU pins into a power outlet.
This cable is also available from Hardkernel, and may be paired
with the SmartPower peripheral, which is an excellent bench power
supply with variable voltage.
MicroUSB Power
The ODROID-C1 is capable of being powered by the microUSB
port, but the option isn’t enabled by default on the original C1, although
the C1+ model comes with this modication. A simple hardware bridge
permits the USB power feature, which is detailed in the images below.
Powering the C1 via microUSB
To perform the modication, you may select one of the following
two methods: Bridge the two pads of R87 with soldering, as shown in
the image on the left, or mount a 0-ohm resistor on R87 (type 1608),
as shown in the image on the right.
Monitor
The C1 offers a microHDMI port for connecting an HDMI-com-
pliant monitor. It is recommended to use the Hardkernel supplied
microHDMI to HDMI adapter cable, but many other high quality
standard cables should also work. There are some reported issues
with cables that lack HDMI grounding wires inside the cable, so it is
best to order this cable directly from Hardkernel or one of its certi-
ed distributors.
Keyboard and Mouse
Nearly all USB HID-compliant keyboard and mouse will work
when connected to one of the four USB ports. The use of a bluetooth
mouse or keyboard requires a bluetooth dongle and, for rst pairing,
either an USB mouse/keyboard, an SSH access from remote or a
working touchscreen.
To pair a bluetooth keyboard or mouse via the Linux console, run
Chapter 1

7ODROID C1 USER MANUAL
the following command in a Terminal window:
$ sudo hcitool scan
Push the Connect button on the bluetooth device and it will ap-
pear in the console:
Scanning ...
XX:XX:XX:XX:XX:XX Rapoo E6700
$ sudo bluez-simple-agent hci0 XX:XX:XX:XX:XX:XX
Push the Connect button again, and enter the shown pin on the
keyboard, followed by the Enter key. If no pin is shown, try 000000.
Then, type the following to trust the device and restart the bluetooth
service:
$ sudo bluez-test-device trusted XX:XX:XX:XX:XX:XX yes
$ sudo /etc/init.d/bluetooth restart
In Android, the Settings application may be used to connect to
the bluetooth keyboard or mouse. More details on using bluetooth
with Android are covered in Chapter 2.
Ethernet and WiFi
The Ethernet port accepts a standard Ethernet cable, and is ca-
pable of up to 1 GB (1000 MB) per second transmission rate. The WiFi
USB adapter ts in any of the 4 USB ports.
MicroSD Card
Align the metal strips of the microSD card with the pins of the mi-
croSD card connector, and slowly push it in until it clicks in place. Be
gentle. If you are unable to push it in, it may be misaligned. Recheck
and ip the microSD card if you notice a wrong insertion direction. The
image below shows a properly mounted microSD card.
eMMC Module
Align the eMMC module and the eMMC connector on the C1
board, using the white rectangle on the PCB as a guide. The female
portion of the eMMC module should line up with the male connector
on the board. Slowly push it in until it clicks in place. Be gentle. If you
are unable to push it in, it may be misaligned. Recheck and turn the
eMMC module if you notice a wrong insertion direction. The writing on
the card will be exposed after insertion. The image below depicts how
the eMMC module appears after it is mounted.
Chapter 1

8ODROID C1 USER MANUAL
C1 closeup with eMMC module attached
LED status
The ODROID-C1 includes several LED lights that indicate the
status of the device:
The red LED
• Is on when power is available
The blue LED
• Is on (solid light) when the bootloader is running
The blue LED
• Blinks slowly when the kernel is running, like a heartbeat
The blue LED
• Blinks quickly when the kernel is in panic mode
Technical specications
Processor
Amlogic S805: Quad Core Cortex™-A5 processor with Dual Core
Mali-450 GPU
eMMC module socket
8GB/64GB : Toshiba
16GB/32GB : Sandisk iNAND Extreme
The eMMC storage access time is 2-3 times faster than the SD
card. You can purchase 4 size options: 8GB, 16GB, 32GB and 64GB.
Using an eMMC module will increase speed and responsiveness, sim-
ilar to the way in which upgrading to a Solid State Drive (SSD) in a
typical PC also improves performance over a mechanical hard drive
(HDD).
Chapter 1

9ODROID C1 USER MANUAL
Micro Secure Digital (microSD) card slot
There are two different methods of storage for the operating sys-
tem. The rst is by using a microSD Card and another is by insert-
ing an eMMC module, which is normally used for external storage for
smartphones and digital cameras. The ODROID-C1 can utilize a new-
er UHS-1 SD model, which is about twice as fast as a class 10 card.
C1 closeup with microSD card attached
There are some microSD cards which cause an additional boot
delay time of around 30 seconds. According to our testing, most Sandisk
microSD cards don’t cause a long boot delay. The ODROID-C1+ mod-
el is compatible with a wider array of microSD cards than the original
C1.
5V 2A DC input
The DC input is for 5V power input, with an inner diameter of
0.8mm, and an outer diameter of 2.5mm. The ODROID-C1 consumes
less than 0.5A in most cases, but it can climb to 2A if many passive
USB peripherals are attached directly to the main board.
USB host ports
There are four USB 2.0 host ports. You can plug a keyboard,
mouse, WiFi adapter, storage or many other devices into these ports.
You can also charge your smartphone with it! If you need more than 4
ports, you can use a powered external USB hub to reduce the power
load on the main device.
MicroHDMI port
To minimize board size, we used the Type-D micro-HDMI con-
nector. A regular HDMI cable may be used with a suitable microHDMI
adapter. The C1+ model uses a standard Type-A HDMI connector.
Chapter 1

10 ODROID C1 USER MANUAL
Ethernet RJ-45 jack
The standard RJ45 Ethernet port for LAN connection supports
10/100/1000 Mbps speed. The green LED Flashes when there is 100
Mbps connectivity, and the yellow LED Flashes when there is 1000
Mbps connectivity.
Infrared (IR) receiver
This is a remote control receiver module that can accept stan-
dard 37.9Khz carrier frequency based wireless data in NEC format.
MicroUSB OTG port
You can use the standard microUSB connector with Linux gad-
get drivers on your host PC, which means that the resources in the
ODROID-C1 can be shared with other PCs. You can also add a mi-
croUSB to HOST connector if you need an additional USB host port.
This port can also be used for power input with the modication de-
scribed earlier in this chapter.
General Purpose Input and Output (GPIO) ports
These 40pin GPIO port can be used as GPIO/I2C/SPI/UART/
ADC for electronics and robotics. The 40 GPIO pins on an ODROID-C1
are a great way to interface with physical devices like buttons and
LEDs using a lightweight Linux controller.
If you’re a C/C++ or Python developer, there’s a useful library
called WiringPi that handles interfacing with the pins. We’ve already
ported the WiringPi v2 library to ODROID-C1, as described in Chapter
4. Note that all of the GPIO ports are 3.3Volt, and the ADC inputs are
limited to 1.8Volt.
Serial console port
Connecting to a PC gives access to the Linux console. You can
monitor the boot process, or to log in to the C1 to perform root main-
tenance. Note that this serial UART uses a 3.3 volt interface, and it is
recommended to use the USB-UART module kit available from Hard-
kernel. A Molex 5268-04a (2.5mm pitch) is mounted on the PCB, and
its mate is Molex 50-37-5043 Wire-to-Board Crimp Housing.
RTC (Real Time Clock) backup battery connector
If you want to add a RTC functions for logging or keeping time
when ofine, just connect a Lithium coin backup battery (CR2032 or
equivalent). All of the RTC circuits are included on the ODROID-C1 by
default. It connects with a Molex 53398-0271 1.25mm pitch Header,
Surface Mount, Vertical type (Mate with Molex 51021-0200).
Chapter 1

11 ODROID C1 USER MANUAL
Gigabit Ethernet
The Realtek RTL8211F is a highly integrated Ethernet transceiv-
er that complies with 10Base-T, 100Base-TX, and 1000Base-T IEEE
802.3 standards.
USB MTT hub controller
A GENESYS LOGIC GL852G is used to implement the 4-port
Hub function which fully complies with Universal Serial Bus Specica-
tion Revision 2.0.
USB VBUS controller
A NCP380 Protection IC for USB power supply from OnSemi.
Boot media selector
If this port is open, the rst boot media is always eMMC. If this
port is closed, the rst boot media is always microSD card.
Power switch port
You can add a slide switch or rocker switch on this port if you
want to implement a hardware on/off switch. If this port is open, the
power is on. If this port is closed, the power is off.
Power supply circuit
Discrete DC-DC converters LDOs are used for CPU/DRAM/IO
power supply.
Power protector IC
The power protected is a NCP372 over-voltage, over-current,
reverse-voltage protection IC from OnSemi.
Heatsink
Electronic components all generate heat while operating, and
different components generate different levels of heat. Some compo-
nents do not require any cooling, while others do.
Complex components such as the C1 processor may reach tem-
peratures as high as 85°C. At high temperatures, the processor will
throttle itself and operate slower so that temperatures do not continue
to increase.
Some owners prefer that the temperatures do not reach such
high temperatures and install a heatsink, which is available from the
Hardkernel store. Heat transfer from components to the surrounding
air is related to the surface area available to transfer heat to the sur-
rounding air. The processor of the C1 provides a relatively small area
Chapter 1

12 ODROID C1 USER MANUAL
to dissipate heat (approximately 1cm x 1cm). The heatsink is much
larger and is therefore able to dissipate more heat into the surrounding
air than the processor itself.
Heatsink Installation
Check that you have both parts of the heatsink. You should
have a silver heatsink and a rectangular grey, gummy piece (the ther-
mal pad). These two items are shown in the image along with the C1
unit.
• Remove the transparent plastic backing on the grey thermal pad.
There may be transparent plastic on both sides. Then place the ther-
mal pad over the processor and memory modules as shown in the
following image.
• Remove the plastic lm from the white pad on the underside of the
heatsink. The white pad should be stuck to heatsink.
• Align the white pushpins to the correct holes and push both pins
through the holes until a click is heard from each. Check that the
pushpins have been inserted correctly pressing down on them from
the top. They should move a small distance downward freely and then
come back up when you let go.
Heatsink components
Chapter 1

13 ODROID C1 USER MANUAL
Heatsink thermal pad applied
Removing heatsink adhesive protection
Heatsink applied to ODROID-C1
The heatsink’s purpose is to transfer heat from the processor
and memory modules. Therefore it is normal for the heatsink to feel
warm when the C1 is operating. A warm heatsink is actually a sign
that the installation was done correctly and heat is being transferred
from the modules to the heatsink.
If the C1’s operating environment has higher temperatures, it
may be useful to install the heatsink to avoid throttling and lowered
performance. An optional fan is also available for applications that
require intensive CPU use.
Chapter 1

14 ODROID C1 USER MANUAL
Temperature Measurement
To help verify that the heatsink was correctly installed, it is useful
to get temperature readings before and after installation. The proces-
sor’s built-in sensor can be used for this. It would be ideal to have
the processor working under the same load when the temperatures
for before and after heatsink installation are taken. It is assumed that
your unit has been through the initial setup procedure and is running
the Ubuntu image from Hardkernel.
• Open two terminal windows, where one window will be used to run
the application used to test the processor. Ensure that there are no
other programs or applications being run.
• In the rst terminal window, type in the following command:
$ sysbench --test=cpu --num-threads=4 \
--cpu-max-prime=1000000000
• After waiting at least 5 minutes, type the following into the second
window:
$ cat /sys/class/thermal/thermal_zone0/temp
• This result is in Celsius if it has 2 digits. If it has 5 digits that value
should be divided by 1000 to get the temperature in Celsius.
• Re-type the command to get the temperature every few minutes until
the temperature no longer increases.
• Record the temperature.
This procedure should be done both before and after the heatsink in-
stallation to help verify that the installation was done correctly.
Frequently Asked Questions
What’s an ODROID?
ODROID means Open + Android. It is a development platform with
hardware as well as software.
What SoC are you using?
The SoC is an Amlogic S805 quad-core.
Chapter 1

15 ODROID C1 USER MANUAL
What GPU does it include?
An ARM Mali-450 MP2. In fact, there are 4 GPU cores: 2 fragment
processors and 2 vertex shader processors, but normally we count the
number of fragment processors only.
How does it boot?
You may boot from either microSD card or eMMC module.
Can I buy OS pre-loaded SD card or eMMC?
Yes, they are available from Hardkernel as well as other distributors.
Can I add extra RAM memory?
No. The RAM is not removable or swappable.
How can I get the Ubuntu or Android BSP source code?
The U-boot, Kernel and OS source code are released via Github from
the rst shipping date at http://github.com/hardkernel.
Does it play 1080p content well on Ubuntu Linux?
Yes, H.264/H.265/VC1/MPEG4/MPEG2 video clips are playable with
Kodi (formerly XBMC) in most cases.
How can I root Android?
Android for the ODROID is unlocked and rooted by default for devel-
opment.
How can I install the Google Play Store?
It is very simple. Just download an installer from http://bit.ly/1gkv4PM,
click the APK, and follow the instructions inside the application.
Can I get PCB layout le and gerber le?
The ODROID project is not a full open source hardware, and only the
schematics are released to the public.
What peripherals are available?
The following peripherals are available from the Hardkernel store and
certied distributors:
• WiFi Module
• Micro-HDMI Cable
• MicroSD 8GB, 16GB cards (with a pre-installed OS)
• eMMC 8GB, 16GB, 32GB, 64GB module (with a pre-installed OS)
• GPIO breakout board with tinkering kit
Chapter 1
Table of contents
Other HARDKERNEL Motherboard manuals


