HARDKORR HKPDCDC25BT User manual

25A
/
40A DC-DC BATTERY CHARGER
WITH MPPT SOLAR REGULATOR
INSTRUCTION MANUAL
V1.0.0 - October 2022

CONGRATULATIONS ON YOUR PURCHASE
In doing so, you now have the assurance and peace of mind that comes from
purchasing a product that has been manufactured to the highest quality standards.
Our aim is for you to be completely satisfied with your purchase, and therefore
your new Hardkorr product is backed by a comprehensive 2-year warranty and an
outstanding after-sales customer service team.
We hope you will enjoy using this product for many years to come.
If you require technical support, or in the unlikely event your purchase appears
to be faulty, please contact our support team for immediate assistance. Contact
details for each country are contained within this user guide.
CONTENTS
INTRODUCTION ...................................................................... 1
GENERAL INFORMATION & SAFETY INSTRUCTIONS ........... 2
SPECIFICATIONS ..................................................................... 4
OVERVIEW............................................................................... 5
INSTALLATION......................................................................... 6
USAGE & STORAGE ................................................................. 8
BATTERY WIRING .................................................................. 10
TROUBLESHOOTING..............................................................11
WARRANTY ............................................................................12
1
INTRODUCTION
PLEASE KEEP THIS MANUAL FOR FUTURE REFERENCE
CAUTION
Our 40A DC-DC Battery Charger with Solar Input is engineered to help you stay
on the road for longer. Loaded with smart features, our product is designed with
an intelligent charging algorithm and advanced protection measures. Coming
standard with an inbuilt MPPT regulator, you’ll produce power more efficiently
than ever before – up to 15% faster than standard solar setups. Compatible with
Lithium, AGM/Gel, Lead Acid and Calcium batteries, it’s perfect for 4x4, camper
or caravan setups.
This DC-DC charger comes with a built-in Bluetooth connection to monitor your
batteries, solar panels and DC input with the free HARDKORR DC-DC Charger app.
This manual contains important safety instructions for your DC-DC Charger.
Do not operate the device or modify the installation unless you have read and
understood this user manual. Hardkorr recommends that the battery be installed by
an appropriately qualified professional.
HARDKORR DCDC CHARGER
APP NOW AVAILABLE

2
DISCLAIMER
MODELS COVERED BY THIS MANUAL
CAUTION
GENERAL INFORMATION &
SAFETY INSTRUCTIONS
While precaution has been taken to ensure the accuracy of the contents of this
guide, Hardkorr assumes no responsibility for errors or omissions. Note that
specifications and product functionality may change without further notice.
• Children, those without the proper training or experience, or those under the
influence of drugs or alcohol should not operate this unit.
• Before installing or using the product, ensure you have read and understood all of
the warning and safety messages supplied with your product.
• Do not use or store this charger near heat sources such as fire or heaters or expose
it to flammable chemicals, vapors or corrosive gasses.
• Only use this product as intended.
• Do not subject the device to impact.
• Inadequate ventilation may lead to overheating and inefficient charging.
• Please note that this DC-DC charger is not waterproof. Do not expose the charger
to moisture or harsh environments.
• This product should be firmly fastened to prevent it from falling.
• Disassembling the charger could potentially cause harm to yourself or others and
damage the unit. Doing so will void the warranty.
• Disconnect the charger before maintenance or cleaning.
• This DC-DC charger should only be repaired by a suitably qualified professional.
• Wear proper eye protection and avoid touching your eyes while working with batteries.
• Avoid dropping any metal tool or object on the battery. Doing so could create a
spark or short circuit.
• Examine the battery charger periodically for damage. If the battery charger is
damaged, it must not be used until it has been repaired.
HKPDCDC25BT - 25A DC-DC Charger
HKPDCDC40BT - 45A DC-DC Charger

3
CONTENTS
GENERAL INFORMATION &
SAFETY INSTRUCTIONS
1x 25A/40A DC-DC CHARGER
3x INPUT/OUTPUT CABLE SETS
1x IGNITION (ACC) INPUT LEAD

4
SPECIFICATIONS
DC BATTERY INPUT
SOLAR INPUT
OUTPUT/CHARGING VOLTAGE
OUTPUT CURRENT (DC)
OUTPUT CURRENT (SOLAR)
MINIMUM START VOLAGE
SOFT START
BULK CHARGE VOLTAGE
EQUALISATION
PRODUCT DIMENSIONS
GROSS WEIGHT
BOOST
CHARGING
14.0V
14.4V
15.0V
15.4V
14.0V
14.4V
14.3V
14.7V
CERTIFICATIONS
12.5-24V
16-24V
14.4-15.4V
25A
25A
2.5V
YES
14.4V
AUTO
225mm (L)
140mm (W)
55mm (H)
1 KG
CE, RCM, ROHS
25A
CALCIUMLEAD ACIDAGM/GEL
40A
LiFePO₄
12.5-24V
16-24V
14.4-15.4V
40A
40A
2.5V
YES
14.4V
AUTO
225mm (L)
140mm (W)
55mm (H)
1 KG
UNIT SPECIFICATIONS
CHARGING VOLTAGE

5
IDENTIFICATION OF COMPONENTS
OVERVIEW
CHANGING SETTINGS
SOLAR INPUT (-)DC INPUT (+)DC INPUT (-)SOLAR INPUT (+)
OUTPUT (-)OUTPUT (+)
Hold the “power” button down for 3 seconds to
enter selection mode. Once the LED indicator starts
blinking, press the “power” button to select the
appropriate charging status for your setup. Once
selected, hold the “power” button for 3 seconds to
exit selection mode. This product has a power cut
memory function, it will remain on this battery type
until it is changed.

6
INSTALLATION TIPS
INSTALLATION
INSTALLATION SHOULD BE PERFORMED BY A LICENCED PROFESSIONAL.
• Ensure the correct cable and fuse sizes are used when installing this device.
• This charger can be installed both horizontally and vertically.
• Ensure that the charger is installed as close as possible to the battery you are
going to charge.
• The DC-DC charger should be installed in an area that is not susceptible to
moisture, water, flammable gas, dust or high temperatures.
• When installed on a caravan or camper trailer, we recommend using an
Anderson plug between setups (see diagram on Pg 7).
• The use of an appropriate gauge twin core cable is imperative when
connecting the starter battery to the charger.
• We recommend installing a 60 Amp circuit breaker (not included in this
package) between the unit and the starter battery, and 50 Amp circuit breaker
(not included in this package) between the unit and the auxiliary battery.
• Before operating the unit, check whether all connections are clean and tight.
• The ACC line will trigger the DC-DC Charger to charge your auxillary
battery when the vehicle key is switched on to the 'ignition on' position.
The input voltage should be over 13.0V to start charging when the ACC line
is not connected.
NOTE: the charger may discharge your main battery if the ACC line is
connected but your key is not turned to the START position.

7
SUGGESTED FITMENT TO VEHICLE
SUGGESTED FITMENT TO VEHICLE WITH CARAVAN/CAMPER
INSTALLATION
DC-DC CHARGER
MAIN VEHICLE BATTERY
ANDERSON PLUGAUXILIARY BATTERY
DC-DC CHARGER
AUXILIARY BATTERY
MAIN VEHICLE BATTERY
PERFECT FOR 4x4s,
CAMPERS & CARAVANS

8
OPERATION
USAGE & STORAGE
• Prior to first using the DC-DC charger, ensure that the unit is configured to
charge the correct battery type.
• Start your vehicle and let it idle.
• The charger will recognise that there is a charge being applied to the main
starting battery.
• The charger will charge the auxiliary battery when the main starting battery
has reached 13V (ACC line not connected). If the ACC line is connected, the
main battery will start charging the auxiliary battery when the voltage is
12.5V or above.
• The charger will continue to operate even after the vehicle has been switched
off until it detects that the main battery falls below 12.5V or below 10.8V
when the ACC line is connected.
• Prior to first using the DC-DC charger, ensure that the unit is configured to
charge the correct battery type. The charger will shift to solar charge mode
when the input terminal is connected to the solar panel.
• Press “POWER” to select the corresponding battery type.
• Charging begins when the output of the solar panel reaches 16V. The panel
will stop charging when its output is below 10V.
DC BATTERY
SOLAR INPUT

9
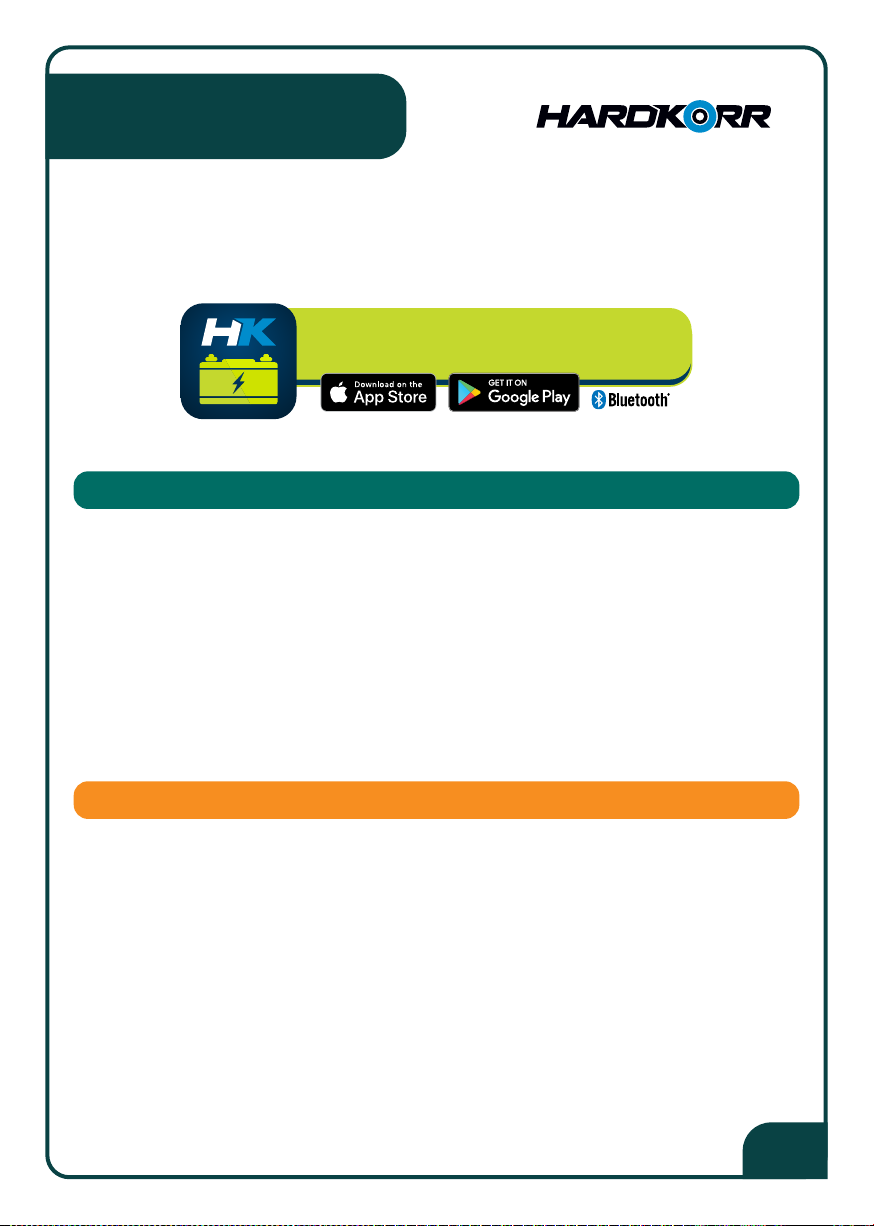
BLUETOOTH® APP
BLUETOOTH® TECHNOLOGY
USAGE & STORAGE
Connectivity: Bluetooth 5.1
Range: 90 meters (open field)
Unlike most competing products, the Hardkorr DC-DC chargers come with a built-in
Bluetooth connection. This means you can monitor your batteries, solar panels and
DC input on your smartphone with the free Hardkorr DC-DC Charger app.
HARDKORR DCDC CHARGER
APP NOW AVAILABLE
Connect to
your device
View your
charging status
View the device's
charging history

10
WIRING DIAGRAM
BATTERY WIRING
NOTE: First connect the ACC line to the ignition of your vehicle. Then turn your key
to the 'ignition on' position. When the engine starts it will be detected by the
DC-DC charger and your auxiliary battery will be charged via the main battery.
12V Auxiliary Battery
12V Starting Battery
Solar Panel
600W 40A/Isc 25V/VOC
Fuse/Breaker 50A
Fuse/Breaker 12V - 60A
Fuse/Breaker
ACC Ignition Wire
(Not supplied)
(Not supplied)
(Not supplied)

11
TROUBLESHOOTING
'Power On' indicator flashes
once, stops for 3s.
'Power On' indicator flashes
twice, stops for 2s.
'Power On' indicator flashes
three times, stops for 1s.
Battery type indicator flashes
once, stops for 3s.
Battery type indicator flashes
twice, stops for 2s.
Improper connection (input
overvoltage/reverse connection) of
the solar panel or DC power supply.
Over-temperature of the charger.
Malfunction of the charger.
Improper connection of the battery
(bad battery/overvoltage/reverse
connection/overcurrent).
Overtime protection.
Reconnect the solar panel or
DC power supply.
Install the charger in a more
ventilated location.
Cut off the power and restart
the charger. If the same problem
occurs, replace the charger.
Disconnect and reconnect the
battery to the charger.
Cut off the power and restart the
charger. Make sure the battery
is operating correctly.
PROBLEM CAUSE SOLUTION
Voltage of a fully
charged battery
Rated current
Pre-charge
stage Constant current
charging stage Constant voltage
charging stage
Charging voltage
Charging
finished
Charging current
Pre charge
current
Constant current
charging voltage
CHARGING ALGORITHM

12
TO BEGIN YOUR WARRANTY CLAIM
WARRANTY
Our goods come with guarantees that cannot be excluded under the Australian
Consumer Law. You are entitled to a replacement or refund for a major failure
and compensation for any other reasonably foreseeable loss or damage. You
are also entitled to have the goods repaired or replaced if the goods fail to be of
acceptable quality and the failure does not amount to a major failure.
Hardkorr warrants that this product will be free from defects in material and
workmanship for three years. The warranty commences on the date of purchase
by the original purchaser, and is not transferable. To access the benefits of this
warranty, you must retain your proof of purchase and follow any other direction
we reasonably give you (e.g. completing and returning your warranty card if
applicable).
If you believe your Hardkorr product is defective, it must be returned to Hardkorr for
inspection by our warranty claims department.
1. You must have a Return Authorization (RA) number. To get your RA number, please
complete the form found on our website and wait for the warranty team to contact you.
2. Once you have an RA number, you must arrange for the product must be shipped at your
own expense back to Hardkorr (keep your receipt). The address for shipment will be
provided when we issue your RA number.
3. Please be sure that your RA number is clearly marked on the outside of the packaging
used for shipping.
Completing the steps as mentioned will ensure a faster process of your claim, so that Hardkorr
can get your product back to you as soon as possible.
Once we receive your returned product, our technicians will inspect it. We will then notify you
of the outcome of your claim.
If we accept your warranty claim, we will either repair, replace or refund the goods at our
discretion. We will also reimburse you for the shipping costs you incurred in sending the goods
back to us. Any products that we choose to replace or refund become the property of Hardkorr.

13
DISCONTINUED ITEMS
WARRANTY
Discontinued items that are still under warranty will be reviewed by Hardkorr. If a
discontinued item is covered under warranty it may be replaced by an equivalent
or superior item. If an equivalent item is not available Hardkorr will determine
terms of resolution on a case-by-case basis.
If we do not accept your claim, we will advise you of the reason and hold your product for
collection. You will need to arrange and pay for the product to be shipped back to you. If your
product is not collected within 30 days of your warranty claim being finalised, we may destroy it.
Your warranty is voided if we (at our sole discretion) determine that there is evidence of one or
more of the following:
• Negligence: Improper installation, improper or extreme use, use that contravenes this
instruction manual, etc.
• Abuse: Road hazards, Damage beyond the limits of “normal wear and tear.”
• Unauthorized Repair: Repair service performed by an unauthorised service centre.
• Disassembly: Any attempt to open, tamper with or otherwise compromise the integrity of
the product.
• Consequential damage: damage to this product caused by the failure of another
component of the vehicle or device in which this product is installed.
Exterior Finish: Hardkorr uses the highest quality materials available, but depending on location,
environment and exposure, the colour of exterior surfaces can fade. We will not approve any
warranty claims that relate to fade.

WWW.HARDKORR.COM
This manual suits for next models
1
Table of contents
Other HARDKORR Batteries Charger manuals


