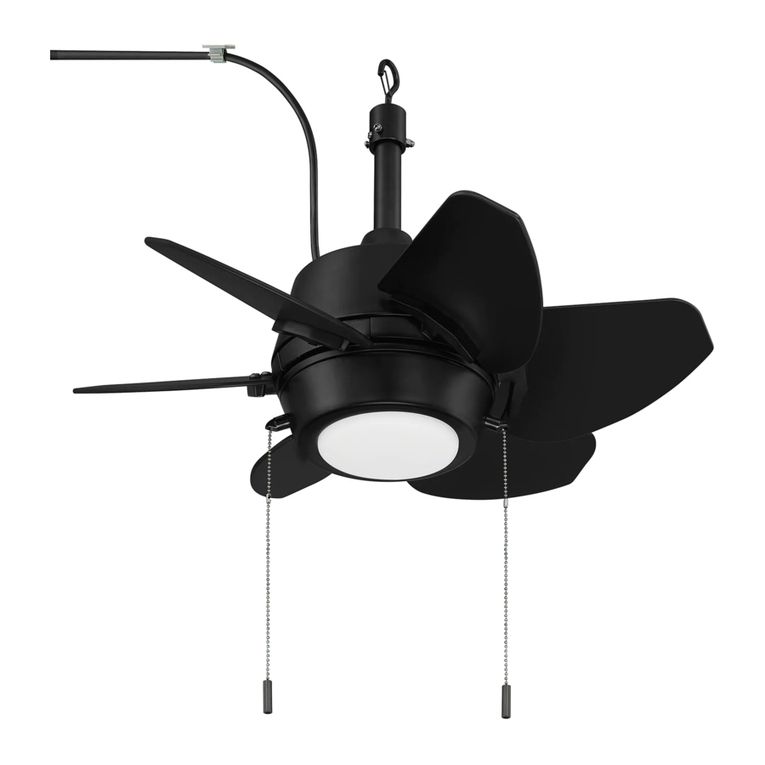
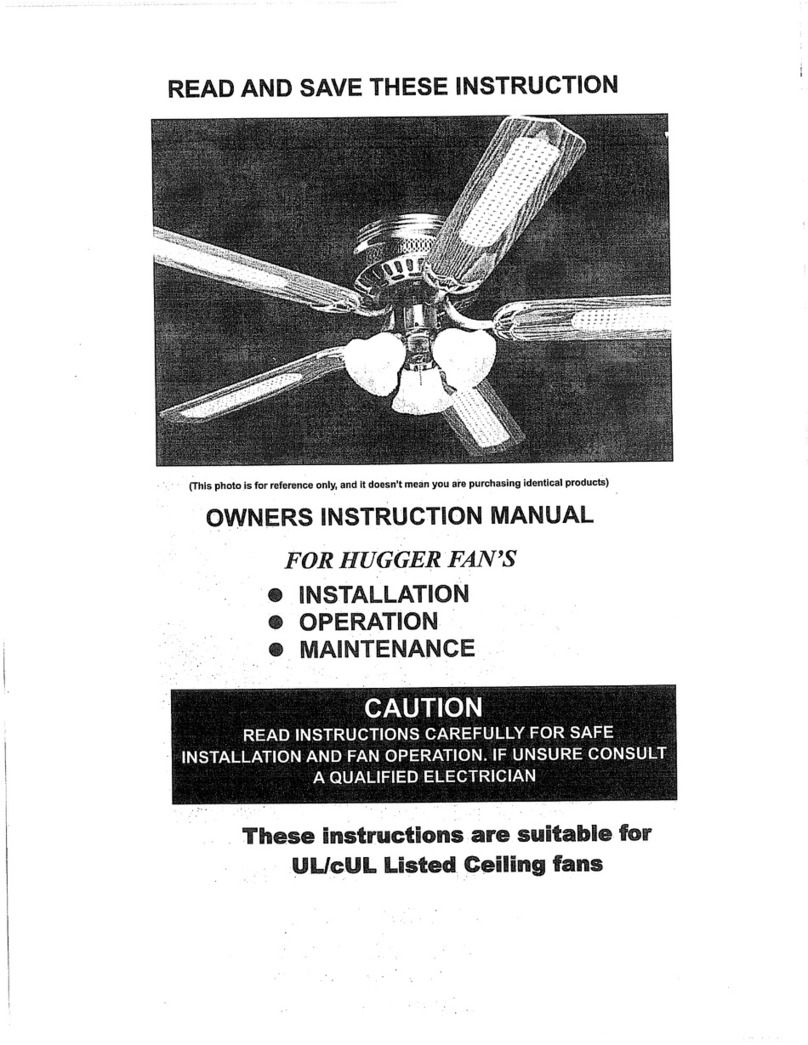
Hardware House 20-7164 Setup guide

AMD
SAVE
THESE
INSTRUCTIONS
*
OWNER'S
INSTRUCTIONMANUAL
FOR
CAUTION
INSTRUCTIO
PERATION.
IF
NSCAREFULLYFORSAFE
UNSURECONSULT
Professional
Note:
Approximate
time
of
assembly
is30minto1 hour.
These
instructionsaresuitable
Listed
Ceilingfan.
Intertek

SafetyTips———
Unpackingyourfan
ToolsandMaterial
ElectricalOutletbox
Preparingforinstallation
MountingBracket
HangingSystem
BladeAssembly
Mounting
Wiring
SecuretoCeiling
LightFixtureInstallation
controller
OperationandMaintenance-————————10
Trouble
Page1

1.
Toavoidpossibleelectricshock,turnofftheelectricityatthemainfuseboxorcircuitpanel
beforeyoubeginthefaninstallationorbeforeservicingthefanorinstallingaccessories.
2.
CAUTION:READALLINSTRUCTIONSANDSAFTYINFORMATIONCAREFULLYBEFORE
INSTALLINGYOURFANANDSAVETHESEINSTRUCTIONS.
Makesureallelectricalconnectionscomplywithlocalcodesorordinancesandthenational
electricalcode.Ifyouareunfamiliarwithelectricalwiring,pleaseusea qualifiedandlicensed
electrician.
4.
Makesureyouhavea locationselectedforyourfan
allowsclearspaceforthebladesto
rotate,
andatleastseven(7)feetofclearancebetweenthefloorandthefanbladetips.Thefan
shouldbemountedatleastthirty(30)inchesfromwallsorotheruprightstructures.
5:WARNING:Theoutletboxandceilingsupportjoistusedmustbesecurelymounted,and
capableofsupportinga minimumof50pounds.
6.WARNING:Toreducetheriskoffire,electricalshock,orpersonalinjurymounttooutletbox
marked"
AcceptableForFanSupport"andusemountingscrews(andlockedwashers) provided
withtheoutletbox.
7.Electricaldiagramsareforreference
LightkitsthatarenotpackedwiththefanmustbeETL
listandmarkedsuitableforusewiththemodelfanyouareinstalling.
8.Afterinstallationiscomplete,checkthatallconnectionsareabsolutelysecured.
9.Aftermakingelectricalconnections,splicedconductorsshouldbeturnedupwardandpushed
carefullyupintooutletbox.Thewiresshouldbeturnedspreadapart
thegrounded
conductorandtheequipment-groundingconductorononesideoftheoutletbox.
WARNING:Toreducetheriskof
fire,
electricalshock.Donotusethisfanwithanysolid-statefan
speedcontroldevice,orrheostat.
Donotinsertanythingintothefanbladeswhiletheyarerotating.
WARNING:Toreducetheriskofpersonalinjury,donotbendthebladebracketswheninstallingthebrackets,
balancingtheblades,orcleaningthe
fan.
Donotinsert
foreign
objectsinbetweenrotatingfanblades.
Toavoidpersonalinjuryordamagetothefanandotheritems,becautiouswhenworkingaround
orcleaningthe
14.
Donotusewaterordetergentswhencleaningthefanorfanblades.A drydustclothorlightly
dampenedclothwillbesuitableformostcleaning.
Instructionsforsupplyconnections:conductorofa fanidentifiedasgroundedconductortobe
connectedtoa groundedconductorofpowersupply,conductoroffanidentifiedasungrounded
conductortobeconnectedtoanungroundedconductorofpowersupply,conductoroffan
identifiedforequipmentgroundingtobeconnectedtoanequipment-groundingconductor.
NOTE:
Theimportantsafetyprecautionsandinstructionsappearinginthismanualarenotmeantto
coverallpossibleconditionsandsituationsthatmayoccur.Itmustbeunderstoodthatcommonsense
andcautionarenecessaryfactorsintheinstallationandoperationofthisfan.
CAUTION:
Toreducetheriskofinjurytoperson,installfansothatthebladeisatleast2.1
Meters(7Feet)abovethefloor.
Page2

1.
UnpackyourfanandchecktheDonotdiscardthecarton.Ifwarranty
replacementorrepairisevernecessarythefanshouldbereturnedinoriginalpackaging.
Remove
partsandhardware.Donotlaymotorhousingonitsside:thedecorative
castingmayshift.
2.
Examineallparts.Youshouldhavethefollowing:
1.
Bracket
2.
Canopy
3.
Downrodandhangingball(withpinandclip)
4.
Yokecover
5.
assembly
6.
shade
7.Set
ofBlades
PackContaining:
a.
withwasherforeachblades,
b.
pack,
c.
Mountingbrackethardwares(screwswithwasher)
Remotecontroller
Page3

Phillipscrewdriver
Bladescrewdriver
Adjustablepliersorwrench
StepLadder
Wirecutter
Electricaltape
1.
Ifthereisanexistingoutletbox,
ensureitisclearlymarked"suitablefor
fansupport".Ifnot,itmustbereplaced
withanapprovedone.
2.
Securetheoutletbox(ormakesure
theexistingboxissecured)directlyto
thebuildingstructure.Useappropriate
fastenersandbuildingmaterials.Wood
joistandoutletboxmustbeableto
supporta minimumof50pounds.
3.Figure1,2and3 areexamplesof
differentwaystomount
outletboxin
differentsituations.A longerdownrod
mayberequiredinslopedceiling
situationstomaintainproperbladeclearance.
4.
Tohangthefaninlocationswherenoceilingjoistsisavailable.A hangersupportbarmaybe
required(Fig.4).
Fig.4
Topreventpersonalinjuryanddamage,ensurethat
thehanginglocationallows
bladesa clearanceof
fromthefloorand30in.76cmfromany
wallorobstruction.
Thisfanissuitableforroomsizesupto400squarefeet
(37.2squaremeters).
Thisfancanbemountedwitha downrodona
regular(noslope)orvaultedceiljng.Thehanging
lengthcanbeextendedbypurchasinga longer
downrod(0.85in./2.15cmouterdiameter).Other
installation,Suchas
isnotavailablefor
thisfan.
bladeedge\
feet
(2.13m)
inches)
downrod
installation
-20ft.
installation
Vaulted
angleis
to
exceed25
Page4

fflhdk-
Unpackandinspectfancarefullytobe
certainallcontentsareincluded.
Turnoffpoweratfuseboxtoavoid
possibleelectricalshock.
Removethescrewsandstarwasherfrom
thetwomatingholes(2).
Loosenbutdon'tremovethescrewsinthe
matingslots(l)onthecanopy;rotatethe
mountingbracketandremovefromthe
canopy.
Usemetaloutletboxsuitableforfan
support(mustsupport35lbs).Before
attachingfantooutletbox,ensurethe
outletboxissecurelyfastenedbyatleast
twopointstostructuralceilingmember(a
looseboxwillcausethefantowobble).
Installmountingbracket(l)tooutlet
boxinceilingusingthescrewsand
washerprovidewiththeoutletbox.
MOUNTING
BRACKETINSTALLA
Page
5

Usethedownrodsuppliedwithfan,
removeclamppin(l)andcrosspin(2)
formdownrod(3).
Placedownrodassembly(l)into
canopy(2)andyokecover(3).Feedmotor
wiresthroughthedownrodassembly(l).
Insertdownrodintodownrodcoupling.Makesuretoalignholeindownrodwiththeholein
downrodcoupling.Installcrosspin(l)throughcouplinganddownrod.Insertkeeperpin(2)into
crosspinuntilitsnapsintoplace.Tightensetscrews(3)in
Slidecouplingcover(4)over
thedownrodcoupling.
Page6

Removethetwoscrews
holdingthe"window
cover"tothetopofthe
motorhousing.Thiswill
.allowaccessfor
securingthebladesto
themotor.
Blade
Insertthebladesoneata time
throughthe
aroundthe
fanhousingandsecureeach
bladewiththreebladescrews
andfabricwashersthroughthe
topwindowopening.Repeat
thisprocedureforallblades.
Fixthewindowcover
withthetwo
screws.
MOUNTING
Carefullyliftfanassemblyontomountingbracket.Rotatefanuntilnotchondownrod
ba!l(l)engagestheridgeonthemountingbracket(2).Thiswillallowforhandsfree
wiring.
Page

BLACK
TO
WHITE
WHITE
TO
BLACK
TO
BLUE
AC
POWER
ANTENNA PAN
MOTOR
Makewiringconnectionsfromthehouseandthemotortotheremotereceiverasshown
above.Connectusingwiringnuts(provided).
Oncewiringstephasbeen
completed,
slidethewired
remotereceiverinbetween
themountingbracketand
thetopofthedownrodball
for
Slidethecanopyuptothemountingbracket.
Thecanopyhastwomatingslots(l)andtwomatingholes(2).Positionbothslotsoncanopy
directlyunderandinlinewithtwoscrewsinthemountingbracket(3).Liftthecanopy,allowing
thetwoscrews
slideintothematingslots.Rotatethecanopyclockwiseuntilbothscrews
fromthemounting
dropintotheslotrecesses.Tightenscrewssecurely.Installtwo
screwsandlockwashersintothematingholesofthecanopyandtightentosecurethecanopy
tothemountingbracket.
Page8

INSTALLATION
Installlightbulbs((13wattmax,bulbnot
included).
Locatetheindentationsontheneckofthe
glassandalignwiththeprotrusionsonthe
insideofthelightkit.Lifttheglassup
allowingtheprotrusionstoengagethe
indentationsoftheglass,andtwisttheglass
clockwisetolockintoplace.
REMOTE
CONTROL
OPERATION
Thisremotecontrolispresetupa pair
codeswhenbeingmanufactured.Codesaresetby
pushingdipswitchesupordown.Itisimperativethatthecodeusedforbothtransmitterand
receiverisexactlythesame,otherwiseremotecontrollerwillnotwork.Pleasenotethecode
switchwillenableyoutooperatea secondremotecontrollerindependently.Forexample,ifyou
havetwoceilingfanswith2 remotecontrolunits,set2 differentcodesforeachsetof
transmitter/receivers.Thismeansyoucanoperate
ceilingfanindependently.
TOOPENBATTERYHOUSING
COVERBYPRESSDOWNAND
SLIDEOUT
Page9

2.
remotecontrolisreadyforuseafterbatteryinstallation
-
remoteistouse
1
x9Vbattery.
3.
oftransmitter
HI: Turnonceilingfanathighspeed.
MED: Turnonceilingfanatmediumspeed.
LOW: Turnonceilingfanatlowspeed.
OFF: Turnoffceilingfan.
ON/OFF:Pressandreleaseimmediatelytoturnon/ offthelight;
oftransmitterwallmountholder
with
two
OPERATION
AND
MAINTENANCE
Operation
Turnonthepowerandcheckoperationoffan.
Speedsettingsforwarmorcoolweatherdependonfactorssuchasroomsize,ceiling
height,numberoffansandso
Theslideswitchcontrolsdirection,forwardorreverse.
Warmweather/downposition-(Forward)Fanturnscounterclockwisedirection.
Adownrodairflowcreatesa coolingeffectasshowninillustrationA.
Thisallowsyoutosetyour
conditionerona highertemperaturesettingwithout
affectingyourcomfort.
Coolweather/upposition-(Reverse)Fanturnsclockwisedirection.Anupwardairflow
moveswarmairofftheceilingareaasshowninillustrationB.
Thisallowsyoutosetyourheating
ona lowersettingwithoutaffectingyour
comfort.
offandwaitforfantostopbeforechangingthesettingofthe
forward/reverseslideswitch.
Maintenance
Becauseofthefan'snaturalmovement,someconnectionsmaybecomeloose.Checkthesupport
connections,brackets,andbladeattachmentstwicea year.Makesuretheyaresecure.
2.
Cleanyourfanperiodically
to.
helpmaintainitsnewappearanceovertheyears.Donotusewater
whencleaning.
3.Useonlya softbrushorlint-freeclothtoavoidscratchingthefinish.Theplatingissealedwitha
lacquercoatingtominimizediscolorationortarnishing.
4.
Thereisnoneedtooilyour
fan.
Themotorhaspermanentlylubricatedbearings.
Page10

Ifyouhavedifficultyoperatingyour
ceilingfan,itmaybetheresultofincorrectassembly,
installation,orwiring.In somecases,theseinstallationerrorsmaybemistakenfordefect.Ifyou
experienceanyfaults,pleasecheckthisTroubleShootingChart.Ifa problemcannotberemedied,
pleaseconsultwithyourauthorizedelectriciananddonotattemptanyelectricalrepairsyourself.
TROUBLESUGGESTEDREMEDY
Iffandosenotstart:
1
andbranchcircuitfusedorcircuitbreakers.
2.
wireconnectionsasperformedinstep
ofinstallation.
suremainpoweristurnedoff.
3.
sureforward/reverseswitchisfirmlyinupordownposition.
Fanwillnotoperatewhenswitchisinthemiddle.
4.
Ifthefanstillwillnotstart,contacta qualifiedelectrician.
Donotattempttotroubleshootinternalelectricalconnectionsyourself.
2.
Iffansoundsnoisy:
1
makesureallscrewsinmotorhousingaresnug(notovertightened).
tomakesurethescrewswhichattachethefanbladeholdertothe
motoraretight.
fanmotorsaresensitiveto
fromSolidStatevariablespeed
Controls.DONOTUSEa SolidStatevariablespeedcontrols.
4.
Allow"break-in"periodof24hours.Mostnoisesassociatedwitha newfan
Willdisappearafterthisperiod.
3.Iffanwobbles:Allbladesareweighedandgroupedbyweight.Naturalwoodsvaryindensity
whichcouldcausethefantowobbleeventhoughallbladesareweight-matched.
Thefollowingproceduresshouldeliminatemostofthewobble.
Checkforwobbleaftereachstep.
1
thatallbladesarescrewedfirmlyintobladeholders.
2.
checkthatallbladeholdersaretightenedsecurelytomotor.
3.
surethatcanopyandmountingbracketaretightenedsecurelytoceiling
Joist.
4.
Ifbladewobbleisstillnoticeable,interchangingtwoadjacent(sidebyside)
BladecanredistributetheweightandpossiblyresultInsmootheroperation.
4.
Iflightdoesnotwork:
Checktoseethatthewireconnectionsintheswitchhousingareconnected.
2.
Checkforfaultylightbulbs.
lightkitwillstillnotoperate,contacta qualifiedelectricianforassistance.
Page11
This manual suits for next models
1
Table of contents
Other Hardware House Fan manuals
Popular Fan manuals by other brands

Morgan
Morgan MSF-20MI1 user manual

Honeywell
Honeywell SUPER TRADELINE L4064B installation instructions

ELTA FANS
ELTA FANS CETO100 installation manual

Bionaire
Bionaire BSF1614 Series Instruction leaflet

iLiving
iLiving ILG8P30-72 owner's manual

Ventacity Systems
Ventacity Systems VSCM Series Installation and operation manual

Hunter
Hunter 80707 owner's manual

Ryobi
Ryobi RCF4 manual

Monte Carlo Fan Company
Monte Carlo Fan Company 3RULSM52 D Series Owner's guide and installation manual

Progress Lighting
Progress Lighting AirPro P250093 installation manual

Noaton
Noaton 13045 Puppis Instructions for use

NORDICCO
NORDICCO NORTHERN LIGHT user guide