Thomann
GmbH
•
Hans-
Thomann-Straße
1
•
96138
Burgebrach
•
www
.thomann.de
•
[email protected] DocID: 402819_28.04.2021Using the product
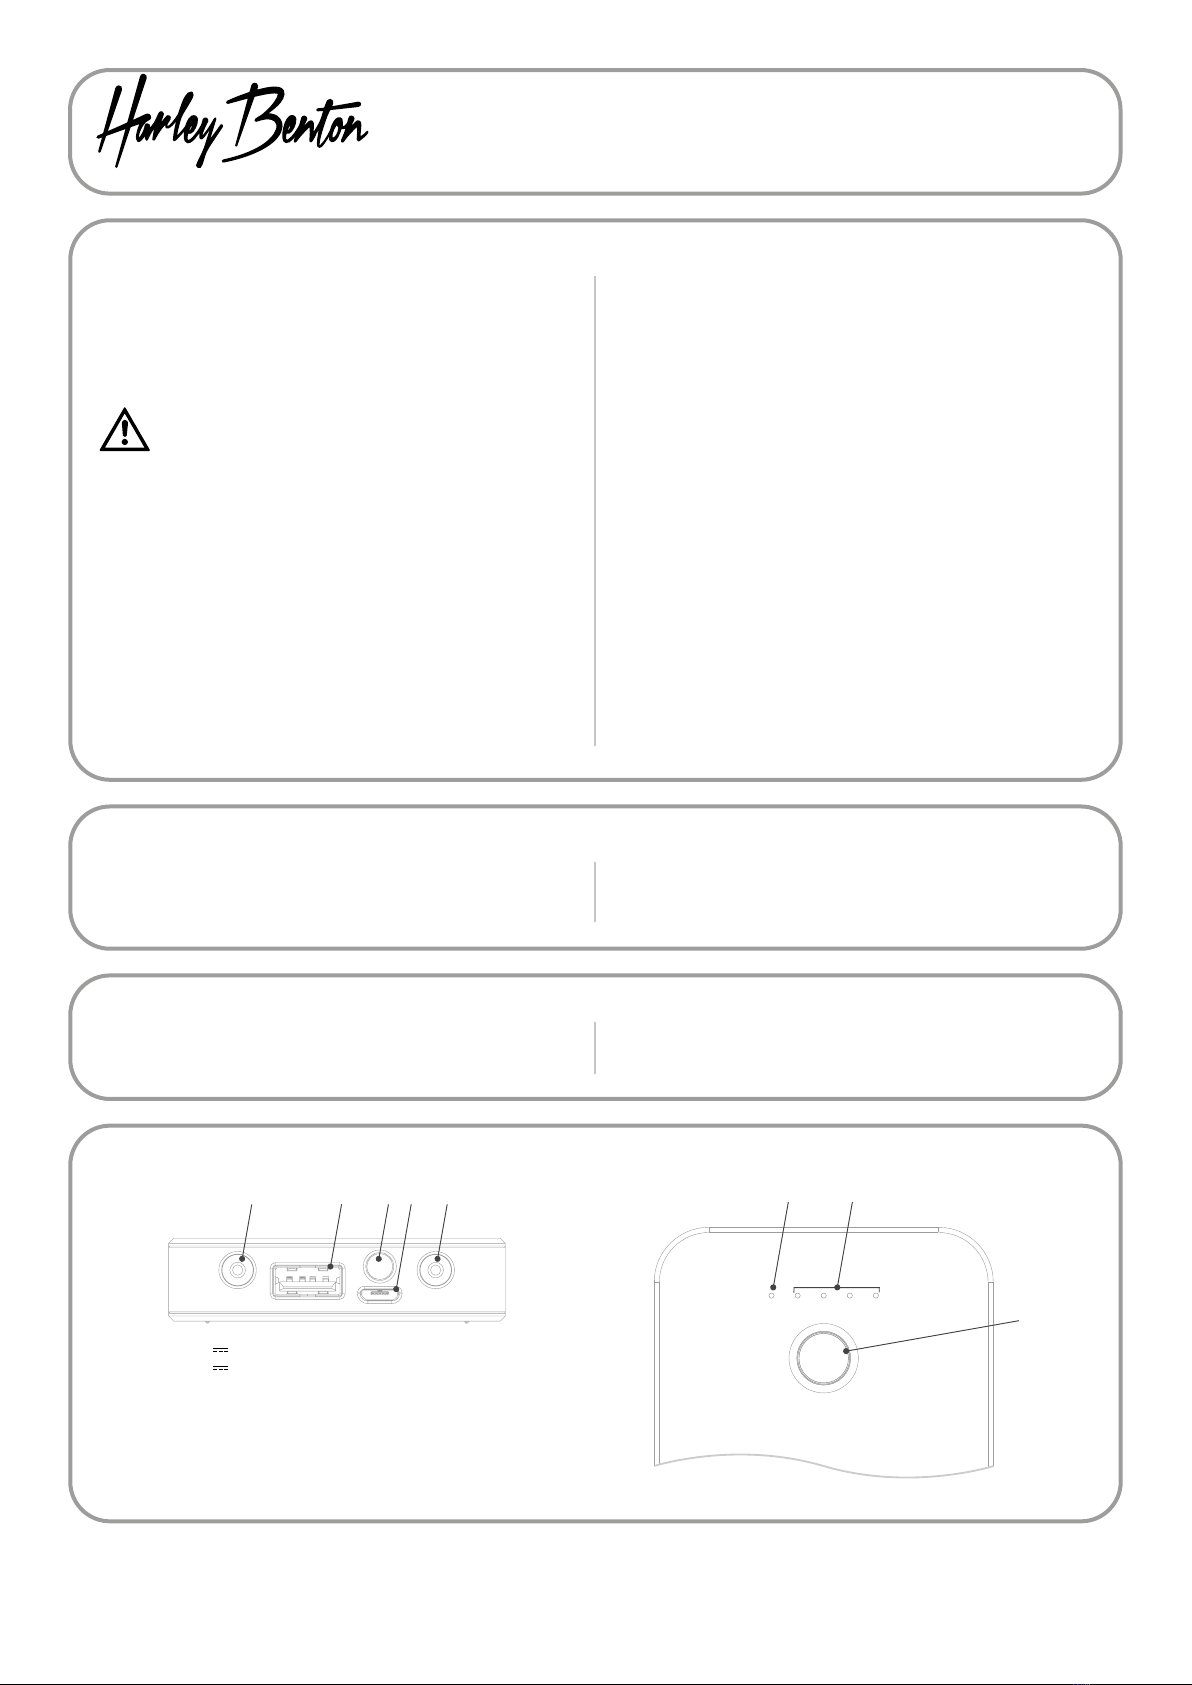
1. Press the On / O button to turn the unit on. The blue 9 V voltage indicator
lights up and the four red LEDs to the right of it indicate the charge status:
4 LEDs lit: power level ≥ 75%
3 LEDs lit: power level ≥ 50% ≤ 75%
2 LEDs lit: power level ≥ 25% ≤ 50%
1 LED lit: power level ≥ 3% ≤ 25%
1 LED ashes: power level < 3%
2. Connect pedals or ampliers with a maximum output power of 10 W to the
9V supply outlets via suitable cables for voltage supply. Make sure that the
polarity of the devices to be connected is identical to the polarity of the power
outlets ( ). Otherwise, there is a risk of property damage. Multiple
pedals can be connected one after the other. Before connecting an amplier,
turn its volume control to 0.
3. Connect mobile phones or similar devices to the 5V supply outlet via
suitable cables for voltage supply to charge their batteries. The Powerbank is
automatically switched on.
4. Regardless of whether the unit is on or o, you can press the On / O button
twice in a row to switch the spotlight on or o.
5. To turn the Powerbank o, keep the On / O button pressed for two seconds.
6. At the latest when a red LED ashes, you must recharge the Powerbank to con-
tinue using it. For a long service life of the Powerbank, however, we recommend
recharging already at a power level of approx. 25%, i.e. when the penultimate
charge status LED has been extinguished. Also recharging after each 6 months
of non-use increases the service life.
Use the supplied micro USB cable and a suitable power adapter (not supplied)
that delivers 5V at 2A minimum. Then the time for a full charge is about
5 hours. If the power adapter delivers less than 2A, the Powerbank is also
charged, but the charging time is extended accordingly. The Powerbank can
also be charged during use. When the four charge status indicators light up,
charging is completed.
EN
For the transport and protective packaging, environmentally friendly materials
have been chosen that can be supplied to normal recycling. Ensure that plastic
bags, packaging, etc. are properly disposed of. Do not just dispose of these ma-
terials with your normal household waste, but make sure that they are collected
for recycling. Please follow the notes and markings on the packaging.
Batteries must not be thrown away or incinerated; they must be disposed of in
accordance with local regulations for the disposal of hazardous waste. Use the
existing collection points for this.
Dispose lithium batteries only in discharged condition. Remove replaceable
lithium batteries from the device before disposal. Protect used lithium batte-
ries from short circuits, for example by covering the poles with adhesive tape.
Permanently installed lithium batteries must be disposed of together with the
device. Please inquire about a suitable acceptance point.
This product is subject to the European Waste Electrical and Electronic Equip-
ment Directive (WEEE) in its currently valid version. Do not dispose of your old
device with your normal household waste. Dispose of this product through an
approved waste disposal rm or through your local waste facility. Comply with
the rules and regulations that apply in your country. If in doubt, consult your
local waste disposal facility.
PowerPlant Powerbank
Technical specications
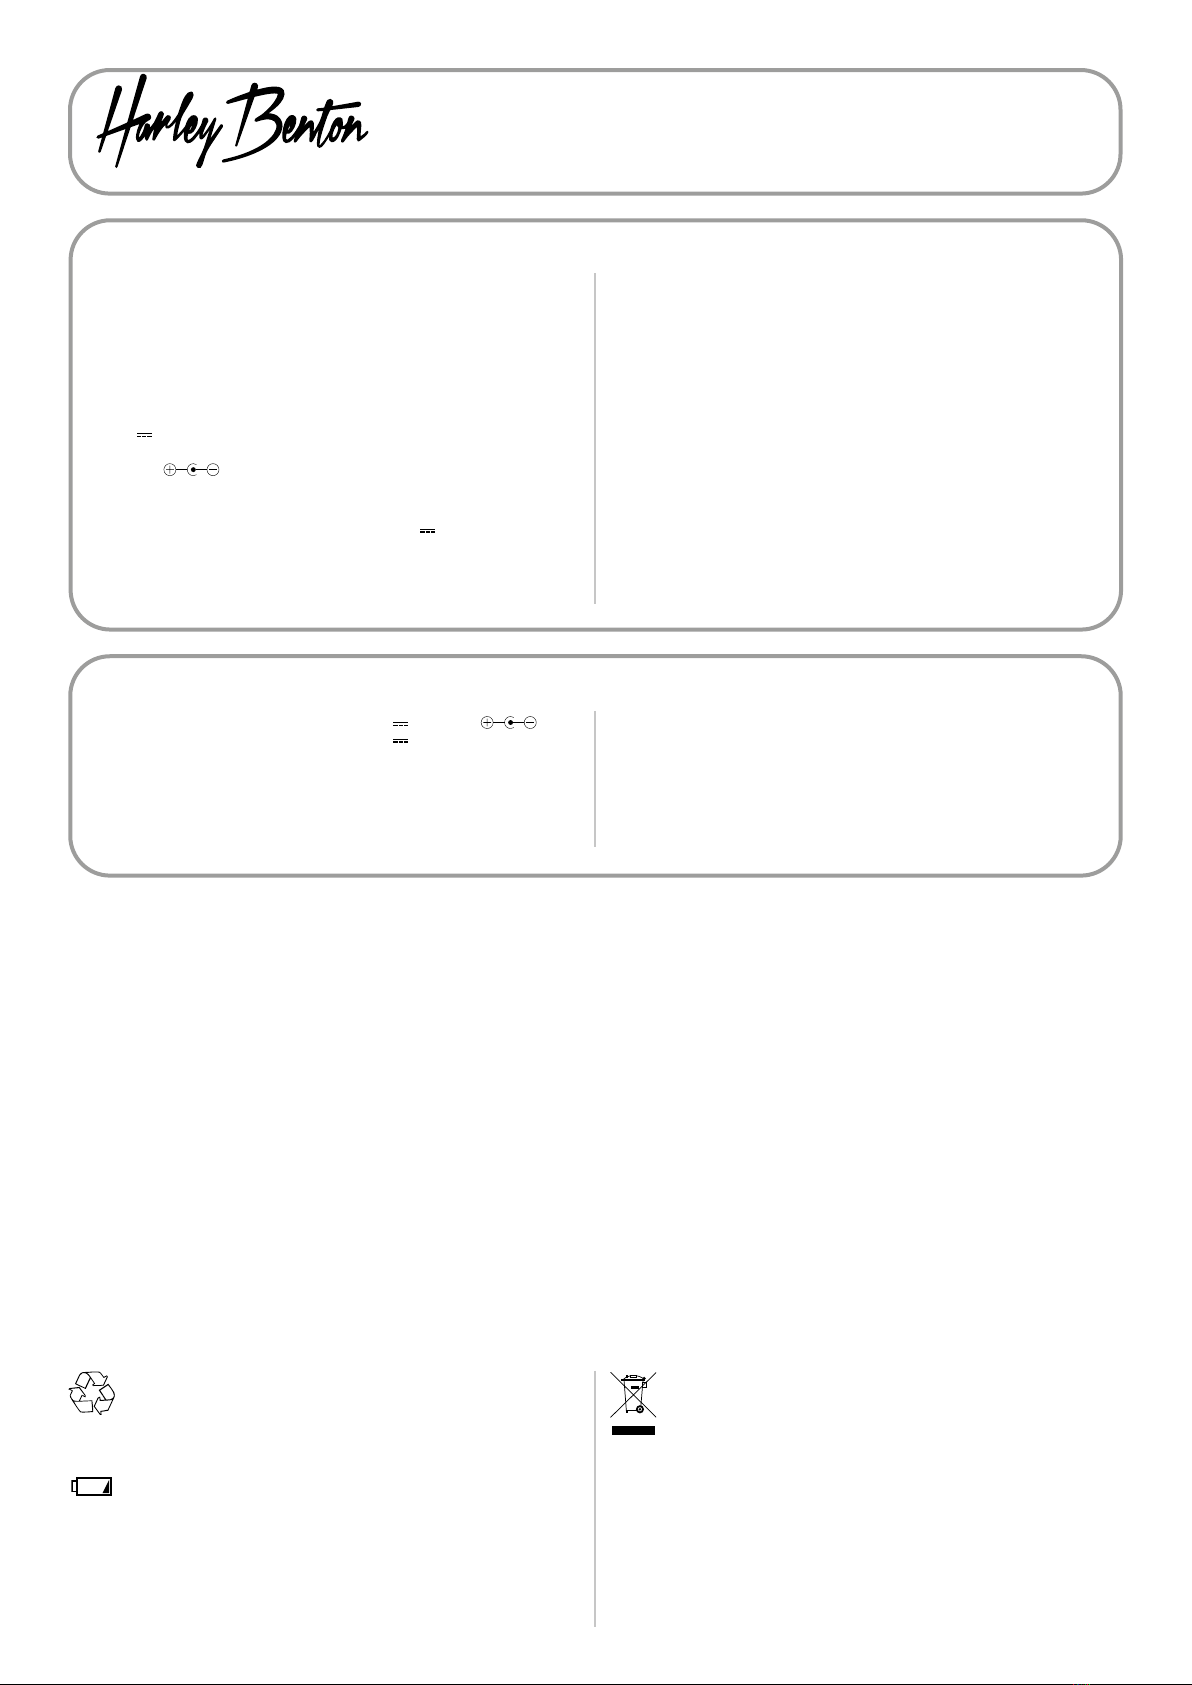
• Outputs 2×9V , 1.2Amax. ( )
1×5V , USB, 2.0Amax.
• Power supply Micro USB
• Battery Type Lithium ions battery
Voltage 3.7V
Capacity 10000mAh
Charging time 5 h
• Standby power consumption 120µA
• 9V output ripple 70~80mV
• Dimensions (W×H×D) 148mm×65mm×17mm
• Weight 220g
• Ambient conditions Temperature range 0 °C ... 40 °C
Relative humidity 20 % ... 80 %
(non-condensing)