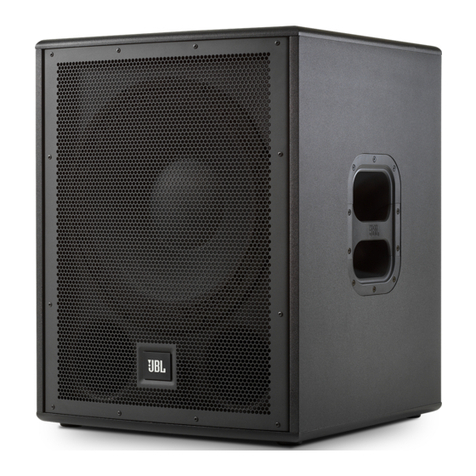
Rear Panel
Get Connected
POWER IT ON
1. Connect the supplied power cord to the Power Inlet (10) on the
rear of the speaker.
2. Connect the power cord to an available power outlet.
3. Press on the Power Switch (10) and switch on the Front LED (2).
The Power LED on the front grille will illuminate.
GET IT LOUD
1. Turn the Master Volume (6) to minimum (counterclockwise).
2. Connect XLR or TRS cable from audio source to the Input Con-
nectors (7).
3. Set up the EQ setting by using the EQ+ Switch (3).
4. Slowly turn the Master Volume (6) clockwise until the desired
volume is reached.
NOTE: Please only use the power cable provided by the
manufacturer.
NOTE: Please turn the volume down to minimum before
connecting audio signal.
1. Power LED: Illuminates (White) when the speaker is plugged in
and switched on.
2. Front LED On/Off: Toggles the LED (Blue) on front of speaker on
or off.
3. EQ+ Button: Toggles among four EQ presets:
• NANO (Default. Press the button, the green LED above flashes once.)
• 80Hz (Press the button, the green LED above flashes twice.)
• 100Hz (Press the button, the green LED above flashes three times.)
• 120Hz (Press the button, the green LED above flashes four times.)
4. Limit Indicator: Illuminates (Red) when the system is approach-
ing limit. If this LED is on for more than the duration of brief
dynamic peaks, the system is being over-driven. Continuously
over-driving the system will result in unpleasant and fatiguing dis-
tortion and may lead to premature failure of your speaker system.
5. Signal Indicator: Illuminates (Green) when a usable signal is
present at connected INPUTS.
6. Master Volume: Controls the master volume of the speaker.
By turning the knob counterclockwise the overall volume of the
speaker will the lowered. By turning the knob clockwise the overall
volume of the speaker will be increased.
7. XLR-1/4” Combo Inputs: These balanced inputs accept a standard
XLR (male) connector or a 1/4” TRS connector.
8. XLR Male Loop Thru: These XLR (male) output connectors pro-
vide a method of sending audio out to an external source.
9. Polarity Switch: Switches the polarity of the speaker between 0
and 180 degrees. Users should experiment with the switch at both
positions and select the best sounding option for their specific
application.
10. Power Inlet / Switch: Connects the AC power using the power
cord provided; Press to switch on or off the speaker.
