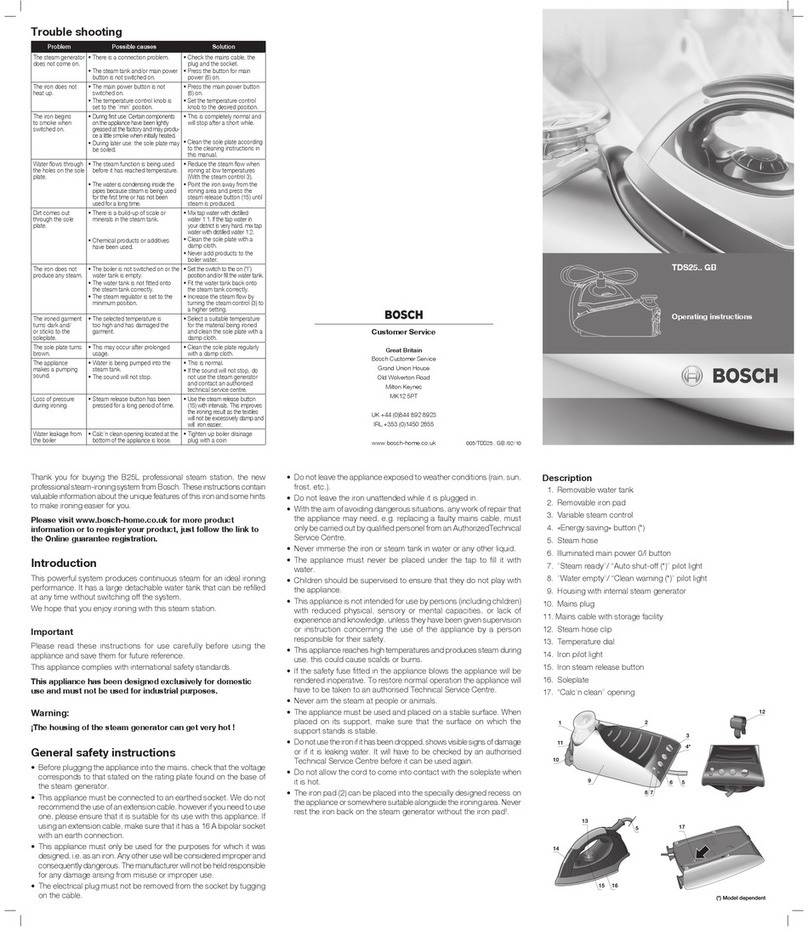
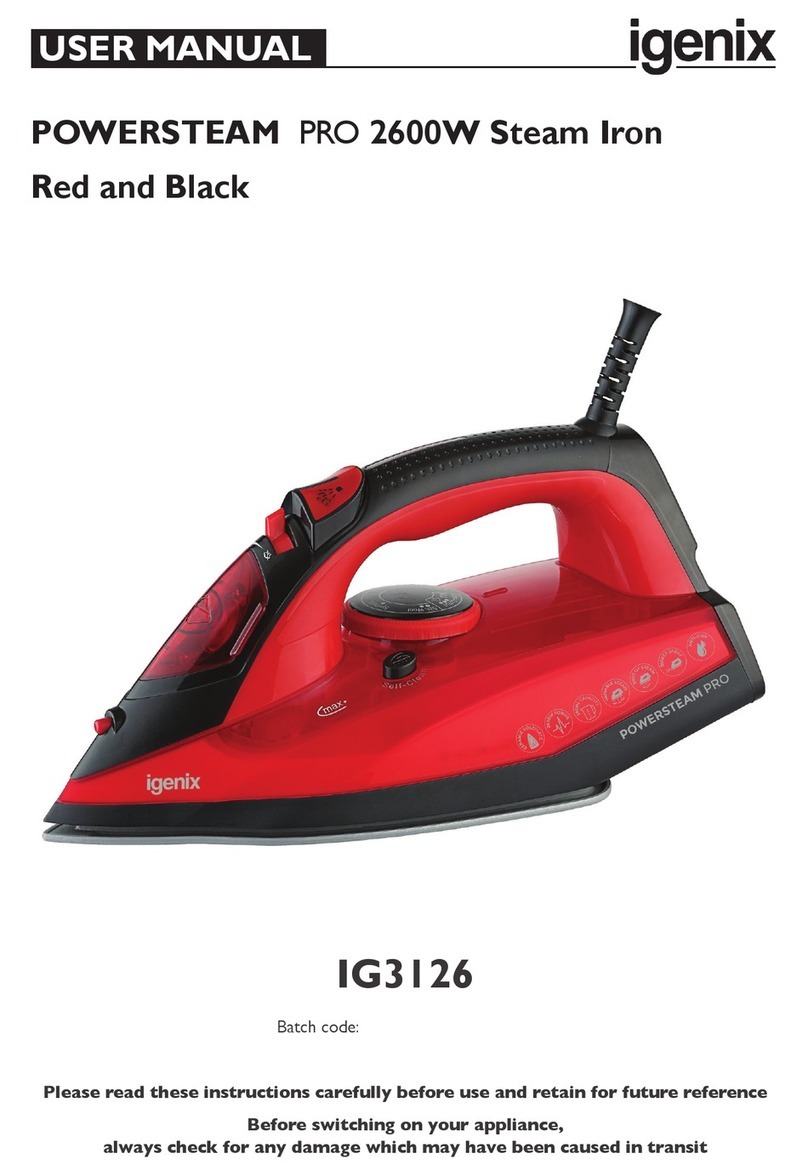
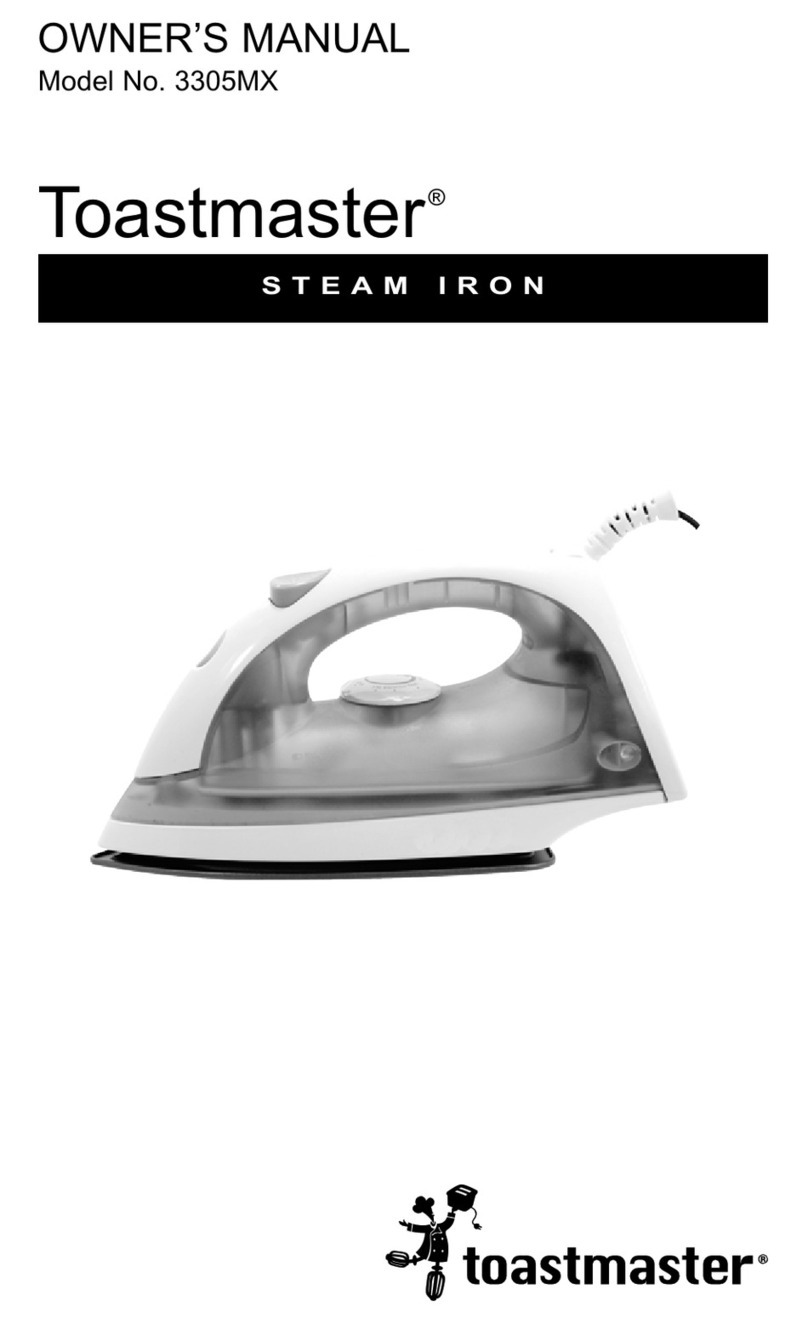
HASHIMA HI-350PS User manual

-=t
HASHIMACO.,LTD.
BUSINESS
OFFICE
7-6.
RYOGE
GIFU-CITY.
JAPAN
TEL
81-58-247·8400.
81·58-245-450
1
FAX
81-58-240-5775
BEIJING
OFFICE
TEL
I
FAX
86·
1
0-8729·
7235
SHANGHAI
OFFICE
TEL
86-21-6485·
1621
FAX
86-21-6484-5214
SINGAPORE
OFFICE
TEL
65-2858131
FAX
65-28581
32
NEW
YORK
OFFICE
TEL
1-201-599-2723
FAX
1-201-599-9623
URL
http/
/www.hashima.co
iP
INDUSTRIAL
STEAM
IRON
HI-350PS
OPERATING
INSTRUCTIONS
Before operating this iron, please read these
instructions
completely.
A
From the library of: Superior Sewing Machine & Supply LLC

l\
Hose Connector
PARTS IDENTIFICATION
1§-ffllf.iL.t.fft
Hose
"A"
ft:g"A"
Cord/Hose Binder
Thermo Controller
ilii'.JUili?ilH
Power
On
Thermo Lamp
~'-l-Imit
Plug Heating Base
Tii1!11
Steam Button
Thermo Dial
~~MliH
Mains Switch
Water Tank
*gi5
Valve Control
ACCESSORIES
l!f.J{'f
Hexagonal
Wrench
r
"'frlilbi~
0
Cleaning
Pin
(large)
)j!j;M~(::*:)
Cleaning
Pin
(small)
)j!j;M~t('J')
ff••
Thermo
Controller
"""
Fixture
Set
-
IDa
ilii\ff~i?illlffl~'T-/
-
il***-11
e--.....,
screws
il**
Hanger
Valve
II!
Hose
Connecting
Part
fk'm'lltUI
Hose B
f.l:'m'"B"
From the library of: Superior Sewing Machine & Supply LLC

SPECIFICATIONS
Electrical • 120V/1200W • 220V/1200W
•230V
/11
DOW
Ratings:
Features: • STEAM and DRY
ironing
modes
•
Magnetic
STEAM/DRY
selection
switch
•
100-
210°C range
for
THERMOSTAT
control
• SOLE PLATE finished
with
special Hard
Anodic
Oxidation
Coating
Dimensions: 135 (H) X 105 (W) X 236 (D) mm
Weight: 1.6kg (3.5 lb)
Tank Capacity:
Approx.
3.0/
(3000m/)
llt~:§::i:
•
1201:*:H
/
120011:
•
2201:*:~;¥
. 120011:.
2301;.1;:~;¥
!
110011:
•
~iPUl.~~iifiifflit
~if
11
•
MU!Iit~5"\
I
~~jjit~mlrul
•
t§i!lil~ffitJiiJII!
: 1
oo-21
o·c
•W4•:&~Ma~~**~~I~dc
R -t
1~(•)x1~(X)xn&(~)~
:i:
:1:
1.s~ur-
(3.5li9ll
7km:§::i:
f.l3.0~7t
(3000m/)
2
PREPARATION BEFORE USE
1.
Hook
Screw
the
hook
tightly
into
the
ceiling
or
another
suitable place. (Make
sure
the
hook-fixture
is secure
enough
so
as
not to fall off.)
2.
Hanger
Attach Hanger to the holes of the tank.
3.
Valve
Screw
the
valve
firmly
into
the
corresponding
metal
connector
of
the
tank. (Fig.
1)
4.
Tank
• Hang the tank to the hook.
• Steam
volume
may
differ
with
the
height
of
the
tank. The
recommen-
dable
water
level
height
(from
teh
ironing
level) is approx. 1m. (Fig.
2)
=
'------"
=
=
fieffiM~.$1illi
1.l!f~
Metal
Valve
Connector
W~@
(F1g. 1)
(~
1)
(F1g 2)
(~
2)
tem~t~J~i"±7<::7Et.&~lr¥1'i'
~t-&JJ
0 (
1Z·i~ffilJE:m~li1il
~t-&JJ)
2.
m~~cf!f
IE
ill
~~m
~~i"±lk:§:t!ii-t-Tfto
3.
"!IP~
IE"!!!IJ~Ii1ii'JEi"±7k:§:m!l~flo
(~i~Jl)
4 .
lk:§:t!ii
•
~lk:§:t!iillii"±m~.Lo
•
lk:§:t!ii~-1!!,
iH3!BIIJf5"\:±::i:,
JiUrit£W4•l"l!lftJ7k~~-~Ro
(ii112)
3
From the library of: Superior Sewing Machine & Supply LLC

5.
Thermo Controller
When attaching to a vertical pole, interlock the latter in-between the
Thermo Controller and the Clamps. (Fig.
3)
When attaching to a wooden wall, fix the clampsto the Thermo Controller,
and then fix the set onto the wall using the supplied screws (Fig.
4)
Make sure to select a secure location so that the Thermo Controller
does
not
drop
off.
6. Hose
Secure the hose ends into the hose-connectors
of
the tank and the iron.
7.
Cord
If
cord and hose are causing nuisances, pass them throughtheBindertube
and secure the binding with bands.
Thermo Pole
u~~r
r
-~lamps
(Fig. 3)
(II
3)
(Fig. 4)
(114)
5
,;,jl,lf~liil&
~~fi:ji;&J:tt~~.
iiM;,j~,lf~liil~flfD~T-fHilo
(iJ3)
~~tl:*~~~~.
~~.:r~fi:;,j~,lf~liil~~.
~•~mm~t(:)~•~x~
m-~~0
(i!4)
I
~tff(:JfJZ~&·~JHJil!iJ,
PJ*.;,ji,Jf~lifj~:f~;'!o
I
6
.fX~
~fX~*~m.A.Il!il:.lEtl:*8~~•4t(:)fX~liMBo
7 .
~D='=tii.U*~fX~if~P.X..:H~~.
~X~i&Jil!il:.lE~~flfflmT-Il!il:.lEo
4
HOW TO
USE
AS
A STEAM IRON
1.
Pour clean water
into
the
tank.
«1
»Remove
the
lid.
«2»Replace
the
lid
after
filling.
(The
liquid
capacity
of
the tank is
about
3,000m/)
. .
2.
Plug the
power
cord
into
the
mains outlet. (Turn
off
the mams sw1tch
before inserting
the
plug.)
3.
Turn
ON the mains
switch
of
the
Thermo
Controller. The green Power
ON
lamp will light. .
4.
Set the
Thermo
Dial
to
the «STEAM -
red,
zone.
(F1g.
5)
5.
Start STEAM operation. .
«1,Turn the Valve
Control
counterclockwise
until
it stops.
(F1g.
6)
"2"
Place the iron on Rest. After about 2 minutes, the red Thermo (Heater
ON) lampbegins
to
flash to indicatethatthe set temperaturelevel has
been reached. (Fig.
7)
«3,Press Steam
button
until
water
fills
the hose. (Fig.
8)
Never push
the
Steam
button
when the red lamp on the
Thermo
Controller
is lit.
•
Continuous
steaming
for
over 1
minute
maycause the water
to
seep
from the vents
of
the sole plate.
• Make sure
to
use
ironing
cloth
when steaming fabrics whose
finish-
ing_
temperatures are
below
the steam temperature range.
t@
~jJ
(F1g.
6)
(liJ6)
(Fig.
7)
(liJ
7)
llJ(Fig
8) (iJ
8)
(F1g.
5)
(liJ5)
1'F~~A~4£r-J1~J1HHW
1
.)iA~)$((:J7J<o
"1
"Hml7Jq;~:~jL
"2 ")ilj(fl,
~.f1JQ,l.:.(l£ffo
(lj(:g~t(:)iij;::g:lif.]~3,000m/)
2 .
Hfi.A
'lliLUJMM.i'lo
(JE!lA:Hfiil.i'IM~$t!ml~mJmml
o
3.
HmJ;,j~,Jf~liiliflmllmo
[email protected](:):f~;iffd~BH~o
4
-~~~MHH~~
..
~~
-U@.&;"
(li!5)
o
5
.mJ~tf~m
"1
"®l&~~t/Jicl~~:l!P9B\:ffi1JU!1J~o
(li!6)
"2"~W4~••~~f..l2~~~~.
[email protected]~~mJM~•~.
•~e~•
~ll::,lE((:J;,ji,Jf
0
(li!7)
"3
"~l'~)~~fl,
fflj(J't:)i;jfX~o
(liJ8)
;,jl,lf~liil&t(:)[email protected]~~~-~.
~~~m~A&o
•M~~A-~~~~~.
*~-~~~Bt(:)~D~W*o
•A•w•;g,Jfft1n"~A~Jf~~~~~-n~~t(:)~AWW~.
~-~
ltl:ftltl:~®:tfl'o
5
From the library of: Superior Sewing Machine & Supply LLC

6.
To
change
from
Steam
to
Dry
ironing
mode
Whenever the Steam
button
is
kept
released, the
iron
will
be
at
Dry
mode.
• When
changing
to
Dry
mode,
normally,
steam
continues
to
be
emit-
ted
for
a
while
as
some
water
remains in the iron.
7.
Water
replenishment
Refill the
tank
with
clean
water
when the water levels at
..
1.0" line. (Fig.
9)
8.
Finish
..
1,Turn
the
valve
control
clockwise
until
it
stops. (Fig. 10)
..
2,Press
the
Steam
button
while
holding
the
iron
horizontally,
and
wait
till
steam
emission
stops. (Fig. 11)
9.
Turn
OFF the
mains
switch
for
the
Thermo
Controller,
and
disconnect
its
power
cord.
(Fig. 12)
10
Intermission
Keep the iron
on
the
Rest. (Fig. 13)
f
~=:~
~·
JJc,
. f:l:;'- .
1\
-fJ)
~/
df!!!!::J
~
~
~
(Fig. 10)
(Fig.9)(~9)
(~10)
(Fig.11)(~11)
(Fig.12)
(~12)
(Fig.13)(iJ13)
6 .
~}\,J.,I.'Yz;~Z.'I~~
:
H~MM~A~.
~A~4~Q~'Yz:~~4,
·•~~.rz:~~-~.
~m~fi~*~-~~4~.
~~~~•~•w-~
~}\o
7
.ff!ift:i¥*
*
1!1:~~"1
~0"1!1:11~.
JID~J'[jl};.i),'Yz;i¥1'(:)*,
([i]9)
8
.1~1fl'ie7~
"1
"!WJ~~H:1J(.;J#~~J!lr~~iflrJ<IUrJJI\o
(IillO)
"2
"*!:JLW1i~4.
jg("F~l\~lL
@:frj~;"l.']'C~;~~'
([i]ll)
9
-~~j~]ilffl'W!Jirl~l!M~m.
?!.>f~W"F'IIt;J.H~,
(lil12)
10.1'1fl~
~~41f[M£~J:.o
([i]
13)
6
\
l
\
J
HOW
TO
USE AS A DRY IRON
1.
Turn
off
the mains
switch
of
the
Thermo
Controller
and
plug
the
power
cord
into
an electrical
outlet
while
the
iron
is
placed
on
the
Rest.
2.
Switch
ON
the
mains
switch
of
the
Thermo
Controller.
3.
Set
the
Thermo
Dial
to
the
position
most
suitable
to
the
material
of
the
item
to
be
ironed.
..
1»When
ironing
different
materials
requiring
various settings, it
advi-
sable to
iron
items
requiring
lower
settings
first, and
gradually
proceed
to
those
requiring
higher
settings
.
..
2,When
changing
from
high
to
low
temperature
settings, be
sure
to
wait for a
while
.
4.
Start
ironing.
..
1»Place the iron on the Rest.
After
about
2 minutes,
the
red
lamp
of
the
Thermo
Controller
begins
to
flash
to
indicate
the
set
temperature
level has been reached. (Fig.
7)
..
2,
It is advisable
to
use an
ironing
cloth
when
pressing
synthetic
materials,
or
to
iron
on
the
wrong
side
to
test
for
compatibility
before
pressing
direct
onto
the
material.
5.
Finish
Switch
OFF
the
mains
switch
of
the
Thermo
Controller,
and
disconnect
the
power cord.
6.
Intermission
Keep
the
iron
on
the Rest.
1"F~~~~4fl1ifffl~~jlj
1.
~~j~]ilffl'W!Jirlil!i(:JM~.
~~4M:~¥~J:.
1~.
~iill~.IHE!l.A
'lltiE!Hil~o
2 .
HM]ilffl'~irlilil!M~~o
3.
~
~~MHl!W!l~frJ
!NJOO.g.
JilT~~
i'UlUft
I'(:J]ilffl'
1!1:
1io
..
1
"~~~~ft~~]ilffl'1'1"Ji(:J:txnJ~~.
!Nffi'(:J:1J;t~7t;~]I,Ji1!l:;I'(:J:txn!t
?!.>f~~
if!]j\ffl'
~I'(:JixnJ~o
"2
"fi£~]1,~~~1!l:;]il~,
-~~~1l.Ut7Hio
4 .
M~2i1~1fl
" 1
"~~4ii.M¥~J:..
f.l
2
5tii1~.
]ilffl'~irlilil!mrg,111i;T;~M~tr...,:tt.
~
;]';
E'JHIJ
)ipjf
~
1'(:)
]i\
ffl',
(liJ7)
"2
"~if!1l~~*l£J\:Io'1.~,
~i'j~j\:J:.f.2:-J~HiJ,
§X7t;~if!f~,
~.iEitfTZo
5
.1~1fl'ie7~
~]ilffl'·irl~I'(:JM~~N.
?!.>.W"Fm9.
6
.1'Jfl~
~~4ii.M¥~J:.,
7
From the library of: Superior Sewing Machine & Supply LLC

CAUTIONS
1.
When
not
using the iron even
for
a while,
for
safety purposes, be sure
to
disconnect
the
power
cord.
2.
Make sure to use a wall
outlet
for
the power supply.
3.
Do
NOT
let the
cord
become wet, and do
NOT
handle the
cord
with
wet
hands.
4.
Check the
cord
every time before use
as
damaged
cord
can pose
as
fire and electric
shock
hazards.
5.
NEVER
touch
metal parts
while
using
or
immediately
after
using the
iron
as
they
are
extremely
HOT.
6.
Handle the iron
carefully
to prevent
hot
water from
coming
out
from
the vents.
7.
Adhere
to
the
following
precautions to prevent
hot
water seepage.
«1»NEVER move the iron back
and
forth
rapidly.
«2»NEVER
tip
the iron steeply
to
left, right,
front
or
back.
«3»NEVER
turn
the iron upside down.
5i:~~U}li
1 .
Mwf~ffl~V+Ili¥.
~Mg>1:_1Q:i!if,
-:JE~WTtlll~l'L
2 ·
-:JE~~Jfl~jL~jfflj~ffl:~o
3.
~ffJ.1,'ilU~
•
.f.J:.~I57Kiliffu'I'"Tilit~~*~o
4 .
f~ffl
M,
-:it
~7tl~B!t'ilU~AA~.
li&'ti'Ht-.J~m
"Tii~ili
51
~:A:
W
!lXili~o
5 •
fieffl
$,
'f'f~)ljf~~JI:$-fr,
ltiJj,;;j,\j\Jl~~m"~,
fffflfl'f'?,.
fu~o
s .
fie
ffl
'*'
~,
h:.,.
J..~
~
f.!vK
1"1£
~51'\
n
'*'
IIJHe
*0
7
.~JlJj.Jtf.jpj(iiJft±l,
~l'!Ji'fT91J*r~o
" 1
"~tJI:lfMfttU1J.Zo
"2
"~~~4i@JJl:t[:jilj,
;fijilj,
Mi!li§Xfijiljo
"3"~~~41l'Jff!Jo
8
8.
Do
NOT
loop the
cord
around
the iron
while
it is still hot.
9.
After
cooling
down,
wipe
the sole plateand
other
parts,
with
a
soft
dry
cloth.
• Do
NOT
use corrosive
polishing
cloth, metal
or
hard brush
to
avoid
scratches.
10.
Do
NOT
place the
hot
iron
directly
on a button, hook
or
zipper.
11.
Do
NOT
fill the tank
with
hot
water
as
it may deform it.
12.
NEVER press the Steam
button
when the
Thermo
Dial is set
outside
the
red (lower temperatures) STEAM zone.
• If
hot
water remains in the steam generating
chamber
and kept
inside the ironwhen the
latter
is
not
in use,
corrosion
of
the
chamber
and/or
the soleplate will be accelerated.
• When Steam
button
is pushed erroneously, hold the iron
horizon-
tally, and
turn
ON
the
power
untill
steam emission stops.
13.
Avoid
contact
of
the hose
with
the
hot
iron.
14.
NEVER let the
Thermo
Controller
become wet. (Fig. 14)
15.
If the iron does not heat
up
even when the Thermo (Heat ON) Lamp
lights
up
continuously (without flickering). the heating element may
have been
cut
or
the over-heating prevention device have been activa-
ted. Request the local dealer
to
carry
out
the necessary maintenance.
8
.~4*ifi:!illlli¥,
~~~;w.m~:ln~J:.o
9
.~4ifi:!illft,
J..~;f:~ff:J~1ilmfit~iilii.&~£$f!l:o
-~~Jflfl~1iJ,
~JI:§X~~~~~JlJj~~~4o
10.~~1Ji¥,
ffJ~m\if!tD,
t'itl~o
11.'f':g~'f'"J51Af.!\Jj(,
J..~~fie~~~~~o
12.f.!\~h'li!~:tf:UfS~F\~z;>j.(ill:),\l\)llif,
~~T~5~~o
•ll.A5~ft:i:ff:l*:l!Q:!l5St1l5~ft~;¥~M:ii:f*"illif.
~;~;JJm~o;
!lX~Jm<>Jiia
S~o
••ll~~~F\~Ili¥.
~-4·~.
ITm!~im!.
-~~F\~~~.Jto
13.
~ff~'ifj"i)lj'.tJ'tf.!\ff:J.4o
14.~fie),\l\Jl~fijl~~)f}jo
(11!14)
15.
:l!DJlffi),\l\
(1.JDf.!l~m!)
:!'lnltl~'l'
(1!Rr,(l:tf)
iffl-4~P'I'f.!llli¥,
~~1.mf.!l$-fr'.tl't
~§X~g>7i@Jf.!\JlJj.Jt~ifi:o~IJi¥~~~~-~~~~]1tfi~~ff:J~8o
9
From the library of: Superior Sewing Machine & Supply LLC

WHEN STEAM EMISSION IS REDUCED
Be sure
to
disconnect
the
power
cord, and
after
the
iron
has
cooled
off,
clean it in
accordance
with
the
following
directions.
1.
Cleaning the steam vents
«1»Use
a"+
..
screwdriver
to
remove the lid on
the
soleplate. (Fig. 15)
«2»Wipe
the
interior
with
a wet
cloth.
"3,Ciean
the
steam vents
thoroughly
by
using
the
small
cleaning
pin.
(Fig. 16)
•
Make
sure
to
carry
out
a
steaming
test
for
a
few
minutes
after
cleaning
to
avoid
soilage
of
clothes.
2.
Cleaning the interior of steam generating chamber
"1
»Removethe Steam generating
chamber
cover
by
usingthe hexagonal
wrench (supplied). (Fig. 17)
08~~~
(Fig.15)
(1115)
If~
(Fig
16)
(11116)
Socket head
bolts
~)'\I!Jf
:±:
:I:)~J'~
(Fig. 17)
(!1117)
~~~WT~~-.
~-~*WW.
~~T~~-~~0
1 .
)J!f~
llfHIHJ
"1
"fiEffl+*~RrllXTilHJ~JIL
(1!15)
" 2
"fiE
.Ill
~
1fJ
!PiHit
i*J
ffil
o
"3
"fifffl'J';um;M!~lV\Do
(1)16)
Wrench for
socket head bolts
!l!ii!lllii'l'
·~~w.
AM~~1fln
~~•A••~•w~~~ffl,
2.
)J!f~A1t~i*Jffil
" 1
"fiE
.Ill/'\
ftlf.IX
-¥
(
~t-H*)
llX
T
JiU£:
o
(Ill
7)
10
«2»Remove
the
lid
and
packing
of
the
steam
generating
chamber.
"3,Remove
the
scaly
deposits
accumulating
inside
the
chamber
and
on
the back
of
the
lid. (Fig. 18)
«4»Ciean the steam
hole
by
using
the
small
cleaning
pin.
«5»Remove
the
scaly
deposits
along
the
steam passage
by
using
the
large
cleaning
pin. (Fig. 19)
"6,Remove
the
scaly
deposits
on
the
packing
and
packing
connecting
parts.
• Make
sure
to
carry
out
a
steaming
test
for
a
few
minutes
after
cleaning
to
avoid
soilage
of
clothes.
Steam generat1ng
chamber
cover
Pack1ng
Steam generat1ng
chamber
(Fig. 18)
(1~]18)
"2
"Jll1Tl\1t~fr';JIIKT-~OU'Fi-
o
Steam
generatmg
Steam passage
chamber chamber
(Fig 19)
(lil19)
"3
"JlXT~I*J~OIIKr'lfiililfr';J~fi-l!*)ti~11~o
(lil18)
"4
"fifffl
1
hU~£t)J!f~-;~oo
"5
"fifffl:k;)!fJ#£t5J!f~-;~ofr';);tJ,H~o
(11!19)
"6
"JlXTU')'i-
.&U'fi-Jigjljgjl~(r';J;t;~~o
-~~W.
AM~~1flM.
~~·A··~·W~~~fflo
11
From the library of: Superior Sewing Machine & Supply LLC

3.
Cleaning the tank filter.
(When water does
not
flow easily even though the hose is taken
off
and
the valve is opened.)
«1»
Remove the Valve, the filter setting rubber and then the filter.
«2»Remove the deposits and dusts attached
to
the filter, and wash it in
water. (Fig.
20)
4.
Hoses Inspection
Check each hoses to see it
is
not
broken and preventing water flow.
5.
Nozzle Cleaning
Remove the nozzle (hose connector) from the hose and clean it by the
fine wire (Fig.
21
).
Tank
Filter
setting
rubber
-~:JE!\'!.1;
'~
Valve
0-ring
IHl
Filter
offnll
(Fig. 20)
(11120)
(Fig.
21)
(liJ21)
3.
;~Hw7Jq:~~a~;!f.t~J
<
~o
an
m1
fX
~
n
m1
"!!
r~
ili
1'
li*J
5nt
*
~
o l
(Oifn-F
Jttll
[i[il
:iE~
Ij,
1&
"f
;Ltt~J.
w~t~ffi~:tt;Ltt~JJ:.tr-.Jimi3.1~f~Jf.15At7)(51ti*o
(~~$!1!l~20IIJ)
4.~~fJ.:~
•~••~fX~~m.
5nt*1'~~.
5
.11J'f~tr-.Jil!itw
tiTifnfX~
J:.tr-.Jti~it
JlHill~t~~llt11J'f~i'Lrmil!itw/i1m.
<~~$!ffi~2111ll
12
From the library of: Superior Sewing Machine & Supply LLC
Table of contents
Other HASHIMA Iron manuals
Popular Iron manuals by other brands
Clas Ohlson
Clas Ohlson YPF-6106 / Zebra instruction manual

Philips
Philips InstantCare GC7541/02 user manual

Bosch
Bosch VarioComfort 8 Series operating instructions
B&C
B&C IC-20 Series Installation and operation manual
Bosch
Bosch TDA 56 series operating instructions
Maxwell
Maxwell MW-3008 instruction manual
