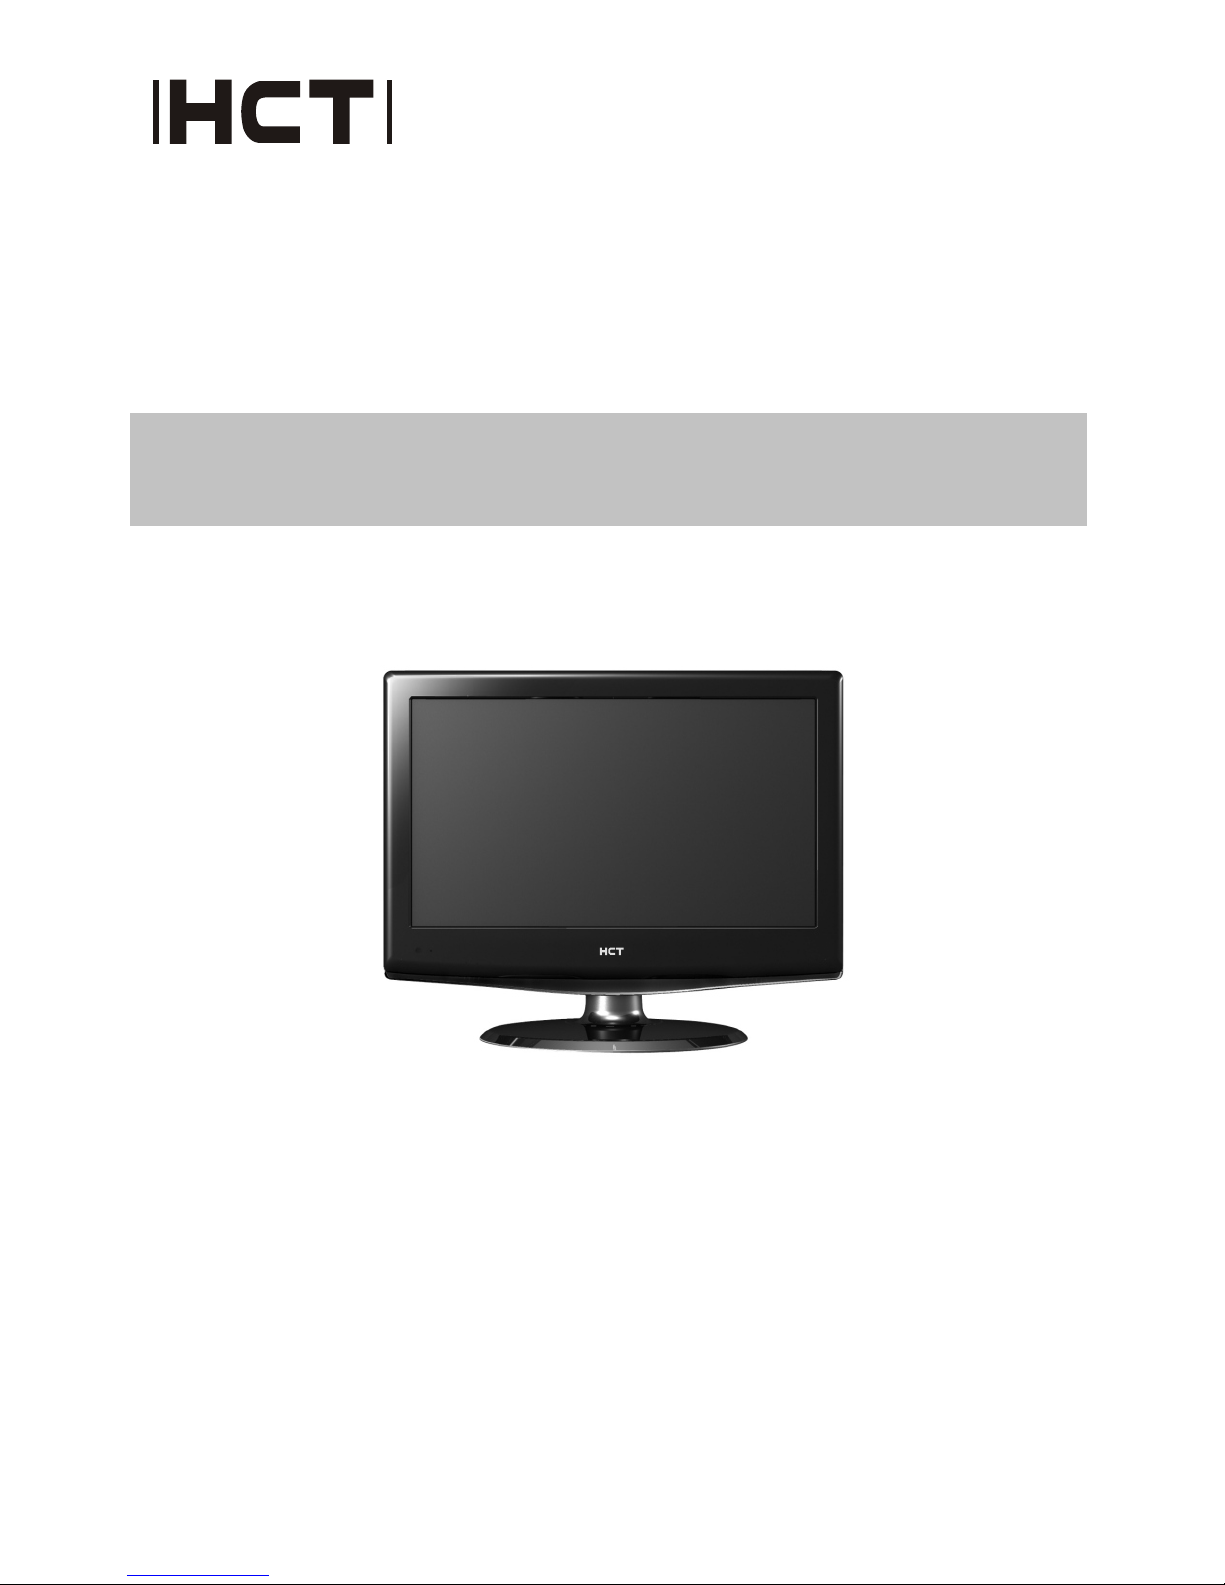
HCT HLD-150AP User manual

Please read this manual carefully
before using this TV set and keep it
for future reference.
LCD TV/DVD Combo
USER MANUAL
HLD-150ATD

WARNING AND CAUTION
RISK ELECTRIC SHOCK
DO NOT OPEN
CAUTION
!!
CAUTION: TO REDUCE THE RISK OF ELECTRIC SHOCK,
DO NOT REMOVE COVER (OR BACK).
NO USER SERVICEABLE PARTS INSIDE.
REFER SERVICING TO QUALIFIED SERVICE
PERSONNEL.
The lightning flash with arrowhead symbol, within an equilateral
triangle is intended to alert the user to the presence of
uninsulated dangerous voltage within the product s
enclosure that may be of sufficient magnitude to constitute a
risk of electric shock.
The exclamation point within an equilateral triangle is intended
to alert the user to the presence of important operating and
maintenance (servicing) instructions in the literature
accompanying the appliance.
!!
WARNING: TO PREVENT FIRE OR SHOCK HAZARD, DO NOT
EXPOSE THIS APPLIANCE TO RAIN OR MOISTURE.
CAUTION: TO PREVENT ELECTRIC SHOCK DO NOT USE THIS
POLARIZED PLUG WITH AN EXTENSION CORD,
RECEPTACLE OR OTHER OUTLET UNLESS THE
BLADES CAN BE FULLY INSERTED TO PREVENT
BLADE EXPOSURE.
CAUTION: These servicing instructions are for use by qualified service
personnel only. To reduce the risk of electric shock, do not perform any
servicing other than that contained in the operating instructions unless
you are qualified to do so.
CAUTION: USE OF ANY CONTROLS, ADJUSTMENTS, OR PROCEDURES OTHER
THAN THOSE SPECIFIED HEREIN MAY RESULT IN HAZARDOUS RADIATION
EXPOSURE. (This itemis only forTV with DVD models.)

IMPORTANT SAFETY INSTRUCTIONS
Important Safety Instructions
1) Read theseinstructions.
2) Keep theseinstructions.
3) Heed allwarnings.
4) Follow allinstructions.
5) Do not use this apparatus near water.
6) Clean only with dry cloth.
7) Do not block any ventilation openings. Install in accordance with the
manufacturer's instructions.
8) Do notinstall near anyheat sources suchas radiators, heatregisters, stoves,
or other apparatus(including amplifiers) thatproduce heat.
9) Protect the power cordfrom being walked on or pinched particularly at plugs,
convenience receptacles, andthe point wherethey exit fromthe apparatus.
10) Only use attachments/accessories specified by the manufacturer.
11) Use only with the cart, stand, tripod, bracket, or table specified by the
manufacturer, or sold with the apparatus. When a cart is used, use caution when
moving the cart/apparatus combination to avoid injury from tip-over.
12) Unplug this apparatus during lightning storms or when unused for long
periods of time.
13) Refer all servicing to qualified service personnel. Servicing is required when
the apparatus has been damaged in any way, such as power-supply cord or plug
is damaged, liquid has been spilled or objects have fallen into the apparatus, the
apparatus has been exposed to rain or moisture, does not operate normally, or
has been dropped.
14)The apparatus shall not be exposed to dripping or splashing and that no
objects filled withliquids, such asvases, shall beplaced on theapparatus.
15)The mains plug or appliance inlet is used as the disconnect device, remain it
readily operable during the apparatus normal use.

Safety Instructions(for TV with DVD)
PRECAUTIONS
FCC WARNING-This equipment may
generate or use radio frequency
energy.Changes or modifications to this
equipment may cause harmful
interference unless the modifications are
expressly approved in the instruction
manual.The user could lose the authority
to operate this equipment if an
unauthorized change or modification is
made.
CAUTION:USE OF CONTROLS OR
ADJUSTMENTS OR PERFORMANCE
OF PROCEDURES OTHER THAN
THOSE SPECIFIED HEREIN MAY
RESULT IN HAZARDOUS RADIATION
EXPOSURE.
LASER SAFETY
This unit employs a laser.Only a qualified
service person should remove the cover
or attempt to service this device,due to
possible eye injury.
CAUTION:VISIBLE AND INVISIBLE
LASER RADIATION WHEN OPEN AND
INTERLOCK DEFEATED.DO NOT
STARE INTO BEAM.
LOCATION:INSIDE,NEAR THE DECK
MECHANISM.
Energy Star compliant
By being Energy Star compliant you are assured that your model is helping the
environment by using less energy while saving you money. ENERGY STAR is a joint
program of the U.S. Environmental Protection Agency and the U.S. Department of
Energy promoting energy efficiency.

CONTENT
Safety Notice Items...................................................................................
Front Panel Controls..................................................................................
Connection Options...................................................................................
Remote Control ........................................................................................
Remote Control Key Functions....................................................................
Connection Instructions.............................................................................
External equipment Connections..............................................................
Antenna Connection.............................................................................
VGA Setup.............................................................................................
Component Setup................................................................................
VCR Setup...........................................................................................
HDMI Input.........................................................................................
Cable TV Setup....................................................................................
External Component Source Setup.......................................................
Basic Operating Instructions.......................................................................
Switch On/Off the TV set..........................................................................
Choose the input source..........................................................................
Audio Control..........................................................................................
Mute......................................................................................................
INFO.....................................................................................................
Select the TV Channel You Want.............................................................
Picture Mode...........................................................................................
Audio Mode............................................................................................
Sleep.....................................................................................................
GUIDE...................................................................................................
ARC button.............................................................................................
.Button...................................................................................................
CH.LIST button.......................................................................................
FAVORITE button......................................................................................
Menu Operations.......................................................................................
Video Menu Options...............................................................................
Video Menu Options Continued...............................................................
Audio Menu Options................................................................................
Audio Menu Options Continued................................................................
Channel Menu Options.............................................................................
Channel Menu Options Continued..............................................................
Function Menu Options.............................................................................
Function Menu Options Continued..............................................................
Lock Menu Options ..................................................................................
Lock Menu Options Continued..................................................................
PC Menu Options....................................................................................
PC Menu Options Continued....................................................................
USB Input...............................................................................................
DVD Features..........................................................................................
Special Function Playback.......................................................................
DVD System Setup...................................................................................
Playable Discs.........................................................................................
Disc Protection and DVD Characteristics...................................................
Troubleshooting Guide...............................................................................
Specifications...........................................................................................
Warranty ..................................................................................................
1
2
3
4
5
6
6
6
7
7
8
8
9
9
10
10
10
10
10
10
11
11
11
11
11
11
12
12
12
13
13
14
15
16
17
18
19
20
22
23
27
28
29
31
33
34
36
37
38
39
40

Safety Notice Items
Incorrect usage maycause fire orelectric shock.
ensure
Please keep this manual for later use;
Please comply strictly with the warning instructions on the machine and
in this book;
Before operation, please make sure that the operating voltage of your unit is
correct;
Do not remove the back cover. If service is needed, please contact an
Authorized service technician.
To prevent this, please do as
required when you are installing, using and cleaning this machine. To
your safety and extend the life-span of LCD-TV, please readthe following items
carefully before using:
lPlease read and understand all the instructions before operation;
l
l
lPlease comply with the instructions provided;
lPlease do not use additional devices that are not recommended by
manufacturer:
l
lDo not placethe unit onunstable, dusty andhumid places;
lNever put theunit in directsunlight or nearheat sources;
lAllow enough space for proper ventilation;
lPlease keep water away from the LCD-TV . If water comes in contact with the
LCD-TV, disconnect the power cord from the power source, then wipe the set
with a dry soft cloth;
l

Front Panel Controls
Control Panel Function
1. POWER Press to turnon and off the TV.
2. INPUT Selects the inputsignals.
3. MENU Menu display. Press to access the on-screen menu display.
4. VOL- Volume down / Left button to adjust the item in the OSD.
VOL+ Volume up/ Right buttonto adjust theitem in theOSD
/Press to enter.
5. CH- TV channel down / to select the item in the menu.
CH+ TV channel up / to select the item in the menu.
6. Power indicator
7. Remote Sensor Receivers IR signals from the remote control.
Do not put anything near the sensor ,which may
block the remote control signal.
INPUT MENU VOL- VOL+ CH- CH+ POWER

COMPONENT IN
Pr Pb Y
ATN IN R-AUDIO-L R-AUDIO IN-L
PC AUDIO IN
VGA INUSB HDMI
S-VIDEO IN
VIDEO
Connection Options
The above figure is for reference
only, connections may differ
depending upon the models and
terminals of some models may be
on the back bottom of the set
DVD slot load
DVD
STOP
PLAY/PAUSE
OPEN/CLOSE
PREV
NEXT
1.ANT IN(Antenna Input) Connect cable or antenna signals to the TV, either
directly or through your cable box.
2.Headphone jack : Headphone audio output terminal.
3.Audio in Connect audio outputfrom an externaldevice to thesejacks.
4.S-VIDEO Connect S-Video out from anS-Video device to the jacks.
5.Audio in Connect audio outputfrom an externaldevice to thesejacks.
6.Video in Connect video outputfrom an externaldevice to thisjack.
7.USB input Connect a USBflash drive to view JPEG images or listen to MP3
songs.
8.VGA Connect to theVGA 15PIN analog output connector of a PC
graphics card to use set as a PC display.
9.PC audio in Connect the audiooutput from thepc to the PC audio input port.
10. HDMI: Connect a HDMI device to receive digital audio and uncompressed
digital video.
11. Component Input Connect a component video device to these jacks.
Insert DVD withthe label sidefacing towards
the back. (Silver"shiny" side facingtowards you)

Remote Control
Installing Batteries
Remove the battery cover.
Insert two size AAA batteries matching
the +/-polarities of the battery to the +/-
marks inside the battery compartment.
Precautions
Make sure that there is no
obstacle between theremote
controller and televisionset.
As strong light may interfere with the
signals, change yourposition to
operate the remote control if
the television cannot be turned
on or off as expected.
Keep the remote control
away from heat sources or
humid areas toensure
effective performance of
the remote.
Make sure thattwo AA1.5V orAAA
depending up the model alkaline
batteries are loaded. The batteries
must be of the same type, must be
inserted properly, and must not be
rechargeable.

1.Press to turn on and off the TV
2.Press to switch input source to USB in
3.Display the guide when you are watching analog or
digital channels
4.Select a closed caption option
5.Press repeatedly to cycle through the available picture
modes
6.Press to cycle through different sound settings
7.Show the input source
8.Switches the TV sound on or off
9.Press to adjust the volume
10.Press to open the on-screen menu
11.Thumbstick(Up/Down/Left/Right)
Allows you to navigate the on-screen menus
and adjust the system settings to your preference.
12.Press to display the sleep timer option
13.DVD/USB PLAY/PAUSE
14.DVD Open/close
15.DVD/USB FAST FORWARD
16.DVD/USB FAST REVERSE
17.DVD CALL
18.DVD MENU
19.DVD SEARCH
20.DVD ANGLE
21.Press to switch input source to DVD in
22.Open the channel list in TV
23.Select MONO, STEREO, SAP in NTSC system
24.Open the favourite channel list in TV
25.Press to change the aspect ratio
26.Press to change a channel
27.Press to select digital channels. For example, to enter
“54-3”, press “54”, “ ” and “3”
28.Press to jump back and forth between two channels
29.Press to scan through channels. To scan quickly
between the last two channels, press and hold down
either +/- .
30.Exit On Screen Display
31.Accesses the highlighted item in the on-screen menu
32.Press to display the TV status information on the top
of the TV screen
33.DVD/USB STOP
34.DVD/USB REPEAT
35.DVD/USB Previous Chapter
36.DVD/USB Next Chapter
37.DVD AUDIO Mode
38.DVD SETUP
39.DVD PROGRAM
40.DVD SUBTITLE
Remote Control Key Functions
When using the remote control, aim it
towards the remotesensor on the TV
OPEN/CLOSE
PLAY/PAUSE
REV
D.MENU
SEARCH
D.CALL
ANGLE
D.AUDIO
SUBTITLE
ENTER
STOP REPEAT
PREV NEXT
SETUP
PROGRAM
USB
GUIDE
INPUT
MUTE
VOL CH
MENU
SLEEP DISPLAY
EXIT
RECALL
PICTURE AUDIO ARC FAVORITE
CCD MTS/SAP CH.LIST
DVD
18
19
20
21
22
23
24
25
26
27
28
29
30
31
32
33
34
35
36
37
38
39
40
1
2
3
4
5
6
7
8
9
10
11
12
13
14
15
16
17

Connection Instructions
External Equipment Connections
Antenna Connection
Multi-family Dwellings/Apartments
(Connect to wallantenna socket)
wall antenna
socket
VHF antenna
UHF antenna
outdoor
antenna
Single-family Dwellings /Houses
(Connect to wall jack for outdoor antenna)
Bronze Wire
Be careful notto bend thebronze
wire when connecting the antenna.
Bronze Wire
Turn clockwise to tighten.
RF coaxial wire(75 ohm)
To improve picture quality in a poor
signal area, purchase and install a
signal amplifier.
If the antenna needs to be split for two
Tvs, install a 2-Way Signal Splitter
in the connections.
If the antenna is not installed properly,
contact your dealer for assistance.
NOTE: Cables shownare not includedwith the TV
Over-the-air TV reception will depend on your antenna type, antenna location
and antenna positioning.

Connection Instructions
You can use your LCD-TV as a monitor for your personal computer using a VGA
cable (not supplied).
VGA Setup
Connection and use steps:
1.Read the userguide supplied with
your computer and ensure that it has
a VGAconnector;
2.Make sure that the power of the LCD
-TV and thePC are off;
3.Connect a Dtype 15-pin PCinterface
cable ( not supplied ) to the PC video
interface connector on the PC. Then
connect the other end to the PC video
interface connector on the back of the
LCD-TV.Tighten the screws on the PC
connectors once they are firmly
connected;
4.Turn on the power of the LCD-TV first ,
and then turn on the power of the PC;
5.Press INPUT button to setthe video inputmode of theLCD-TV to PC;
Once the input for PC is selected and if you see no image press function
F8 on youpc.
6.Check the image on your TV. There may be noise associated with the resolution,
vertical pattern, contrast or brightness in PC mode. If noise is present, change
the PC mode to another resolution, change the refresh rate to another rate or
adjust the brightness and contrast on the menu until the picture is clear. If the
refresh rate of the PC graphic card can not be changed, change the PC graphic
card or consult the manufacturer of the PC graphic card.
Component Setup
How to connect
Connect the DVD video outputs (Y, PB, PR)
to the Component(Y, Pb, Pr) IN jacks on
the TV and connect theDVD audio outputs
to the AUDIO IN jacks on the TV,as shown
in the figure.
NOTE: If your DVD player does not have
component video output, use S-Video.
How to use
1. Turn on the DVD player, insert a DVD.
2. Use INPUT button on the remote
control to selectthe proper input.
Resolution
Mode
VGA
SVGA
XGA
Resolution
640x480
800x600
1024x768
Line frequency(KHz)
31.5
37.9
48.4
Frame frequency(Hz)
60
60
60
Note: Allabove listed are subject to VESAcriteria.
PC AUDIO IN
VGA IN
COMPONENT IN
Pr Pb Y
R-AUDIO-L
S-VIDEO IN

Connection Instructions
VCR Setup
Connection and use steps:
1.Read the user guide supplied with your AV devices and ensure that it has
Composite or S-Video connectors;
2.Make sure that the power of the LCD-TV and the AV device are off;
.Turn on the LCD-TV first ; and then turn on the
power of the AV device;
4.Press button to set
the video input mode of the
LCD-TV to S-Video mode or
Video mode.
Connection Option 1
Set VCR output switch to 3 or 4 and then
tune TV to the same channel number.
Connection Option 2
1. Connect the audio and video cables from
the VCR's output jacks to the TV input jacks,
as shown in the figure.
When connecting the TV to VCR, match
the jack colors (Video = yellow, Audio
Left = white,and Audio Right = red).
If you connect an S-VIDEO output from
VCR to the S-VIDEO input, the picture
quality is improved; compared to conne-
cting a regular VCR to the Video input.
2. Insert a video tape into the VCR and press
PLAY on the VCR. (Refer to the VCR owner s
manual.)
3
INPUT
- To avoid picture noise (interference), leave an adequate distance between the
VCR and TV
.
HDMI Input
How to connect
Connect the cablesfrom the external equipment's
output jacks tothe TV input jacks, asshown in the figure.
How to use
1. Select the input source by using button
on the remotecontrol or onthe TV.
2. Operate the correspondingexternal equipment.
Refer to externalequipment operating guide.
INPUT
HDMI
COMPONENT IN
Pr Pb Y
ATN IN R-AUDIO-L R-AUDIO IN-L
S-VIDEO IN
VIDEO
VCR
1
2
HDMI

Connection Instructions
Cable TV Setup
- After subscribing to a cable TV service from a local provider you can watch cable
TV programming. The TV cannot display TV programming unless a TV tuner
device or cableTV converter box is connectedto the TV.
- For furtherinformation regarding cable TV service, contact your local cable TV
service provider(s).
Connection Option 1
1. Select 3 or 4 with channel switch on cable
box.
2. Tune the TV channel to the same selected
output channel oncable box.
3. Select channelsat the cablebox or with
the cable box remote control.
Connection Option 2
1. Connect the audio and video cables from
the Cable Box'soutput jacks tothe TV
input jacks, as shown in the figure.When
connecting the TV to a Cable Box, match
the jack colors
(Video = yellow, Audio Left = white, and
Audio Right= red).
2. Select the input source by using the
INPUT button on the remote control.
3. Select your desired channel with the
remote control forcable box.
External Component Source Setup
How to connect
Connect the audio and video cables from
the external equipment's output jacks to the
TV input jacks, as shown in the figure.
When connecting the TV to external equip-
ment, match the jack colors (Video = yellow,
Audio Left =white, andAudio Right =red).
How to use
1. Select the input source by using the INPUT
button on the remote control.
2. Operate the corresponding external equi-
pment. Refer to external equipment ope-
rating guide.
R-AUDIO IN-L VIDEO
COMPONENT IN
Pr Pb Y
ATN IN R-AUDIO-L R-AUDIO IN-L
S-VIDEO IN
VIDEO

Basic Operating Instructions
Switch On/Off the TV set
When the POWER button is pressed and the LCD-TV is turned on, the
indicator light on the front of the LCD-TV changes from red to green. When the
LCD-TV is turned off using the power button, the LCD-TV will go into standby
mode and theindicator light turnsred(or turns dark).
Audio Control
1.Press VOL+ button to increase the volume. Anumber will appear
on screen indicating the volume level.
2.Press VOL- button to decrease the volume. A number will appear
On screen indicating the volume level.
Mute
1.Press MUTE button to mute the sound temporarily. A mute icon
Appears on the screen.
2.Press MUTE button or VOL+ again to restore the sound.
The mute icon disappears.
Change the picture source so you can watch your TV, VCR, DVD, Cable ,
or any otherdevices that areconnected to your TV.
1. Press INPUT button to enterthe Select Sourcemenu and thenuse
/ button to select the desired items TV,Video, S-Video, Component
DVD, PC, HDMI .
2. Press button to confirm .
ENTER
Choose the input source
NOTE: The color of the indicator light maydiffer based upon the modelpurchased.
DISPLAY
Press DISPLAYbutton to display current program information.

Basic Operating Instructions
Select the TV Channel You Want
You can use the number buttons and button on theremote control to directly
select TV channels and press ENTER to confirm.
And you canpress the buttons(CH+/-) on the remote control or on the panel to
make a selection.
Picture Mode
Audio Mode
Press PICTURE button on the remote control for menu display . For desired mode
as follows:
Mild Standard Vivid Custom
Sleep
Press SLEEP button to set the time : Off
This function allows you to turn off the television after a pre-selected
minutes
-5 Min-10 Min-15Min-30 Min- 45Min
-60 Min-90 Min-120Min-180 Min-240Min
number of
GUIDE(only available indigital signal)
Press GUIDE button in digital channels to display Guide menu.(This menu is
just for you to see the information and can not be changed)
Press / to select information for you to look over.
Off Rock Pop Live Dance Techno Classic Soft
Press AUDIO button on the remote control for menu display . For desired mode
as follows:
ARC button
Press to select the aspect ratio among Normal, Wide, Zoom and Cinema.
(Display mode maydiffer from different inputs)

Basic Operating Instructions
button
Press to select additional channels (digital and analog) being broadcast by the
same station. For example, to select digital channel “11.1”, press “11”, then
press “ ” and “1”.
CH.LIST button
Press to displaythe channel list.Press / to turn to the next or previous
page, press / to select the item and ENTER button to select the channel you
desired.
FAVORITE button
Adding favorite channels
Press FAVORITE under one channel. The favorite channel list opens.
Press or to select ablank box, thenpress ENTER to confirm .
The channel willbe added tothe favorites channel list.
Press Enter again, the channelwill be removed from the favorites channel list.
Tuning to a favorite channel
Press FAVORITE. The favorite channel list opens.
Press or to select thechannel and press ENTER to confirm .
Your LCD TV automatically tunes to the channel you selected.

Menu Operations
Video Menu Options
1. Press MENU button to display the main menu, and to select the main
menu function.
2. Press /ENTER button to enter the sub menu and to go upand down to
select the desired option .
3. Press /ENTER button to confirm and to make changes to the
parameters.
4. Press EXIT button to return to the main menu.
5. Press MENU button to exit the menu screen.
/
/
/
* In this manual,the OSD (On Screen Display) may be differ from your TV
These are examplesto illustrate the TV's operation.
Press Input toselect the input source. The menu for each source may be
different .
Picture quality can be adjusted for any input separately .
The picture qualityon the screen can be adjusted as follows:
1. Press MENU button and until the following menu appears on the
screen.
2. Press /ENTER button to enter the menu function and to scroll up
and down to select the desired function.
3.Press /ENTER button to confirmand increase and decrease
the level toadjust the selected option to your preference .
4. Repeat step 2 and step 3 until desired picture quality has been achieved .
/
/
/
Note:
1.The options maybe different because of theinputs.
2.Symbols on topof the menuin this manual may differ from the actualset display.
3.The picture optionscan be changedonly in Custom mode, the othermodes
are fixed.
Video
Audio
Channel
Lock
Function
Video
Mode Custom
Brightness
Contrast
Color
Tint
Sharpness
Color Temperature
Advanced Video
50
50
50
0
50
Select BackAdjust EXIT
ENTER /

Menu Operations
Function:
Mode: Select the type of picture which best corresponds to your viewing
requirements by selecting Picture Mode in Video menu. Youmay select the
picture mode directly by pressing the PICTURE button on the remote control.
Brightness :Press / button and /ENTER to confirm, thenpress to
adjust the brightness of the picture.
Contrast : Press / button and /ENTER to confirm, thenpress to
adjust the contrast of the picture.
Color : Press / button and /ENTER to confirm, then press to adjust
color saturation.
Tint : Adjust the toneof the picture.
Sharpness : Adjust the amount of the detail enhancement , the image
sharpness rises as the number increases (By increasing the level, it will show
cleaner and clearerimages and bydecreasing the level,it will make the picture
smoother).
Color Temperature: This will increase or decrease Warm (red) and Cool (blue)
colors to suitpersonal preferences.Select Cool to give the white colors a blue tint,
Standard to give thewhite colors aneutral tint, Warm to give the white colors
a red tint.User to allow you change the color manually.
Contrast, Brightness, Sharpness, Color Temperatureand Tintcan only be adjusted when
Mode in Custommode.
Advanced Video:To adjust the picture in advanced level:
DNR: Digital NoiseReduction. To adjust to reduce the appearanceof digitizing
error caused bythe compression:Medium,Strong,Auto,Off and weak.
Black Level Extender: To adjust theability in theblack areas detail of the
picture:On and Off.
White Peak Limiter: To adjust theability in thewhite areas detail of the
picture:On and Off.
CTI: Color Transient Intensity.To adjust the picture for color errors:Medium,Strong,
Off and weak.
Flesh Tone:Toadjust the flashcolors:On and Off.
Adaptive Luma Control: To adjust changesin the luminanceof the picture:Onand Off
/
/
/
Video Menu Options continued

Menu Operations
You can adjust sound options to the levels you prefer.
/
2. Press /ENTER button to enter the Audio menu and to go up and
down to select the desired option .
3.Press /ENTER button to confirmand increase and decrease
the level toadjust the selectedoption to yourpreference .
4. Repeat step 2 and step 3 until desired audio quality has been achieved .
/
Function :
Balance : Press / button and /ENTER to confirm, then press to adjust
the audio outputbetween left andright speakers.
Bass : Press / button and /ENTER to confirm, then press to increase
or decrease the level of the lower-pitched sounds .
Treble : Press / button and /ENTER to confirm, then press to increase
or decrease the level of the higher-pitched sounds
Sound surround: To turn the simulated surround sound on and off.
Mode : Press /ENTER to select thetype of soundwhich best correspondsto
your lightning requirements by selecting Mode in Audio menu.
Equalizer: To adjust the equalizer: Off, Rock, Pop, Live, Dance, Techno, Classic
and Soft.
/
/
/
Audio Menu Options
Audio
Balance
Bass
Treble
Sound Surround On
Mode Off
Equalizer Off
AVL Off
Audio Only
0
50
50
Video
Audio
Channel
Lock
Function
Select BackAdjust EXIT
ENTER
Sound can beadjusted for anyinput as follows:
1. Press MENU button and until the following menu appears on the
screen.
/
/
This manual suits for next models
1
Table of contents