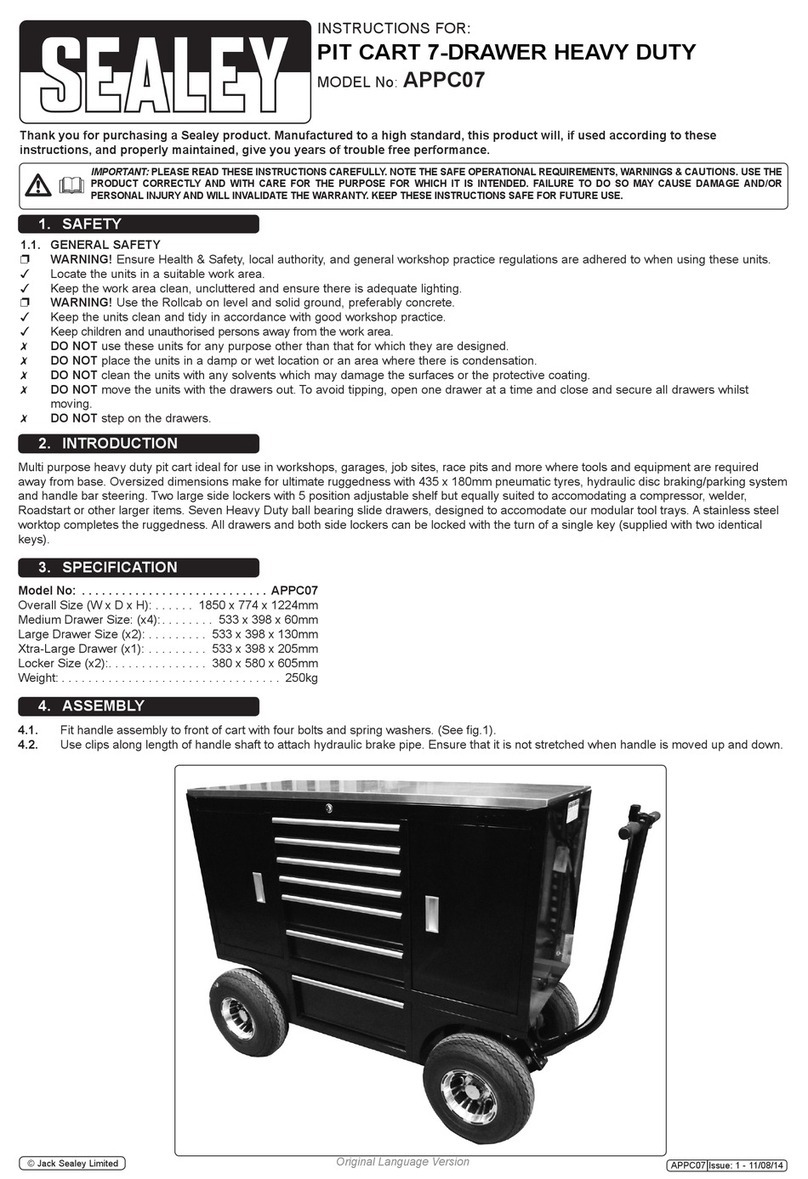
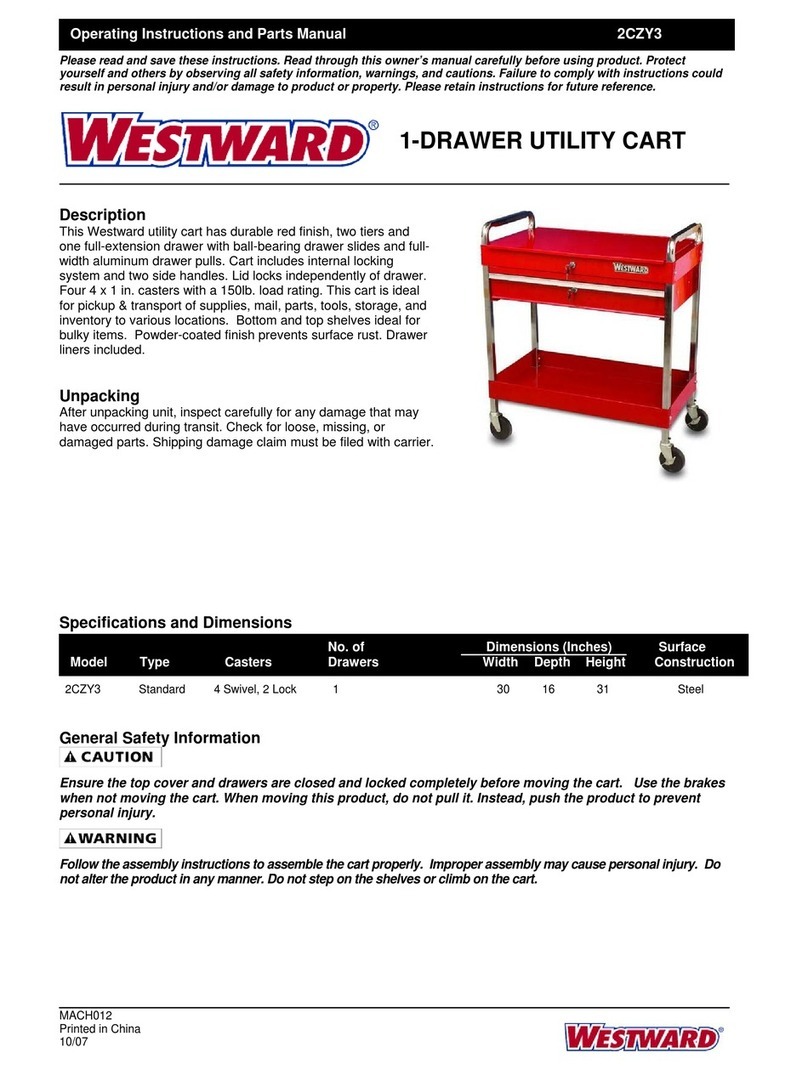
Health Care Logistics 5285-01 User manual

A
AS
SS
SE
EM
MB
BL
LY
YI
IN
NS
ST
TR
RU
UC
CT
TI
IO
ON
NS
SF
FO
OR
RT
TH
HE
E#
#5
52
28
85
5-
-0
01
1
I
IN
NS
ST
TR
RU
UM
ME
EN
NT
TC
CA
AR
RT
T
Call Free: 1 800 848 1633 or 1 888 HCL INTL®(425 4685) Fax Free: 1 800 447 2923
Web Site: www.HealthCareLogistics.com • E-mail: hcl@HealthCareLogistics.com
1
top shelf
© Health Care Logistics, Inc. 2006 • Printed in the U.S.A. Rev. 12006
#5285-01
doors with lock
bottom shelf middle shelf
back cover panel side cover panels
storage drawer handles and drawer slides

Call Free: 1 800 848 1633 or 1 888 HCL INTL®(425 4685) Fax Free: 1 800 447 2923
Web Site: www.HealthCareLogistics.com • E-mail: hcl@HealthCareLogistics.com
2
A
AS
SS
SE
EM
MB
BL
LY
YI
IN
NS
ST
TR
RU
UC
CT
TI
IO
ON
NS
SF
FO
OR
RT
TH
HE
E#
#5
52
28
85
5-
-0
01
1I
IN
NS
ST
TR
RU
UM
ME
EN
NT
TC
CA
AR
RT
T
shelf posts 4 casters
Locate your right door with lock hole.
Insert the lock through the hole until the
face of the lock is flush with the door
inset. The keyhole should be positioned up
and down.
inset
Once your lock is in the door flip your
door so you’re looking at the backside.
Thread on the nut (turn clockwise)
included with the lock to secure the lock
in the door.
Locate the bronze cam and attach it to the
end of the lock so it is pointing straight up.
The square cutout in the cam will slide
over the square end of the lock.
Secure the cam to the lock with the screw
provided. Tighten with a Phillips
screwdriver.
Your lock is now attached and your doors
are ready to be installed later in the
assembly process.
1
L
LO
OC
CK
KI
IN
NS
ST
TA
AL
LL
LA
AT
TI
IO
ON
NI
IN
NS
ST
TR
RU
UC
CT
TI
IO
ON
NS
S
2 3
4 5 6

Call Free: 1 800 848 1633 or 1 888 HCL INTL®(425 4685) Fax Free: 1 800 447 2923
Web Site: www.HealthCareLogistics.com • E-mail: hcl@HealthCareLogistics.com
3
A
AS
SS
SE
EM
MB
BL
LY
YI
IN
NS
ST
TR
RU
UC
CT
TI
IO
ON
NS
SF
FO
OR
RT
TH
HE
E#
#5
52
28
85
5-
-0
01
1I
IN
NS
ST
TR
RU
UM
ME
EN
NT
TC
CA
AR
RT
T
For the first step you will
need the bottom shelf. The
bottom shelf has an area on
all four corners for caster
inserts. Press a caster insert
into one of the corners and
tap down with a rubber
mallet. Repeat for all corners.
Once inserts are in you can
attach casters. Press a
caster into one of the
inserts and tap down with
your rubber mallet. Repeat
for remaining casters.
Flip bottom
shelf upside
down.
Attach the remaining casters and you’re ready to flip over
and continue assembly.
Insert a post in each corner of the
bottom shelf. You will need to tap posts
down with you rubber mallet.
Attach the side closure panels by sliding into the grooves in
between two shelf posts. The slits on the panels should be
facing up.
The bottom of the panel should slide
in front of the shelf tabs.
shelf tabs
right panel
grooves in posts
slits
12
34
5

Call Free: 1 800 848 1633 or 1 888 HCL INTL®(425 4685) Fax Free: 1 800 447 2923
Web Site: www.HealthCareLogistics.com • E-mail: hcl@HealthCareLogistics.com
4
A
AS
SS
SE
EM
MB
BL
LY
YI
IN
NS
ST
TR
RU
UC
CT
TI
IO
ON
NS
SF
FO
OR
RT
TH
HE
E#
#5
52
28
85
5-
-0
01
1I
IN
NS
ST
TR
RU
UM
ME
EN
NT
TC
CA
AR
RT
T
Once the side panels are installed, attach the back closure
panel by sliding into the grooves in between two shelf posts.
The slits on the panels should be facing up.
slits
With the doors
interlocked slide into
the grooves in between
two shelf posts on the
front of the cart. The
pegs on the doors
should align with the
holes in the bottom
shelf.
door peg
You’re now ready to attach the middle shelf. Position the
middle shelf so the corners slide into the shelf posts. The
shelf ledge should be at the back of the cart.
shelf ledge
The holes in the front
of the middle shelf will
slide over the pegs in
the top of the doors.
Tap the shelf into the
posts using your rubber
mallet.
Attach a post in each
corner of the middle
shelf. Tap down with
your rubber mallet.
67
8
9
10

Call Free: 1 800 848 1633 or 1 888 HCL INTL®(425 4685) Fax Free: 1 800 447 2923
Web Site: www.HealthCareLogistics.com • E-mail: hcl@HealthCareLogistics.com
5
A
AS
SS
SE
EM
MB
BL
LY
YI
IN
NS
ST
TR
RU
UC
CT
TI
IO
ON
NS
SF
FO
OR
RT
TH
HE
E#
#5
52
28
85
5-
-0
01
1I
IN
NS
ST
TR
RU
UM
ME
EN
NT
TC
CA
AR
RT
T
Your cart comes with a drawer and drawer slides. The slides
attach to the bottom of the top shelf as shown above.
Slides are marked left and right. Position the right slide to
the holes on the underside of the top shelf. The slide should
be positioned with the open side facing in.
mounting
holes in top
shelf
Using your Phillips screwdriver and hardware provided with slides, attach slides to
the bottom of the shelf. The slides have holes that allow the screwdriver to pass
through to tighten screws.
holes allow screwdriver
access to screws
The top shelf will look like this when slides are attached.
11 12
13
14

Call Free: 1 800 848 1633 or 1 888 HCL INTL®(425 4685) Fax Free: 1 800 447 2923
Web Site: www.HealthCareLogistics.com • E-mail: hcl@HealthCareLogistics.com
6
A
AS
SS
SE
EM
MB
BL
LY
YI
IN
NS
ST
TR
RU
UC
CT
TI
IO
ON
NS
SF
FO
OR
RT
TH
HE
E#
#5
52
28
85
5-
-0
01
1I
IN
NS
ST
TR
RU
UM
ME
EN
NT
TC
CA
AR
RT
T
Flip your top shelf over and attach handles to each side. Secure handles by inserting the screws provided into each
corner of the shelf. This will keep your handles from detaching
during use.
Your top shelf is now ready to be attached. Position the top shelf so the corners slide into the shelf
posts. The shelf ledge should be at the back of the cart.
Tap the shelf into the
posts using your rubber
mallet.
15
18
17
19

Call Free: 1 800 848 1633 or 1 888 HCL INTL®(425 4685) Fax Free: 1 800 447 2923
Web Site: www.HealthCareLogistics.com • E-mail: hcl@HealthCareLogistics.com
7
A
AS
SS
SE
EM
MB
BL
LY
YI
IN
NS
ST
TR
RU
UC
CT
TI
IO
ON
NS
SF
FO
OR
RT
TH
HE
E#
#5
52
28
85
5-
-0
01
1I
IN
NS
ST
TR
RU
UM
ME
EN
NT
TC
CA
AR
RT
T
Slide your drawer into the black slides on the underside of
the top shelf. The drawer may have a slight resistance when
sliding until its been used multiple times.
Your drawer includes three adjustable dividers. Adjust
dividers to the location to meet your needs.
Your cart assembly is now complete.
20 21

